Shearing sheep is an essential part of good flock management.
If you have sheep, shearing not only helps to maintain clean, sanitary conditions but also prevents summer overheating. Plus, it is essential if you plan on selling the wool from your flock.
But when should you do it – and more importantly, how do you do it? It’s complicated, but not as complicated as you might think.
When Should You Shear Sheep?
When exactly you should shear your sheep will vary depending on the flock it also depends on your management goals. If your goal is to sell wool for profit, you will want to shear frequently so that the wool is as clean and fresh as possible.
Ideally, you will want to shear a few months before lambing. It will not only keep the wool clean, as wool gets dirty during lambing and when the sheep are confined to the barn, but it also helps more ewes fit in the same space. Remember too that a shorn ewe will have teats that are much easier to find for her young lamb.
In fact, an ewe with three inches of wool is going to be six inches wider than a shorn ewe – that adds up when you have multiple sheep!
Shear your sheep before you put them inside for the winter, and you’ll also find that your barn stays dryer. Wool holds an incredible amount of moisture (which is part of why it’s such a great insulator), so you’ll find that doing this will keep the barn a bit warmer and dryer as well.
If you want to know more about the amazing properties of wool, read our related article on harvesting lanolin from wool.
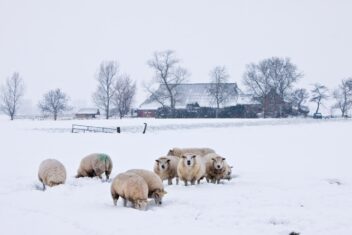
That being said, it’s important to remember that your sheep will require more energy to maintain good body condition over winter. You should avoid shearing if they are going to be outside entirely during the dead of winter. If you aren’t planning on keeping your sheep inside until lambing, wait to shear or leave a bit more wool on as some natural insurance.
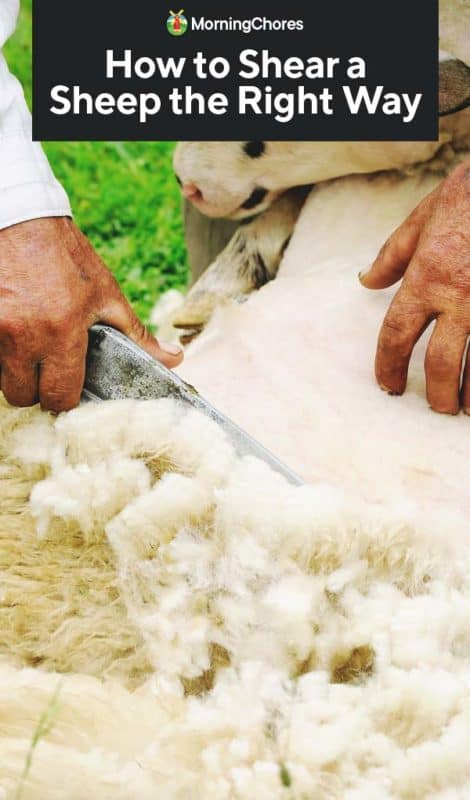
How to Shear a Sheep
1. Gather Your Equipment
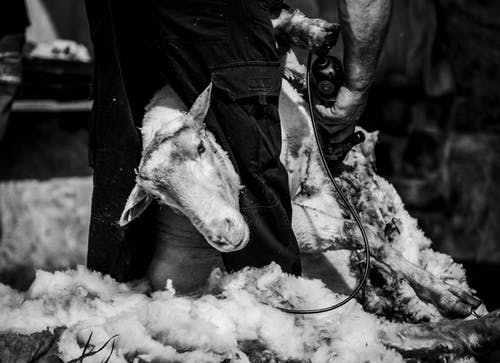
Start by putting together your equipment. No matter how much or how little experience you have, you need to have high-quality equipment to make the process easier and safer (for both you and the sheep).
In this day and age, almost every shearer uses electric clippers. You’ll pay a bit extra for this, but you should seek shears that have more teeth on the comb. These offer a better shear.
You also need to make sure your shears are sharp before you start cutting. Dull implements are not only difficult for you to use but can be dangerous for everyone involved.
2. Prepare the Shearing Area
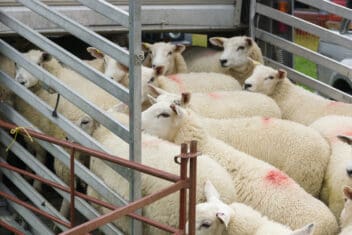
Next, prepare the area in which you intend to shear your sheep. This should be as dry as possible and in a somewhat confined area. If you have loading chutes, that’s perfect. But if not, a pen will suffice. Round up your sheep prior to shearing (preferably the day before, at least).
Make sure your sheep don’t get wet. Wet wool cannot be sold, and the sheep can even receive an electric shock. You might want to fast your sheep the day before shearing, too. This will lower the degree of waste that they create (which soil the wool). It will also be less mess on the floor that you have to deal with.
3. Position Your Sheep
Once you have your sheep herded into the appropriate shearing area and you are ready to go, it’s time to start shearing. The first step in this process is to position your sheep. There are five main positions you will use throughout the duration of the process so that you can reach all areas of the sheep.
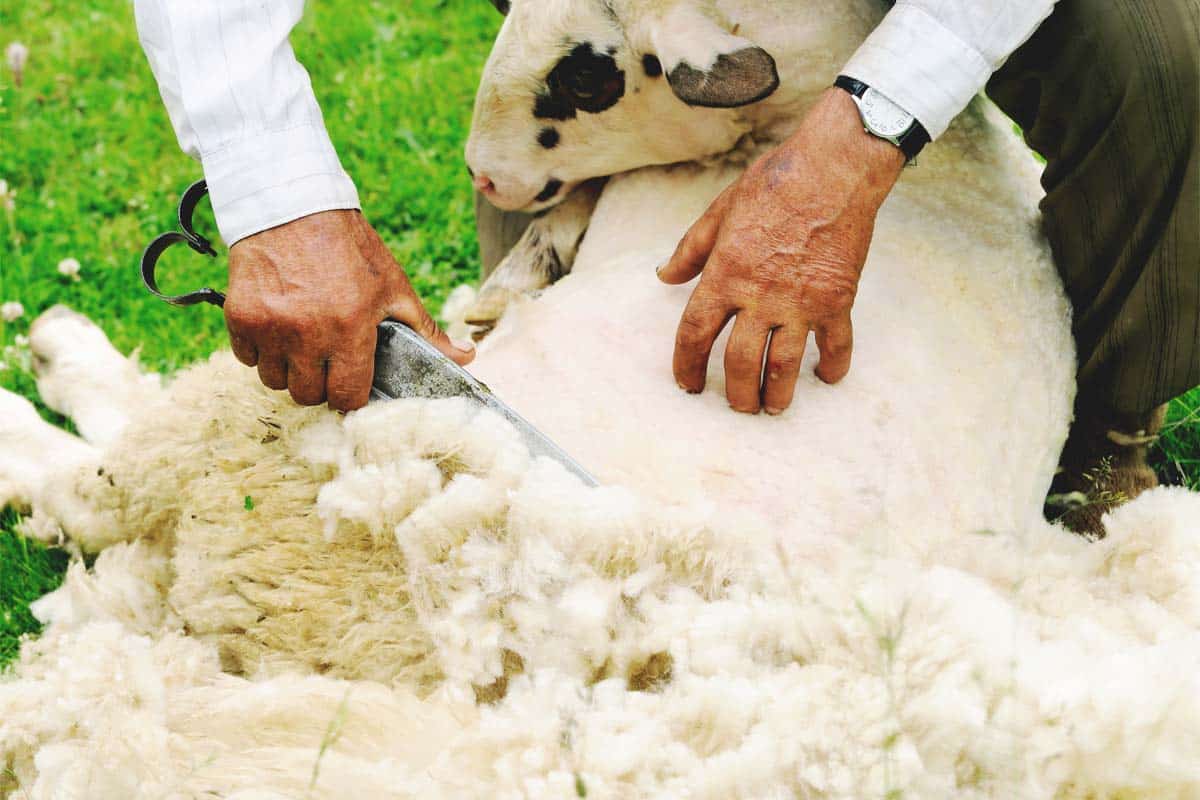
In the first position, you’ll tip the sheep on her back and then prop her shoulders between your knees. Her legs will be up in the air and her belly will be exposed. Be as gentle as possible while you are working with her. She is already stressed, and the rougher you are, the more she will fight you.
4. Belly First
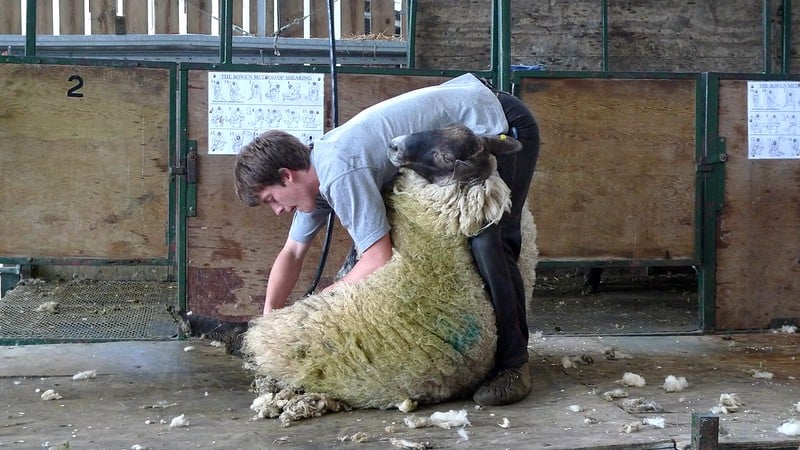
The belly gets sheared first in this original position. Belly wool is often the least clean and it’s also the least marketable. You’ll start here to avoid losses.
Use long strokes, shearing the wool from the breastbone to the flank area. Your first pass (also known as a ‘blow’) should be on the righthand side, with the second on your left. You’ll then scoop up the rest of the wool in between.
5. Hind Legs and Rear Second
Next, you can shear inside the hind legs as well as near the crotch. This may or may not be usable wool. To do this, lean forward and draw the shears along the inside of the right leg. Remove the wool along the crotch. You need to be very gentle while you’re doing this, so it might require multiple repetitions to get the rest of the wool.
While you’re shearing in this area, watch out for the ewe’s teats. They might be particularly swollen, especially if she’s due to lamb. You might want to hold the teats with your free hand (or have somebody else cover them) so you don’t nick them.
Next, you’ll need to shear the tail and the left hind leg. Turn around roughly so your knee is in front and the right foreleg is between your legs. This will expose the left side for shearing.
You should shear from the left hind leg, beginning with the hoof and working slowly back toward the rear. You’ll finish near the backbone.
6. Shear the Chest, Neck, and Chin
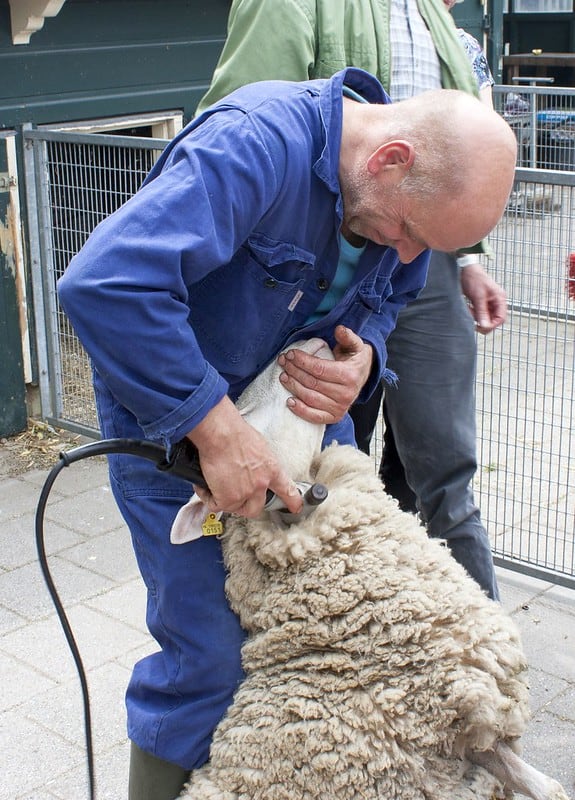
Next up is the neck, chest, and chin of your sheep. Gently grasp the sheep underneath her chin and use your hand to stretch her backward.
Draw your clippers toward the neck, stopping just below the chin. Make long passes along the side of the neck, being careful to gently keep her ears back so you don’t nick them.
7. Move on to the Left Shoulder
Now you need to shear the entire left shoulder. You might need to reposition the sheep and balance your weight to give you better access. The shoulders can be some of the trickiest places to shear, since they tend to be quite wrinkled. Use your free hand to gently pull the skin tight. Your passes will be smoother and you won’t run the risk of cutting your sheep.
While you shear, work upwards toward her shoulder. You should be able to clear everything in just a couple of blows.
8. Shear the Back and Catch the Right Side
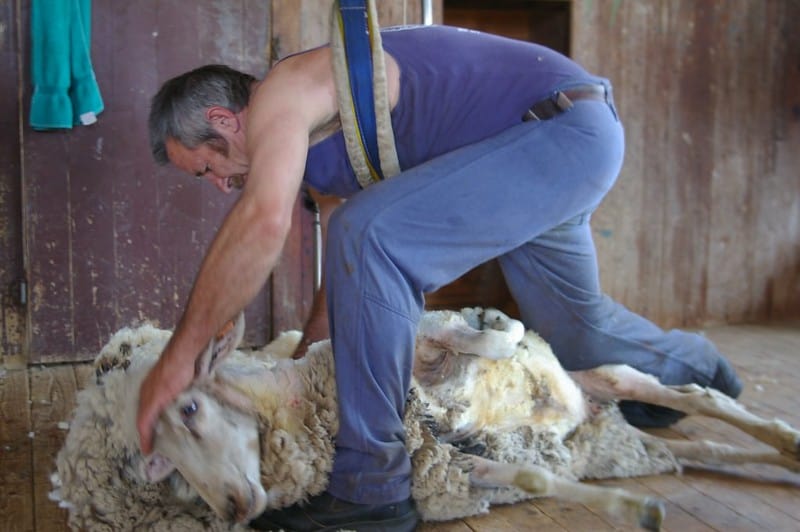
Last but not least, you need to shear the back and right side of your sheep. You will want to slide the sheep down against your shin so that she is lying on her side. Keep your foot between her hind legs with the other foot beneath her shoulder.
Make long passes, extending from the back of the sheep and then downward. Your shears should be positioned at the tail while making passes to her head and staying parallel to the spine. After the left side is shorn, move on to the right. You will want to move your right leg so that you are upright with the nose of the sheep just between your knees and then shear the right side wool. It will just take a few more passes.
Before cleaning up, you’ll need to shear the right leg and right hindquarter. You might want to crouch on the ground. This will encourage the sheep to remain straight. You’ll shear this part of the body in a curved, circular motion.
9. Skirt and Roll Your Fleece
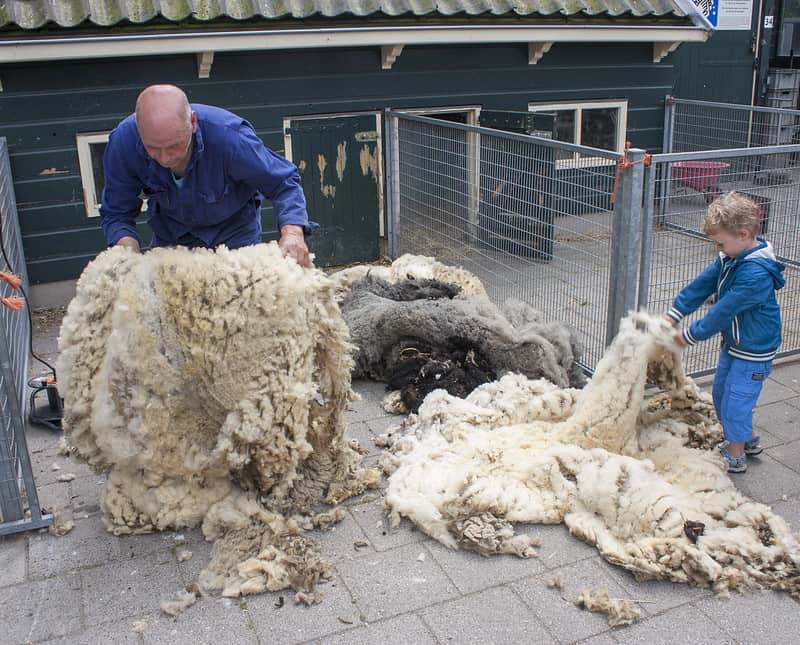
If you plan on selling your wool, there is one more step you need to take to make sure your wool is marketable. You need to skirt and roll it.
Skirting involves removing any dirty wool that cannot be sold. Lay the fleece on a flat table and get rid of any dirty wool. You will also need to get rid of anything that is off-color, contains tags, or is matted.
After doing this, you can roll the fleece. It should be done by folding toward the center, then rolling gradually from one end to the other with the flesh side facing outward. Don’t tie it up.
Tips for Shearing
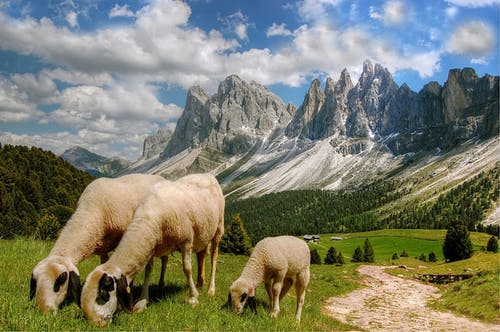
There are several tips that you should follow when you are shearing your own sheep. For starters, make long blows. Don’t hesitate or second-guess yourself, as this will cause you to fumble your cuts or make mistakes with the shears. You are more likely to injure your sheep or have to go back through for a second cut if you do this.
You also want to try to get all the fleece in one cut. If you perform a pass incorrectly, you won’t be able to include the wool from the second cut in your rolled fleece. That’s easier said than done, of course, but the more experience you get, the less likely you will be tempted to make those second cuts.
It helps to be familiar with your sheep, too. Knowing the individual contours and body composition of a sheep can help you get a better handle on her unique needs. You’ll know exactly how to move the shears and at which angles. Even knowing how many teats a sheep has can make you a more confident shearer!
Should You Shear Your Sheep Yourself – Or Call in the Pros?
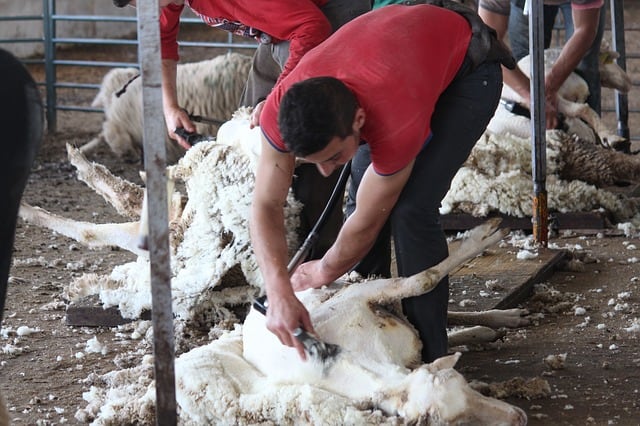
One of the most important tips for shearing to keep in mind is knowing when you should do it yourself – and when you need to call in the professionals. Shearing sheep when you don’t have a lot of experience can be dangerous both for you and the sheep. However, knowing how to do it yourself can save money.
Be honest with yourself and your capabilities. There are plenty of helpful videos, like this one, that can teach you how to shear a sheep. Practice makes perfect!
If you aren’t sure whether you have the skills necessary to shear your own sheep, consider calling a professional or investing in some training classes. It will be well worth the money!
