Want to make your veggies last longer? How about a method to preserve the vitamins in your food while making it quicker to prepare your meals? Then it’s time to learn about blanching your vegetables.
Blanching vegetables is a cooking technique that everyone should know how to do, especially if you grow your own veggies.
Nearly any vegetable can be blanched, and the method can be used as a precursor to freezing or using other preservation methods for your harvest.
Ready to learn how to do this simple technique?
What is Blanching?
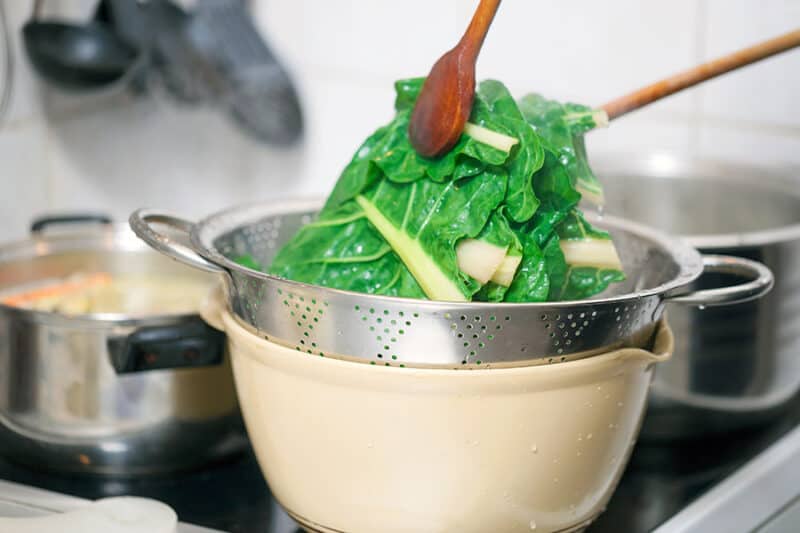
The concept behind blanching is quite simple. Blanching is when you scald vegetables in boiling water or steam for a short period of time. The process of blanching stops enzyme actions that lead to the loss of flavor, color, and texture.
That’s not the only reason why you should blanch your vegetables. Blanching also helps:
- Clean the surface of the vegetables to eliminate dirt and organisms.
- Brighten the color of the food.
- Reduce the loss of vitamins while cooking.
- Soften the veggies to make it easier to store and pack them.
- Loosen the skin on tomatoes and peaches to peel them easier.
- Reduce cooking times for longer cooking veggies, making it easier to grill them.
- Prep green beans for a casserole
- Remove the bitter or strong flavors of onions or cabbages.
- To partially cook potatoes before frying.
If you want to freeze your fresh veggies, blanching is something you must do. However, should learn how to do so correctly because the proper blanching time varies for each vegetable and the size.
If you under-blanch the vegetables, it stimulates the enzymes, so it’s actually worse than if you did nothing at all. If you over-blanch, then it could lead to a loss of flavor, color, vitamins, and minerals.
The Two Types of Blanching
There are a few ways that you can blanch your food, so let’s take a look at each one and how to do so properly.
Water Blanching
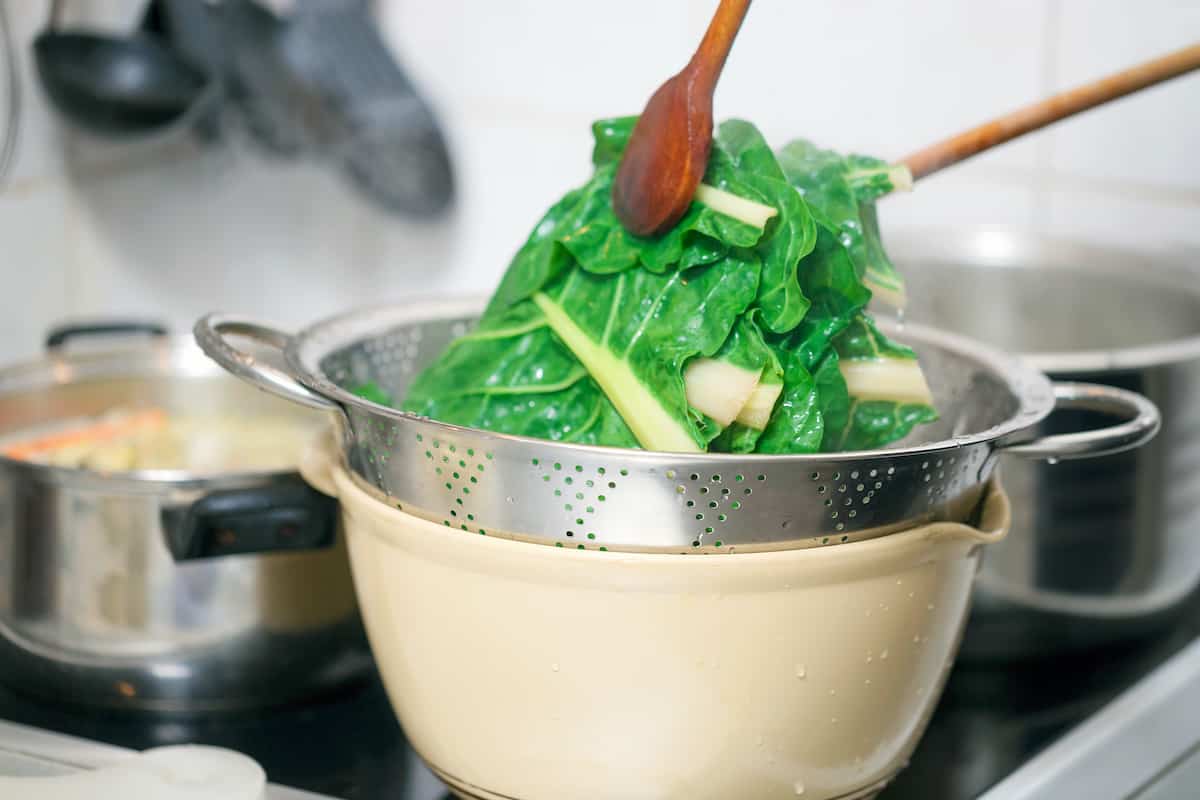
If you’ve blanched anything at home, chances are you did so in boiling water. There are a multitude of ways to do this. You can use a strainer or a blanching basket and a cover or a wire basket that fits into a large pot.
Here are the basic steps to water blanching vegetables.
- Fill up a large stockpot with water. You’ll need around one gallon of water for every pound of vegetables you need to blanch.
- Add plenty of salt.
- Bring the water to a full, rolling boil.
- Put whatever vegetable that you want to blanch into a basket and lower it into the boiling water. Then, put the lid on the pot.
- The water has to return to a rolling boil, and then you start the clock, counting down the recommended amount of minutes for whatever you’re blanching. It needs to stay on high heat the entire time.
- Watch the clock and when the timer dings, it’s time to remember the veggie out of the boiling water.
Steam Blanching
Steam blanching is the second method for blanching veggies. It’s different from submerging veggies in water. Instead, you allow the steam to do its work without ever putting the produce in the water.
Blanching with steam isn’t recommended for all vegetables, but it can be a good choice for many, including:
Steam blanching takes longer than water blanching. It’s typically 1.5 times longer than whatever the recommended water blanching time is.
Here are the simple steps to steam blanching.
- You’ll need to use a pot that has a tight lid and a basket to hold the food at least 3-inches above the bottom of the pot.
- Add an inch or two of water into the pot and bring it to a rolling boil.
- Put all of your vegetables in a basket in a single layer so that the steam reaches all parts of the veggie. Place the basket into the pot and cover the pot.
- Keep the heat on high and start your clock when you see steam coming out of the lid.
What About Microwave Blanching
You might find some websites that recommend you use the microwave to blanch instead of steam or water blanching.
However, is it even an effective or safe choice?
While microwave blanching is considered safe, it’s not effective and it doesn’t do anything to be helpful. The microwave doesn’t stop the enzymes, which can lead to the loss of flavors, texture, or color.
If you opt to use the microwave, you might end up with vegetables of lower quality, and you’ll need to work in much smaller batches. That increases the time you need to spend blanching your veggies.
Stick with the stovetop when blanching veggies.
Always Cool Down
Whether you use water or steam to blanch your foods, the next step is still the same – cooling down.
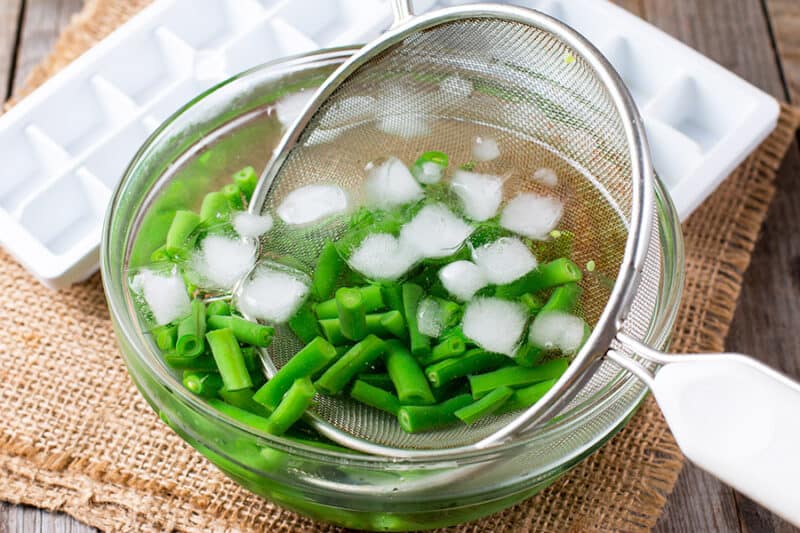
As soon as the timer is done, the vegetables need to be cooled down quickly to stop the cooking process. You need to remove the vegetables, typically basket and all, and stick it right into a large sink or pot full of cold water. The water needs to be below 60ºF.
You’ll need to change the water frequently or use ice water. Running cold water over the veggies is another option. Typically, the cooling process takes the same amount of time as the blanching.
Do You Have to Add Salt When Blanching?
You might be hesitant to add salt to your blanching water, but it needs to be salted. In fact, the water should be very salty.
Why?
There are a few reasons:
- Saltwater is denser than unsalted water which is why there is more buoyancy when you go to the beach. That means saltwater on the outside of your vegetable is denser than inside of the food. It helps stop nutrients from leaching out of the food.
- Salty water helps to keep your green veggies greener!
- Since the process is short, it doesn’t give the food time to absorb as much of the salt, so you need more salt to impart the flavor.
How to Blanch Tomatoes and Peaches
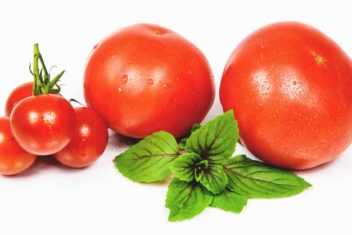
Two of the most common things to blanch are tomatoes and peaches. You’ll want to blanch them for the same reason – it makes their skins come off so much easier.
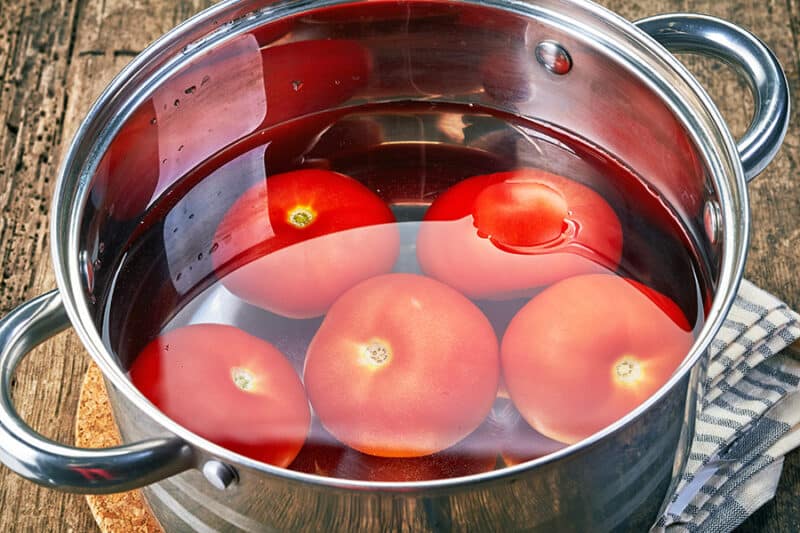
If you’re making a large batch of fresh tomato sauce or canning diced peaches, you don’t want to take forever peeling your produce. Blanching makes your life much easier.
Here’s what you need to do.
- Cut a shallow X into the bottom of each tomato or peach. You can do this with a sharp paring knife. Don’t cut too deeply; you just want to help the skin split during blanching, making it easy to sleep off.
- Immerse the tomatoes or peaches into the water, doing batches of 4-6 at a time.
- Keep the fruits in the boiling water for 30-60 seconds and use a slotted spoon to remove them from the water.
- Immediately emerge them into a bowl of ice water. Once cooled, remove from the ice bath and let sit on a paper towel to drain.
- Then, you can peel the tomatoes or peaches. Since you add the X at the bottom, it should peel away easily.
Recommended Blanching Times
You can take a look at the National Center for Home Food Preservation for a full chart of blanching times.
Here are some of the times for the most popular vegetables you might want to blanch.
| Vegetable | Blanching Time (in minutes) |
| Asparagus | 2-4 minutes |
| Green Beans | 3 Minutes |
| Broccoli | 3-5 Minutes |
| Brussel Spouts | 3-5 Minutes |
| Carrots | 5 Minutes |
| Cauliflower | 3 Minutes |
| Corn | 7-11 Minutes (for ears) 4 Minutes (whole kernel) |
| Mushrooms | 5 Minutes |
| Peas | 2 Minutes |
| Peppers | 3 Minutes |
| Potatoes | 3-5 Minutes |
| Summer Squash | 3 Minutes |
| Tomatoes | 1 Minute |
Give Blanching a Try!
Learning how to blanch fresh veggies is essential for all gardeners and home cooks. Blanching vegetables makes it easier to preserve your fresh produce so that you can freeze them at their prime without the loss of nutrients, flavor, color, or texture.
