If you’re aiming to preserve beans, you’re in luck. There are a number of different ways to do so, depending on whether you’re harvesting them green, or waiting until they mature.
Experiment with different flavors and techniques to see which you like best! You may discover that you adore pickled dilly beans more than expected, or that your grandmother’s maple baked bean recipe is the best canning option ever.
Let’s take a look at some of the best, easiest, and tastiest options out there.
Ways to Preserve Fresh Beans
Pole and bush beans create green or yellow pods that are absolutely delicious when picked early. These tender vegetables have a delightfully fresh flavor and can be used in everything from soups and stir-fries to baked casseroles. Since most people end up with bumper crops, it’s important to learn how to preserve them to use later.
1. Pickled Dilly Beans
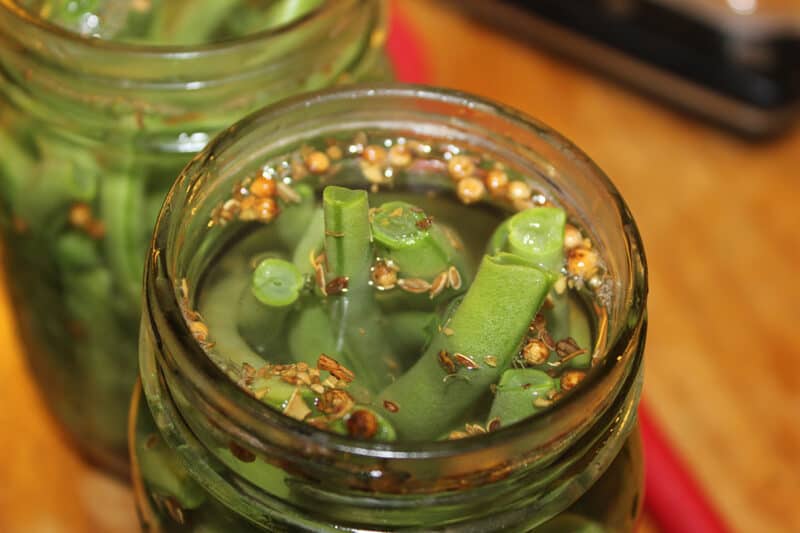
Have you made dill pickled cucumbers or beets before? Well, you can use that exact same technique to make dilly beans too! This works for either standard green haricots vert or yellow wax beans.
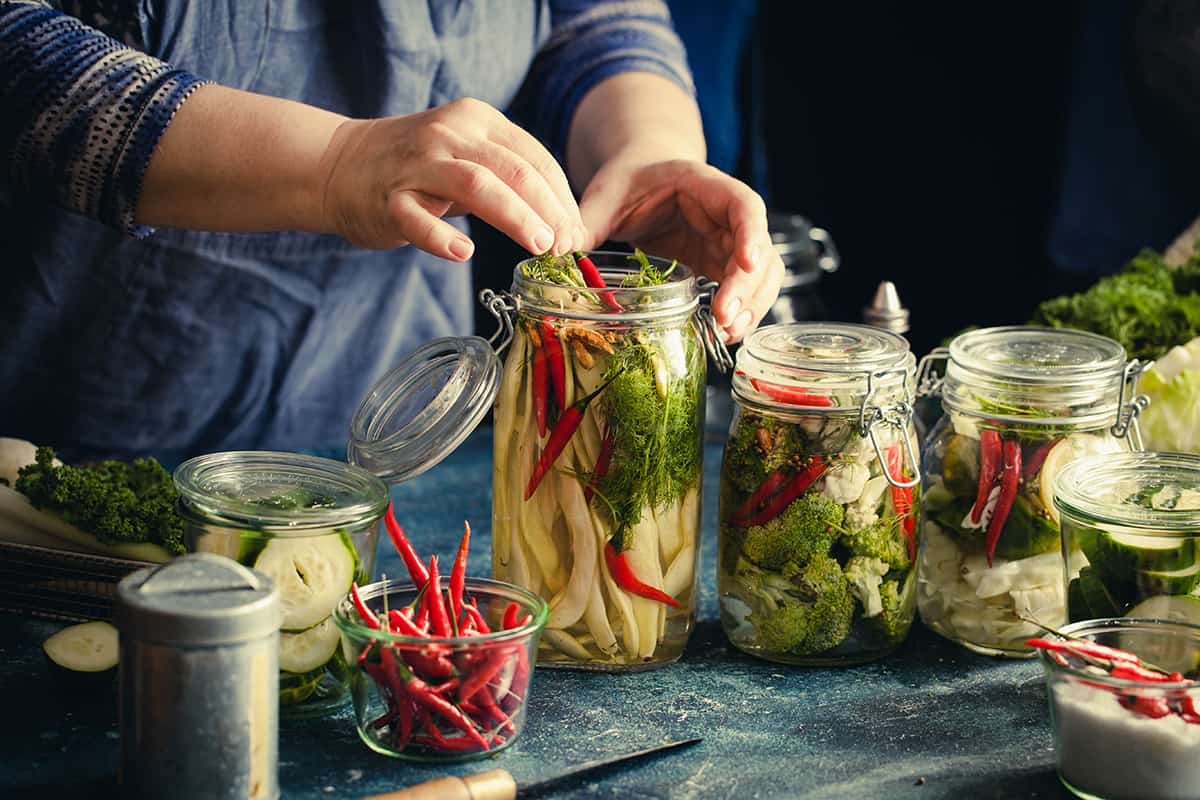
Just trim the tips and stack the long beans vertically in clean, pink-sized jars. Tuck in some garlic cloves, dill fronds and dill weed, a couple of peppercorns, and a pinch of mustard seeds. Then whip up a basic pickle brine and pour it into the jars, leaving 1/2 an inch headspace. Use a chopstick or other long tool to release any air bubbles. Then put on the two-part caps and process in a boiling water bath for about 15 minutes.
2. Lacto-Fermented
I haven’t tried this yet, but friends of mine who are fermentation fiends are all over this stuff. Apparently, you can lacto-ferment green beans into absolute deliciousness. They end up tasting like a greener version of sauerkraut if you just use salt, but you can spice them kimchi style with garlic, onion, and gochugaru chilies.
3. Canned
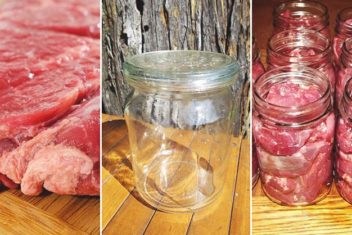
Since beans are low-acid, the only way you can preserve them safely this way is by pressure canning them. This increases the heat above what a boiling water bath can do, thus killing off any potential pathogens. Some people like to use the cold pack method for beans. This involves putting raw cut beans into clean jars, covering them with boiling water with 1″ of headspace, then processing in a pressure canner.
I prefer the hot pack method, in which you boil the fresh beans for 3–5 minutes and then pack them into the jars immediately. Add 1/2 tsp of salt per pint jar, or 1tsp if you’re making quarts if you want these beans to actually have some flavor. Leave 1″ headspace, put the two-part metal lids on, and place in your pressure canner.
Make sure they’re covered by 2-3″ of water, then fasten the pressure canner lid securely. Then process according to your pressure canner instructions for altitude. There are different instructions for weighted gauge and dial gauge, so refer to your instruction manual, and the Ball Blue canning book for guidance.
4. Dehydrated
Blanch your beans for 3-5 minutes, then pat them dry and freeze them on a cookie tray for about an hour. You might want to put down parchment paper so the beans don’t stick to the metal. Then spread out the frozen beans on dehydrator trays. Sprinkle with seasonings as desired.
Then process these at 140F for 10–12 hours, or until they’re crisp and brittle. Store in airtight jars until you feel snackish.
5. Frozen
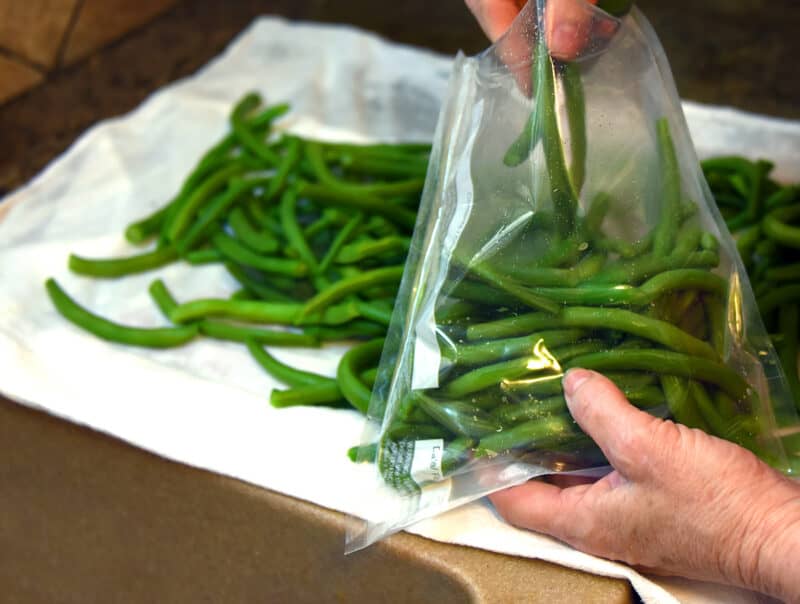
You need to blanch your fresh beans before freezing them or they’ll look horrible. The blanching process cooks the beans partially and preserves their color. If you freeze them without blanching, they turn an odd gray-brown color that’s decidedly unpalatable.
Blanch your beans by cutting them into 1/2″ pieces and boiling them for 3-4 minutes. Then plunge the lot into ice water to stop the cooking process. This will preserve their vibrant hues, and will also reduce cooking time when you defrost them to use.
Ways to Preserve Mature Beans
These are the beans that have matured in their pods. Some people use them fresh, but most prefer to let them dry completely to store and use later.
6. Hang to Dry
While some people allow their beans to dry on the vine, I like to string mine up. These long strings of mature bean pods can be hung from rafters until you’re ready to use them. Alternatively, you can also pop the fully dried beans out of the shells and store them for later use.
7. Vacuum-Sealed
One of the best ways to store the aforementioned dried beans is vacuum-sealing them. You can buy a vacuum sealer at just about any hardware or housewares store, or just order one online. Then, you’ll need to ensure that these beans are completely dry before you seal them. Otherwise, you’re providing them with a perfect environment to grow moldy.
You can put your dry beans in a dehydrator on the lowest setting for an hour or two just to make sure they don’t have any unwanted moisture sticking around. Then vacuum seal them and store them in a cool, dry place for up to a year.
8. Baked and Canned

You can make baked beans according to your favorite recipe, and then pressure can them in pint jars. This is actually a great way to preserve this gorgeous bounty. Even if you bake your beans in tomato sauce, the resulting food won’t be acidic enough to just go through water canning. You’ll need to refer to your guides for information on how to pressure-can this food safely.
The last thing you need is to get botulism from the side dish accompanying your bacon and eggs.
9. Soup
Just about everyone has a favorite bean soup recipe. For some, it’s ham or escarole and white cannellini beans. Others might prefer minestrone, or black bean and corn chowder. Whichever you prefer, feel free to whip up a big batch of it. Then pour that into quart-sized jars and process in a pressure canner, following instructions for your location and elevation.
You’ll be able to crack open one of these jars on a chilly February evening and revel in the glory of summertime flavors.
