The first year I grew a large vegetable garden, I spent most of my summer days hauling in laundry baskets full of cucumbers. It was thousands of pounds of food that only amounted to only a few hundred calories because those things are like 90% water!
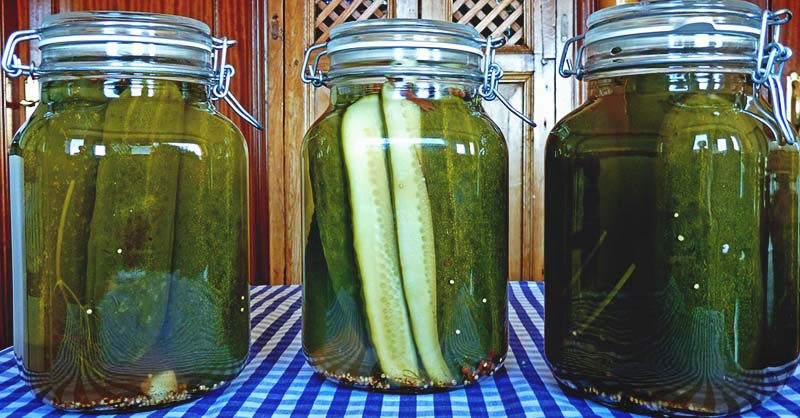
I also spent countless hours making fermented pickles from those cucumbers because I couldn’t stand to waste them after going to all that trouble to grow them. Sadly, even now, five years later, there are still some jars of those pickles piled up in our storage areas.
Someday I’ll get around to throwing them out. But truth be told, I spent so much time on cucumbers that first year, I still feel like I am catching up!
An Easier Way to Fermented Pickles
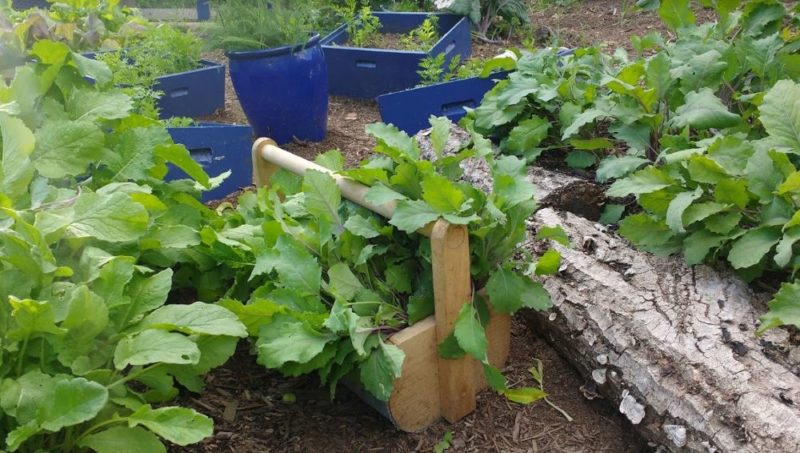
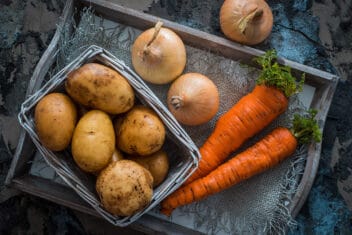
After that experience, I completely changed my gardening style. I started growing lots of staple crops. Things like potatoes, winter squash, sweet potatoes, and other root vegetables have lots of calories and don’t require lots of extra processing, such as canning or freezing, to store for months.
I also grew a large portion of my garden in the potager style. That way I harvest what I need when I need it. That’s a whole lot easier than trying to make my root cellar look like a commercial grocery store.
These changes mean I don’t have six cucumber plants in the garden at any given time. Instead, I plant one cucumber vine in early May and another in early July. Those two plants pretty much keep me in pickling cucumbers for the entire summer.
With only one plant going at a time, I only get to pick about 5-15 pickling cucumbers a day. Luckily, that happens to be exactly how many you need to make the easiest fermented pickles ever!
The Easiest Fermented Pickles Ever
If you are going to go to the trouble of canning vinegar pickles, you’ll need large quantities of cucumbers at once. Between boiling up your vinegar, packing your jars, loading up your water bath canner and getting that beast to boil, it’s too much work to do in small batches.
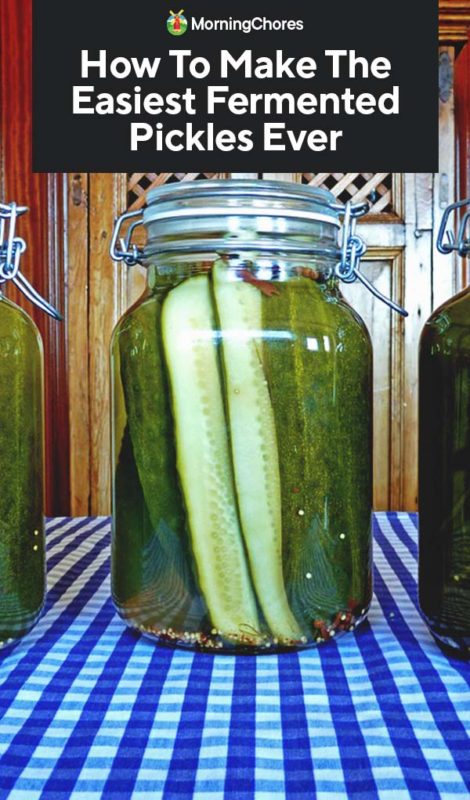
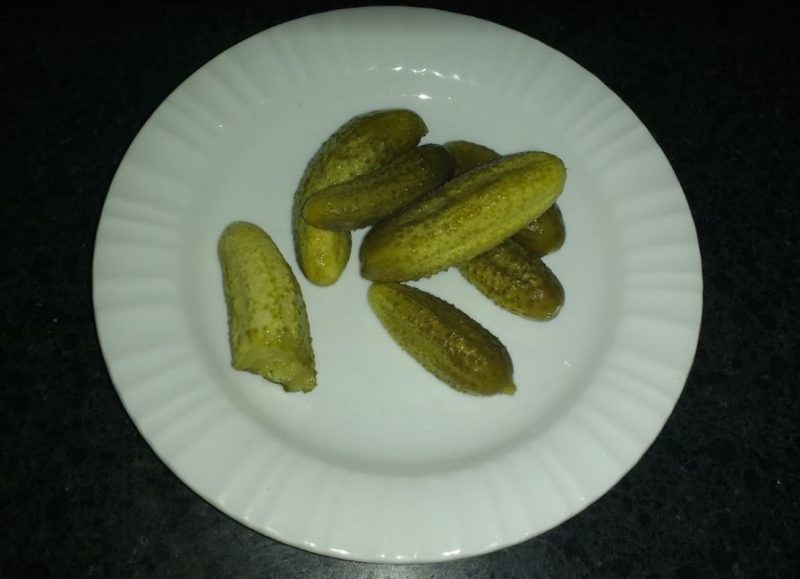
With fermented pickles though, all you have to do is harvest your pickles, wash them, and drop them in a saltwater solution, and cover them for a few days. After that, nature does its thing and voila; your pickles are ready to eat.
You can certainly make it more complicated if you want to. For example, you might want to add some spices like dill, garlic, coriander, pepper, or fennel to enhance the flavor of your pickles.
You may also want to throw in grape leaves to keep your pickles crisp longer. But, honestly, making fermented pickles is much easier than making your morning coffee or tea, and you do that with no difficulty each day.
So are you ready to make some? Awesome! Let’s get to it!
Step 1: Salt and Season
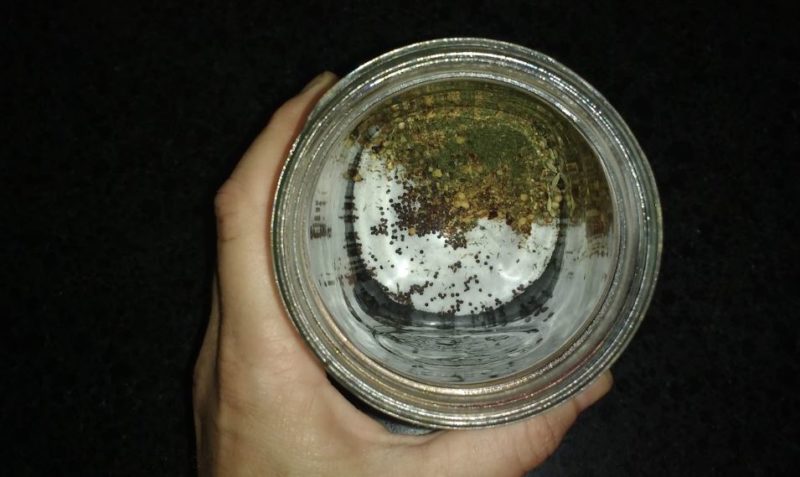
Put two tablespoons of salt in a quart mason jar. If you want to season your pickles, now’s the time.
I like to put ½ teaspoon coriander, one teaspoon chopped dill or fennel leaves, and a peeled clove of garlic in mine. Sometimes I add some pepper flakes or black pepper too.
Feel free to throw in a washed grape or oak leaf (something high in tannins) to help keep the pickles crispy.
Step 2: Add Water and Mix
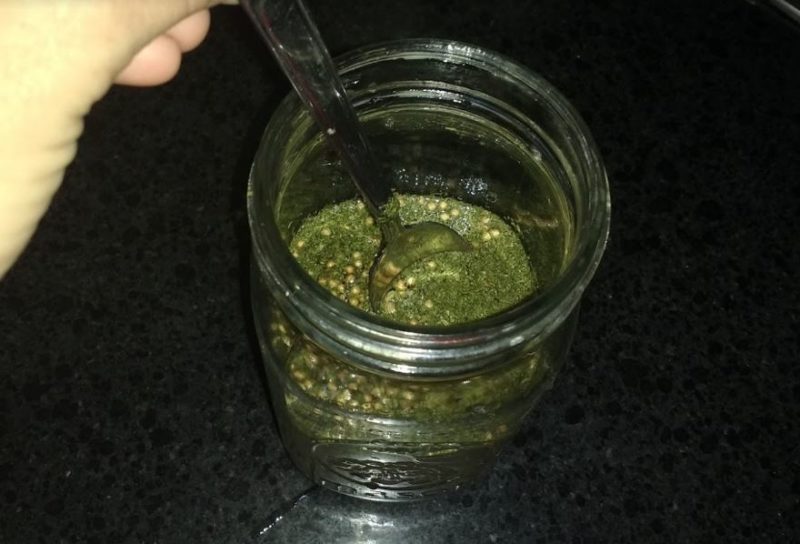
Fill the jar up about 1/3rd with warm water. You can throw a lid on your jar and shake it up. Or you can use a spoon. It’s your choice. Just try to get the salt to dissolve in the warm water.
Step 3: Add Cucumbers
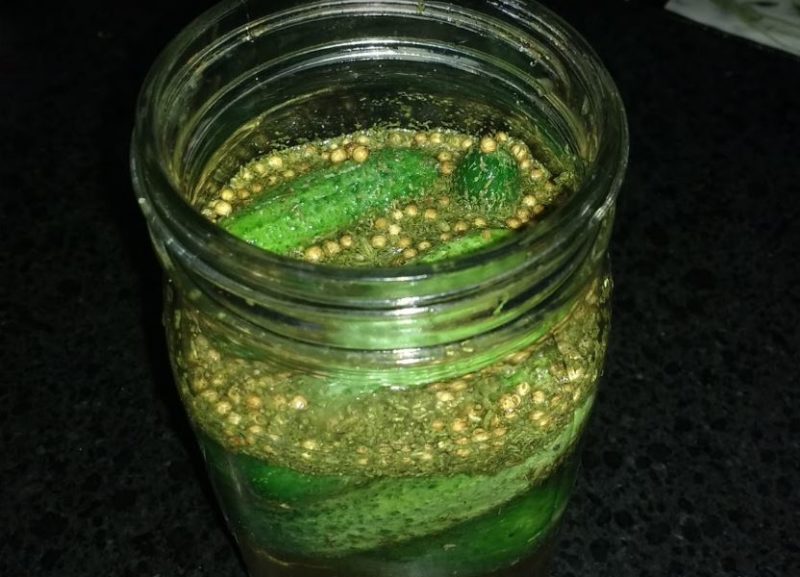
Now, you can harvest some right-sized cucumbers from your vine. I like mine about the size of my thumb. But I’ll use them a bit bigger and smaller too.
Give your harvest a good rinse and put those cukes in the jar. Push them down with your spoon until they are submerged under the water and spices.
If you don’t have enough cucumbers to fill the jar, that’s fine. You can harvest and add a few more tomorrow too.
Just keep adding until your jar is crammed full with pickles-in-process and the water is up to the collar of the jar.
If you need a bit more water to cover the pickles, add some. You don’t want to end up in the position of having water overflow the jar because you’ll lose some of that salt solution. Then, you could have trouble with fermentation if you don’t add back more salt to replace what’s lost.
Step 4: Ferment
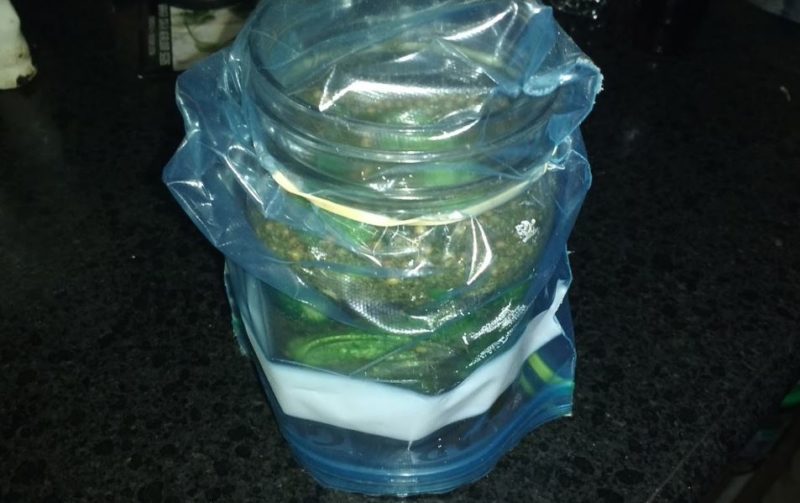
You can buy weights and airlocks that fit mason jars if you want to be a fancy fermenter. Personally, I can’t afford those tools given that I usually have 20-30 different ferments going on at any given time.
So, I make sure the liquid in my jar reaches the collar. Then, I push the pickles below the sloped shoulders of the jar so they stay submerged in the water.
After that, I cover the jar with a plastic baggie and make it airtight by wrapping the collar with a rubber band. Now, store the jar in a warm location out of direct light.
In about 24 hours, the salt solution will look a bit foamy up top. That’s good! If the bag starts to look a little like a balloon, take it off for a minute, then put it back on. That releases the trapped gasses just like an airlock would.
In general, thumb-sized pickles take about 3-4 days to ferment. Sliced pickles go a bit faster. Large pickles can take about ten days.
Just give them a taste and eat them when you think they are ready!
Beyond Cucumbers
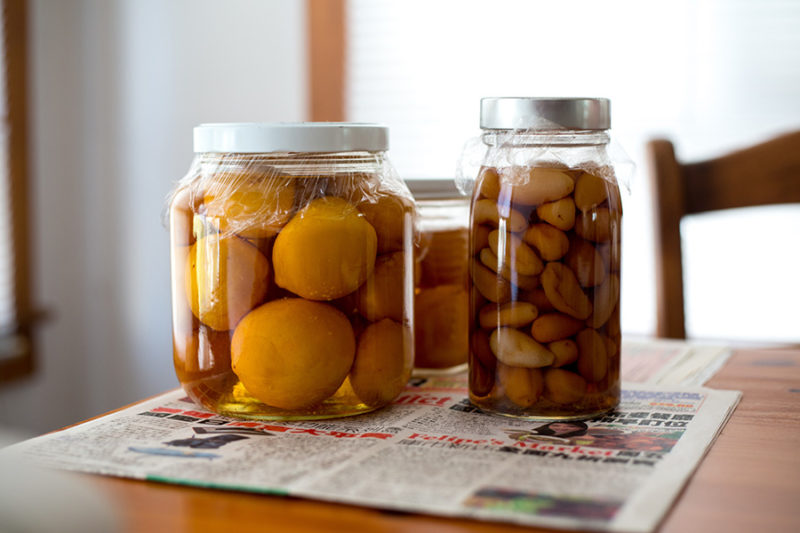
In the US, we tend to think of pickles as only being made with cucumbers. However, you can ferment just about any firm, non-leafy vegetable you can fit in the jar using this method.
I also make fermented carrots, cauliflower, broccoli, kohlrabi, green beans, turnips, beets, and more. Sometimes for these, instead of dill, I add in fresh oregano or basil for a flavor twist.
Conclusion
Fermentation is easy. Start with this basic recipe to build confidence. Then you can branch out and try all sorts of different ferments.
As long as you start with fresh, clean vegetables and enough salt for good fermentation, this is a great way to preserve food for days to weeks or longer in cold storage.
As a bonus, that salt and seasoning brine your pickles are in can also help you stay hydrated on hot days. Add a tablespoon or two of the brine to a glass of cool water for a refreshing, electrolyte-loaded beverage.

