Garlic and onions are the basis of many dishes, like stews, soups, sauces, roasts, and salsa, so it’s no wonder they’re a staple in many gardens. If you’ve tried your hand at growing them, at some point you’re going to have to learn how to cure garlic and onions.
The two plants have a similar shape, use, and growing habits. Unsurprisingly, you can cure them in a similar way.
While it isn’t too difficult to complete the process, it’s essential to get it right or you can ruin a harvest.
What is Curing
Curing is allowing a plant to dry out so that it will store better. If a plant has too much moisture they can rot during the winter months. Curing does not remove all the moisture but it lowers the amount to a level that lends itself better to storage.
We cure garlic and onions to prepare them to be stored in a root cellar, basement or other cool dark location during the winter.
Harvesting and Curing Garlic
Curing garlic and onions starts with harvesting them the right way.
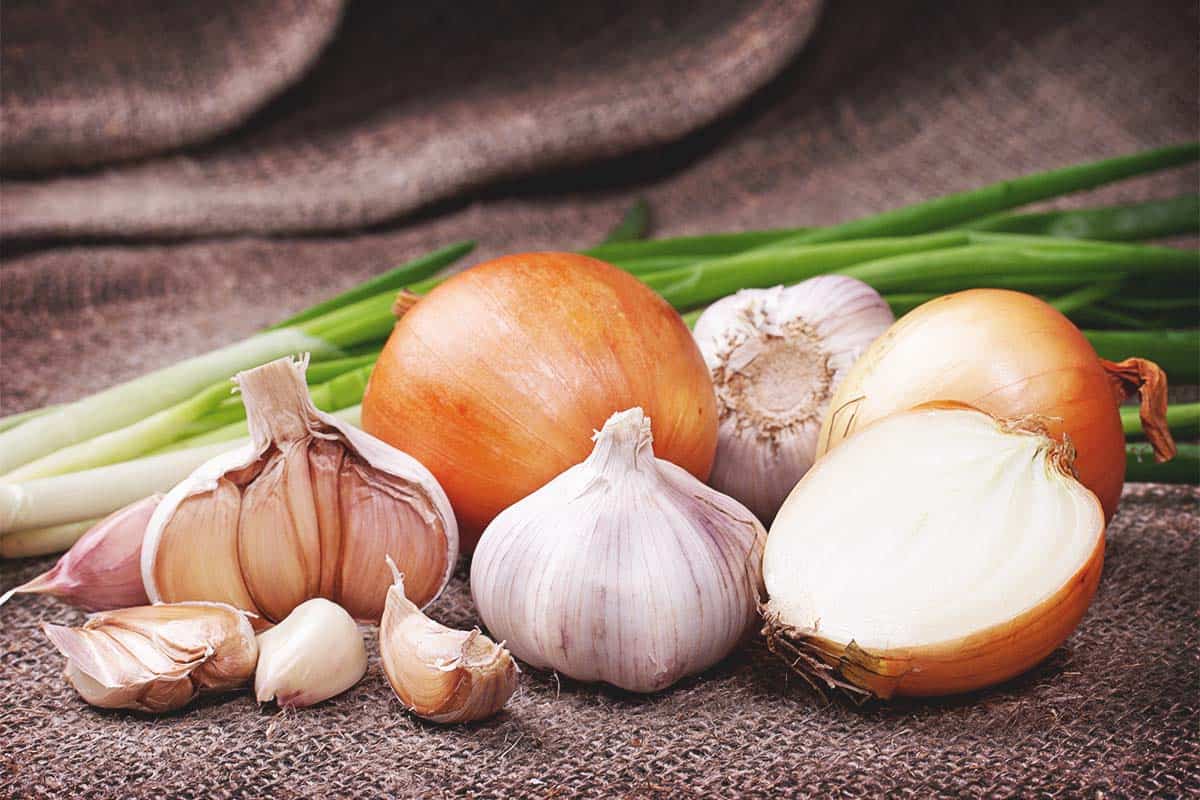
Garlic grows from bulbs. The garlic bulb is made up of individual cloves. These cloves come together to form the bulb but can be pulled apart.
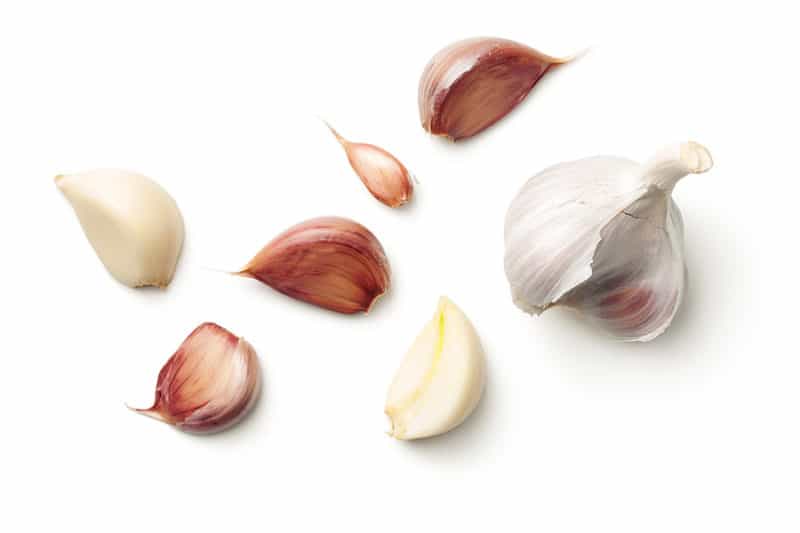
Garlic is ready for harvesting when the lower leaves start to brown. At that time it’s best to do a small test sample. Dig up one garlic bulb and look at the cloves. Remove one clove and cut it in half.
Does the clove fill out the bulb and its skin? If yes, then they’re ready. If the clove is loose in its skin, then give the other bulbs some more time to grow.
Keep in mind that different varieties will mature at different times. So you need to test each separate variety before harvesting.
Timing is important when harvesting garlic. Harvesting too soon will result in small cloves that don’t store well. If they’re left in the soil too long they may split and bacteria may enter, which can cause rotting while they are in storage.
Stop Watering
When the leaves start to die back and it’s close to harvest time, you can stop watering. This will start the curing process in the ground.
Pick a day when the soil is dry to harvest. The harvest will do better without excess moisture.
Harvest
When the timing is right to harvest the bulbs, use a garden fork or trowel to carefully lift them from the ground. Don’t pull! You may cause the stem to separate from the bulb.
Dig carefully. If you accidentally cut a bulb, put that one aside and use it in the near future. Bulbs with cuts or exposed flesh will rot in storage.
Prepare for Curing
After you dig up the bulbs, shake and brush off the dirt. Don’t wash them or use any water. Be sure to keep the skin intact.
Leave the stalks and roots on the plant. They are still providing the plant with energy and allow it to respirate and expel the water.
Store the Garlic
Store them in a cool dry place such as a garage or shed. They need to be out of the sunlight, as light causes them to dry too quickly. It also imparts a bitter flavor.
The bulbs also need good air circulation. You can use a fan on low to gently move air around the room if you don’t have natural movement.
I cure my garlic in a three-sided shed. I lay the bulbs on an old screen door that rests on sawhorses. That way they get air low from all sides.
Then, I cover the bulbs with a piece of garden netting. Since the shed is open, I want to make sure flies or birds don’t land on my garlic.
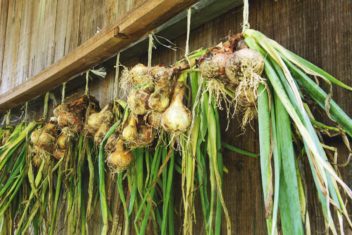
Some people tie their garlic together and hang for curing. This may work if you live in a dry climate. If you live in an area with high humidity, it’s best to give them more space so the air can circulate.
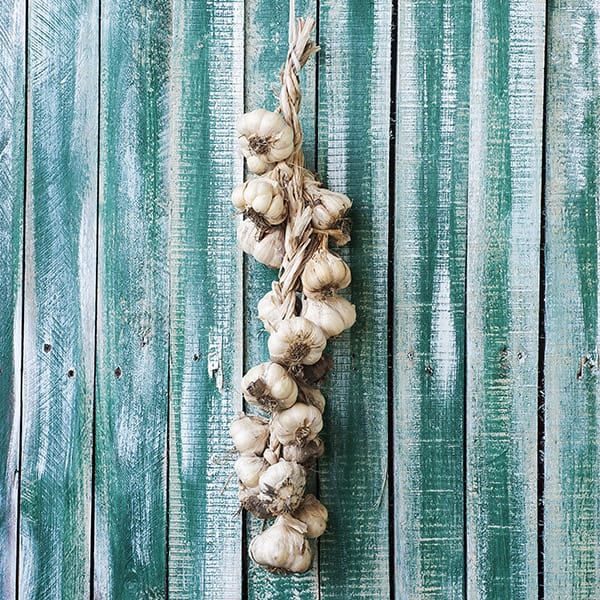
You may want to cure them by braiding them together. Take four to six plants and braid the leaves. This works especially well with Softneck garlic. Afterward, you can hang the braids.
Let the bulbs dry for three to four weeks. After the tops and roots dry and become brown you can cut them off.
You can also put the bulbs in a mesh bag and hang it from the ceiling. Other open containers such as plastic dairy containers, cardboard produce boxes with holes or bushel baskets also work well, so long as the air can circulate around the bulbs.
In my grandmother’s day, they would store garlic and onions in old pantyhose and hang them from the ceiling. Since I have no use for pantyhose I’ve never done that, but let us know if you have and how it worked.
Storing Your Garlic
After it has cured, store garlic in a cold dark location such as a root cellar, basement or unheated pantry. The ideal temperature is around 40°F.
Don’t store garlic in the kitchen as it will not keep long. The warmth of the kitchen causes it to go bad. You can bring up a bulb at a time to use while cooking, but keep the bulk in a cold dark space.
Don’t store garlic in the refrigerator. The cold moist air will cause it to sprout.
If you have any bulbs that are getting soft or sprouting use them immediately.
Softnecks keep in storage for six to eight months. Hardnecks typically last four to six months. Some varieties do better than others.
Silverskin and Creole varieties the store the best and may actually keep for a full year under ideal conditions. Porcelains, artichoke garlic, purple stripes, and rocamboles store well for four to six months. Asiatics and turbans don’t store as long and average three to four months.
Save Some for Next Year
If you are a seed saver then garlic is a great plant to save for next year’s harvest. Put aside the highest quality bulbs for planting next fall.
Harvesting and Curing Onions
Onions differ from garlic in that the onion forms rings around a core. Most people just chop or slice the onion for serving but you can also pull it apart.
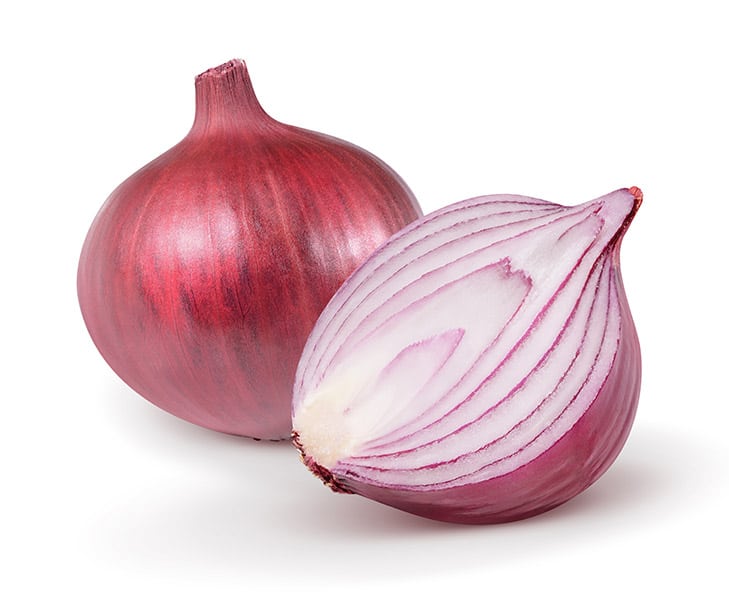
Onions can be divided into three categories: long day, short day and intermediate, which corresponds to which geographic area they grow best. Keep in mind that you can grow onions outside their ideal location if you plant “off-season”.
Long day onions are typically considered the best storage keepers.
Onions are similar to garlic but there are several key differences that you need to be aware of.
Globe onions are the ones we are most familiar with. They’re the round, baseball-sized onions that come in yellow, red and white. Some are better for storing and some better for eating fresh
Harvesting Globe Onions
Globe onions start to swell and get bigger around mid-summer. You can harvest them as needed to add to the stew or slice up on a grilled hamburger.
Onion plants are ready to harvest when the tops turn brown and die down. Once the top flops over at the neck the onions are done growing and should be dug up right away.
Gently pull the onions from the soil. Like garlic, you don’t want to clean them with water or cut off the tops.
Curing Onions
I cure my onions in the same spot I cure the garlic – on that good old screen door. Onions need a shady cool spot out of direct sunlight. They also need good air circulation.
Spread them in a single layer so that they are not touching each other. The stems will continue to dry out and the neck will shrink. The paper skins get tighter during curing.
If you don’t have a screen and are drying on a solid surface, be sure to turn them every few days so they dry evenly. You might want to cover them with netting to keep bugs from landing on them.
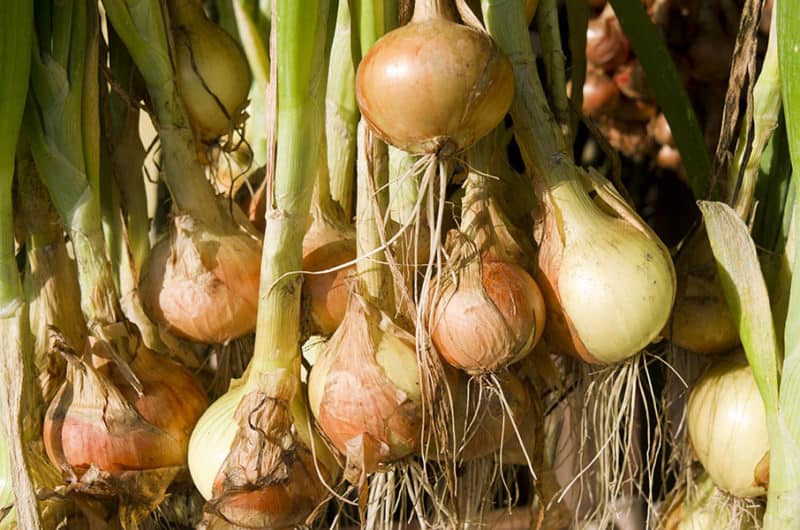
You can also cure onions by hanging them in bunches, but again, if you live somewhere with high humidity it might not be the best method.
Onions cure a bit quicker than garlic and should be done in about two to four weeks.
Once the stems are completely dried out you can trim them to one inch from the bulb and also remove the roots.
How Long Do Onions Keep In Storage?
Onions vary in storage according to variety.
Mild onions are often best eaten fresh and the seed catalogs will often call them slicers for sandwiches. They are large and juicy with thin paper skin layers. They will keep for four to six weeks in storage.
Mild onions include popular Bermuda, Spanish, Vidalia, and Walla Walla varieties.
Pungent onions are those we think of for cooking. They contain higher layers of sulfurous compounds which not only make us cry when we cut them but make them better keepers. They have tight skins and are less juicy.
Popular varieties include candy, copra, Ebenezer, and red Weathersfield.
Keep in mind that if you’re in the deep south, you’re most likely growing short-day onions. These types do not need to cure as long. Let them dry out for a week and then move them to the fridge or a cool pantry.
Short day onions are not good in storage, so plan to use them first or store them by dehydrating. Popular short-day onions are Italian red torpedo, red Creole, Texas grano, and white Bermuda.
It’s Time to Get Curing
If you’re going to go to all the trouble of planting and caring for your garlic and onions, you don’t want it to all go to waste. Knowing the right way to cure them will ensure that you have good eating for a long time to come.
Share your suggestions for using up all those tasty veggies with us in the comments below.
