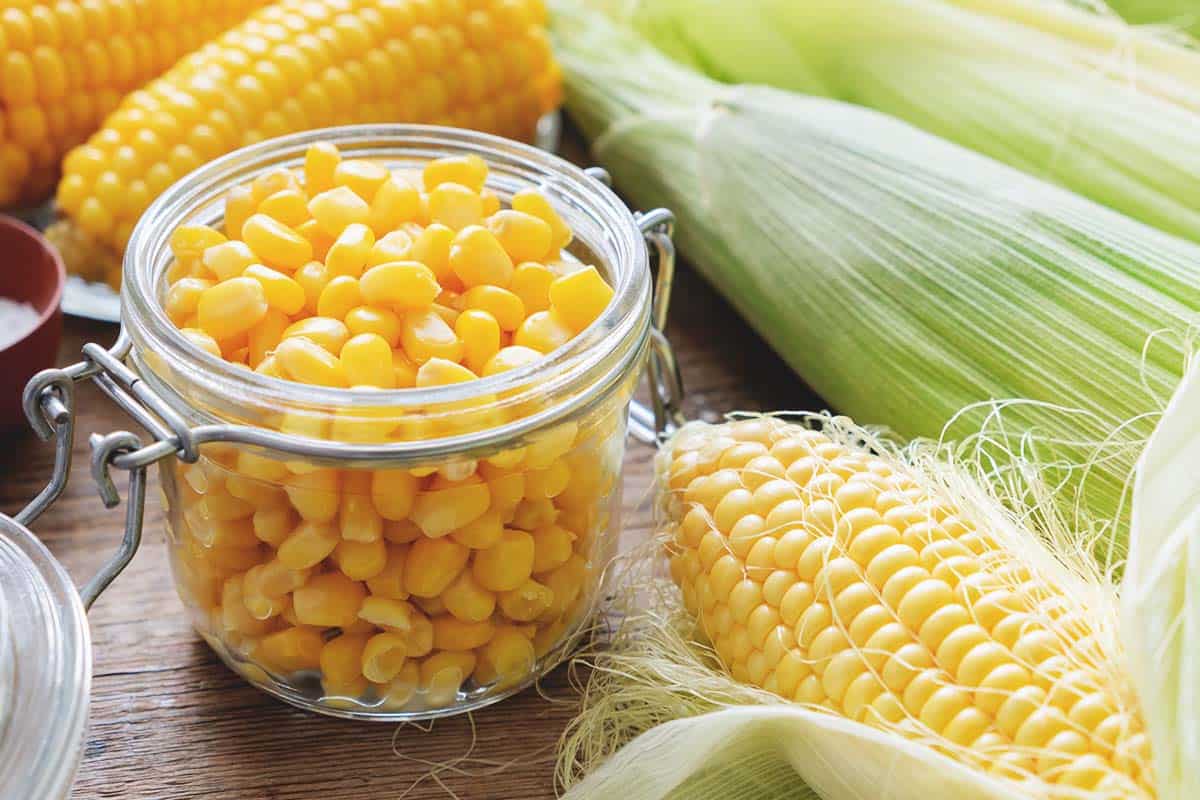
Fresh corn in the dead of winter is a refreshing treat.
There is no comparison when putting it up against store bought. The best way to store your summer corn is by canning it. The fresh taste and the many uses for its byproducts outweigh the work of putting it up.
If you can corn, it is not only easier on your taste buds but your wallet too!
1. Shuck the Fresh Picked Corn
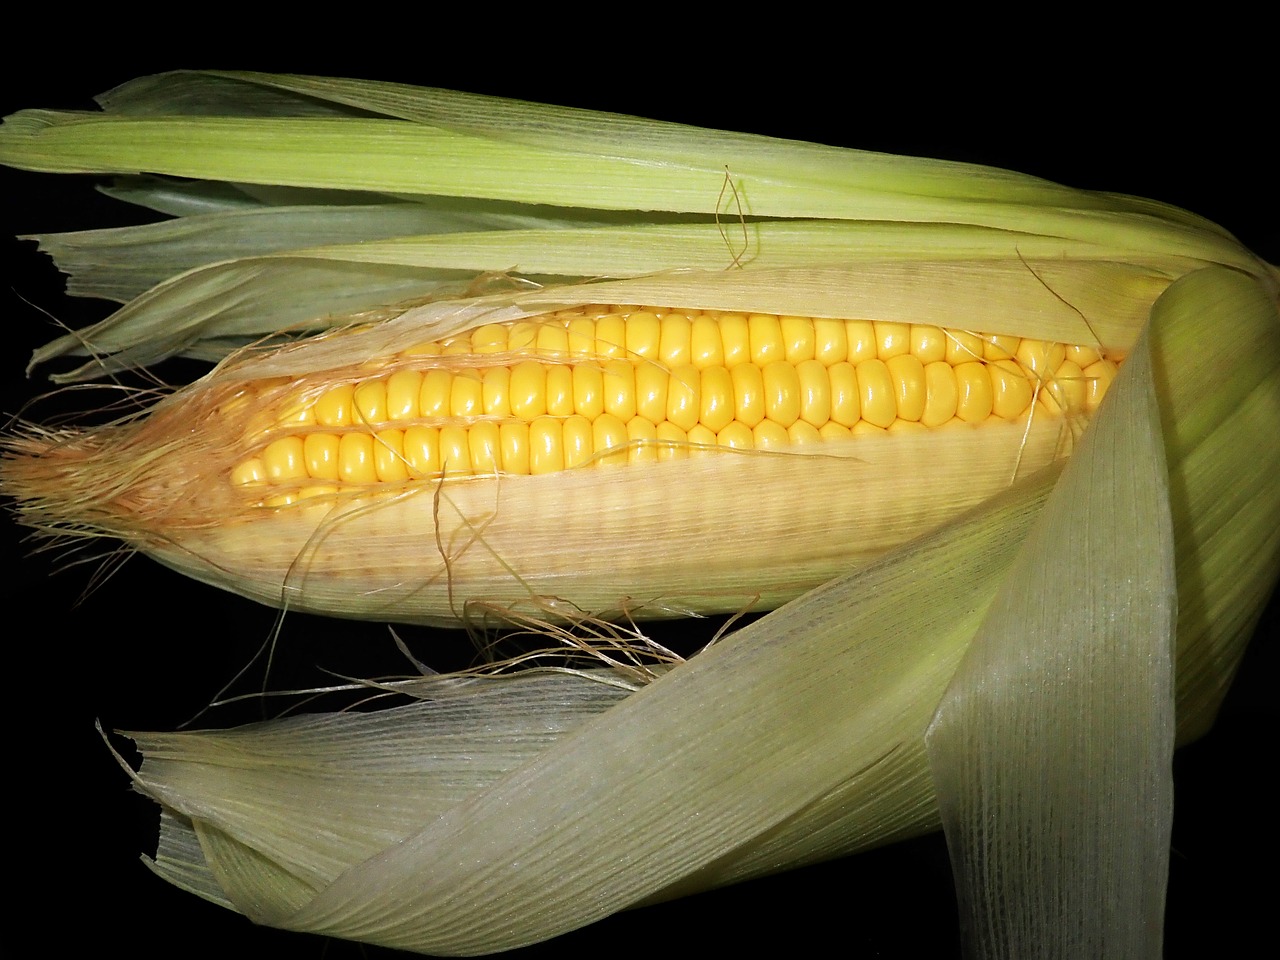
Your corn is ready for picking once the ears are fully formed on the plant. You gather them in a big basket or tub and gather around on the back porch.
Shucking corn is a messy process so it is recommended to do it outside.
You will grab the top of the corn husk and pull downward to remove the green outer layer of the corn. Once all of the husk has been removed, place your clean ears of corn in a clean pot or other large container.
Be sure to save the husks as chicken feed. They love them and it is one more way to have no waste when you can corn.
2. Silk the Corn
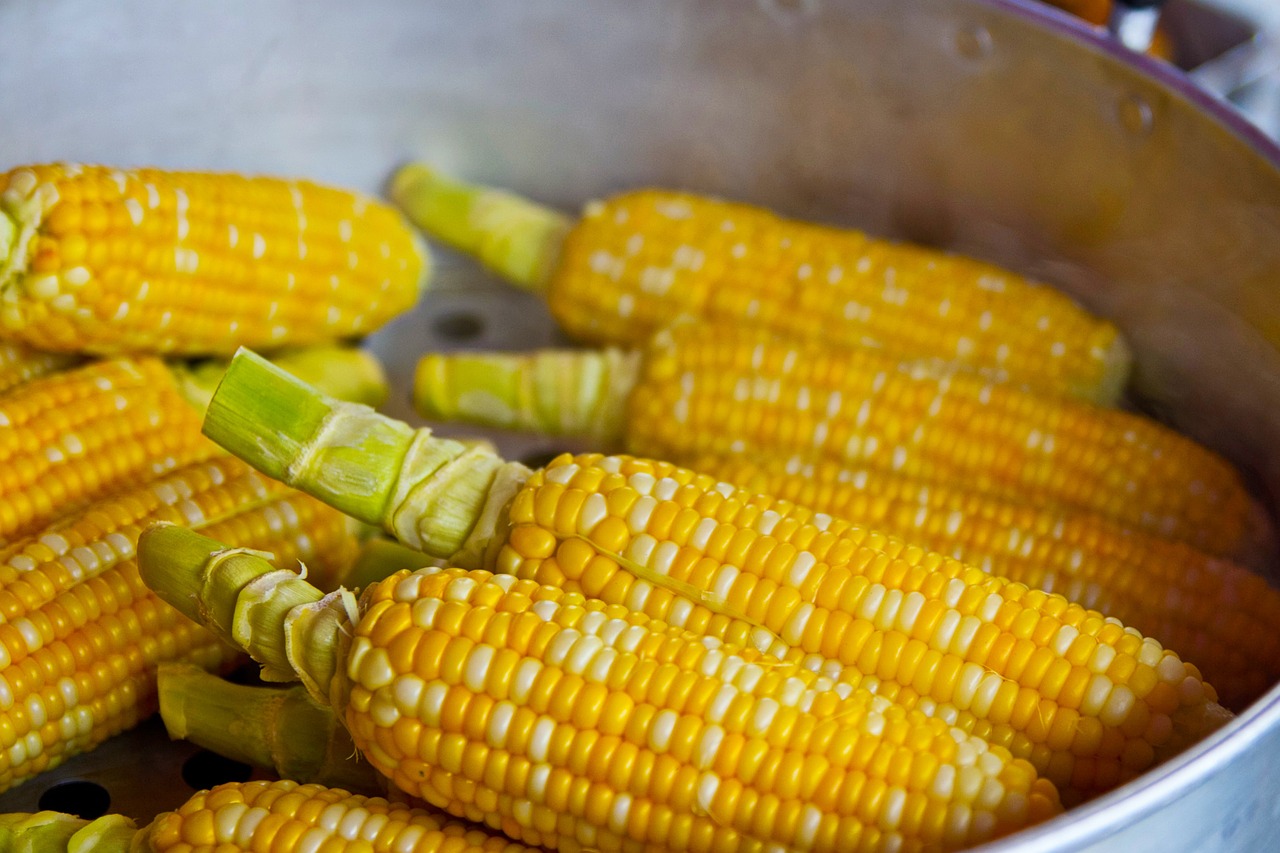
After the corn has been husked, grab an old toothbrush.
You will use the toothbrush to remove the fine hairs off of the corn. Gently rub the toothbrush up and down the ear of corn until you get as many (if not all) of the silks off of the corn as you possibly can.
After this step, you are ready to move inside to the kitchen table.
3. Cut the Corn off of the Cob
The easiest way to cut corn off of the cob is to use a Bundt cake pan. You will place the pointed end of the corn cob in the center hole of the cake pan.
Hold the corn cob with one hand at the top and use a sharp knife to cut the corn off of the cob with the other hand.
You will gently slice through the corn so you are cutting it clean off of the cob. If you start getting the “milk” out of the corn then you will need to sharpen your knife again. The “milk” is what gives you cream corn versus whole kernel canned corn.
It happens when the kernels are being ripped off of the cob rather than being cut clean.
Do not throw your cobs away.
They can be dried out in the sun during the summer on the porch, tin roof, or just placed in the backyard. When winter arrives, soak the corn cobs in kerosene and they make great fire starters for the woodstove or fireplace.
4. Place the Corn in Jars
When canning it is important to use the proper equipment. You can use Mason jars or old mayonnaise jars to store the food in either pint or quart sizes.
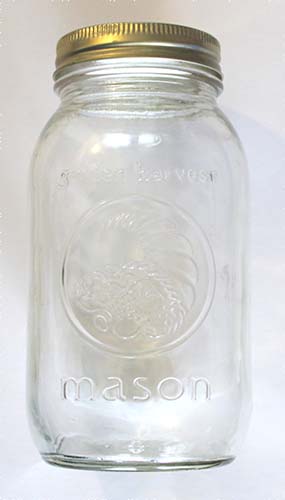
Be sure to wash and sanitize these jars before you can corn.
You can achieve proper washing and sanitizing by either placing the jars in the dishwasher on the sanitizing option or washing them by hand and then placing the jars in boiling water.
It is important to boil your lids and rings for two minutes even if you use the sanitizing option of your dishwasher.
Once the jars are clean place one teaspoon of canning salt per quart in the bottom of the jar.
Then you will start packing the jars as tightly as possible with the corn. There is no way around making a mess when packing corn into canning jars. After you pack the jars up to the neck, fill them with boiling water up to the neck as well.
Be sure to use a ladle and a funnel when pouring the water into the jars.
After the jars are filled, place a clean lid into a clean ring and place them on the jars. Close them tightly.
5. Pressure Can the Jars
Once the jars have been filled and sealed tightly, place them into the pressure canner.
Place three quarts of water into the canner before sealing the lid to the canner. Be sure to follow the instructions for your particular canner when pressure canning. They can be dangerous if not operated correctly.
You will pressure can pints for 55 minutes and quart jars for 85 minutes under 10 pounds of pressure.
Once the jars have finished canning, wait until the pressure drops completely on the canner before removing the lid.
Using a jar grabber, remove each individual jar from the canner. Using a towel, make sure all of the lids are tight fitting on the jars. Be sure to sit the jars on towels to protect your surface from the heat. Let the jars sit for 24 hours.
You will know the jars have sealed if the button top on the lid has been pushed down. You will actually hear the jars “ping” as they seal.
If you have jars that did not seal, remove the lid and ring from the jar. Place a new lid in the ring and reprocess in the pressure canner. After the jars have set for 24 hours and are sealed they are safe to be stored.
Tip: How to Utilize All Parts of The Corn
The corn husks were saved to feed to the chickens. The cobs were saved to be used as fire starters. Before shipping the corn cobs outside to dry be sure to boil them first.
Allow the cobs to boil in a big soup pot full of water for around two hours.
When the stock begins to turn yellow you will know it is done.
After it is finished boiling, remove the cobs so they dry out and be used for fire starters. Ladle the stock into clean and sanitized canning jars.
Then follow the steps for processing stock in a pressure canner. This is just one more way to utilize every part of the corn when you can corn for the winter.
Fresh canned corn is the best in winter soups. When you can corn, it also allows you to save money during winter months, utilize your entire harvest so nothing wastes, and you are also aware of what healthy, chemical-free food you are eating.
