There are many reasons to can your food.
If you grow lots of vegetables and fruits in your garden, you have to preserve the harvest. If you want to save money, canning food is a great way to avoid food waste.
Or, you can also do it just for fun (it is fun).
Well, today you are going to get a crash course in canning.
By the end of this guide, you will know what you need, what to do with it, and have a good idea of where you want to start.
Alright, enough with the small talk. Let’s get started.
Canning Tools and Supplies You’ll Need

Water Bath Canner
The canner you’ll need for water bath canning method.
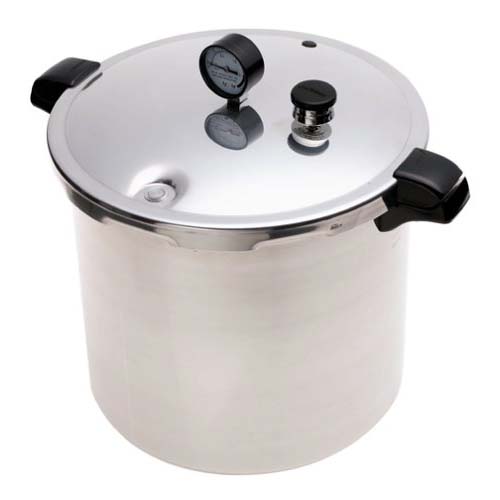
Pressure Canner
The canner you’ll need for pressure canning method.
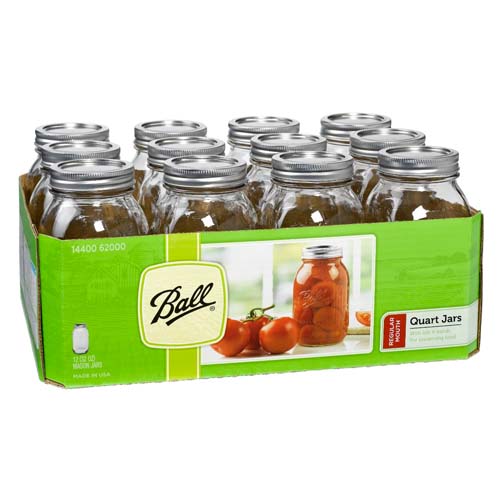
Mason Jar
The absolute must-have item to can your food.

Lids and Rings
You can use a mason jar more than once but not the lid.

Jar Grabber
Use this to grab your hot jar out of the canner.
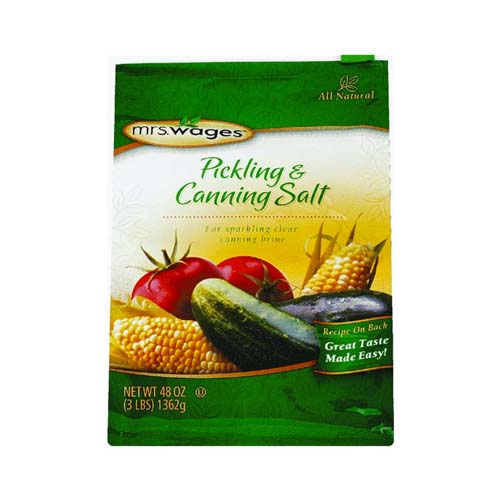
Canning Salt
The preservative you’ll be using.
Canning Methods
1. Water Bath Canning
Water bath canning is the method to can high acid foods.
This includes foods such as fruits, tomatoes, pickles, jams and jellies, and fruit juices just to name a few.
When water canning, take your prepared jars and place them in the canner. You will need to fill the canner with water so that the jars are completely covered.
After doing this, you’ll need to bring the water to a boil and begin timing the jars after the boiling process has begun.
It depends on the recipe as to how long you actually process the jars.
2. Pressure Canning
The pressure canning method is used for low-acid foods and meat. It is important that you select the proper canning method, so your food is preserved properly.
When pressure canning, take your prepared jars and place them in the canner. The owner’s manual should tell you how far to fill the pressure canner.
(It is usually with around 3-quarts of water.)
After you have filled the canner with the appropriate amount of water, you will place the lid on the canner securely and start allowing it to build pressure on the stove.
Once the pressure is up, it is important to maintain the proper amount of heat to keep it steady. You don’t want the pressure to get too high or drop too low.
Since the pressure is up and being maintained at this point, you’ll need to start timing the jars. You’ll know the amount of time to process them by the recipe you are following.
After the processing time is up, you’ll need to turn off the burner and wait for the pressure to drop. Do not open the canner lid for any reason until the pressure is completely dropped.
You will have a minor explosion, to say the least. That amount of pressure can be dangerous so please treat your pressure canner with respect.
After the pressure has dropped, you can use your handy jar grabber and remove the jars from the canner.
How to Prepare the Jars
You need to be sure your jars are completely sanitized before trying to store food in them. This helps to ensure that your food will not spoil, and no foodborne illness develops. So don’t skip this step, sanitize the heck out those jars!
You will learn how to do this with and without a dishwasher. That way, whatever your situation is you’ll know how clean your jar.

Dishwasher:
- Load the jars into the dishwasher. Wash them on as hot a setting as you can. If your dishwasher has a sanitize option, you’ll need to use it.
- Choose the dry setting as well. Any bit of heat and steam will help ensure their cleanliness.
- Pull the lids and rings out of the packaging and place them in a pan of simmering water. Allow them to sit for a few minutes.
By Hand:
- Wash your jars in warm, soapy water.
- Place them in a large pot of boiling water and allow them to boil for 10 minutes.
- Pull the lids and rings out of the packaging and place them in a pan of simmering water. Allow them to sit for a few minutes.
Note: There has been an adjustment made that has recently made headlines about not needing to sterilize jars or lids. They claim that anything boiled or pressure canned for 10 minutes or greater is going to be sterile. For the same reason, they also claim that you don’t need to boil your lids.
That said, use your judgment. I still sterilize mine because I’m a ‘better to be safe than sorry’ type of girl. However, it is totally up to you, and your comfort level.
How to Know Your Jars Have Sealed
Once you’ve prepared your jars, and you have processed them using the proper canning method according to the recipe, you’ll need to use your jar grabber to pull them from the canner.
The jars will be very hot so be sure to use a jar grabber. Then what?
Now, you wait. You need to let your jars sit for 24 hours.
However, how will you know they sealed? Simple.
After pulling the jars from the canner, you’ll need to place them on a flat surface. Then you’ll hear “ping, ping, ping.” That is the sound of the little round button in the center of the lid sealing.
After the 24 hours is up, run your finger over the center part of each lid.
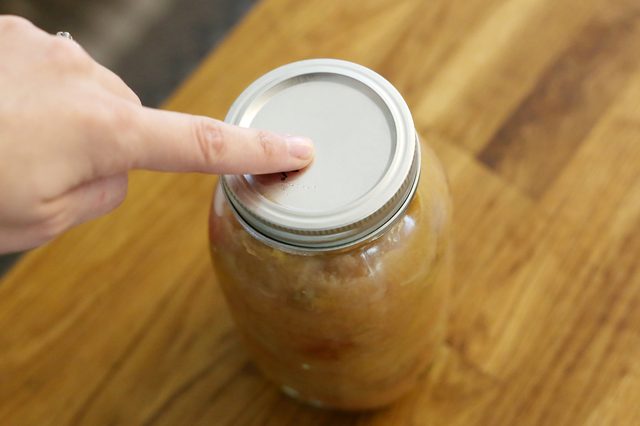
If the button is still up or if you push it down by running your finger over it then you’ll need to pull that lid off and reprocess the jar.
Here’s an important note: never, ever use a lid more than once.
They are only good one time. After that, the seal won’t work, and you run the risk of bringing illness to your family or losing your food.
After your jars have definitely sealed, use these labels to label the food that you canned with its name and date. You should do this because if you don’t eat it within the year, you’ll need to toss it.
Safety is always first with canning.
Food to Can for Beginners
Now that you’ve learned the basics, I want to share some ideas for certain foods or dishes that might be an easier place to start.
I recommend starting with foods and dishes that can be water bathed. That way you don’t have to worry about learning the ropes of pressure canning right off of the bat.
If you can boil water, you can preserve your food by water canning.
Here are a few good places to start:
1. Jams And Jellies
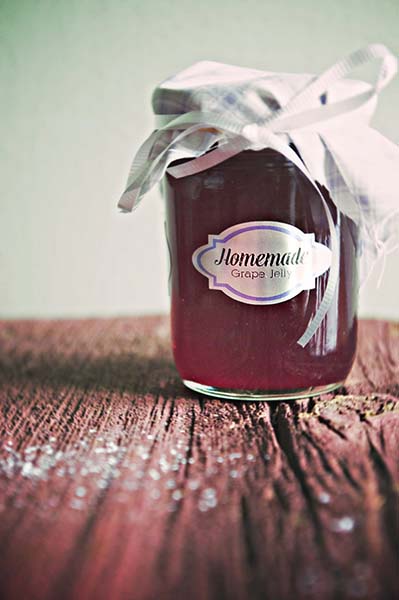
There are plenty of jams and jellies to choose from. The only real difference between jam and jelly is jelly takes 1 extra step.
You have to juice it after you cook the fruit down to remove the seeds. If you are like me and don’t mind the seeds, then save yourself the extra step, and you’ve made a super easy preserve.
Here are a few recipes to get you started on your jelly making adventure:
2. Pickles
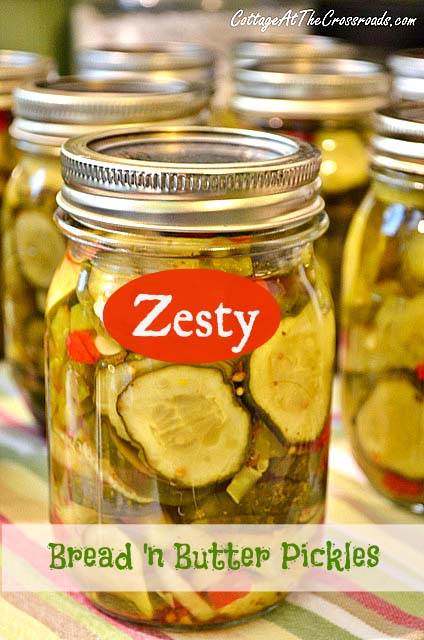
If you have never had a homemade pickle you are seriously missing out. They are great for sandwiches, snacks, or burgers.
There are many different recipes for making pickles. The great thing about them is that they are easy and only have to be water bathed to preserve.
Here are a few recipes to get you started:
3. Peaches
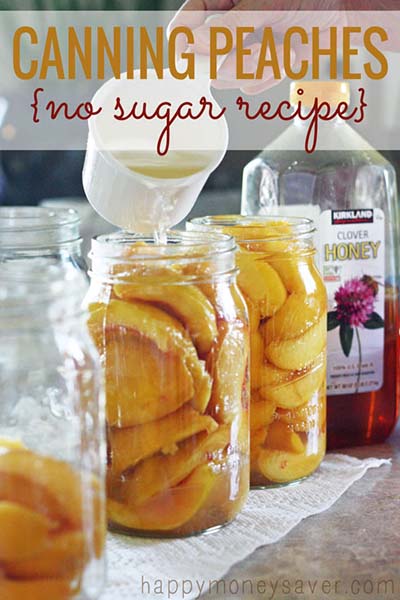
I used to buy canned fruit at the store all of the time but not anymore. Since I’ve learned to can, I just harvest and preserve my own. It saves me a lot of money, and the food tastes so much better.
One of my favorite canned fruit is peaches.
They stay juicy and sweet all the way through the canning process.
I definitely wanted to include them so you could hopefully have a positive experience as a new canner.
Here is a great recipe:
4. Tomatoes
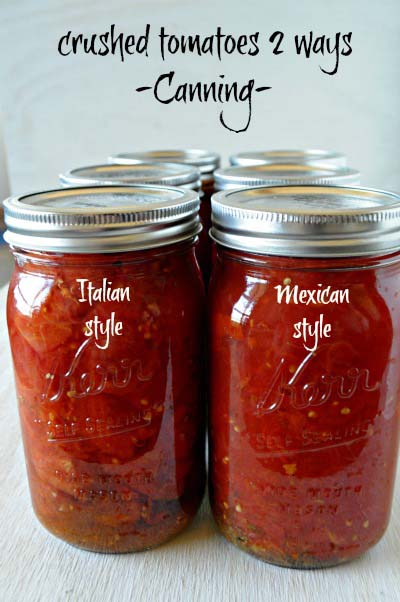
Tomatoes are another canning staple. You can grow them fresh in most places, and one plant can give an abundance of produce.
Canned tomatoes can be canned whole, crushed, turned into salsa, and so much more. You can also use them canned to make great soups all winter long.
Here are the recipes:
5. Apples
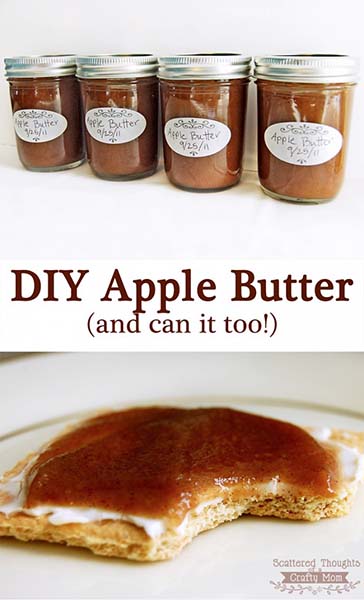
You may not think there are many recipes you can make from apples, but there are.
The great thing about canning apples (in any form) is that they only require water bathing to preserve them.
If you enjoy apple butter, apple pie, applesauce, or even apple juice you can make it all yourself now and save it to enjoy throughout the year.
Here are the recipes:
6. Condiments
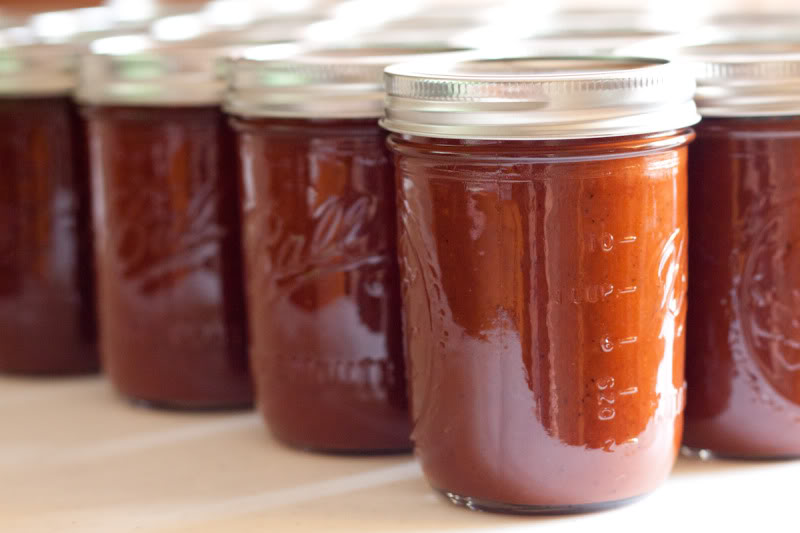
Once you learn to can, you wouldn’t ever have to worry about running to the store to purchase ketchup, barbeque sauce, or even tomato sauce. Nope! Not anymore.
Now, you just have to find the recipe, make it, and water bath it. That is right. All it requires to preserve is boiling water.
Here are the recipes so you can get started:
7. Pie Fillings
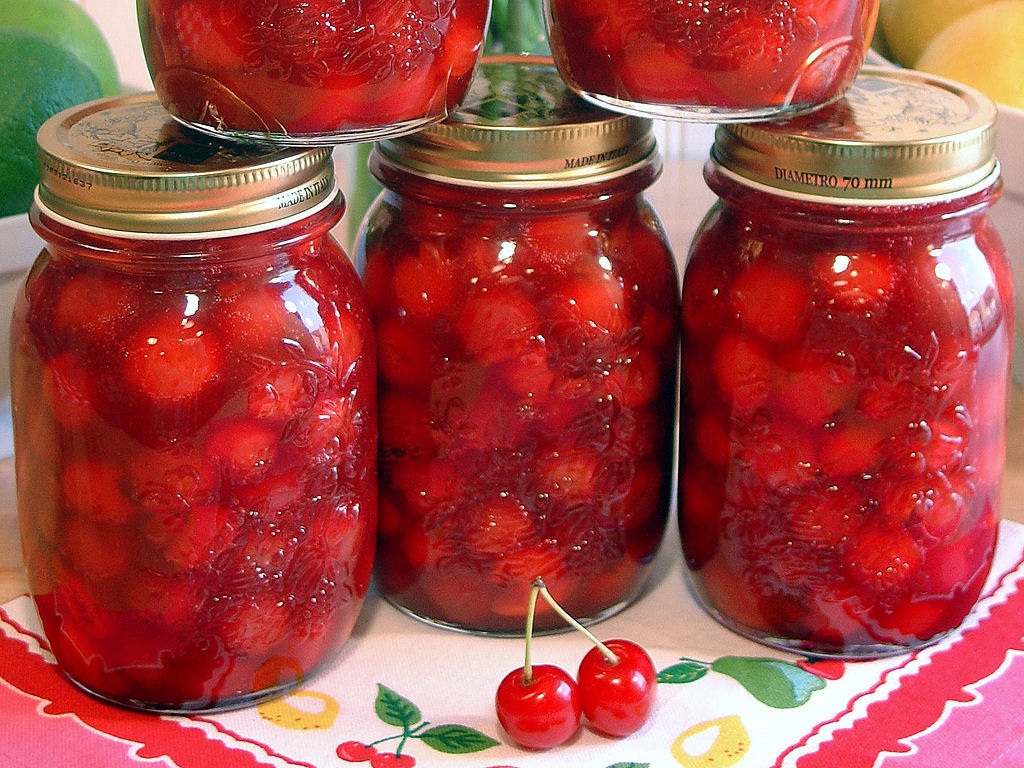
I am the pie lady. I love baking pies and when you can your own pie filling it is not a strenuous dessert.
You first have to know how to make the world’s easiest and most versatile pie crust. This is where I learned so I know you can too. After you make the pie crust, if you’ve preserved your own pie filling, you just dump it and bake.
It’s that easy.
Here are a few great recipes to can your own pie filling. And yes, just like the rest, it only takes boiling water to preserve them.
I hope this crash course on canning and the suggested recipes will help you to get started on your canning adventure.


