Are you sick of buying seeds every year? Learning how to harvest and save seeds is a skill that all gardeners should tackle.
Saving seeds has many advantages. Not only does it save you money, but it breeds strong, healthy plants that can better handle the pests and diseases in your area. Plus, you’ll have larger harvests since you only save seeds from the best plants. You take natural selection into your own hands!
If you’re ready to start saving seeds this fall, let’s dig in!
When to Harvest Seeds for Saving
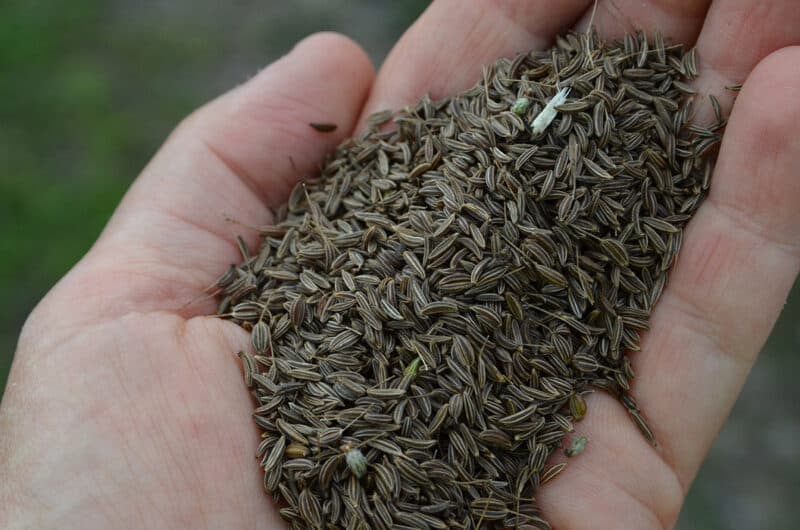
Gardeners can save seeds any time of year that seeds are ripe, but most seeds are ready to harvest in the late summer to early fall. The best time to save seeds depends on the plant in question.
Fruit crops, such as tomatoes and peppers, need their seeds saved at their peak ripeness. Non-fruiting crops that produce flowers such as carrots and lettuce need to be harvested at the end of their lifespans. Crops like peas and beans need to be dried on the vine before harvesting and saving.
Flowers such as coneflowers, roses, sunflowers, zinnias, and marigolds are also best collected in the fall after they’ve dried on the plant
2 Methods to Harvest and Save Seeds
Before you harvest the seeds, you have to determine if you’re harvesting from a wet-seeded crop or a dry-seeded crop. This makes a huge difference in how you’ll save seeds.
Let’s take a look at what you need to know.
Wet-Seeded Crops
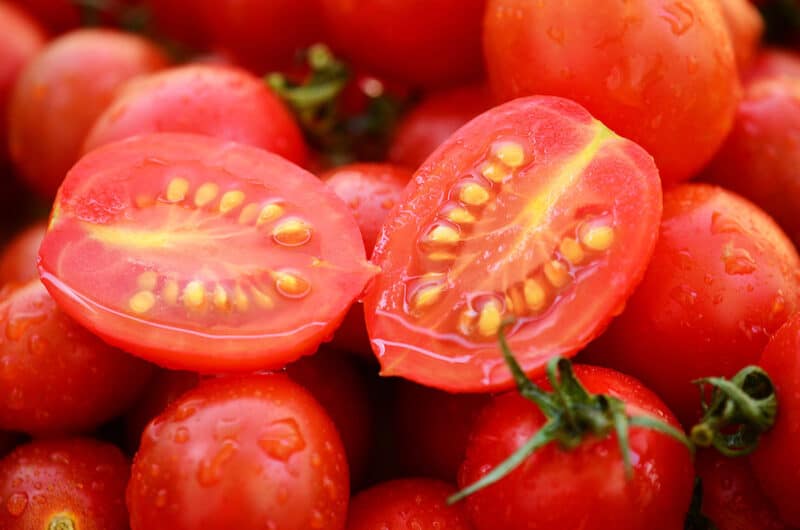
Examples of wet-seeded crops include:
- Tomatoes
- Squash
- Melom
- Watermelons
- Cucumbers
- Peppers
- Eggplants
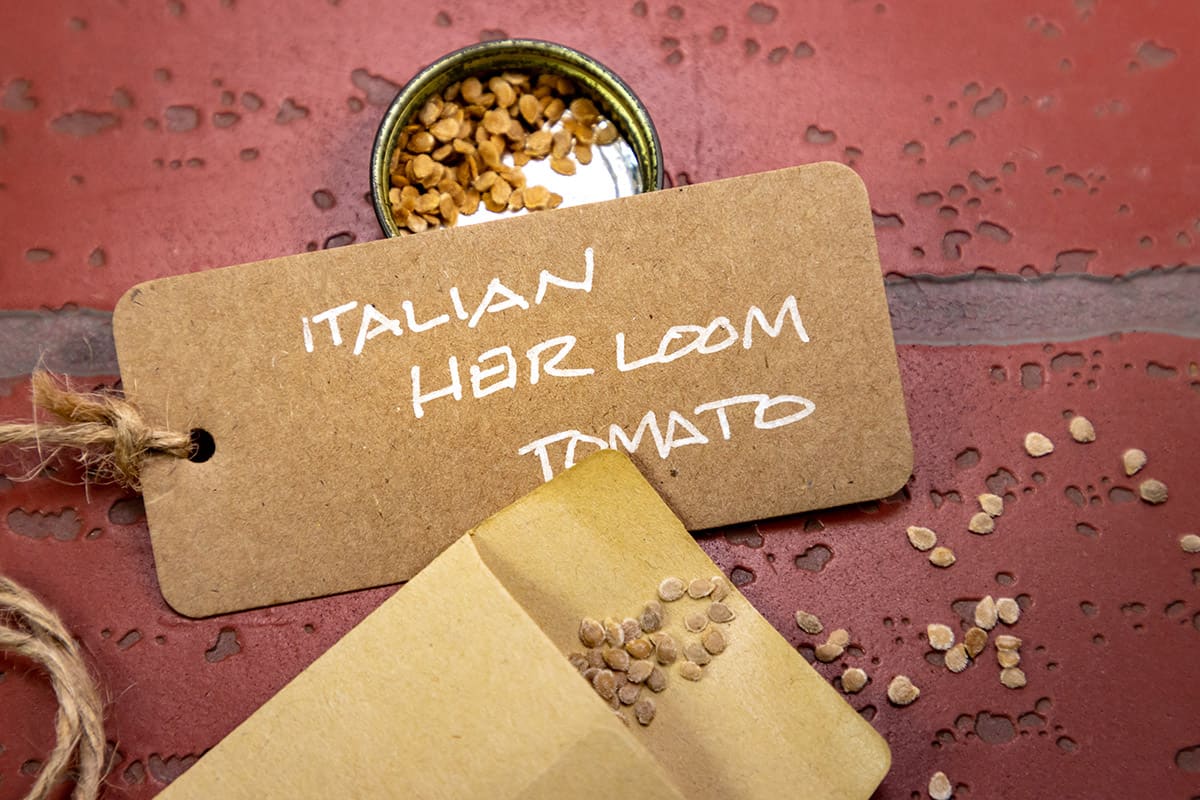
When you harvest wet-seeded crops, you have to remove the seeds out of the fruit and flesh, rinsing away the residue. Tomatoes and cucumbers need to be fermented for several days in their own juices to remove the gel around the seeds.
Part of the trick is knowing when the seeds are mature. Wet fruits are hard to tell because the seeds aren’t always matured when the fruits are ready to eat.
For example, we harvest cucumbers and summer squash when the seeds are still immature but the fruit tastes best to use. That means you have to leave several on the vine to fully mature.
Dry-Seeded Crops
Harvesting dry-seeded crops is much easier because you remove the seeds out of the pods when they’re brown and dried. Take out the seeds and let them rest on a plate or baking sheet lined with parchment or newspaper for several days.
After that, you put them into their envelopes. It doesn’t get much easier than that!
Examples of dry-seeded crops include:
- Peas
- Beans
- Carrots
- Lettuce
- Marigolds
- Sunflowers
- Coneflowers
However, it’s important to know that not all dry-seeded crops are harvested the same year you plant them. Some plants are annuals, biennials, or perennials, and they all produce seeds at different times of the year.
Biennials such as carrots and onions flower during their second growing season after they go through a cold period. Perennials, like fruit trees, produce fruit for years, giving you tons of opportunities for seeds.
Lettuce, along with spinach and other plants, needs to bolt before you can harvest seeds. The flower heads need to be removed and dried to save the seeds.
Harvesting Wet Seeds
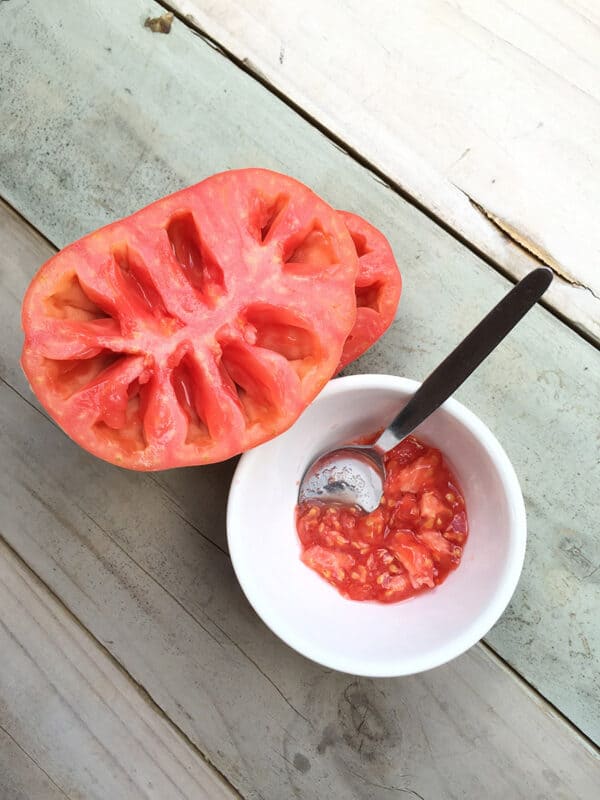
Collecting wet seeds takes a few more steps than harvesting dry seeds. You have to make sure you allow the fruits to fully mature, so they usually have to grow past their eating stage. Then, remove the seeds and place them in a bowl of water to gently clean them. The pulp and dead seeds will float to the top.
Then, drain off the moisture and spread them on a baking sheet to dry. Don’t place the seeds on paper towels because they’ll stick.
A few plants, such as tomatoes and cucumbers, require fermentation for the seeds to be viable. The fermentation process is like the natural process of fermentation in the digestive tract of animals.
This is easy!
Squeeze the seeds and pulp in a jar and add water. Then, store the mixture in a warm area for two to five days; you’ll see bubbles form. When you see a thin film of mold, strain it and clean the seeds like you would the other wet seeds.
Harvesting Dry Seeds
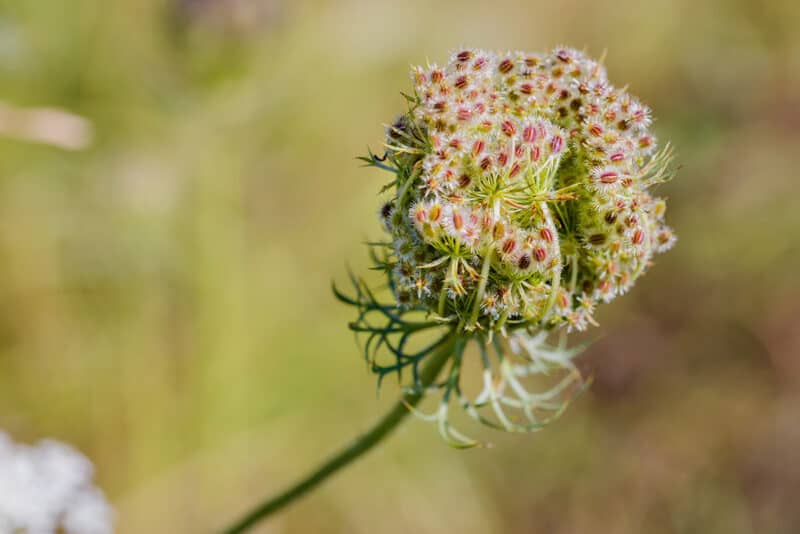
Now, let’s learn more about harvesting dry crops.
While it’s possible to pick the pods or husks early and let them dry after, the best route is to store them on the plant as they dry naturally. Once they’re dried on the plant, harvest the seeds and bring them inside to continue to dry for one to two more weeks.
Not all dry seeds are inside of pods like green beans; some are flowers like carrots. Typically, the flower heads are allowed to dry on the plant and then removed. I often place the seed heads in a paper bag and shake them to remove the seeds, but it’s not a guaranteed method.
Removing the seeds from the pods is a bit tricky, but it’s done in two possible ways.
- Sifting: Sifting is an easy process that involves two different sized screens. One needs to be large enough to let the pieces of the chaff to come out but small enough to catch the seeds.
- Winnowing: You use air to blow the chaff, leaving the seeds behind. All you really need is a fan and a bucket, but it takes time to find the right air flow and direction to make it work.
Most flowers are dry, as well. They’re pretty easy to harvest. Wait for the flower to dry on the plant and then remove it. Shake or pull out the seeds over a bowl and gently blow away the chaff.
3 Tips for Saving Seeds in the Fall
Saving seeds isn’t as difficult as it might seem. Starting with dry-seeded crops is often the easiest route for new gardeners because there are fewer steps.
Here are a few tips to help you save seeds this fall!
1. Start with Easy Crops
If this is your first attempt to save seeds, start with easy crops like peas, beans, lettuce, and squash. These are some of the easiest crops to save seeds from because they’re annuals and self-pollinating that produce plenty of seeds.
2. Save From Disease-Free Crops
When picking veggies from the plants to save the seeds, make sure you only pick from disease-free plants. Diseases infect the seeds, so it’s possible that you’ll start plants and they’ll carry the same disease that killed their parent plants.
It doesn’t make them more resistant.
3. Open-Pollinated Are The Easiest to Save
Open-pollinated plants keep their characteristics as long as they cross with a plant from the same family. The seeds stay true-to-type rather than crossing and becoming like the other plants.
How to Store Seeds
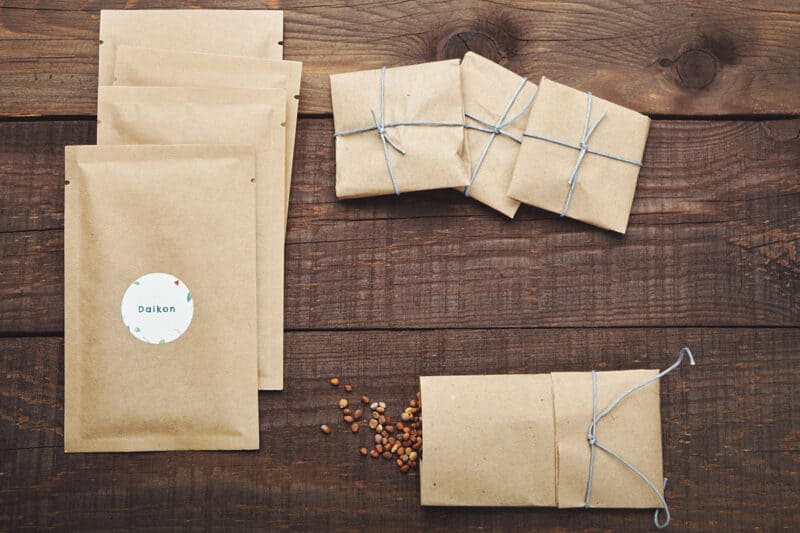
Once you harvest the seeds and prepare them, you have to store them properly.
The best way to store seeds is in an airtight container, such as a sealable jar. It should seal tightly to avoid air and moisture entering. Then, store the seeds in a cool, dark, and dry place because too much moisture reduces the lifespan of the seeds.
I keep my seeds in their own envelopes, stored inside of a jar in the back of my refrigerator.
Another option is to freeze your seeds; this keeps their lifespan even longer. Some say that frozen seeds last up to 100 years – that’s wild!
Don’t forget to label them! There’s nothing worse than going to all the trouble of saving seeds only to forget which ones are which.
