When I first started canning, I was taught to sterilize the jars, lids, and rings because everything must be sanitized before you ever put food in it. Years later, I’ve learned that we don’t actually have to take all the steps above for all situations, and there are actually some more stuff to do to safely can food at home.
That’s what we’re going to share with you today, the steps on how to sanitize your jars for specific instances.
As a bonus, these tips will also make your canning process go a little smoother by removing the extra steps without sacrificing the quality and safety.
Here’s what you need to know to sanitize your canning jars:
1. Wash Your Jars
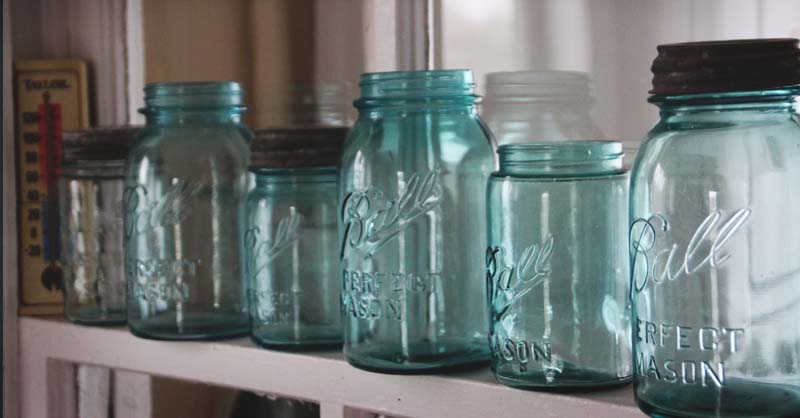
Most of us who can food year after year use the same jars over and over. If you’re like me, you most likely have a shelf tucked away somewhere in your house where the jars go to rest once they’ve been emptied and cleaned.
When you pull them out the next year, they’ll have dust on them and maybe even a cobweb or two. For these reasons, it’s important to wash your jars before using them.
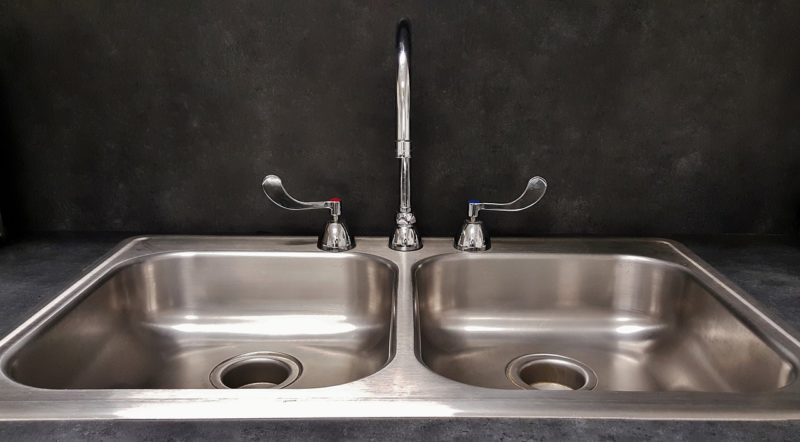
To wash your jar, place it in the dishwasher and allow it to do the dirty work, or you can put the jars in warm soapy water and wash them by hand. Simple as that.
If washing by hand, be sure to rinse and dry them thoroughly. It doesn’t hurt to toss your rings in the dishwasher or the sink to give them a thorough washing as well.
2. Do I Need to Sterilize Everything?
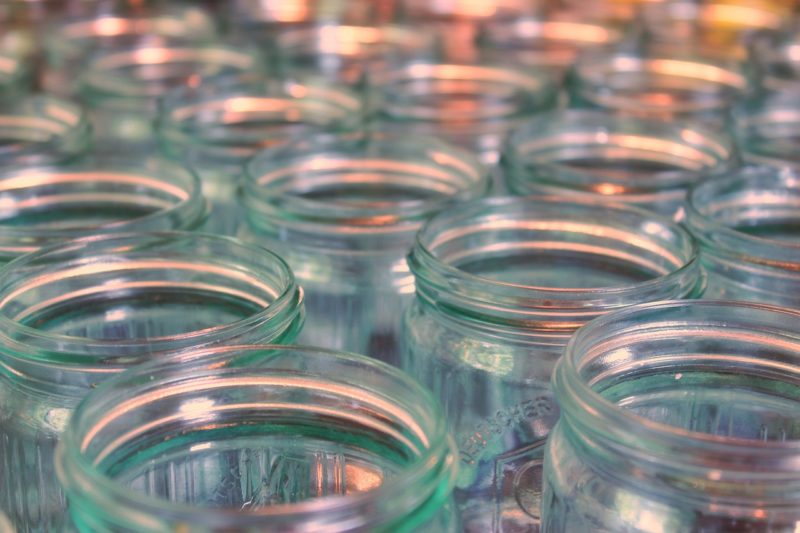
The answer to this question is yes and no. If you’re processing the jars in a boiling water canner for longer than 10 minutes or if you’re pressure canning the jars, they don’t need to be sterilized.
However, when making jams and jellies the processing time is approximately five minutes, which is not long enough for the jars to be considered sterile.
Therefore, it’s a good idea to go ahead with the sterilizing process.
You don’t need to sterilize your lids and rings. Lids can be used safely at room temperature, and the rings don’t need to be sterilized because they don’t come in contact with the food inside the jar.
3. How to Sterilize Jars in a Canner
Start the process by placing the jars in the canner. Pour warm water over the jars until they’re fully submerged and have an inch of water over the top of each jar.
Turn your stove on high and bring the water to a boil. Allow the jars to boil in the water for 10-16 minutes. The time will depend upon your elevation level. When the time is up, turn the stove off, and allow the jars to sit in the water until you’re ready to fill them.
Be sure to remove them using jar grabbers because they’ll be extremely hot to the touch.
4. How to Sterilize Jars in the Oven
Sterilizing jars in the oven is another easy method. Preheat the oven to 225° Fahrenheit (110º Celsius). Put the jars in a deep pan such as a roasting pan or other deep dish safe for baking.
Put the pan in the oven and allow it to bake for 20 minutes. When the time is up, turn off the oven, and let the jars to remain in the oven until you’re ready to fill them.
Be sure you use oven mitts when handling the jars because they’ll be hot.
5. How to Sterilize Jars in the Dishwasher
This is perhaps the easiest way of sterilizing your canning jars. If you have a dishwasher which has a sanitation setting, you can just use it.
Put them in your dishwasher to wash and choose the sanitizing option. The dishwasher will wash, dry, and sanitize your jars all in one easy push of a button.
6. How to Sanitize Jars in Instant Pot
The final option for sanitizing your jars is in the Instant Pot. Make sure the rack is in the bottom of the instant pot to support the jars.
Add one cup of water to the Instant Pot and place your jars inside. Close the lid and lock it making sure the valve is set to seal.
Set the timer for one minute. When the time is up, leave the jars in the pot until you’re ready to use them.
7. Heating Jars for Canning
It’s still recommended to heat canning jars before filling them with your recipes or before you add them to a canner.
The reason being is if you introduce a jar to water or other contents which are heated to higher temperatures, it can cause the jar to break.
I’ve been canning for many years now, and I’ve learned the hard way about how drastically temperatures can impact a jar.
One example is if you’re canning late at night, and you run out of energy before you get all of your jars processed.
It’s normal to put them in the fridge for the night and resume canning the next morning. Be sure you allow the jars to reach room temperature again before processing them.
Also, be sure to add fresh water to the canner because this will help to keep the jars from cracking as the fresh water heats in the canner.
I’ve added cold jars to a canner in the past and have been devastated after they finished processing. When I went to pull them from my pressure canner, the jars had cracked in the middle, and the bottoms would be left in the canner as I used jar grabbers to pull the top of the jar out.
I learned a hard lesson this year when it came to water temperature and jars. My family and I were in the kitchen canning this summer, and my husband asked our teenaged son to put water in the canner.
We were using multiple canners, and at the time my husband made his request, he was emptying one hot canner which had recently finished processing.
Our son wasn’t paying attention to what his dad was doing and randomly poured cold water into a hot canner with one jar left in it.
The jar exploded. Everyone was fine, thankfully, but it was a stark reminder of how water temperature and jar temperatures can be the difference between a safe canning experience and a scary one.
Which is why it’s important to make sure you properly heat your jars before filling them and before canning them.
This process is easy and can be done using two different methods. The first method is to run hot tap water into the jar and allow it to sit until the entire jar is heated thoroughly.
When the jar is warm, pour the water out and fill the jars with the contents you’re preparing to preserve.
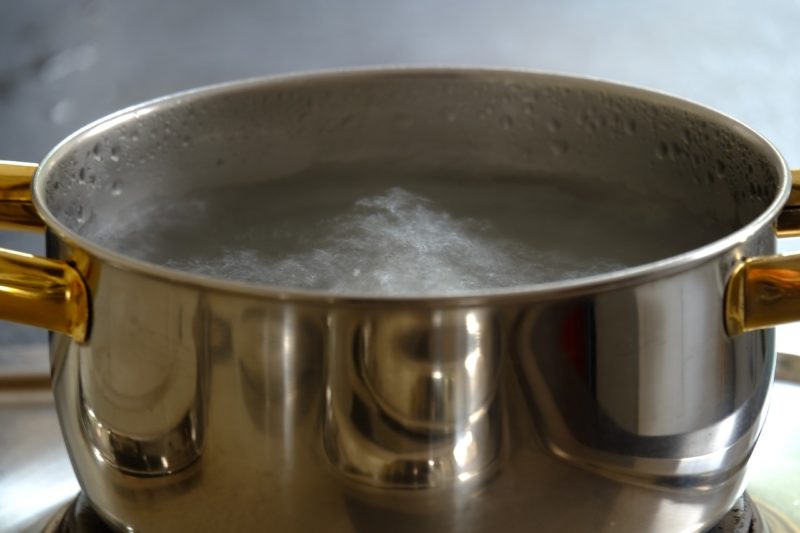
Another option is to heat up a pot of water on the stove. It doesn’t have to boil, but you need to see steam rising from the water to know it’s heated adequately.
Ladle the hot water into the jars and allow it to sit until you’re ready to fill the jars. Dump the water from the jars and begin filling the jars with the desired contents.
If this seems like more work than sterilizing, you could also use any of the above sterilizing methods to heat your jars while you’re still prepping the contents of the jars.
When you’re ready, pull the jars from the water, oven, dishwasher, or instant pot. The jars should be heated adequately using any of these methods and should make your canning experience much safer.
Well, you now know how to wash your canning jars, how to heat them, when you should heat them, and how and when to sterilize your jars as well.
Hopefully, this will save you a few extra steps when canning or give a few ideas on how to clean, sterilize, or heat your jars faster the next time you decide to preserve food.
Remember, canning safety is of great importance. It’s essential to work in a clean kitchen with clean equipment to deter bacteria from forming in your jars.
It’s equally important to remember pressure canners and even the temperatures of jars in the canners should be treated with respect as well. This is to ensure you have a safe and enjoyable canning experience while you make food and memories with those you love.
