If you grow your own food over the warm season, storing food to last over the winter becomes an essential step in becoming self-sufficient.
There are specific ways to store home canned goods to ensure they last longer and are safe to eat.
This article will help you to do that.
Today we’re going to fill you in on the basics of storing home-canned goods, and also how to properly store your food in a root cellar.
Here’s what you should know:
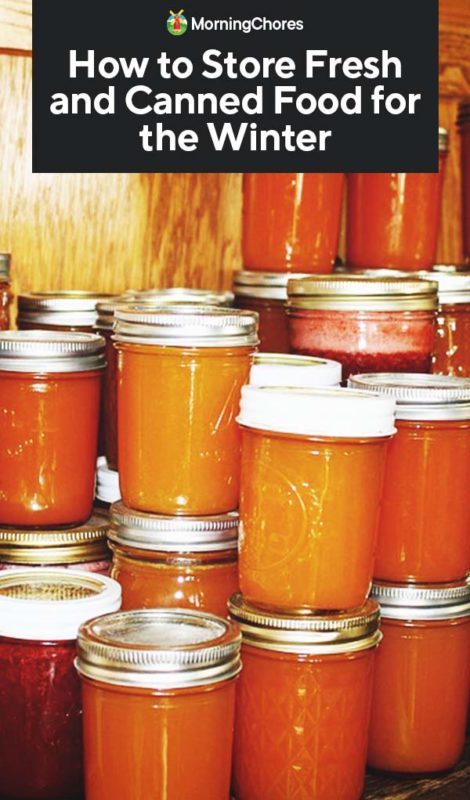
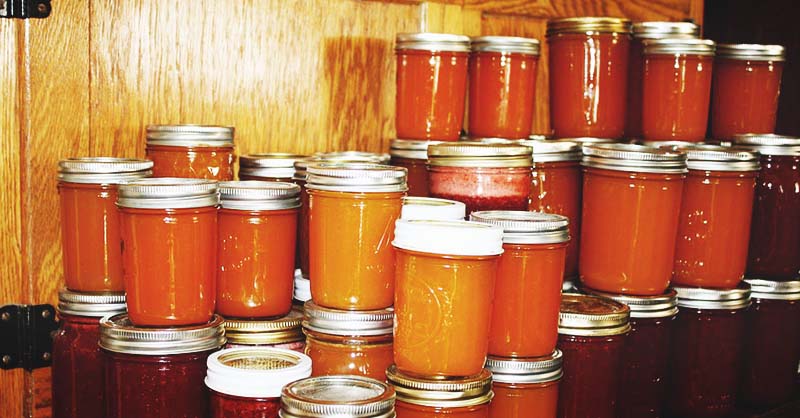
How to Store Home-Canned Goods
1. The Jars
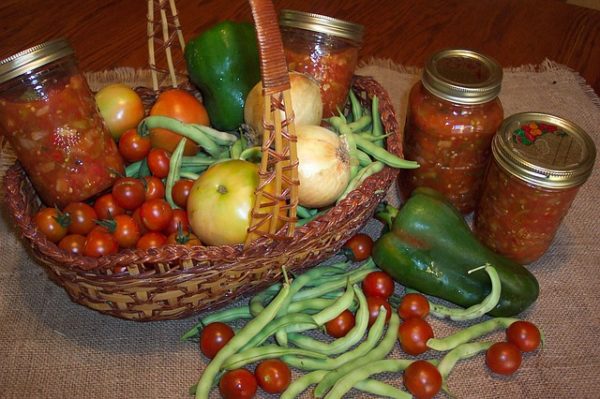
Before storing home-canned goods, it’s essential to inspect the jars. The jar must be sealed. If it didn’t, and it’s been less than 24 hours since processing it, place a new lid on the jar and reprocess.
Once the jar has been left alone for 12-24 hours, check to see if the jar sealed properly. When all of your jars have vacuum-sealed lids, you can remove the ring.
The ring has no significant purpose once the lids have sealed. Wash the lid and the jar prior to storing it. This will remove any food or syrup which may have gotten onto the jar during the canning process.
However, be sure to clean with care because you don’t want to upset the seal of the lid. Washing your jars is important because it can attract bugs if a residue is left on the jar.
2. Stack with Care
I’ve lived in homes where I had little storage and had to stack jars. The danger to stacking jars is you can upset the seal of the jar, and also the jars can come crashing down.
It’s recommended not to stack jars over two high. If you must stack jars, try to put support in between them. If you could put a thin piece of plywood between each level, this would help take some of the pressure off the bottom jar and stop damage to the lid.
Again, if you have space where you don’t have to stack your jars, this would be the ideal situation.
3. What You’re Looking For
You may be wondering where you should store your canned goods. The ideal location will be clean, easy to get to, stay cool, dark, and dry.
I’ve stored canned goods under my bed when I had nowhere else to store them. A pantry or dark hallway can work well too.
If you’re lucky enough to have a root cellar, this would be an ideal location as well. Wherever the location may be for you, try to find a spot where the temperature will stay between 50-70° Fahrenheit.
4. What to Avoid
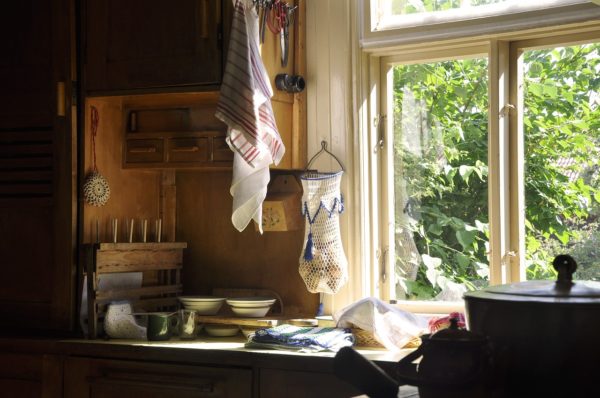
Avoid the wrong areas when storing your home-canned goods. The wrong location will have a temperature that reaches over 95° Fahrenheit.
Therefore, avoid locations where the temperature could reach this high even for brief spells. Areas near hot pipes should be avoided.
Also, consider avoiding storing canned goods near your stove. Don’t store your jars where heat from a furnace could blow on them. An attic which is uninsulated will be as hot as outdoor temperatures which aren’t ideal on hot days.
Plus, avoid storing your canned goods where they will receive a great deal of sunlight.
5. Why This Matters
You may be wondering why storing your canned goods properly even matters. Most people don’t put this much thought into where they store their store-bought canned goods.
Home-canned goods are a little different. They’re canned in glass jars and have a different type of seal on them.
Therefore, you must consider where you store them. If you store your canned goods in an area where moisture can get to the lids, it can damage the lid and harm the seal on the jar, leaving your food open to contamination.
One of the biggest concerns is storing your food where it’ll receive too much heat or sunlight. When heat focuses on a glass jar, the food inside of the jar will begin to heat too.
If the area stays hot for too long, it can cause the food to spoil. If the jar is heated briefly, it can still shorten the life span of the food in the jar.
After all the hard work put into canning your own food, you don’t want to have to worry about the food spoiling or having a shorter shelf-life because of where the jar was stored.
6. What You Should Know About Freezing
A few years ago, a lady gave me plenty of canning jars because she was getting too old to preserve food anymore.
At the time, I didn’t understand why all of her jars (still filled with food) were wrapped in newspaper inside cardboard boxes.
While I was learning to can, I did a great deal of research to discover the dos and don’ts. I was surprised to learn, it was to help with freezing.
Some people don’t have good locations to store canned food. Maybe you live in a small home and have nowhere else to store canned food besides outdoors.
Well, this is okay because if the jars accidentally freeze, as long as the seal on the jar is okay, the food should be okay as well.
However, as the food thaws, the food will be a softer texture than it was when it went into the jar.
Keep in mind; people have learned how to insulate their jars to avoid freezing when they have no other choice but to store jars where they’ll be exposed to colder temperatures.
You can do as the lady who gave me jars did. She would can her food, wrap it in a newspaper, place the jars in sturdy cardboard boxes, and wrap the boxes in newspaper and blankets.
This would insulate the jars and give them a higher chance of avoiding freezing.
How to Store Food in the Root Cellar
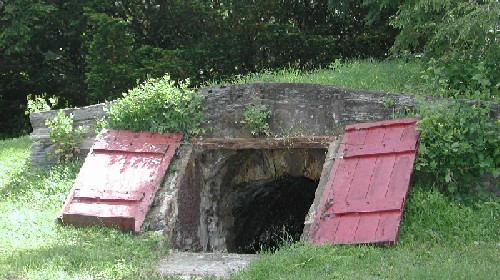
Many times, when people can their food, they also purchase foods in bulk or grow their own food too. If you have vegetables you’d like to store fresh, here’s what you should know about storing them in a root cellar:
1. Handle with Care
The key to storing vegetables in a root cellar is to keep them fresh. Therefore, you should handle the food stored in the root cellar with care.
When you go to pull vegetables out, if you’re rough on them, they’ll scrape and bruise. This removes their protective skin and opens the produce up to developing mold and disease.
This is a problem because when one piece of produce gets it, the mold or disease can spread to other items stored in the root cellar.
Therefore, be sure to handle all of your produces with extreme care when it’s going to be stored in your root cellar.
2. Only the Best
When you harvest your garden, not every piece of produce you pick is a good candidate for being stored in a root cellar.
In fact, you need only the best fruits and vegetables for storage. If the produce has been bruised, looks diseased, or has been cut, you shouldn’t place it in your root cellar.
Damaged produce has a much shorter shelf-life. It also opens up the risk of rot to the other fresh produce you’re storing in the same location.
3. Sunny Days Are Best
Moisture can cause many problems for fresh produce. It can allow mold to form on the outer layer of fruits and vegetables.
This can break down the skin and cause rot to form on the produce. This problem can be avoided by harvesting your fruits and vegetables on dry days.
If you’re in the middle of a wet season and have no other choice but to harvest when it’s moist outside, bring the produce inside first.
Spread the produce out on a large sheet and allow it to dry before you place the items in your root cellar for long-term storage.
4. Mature is Best
As mentioned above, not everything you pick from your garden is going to be suitable for your root cellar.
It’s important to harvest your garden at the right time to have more items to store. If the produce is overripe, you run the risk of introducing rot to your other crops in storage.
However, you don’t want to store produce which is underripe because at times they emit gas into the air which can cause other produce to become too ripe and rot.
5. Root Veggie Needs
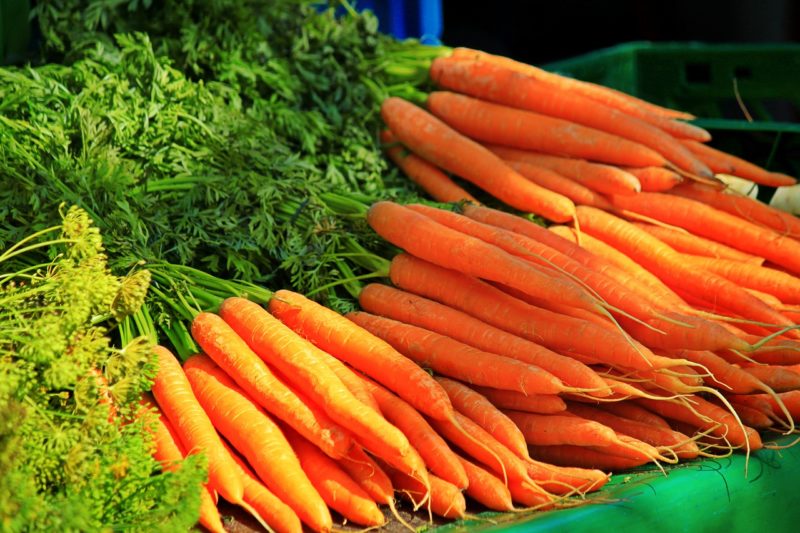
Root vegetables are great for storing in a root cellar. However, they have specific needs when being harvested to ensure they’re stored properly.
To begin, trim the tops of the root vegetables to where only an inch remains. Be careful not to damage the flesh of the vegetables when trimming the tops.
It’s important to note you shouldn’t wash the vegetables after harvest, and the longer you leave the root vegetables in the ground, the better they’ll taste.
Frost can make root veggies taste sweeter. If you intend to leave them in the ground longer, pile mulch over them for insulation.
Once the tops of the root veggies have been trimmed, find a basket or box to store them in. It’s a good idea to put a layer of sawdust, hay, moss, or leaves between the produce to keep the skins from directly touching.
This will stop moisture from forming and breaking down the skin of the root vegetables which can lead to mold and ruin your entire harvest.
6. Curing is Key
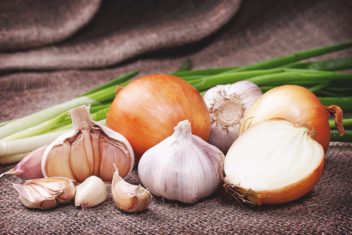
Certain vegetables should be cured prior to be stored in a root cellar. You should cure:
Once these items have been cured, you can place them in your root cellar, and they should last for a few months as long as they’re not exposed to moisture.
7. Leaf Veggies Can Come Too
Many people don’t realize they can store their leafy vegetables in a root cellar too. When you harvest cold-hardy leafy vegetables (such as cabbage or kale), remove the entire root when pulling the plant out of the ground.
From there, place the vegetables in a bucket filled with soil, moss, or sand. If you don’t have enough buckets for this method, you can leave the roots attached and place the item on a shelf with a slant.
This will allow any moisture being released from the crop to drain away from the produce itself.
Now you know how to properly store vegetables in your root cellar, and the proper way of storing home canned goods. It is useful to know as well about other off-grid refrigeration options, as they are handy to know too.
This will allow you to have greater success in giving the food you grow a longer shelf-life.
