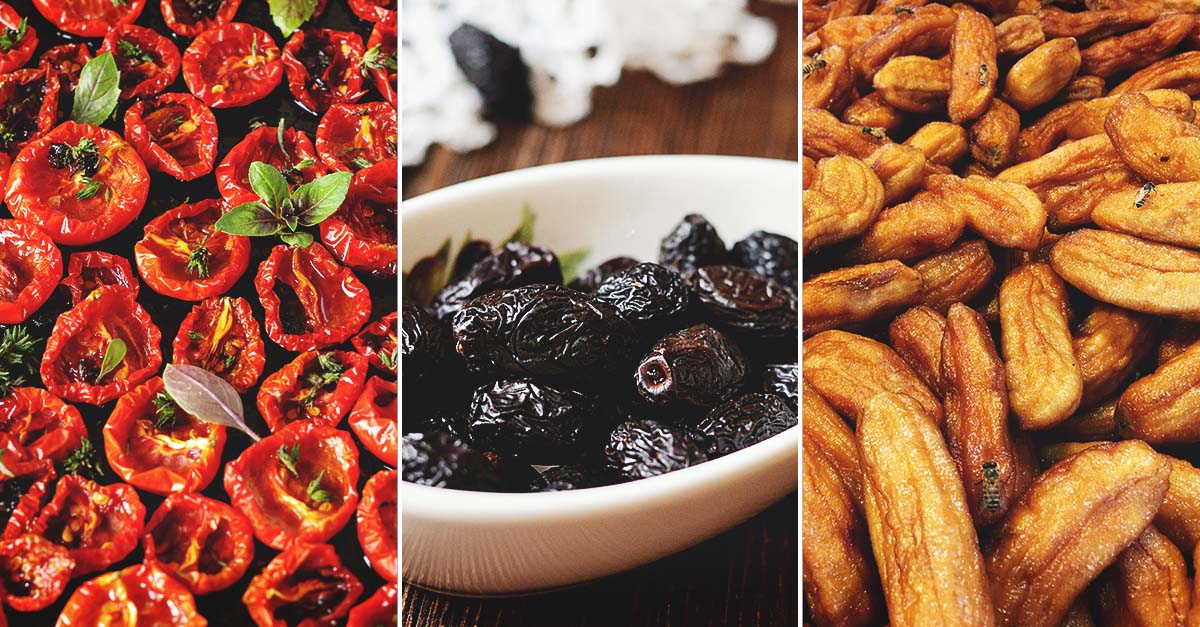
Drying fruits, vegetables, and herbs is a process that has been around for a long time. In fact, it’s one of the earliest known methods of food preservation.
Today, we take the ability to extend the shelf life of our food for granted. We have expensive refrigerators and freezers that do all the work for us.
For a long time, canning was also one of the most utilized methods of food preservation. While it’s still a great method for storing food, it causes nutrient loss through the process.
With the invention of flash freezing in 1924, many people stopped drying their fruits and veggies and added freezers to their homes.
But there’s still a lot of benefits behind knowing how to sun dry your harvests. Let’s dig in:
Benefits of Sun Drying Fruits and Vegetables
Sun drying, or solar drying, takes just enough moisture out of fruits and veggies to prevent them from spoiling while being stored. The first and most obvious benefit is to have your favorite produce around for much longer than if it was a ripe tomato sitting on the counter.
Here are a few more benefits to sun drying your produce:
- Dried fruits and vegetables retain large amounts of vitamins, fiber, and minerals.
- Sun-dried produce can be stored for use in soups, cereals, and trail mixes (ie delicious snacks!).
- Your sun-dried harvest doesn’t contain preservatives or chemicals.
- A huge money saver! Many dried veggies plump up when moisture is added, so throw ‘em in your soups mid-winter rather than buying expensive out-of-season produce at the store.
- Dried goodies are easy to store and won’t take up a lot of space.
- If you’re a prepper, having stores of sundried fruit and veggies will come in handy down the road, not to mention knowing how to sundry.
- Making use of an electric dryer consumes electricity.
Best Veggies and Fruit for Sun Drying
You can sundry almost anything, yes even meat!
But, truth-be-told, some things are easier to dry when you’re first starting out.
So start your solar drying journey with high sugar and acidic content fruits: two elements that prevent spoilage in dried produce.
Once you get the hang of sun drying, you can shoot for the moon with your favorites. Here’s a quick list of some of the handiest fruits and veggies to have dried, and on hand:
- Apricots (super sweet and refreshing)
- Grapes (ahem, raisins)
- Dates (kids love snacking on dates)
- Hot pepper or chilies
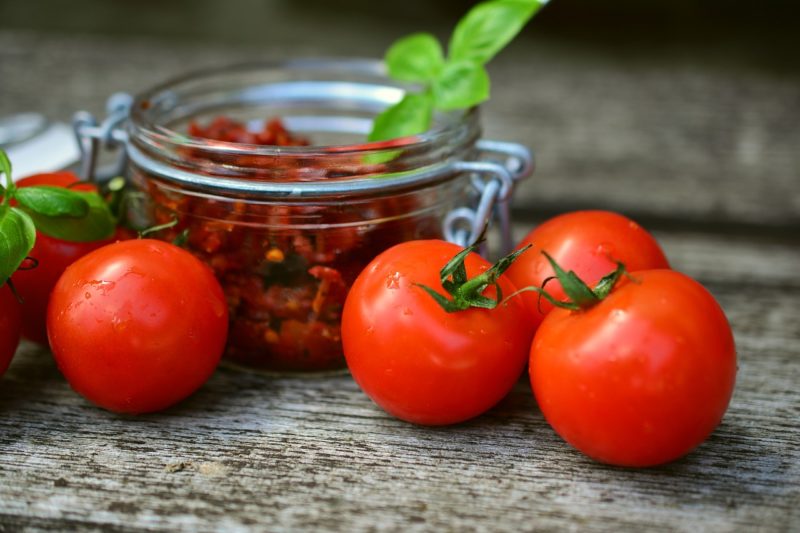
- Tomatoes (think tomato basil salads)
- Mushrooms (perfect for a hearty winter soup)
The list can go on and on, and the more you learn, the more you can experiment with your favorites!
What You Will Need
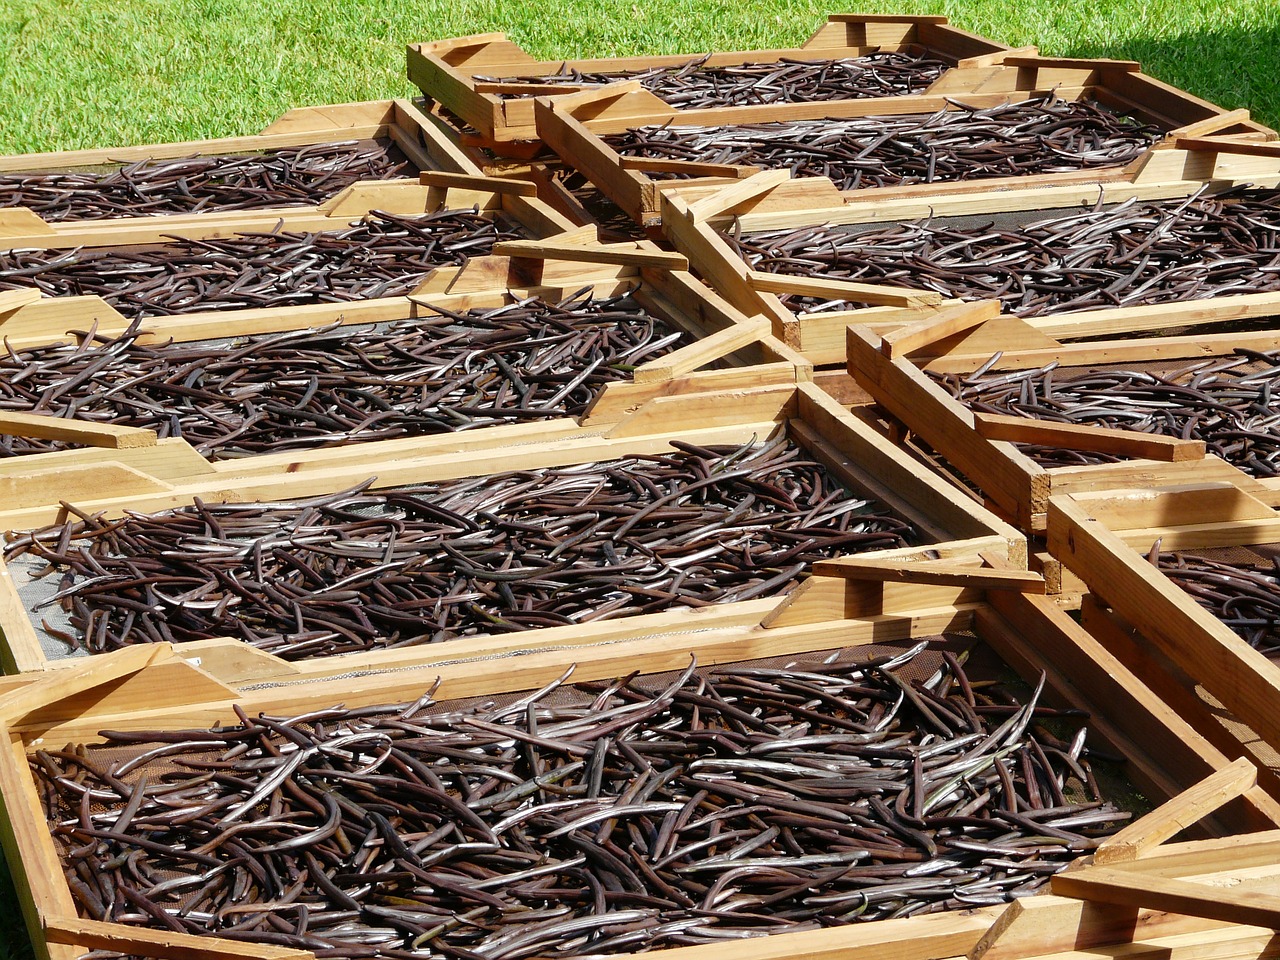
Sun-drying works best in hot, dry climates, but it can also be successful in more humid zones as well. As long as you are bringing your racks of produce in at night, you should be fine.
If you live in an extremely moist region, try your best to sundry in your driest season, if possible.
All you need for sun drying are:
- A rack with a slatted bottom (or something similar that allows airflow)
- Spatula
- Cheesecloth
- Lemon juice and/or red wine vinegar
How to Sun Dry Food
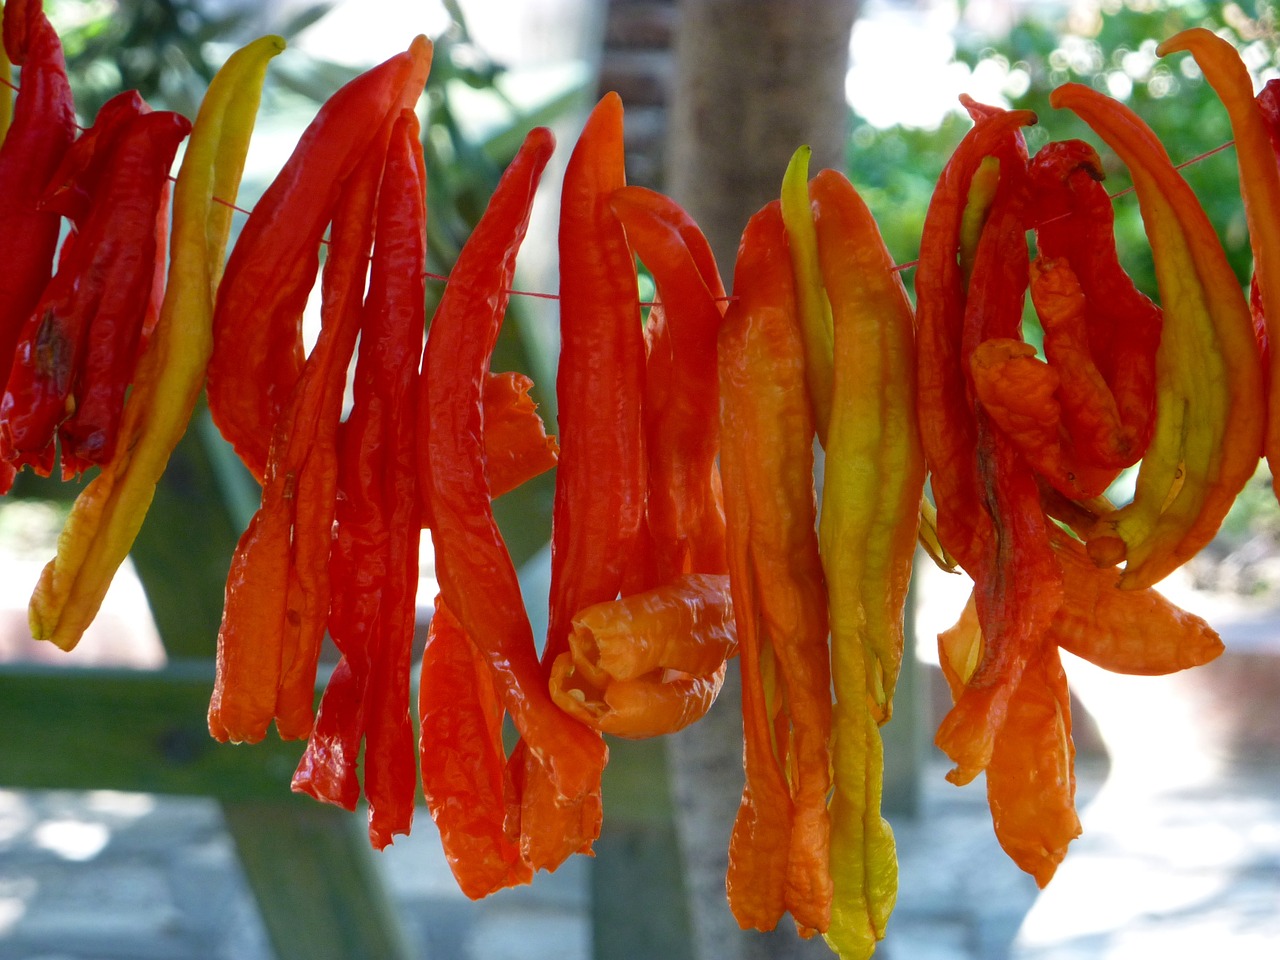
1. Choose Your Produce
Your fruits or veggies should be fresh, clean, and ripe. Ensure your selection doesn’t have any blemishes, wormholes, or bruises. Only the best will do for your sundried food.
2. Wash the produce thoroughly
Try your best to get all dirt, debris, and bugs off your chosen harvest.
3. Cut and Remove Pits and Seeds
Smaller produce can be left whole, but for large items like tomatoes, you should cut the fruit into smaller pieces. A whole tomato would just rot in the sun, as they often do at the end of the harvest.
When slicing the produce, try your best to keep everything the same size. That way, they will dry at the same rate.
Remove seeds and pits as best you can from produce that contains these elements.
4. Soak Produce for 5 Minutes
For about five minutes, soak the fruit in lemon juice to keep them from turning brown while sun drying. Pretty finished products are important too!
Since you probably don’t like a mushroom-lemon flavor, you can use red wine vinegar to treat some vegetables before sun drying.
5. Let the Sun Drying Begin
Put your pre-treated fruits and veggies on your chosen racks. Keep everything together—mushrooms with mushrooms, apricots with apricots, etc.
Lay the produce in a single layer to ensure even exposure to the sun, which encourages a similar drying rate.
6. Select Your Sun Drying Location
Pick an area that has exposure to direct sunlight with good ventilation. If you live near a dusty farm field, or highway, try to protect your food from pollution with tarps, cheesecloth, old clothes, or netting.
7. Flip Your Fruits and Veggies
To be done every day! Return to your produce and turn each piece using a spatula. This prevents rotting from underneath, and even exposure to the sun.
8. Bring Your Racks in at Night
Dewy nights mean dewy produce. Normally we love the look of dew on an apple orchard in the morning. But drops of water on sundried fruit interrupts and sometimes ruins, the process.
After about 3 days you will start to see your produce turn into the dried fruits and veggies you were dreaming of. Some types of veggies take longer, so don’t assume you are done after three days, especially if you are in a humid climate.
How to Tell If Your Fruit and Vegetables Are Fully Dried
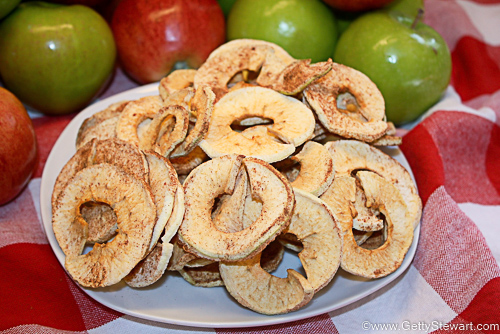
Fruit will be flimsy, but almost brittle. You shouldn’t see any condensation on your dried fruit. If you cut it in half it shouldn’t be able to squeeze the moisture out of it. Think about how a raisin behaves when you squeeze it. It’s soft but nothing comes out of it.
Veggies will be hard and breakable. There will be no give to the vegetable when you squeeze it, and no moisture will be present. Think about split peas you purchase from the store…they are hard and may even shatter if hit with a hammer.
Once your harvest is sundried to perfection and has cooled off, its time to store it all in sealed jars of your choosing.
Now you have delicious ice cream toppings and soup ingredients from your own harvest to enjoy year-round.
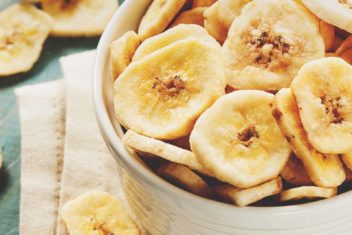
As an added bonus, we have one whole post dedicated to dehydrating bananas, with sun-drying first and foremost – for all big banana fans.
