Drying lavender seems like it should be simple and straightforward. However, if you want to master the art of drying lavender there’s a lot more to it than cutting some stems, making a bunch, and hanging it upside down to dry.
You need to start with the right kind of lavender. Then, you have to harvest at the right stage of development for your intended purpose. Finally, you must use the right drying techniques to ensure your final product has the right properties for that purpose.
However, don’t worry! I am going to walk you through the process from start to finish in this article.
The Lavendula Genus
Lavender is a generic term to describe all the members of the Lavendula genus. Within this genus, there are at least 45 species of lavender known to humans. However, only a few of those species are ideal for growing and drying Lavender at home.
Let’s look at the species of lavender you are most likely to come across in your hunt for the perfect lavender for your homestead.
1. Lavandula angustifolia
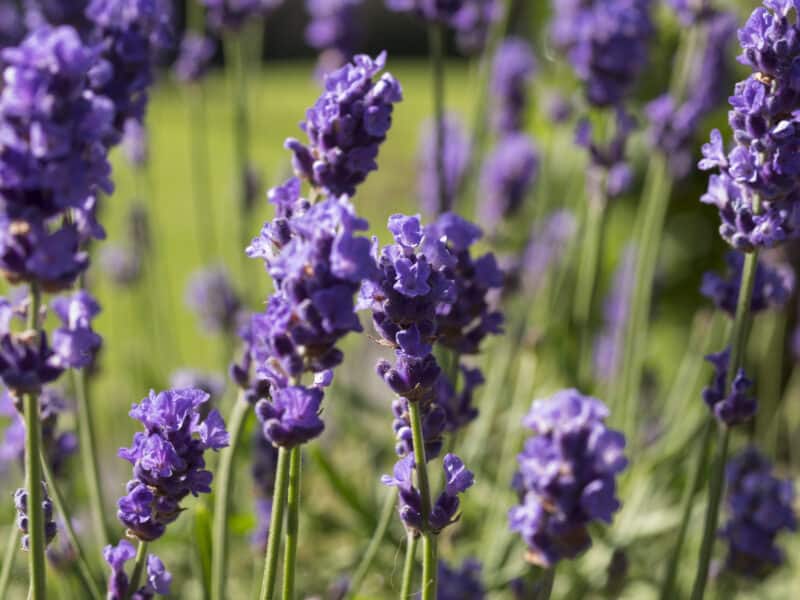
This species is often referred to as “English lavender”. Some people also call this true or common lavender. It’s one of the most cold-hardy members of the Lavendula family. Plants can survive down to USDA planting zone 5.
Munstead is one of the best-known members of the English lavender species for culinary uses. Melissa (a pink variety), Betty’s Blue, Royal Velvet, and Brabant’s Blue are also flavorful and aromatic culinary favorites.
Many cultivars of English lavender varieties are useful for crafts, sachets, and oil distillation. However, if you have particular use in mind, you can narrow down your choice to exactly what you need.
For example, ‘Sachet’ is a variety that is perfect for making… you guessed it – lavender sachets! While ‘Purple Bouquet’ has long lovely stems that make it perfect for… yep – fresh or dried bouquets.
Most of the essential oil production comes from hybrid lavender. However, for purists who believe the “essence” of the plant shouldn’t come from a hybrid cross, Maillette is the standard variety for distilling into essential oil.
2. Lavandula x intermedia
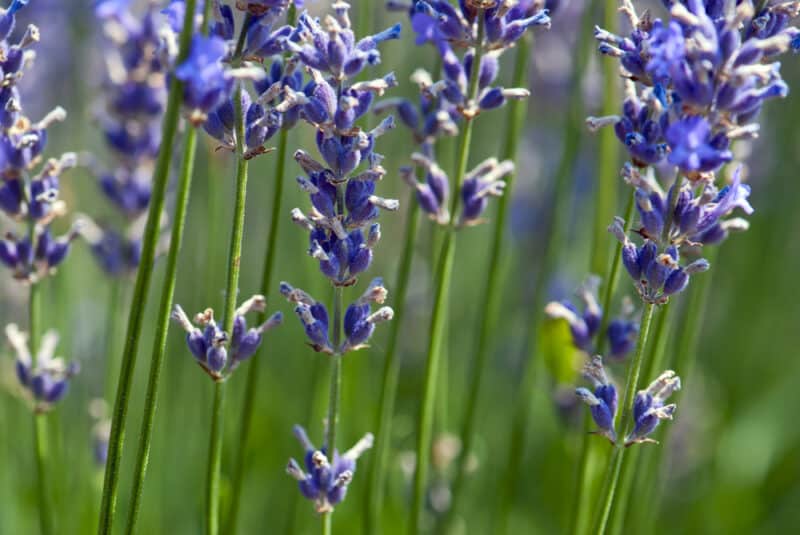
These kinds of lavender are not distinct species but include crosses between Lavandula angustifolia and Lavandula latifolia. These crosses are frequently referred to as “Lavandin.”
Lavendula hybrida is another term you may see applied to Angustifolia and Latifolia crosses. It’s an out of fashion term in botanical taxonomy. However, you do still see it referenced in relation to essential oil extracts from Lavandula x intermedia varieties.
‘Grosso’ is the variety most frequently used for essential oil production. You can also use Grosso for crafts and culinary applications. Personally, though, I find the intense aroma too overt for cooking. Though I do like to put a few buds per pint jar in my dried tea mixes.
‘Provence’, ‘Hidcote Giant’, and ‘Phenomenal’ are other lavender favorites that work great for drying for craft and fragrance applications. They also do double duty for culinary purposes. However, if you really just want these for cooking, then Munstead and some cultivars of Munstead are more ideal.
3. Lavandula latifolia
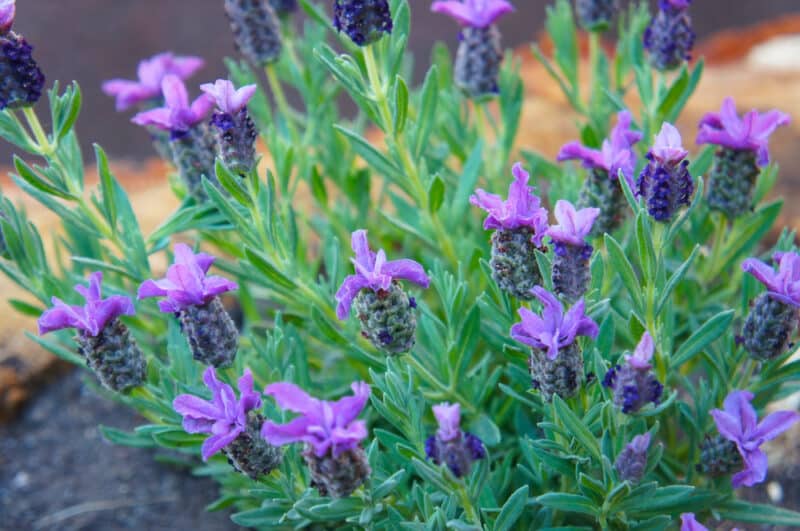
Lavandula latifolia is referred to as spiked or Portuguese lavender. Though you can find seeds for this lavender species, plants can be hard to find. That’s because due to its strong camphor smell, it’s not usually a homeowner’s favorite.
Instead, spiked lavender is used as a commercial pollinator to create those hybrid lavender crosses commonly called lavandin. However, if you do in fact want that strong camphor smell such as for a winter salve to rub on your chest during a cold, plant Lavandula latifolia in a distant corner of your yard.
4. Lavandula stoechas
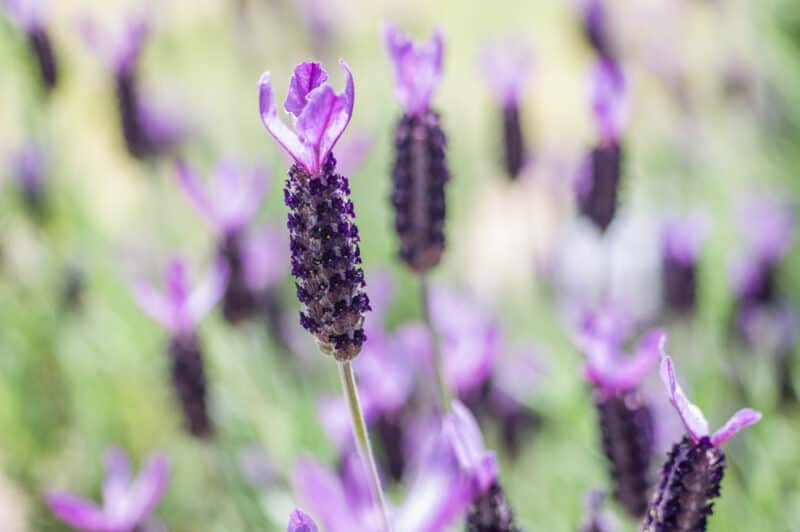
Lavandula stoechas is also sometimes called “butterfly” or Spanish lavender. It’s got wispy flower petals growing at the tip of the flower stakes that resemble flapping butterfly wings.
This lavender is much less hardy than English lavender. Generally, it’s best for USDA hardiness zones 9 and up, though some varieties are hardy in zone 8.
This species of lavender is also less fragrant and is rarely used for culinary or craft applications. However, it can make a nice addition to your dried flower bouquets.
5. Other Lavender Species and Hybrids
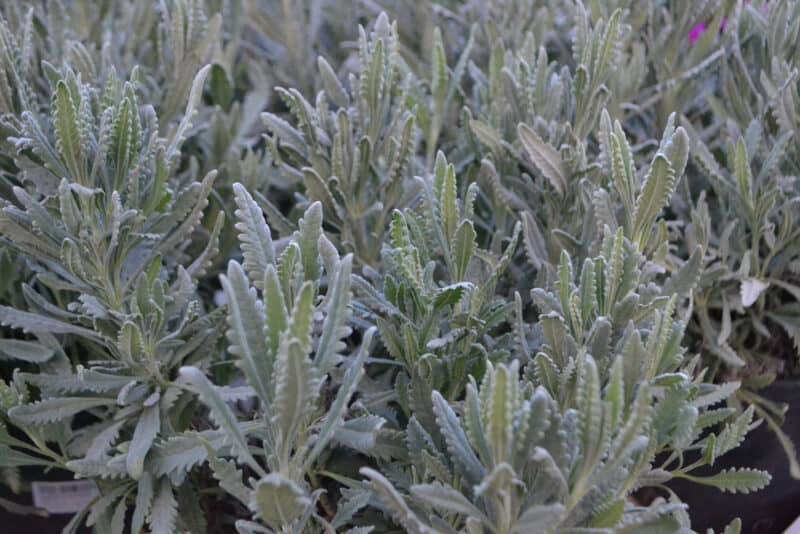
There are lots of other lavender species and hybrid crosses available if you are willing to search for them. However, these other types don’t often match up to what most of us think of as lavender in terms of appearance or fragrance.
For example, Lavandula virdis has flower stakes that are yellow to green. It also smells like a skunk to many people.
Lavandula dentata has fringed leaves and is more eucalyptus-like in fragrance. Lavandula lanata is wooly in appearance. Lavandula multifada has fernlike leaves.
Crosses between these lavender species and the others previously listed also exist. In fact, there are supposedly over 450 varieties of lavender available somewhere on earth.
How to Harvest Lavender
Now that you know about the different species to help you narrow your plant search, let’s get down to the details of harvesting and drying lavender.
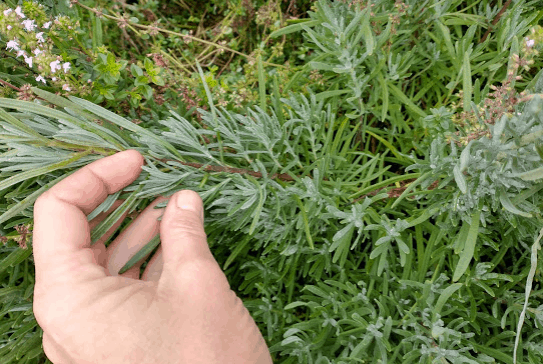
Generally, most people do what’s called “harvest pruning” lavender. This means you cut into the leafy growth, and some of the woody top growth, to prune the plant as you harvest lavender stakes.
Harvest Pruning – Pinching
By doing this you prevent the plant from becoming woody and dying prematurely. You are also essentially “pinching” the stems to encourage branching. That in turn leads to a bushier appearance and more flower stakes in the future.
Harvest Pruning – Craft Ready Stems
Plus, you are harvesting longer stems. Once you remove the lower leaves on the bottom of the stem, your long flower stakes are ready to use for lavender wreaths or making lavender wands.
Even if you only need the lavender flowers for cooking or potpourri, you can bundle and dry the stems to use in your next wood fire. They act as kindling and offer an aromatic experience while they burn.
You can also trim the stems into smaller pieces and toss them in your animal bedding to freshen it up in winter.
When Is It Time to Harvest?
Harvest pruning is ideal for lavender applications and keeps your plant productive. However, the timing of your harvest will vary depending on how you plan to use the dried plant parts.
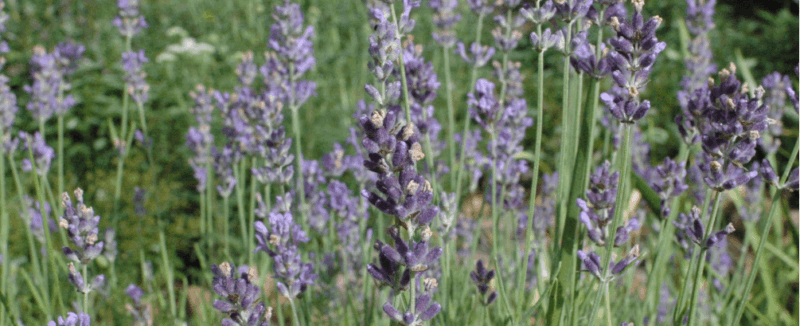
The flowers in the image above are just a bit past prime for culinary harvest. You see the plump, unopened buds which are ideal. However, you also see a lot of dried brown flower petals and open flowers. A day or two earlier would have been their peak time.
1. Flower Arrangements
If you want to use lavender for dried flower arrangements, you’ll need to harvest when the buds are at their plumpest just before they start to open. By finding this sweet spot between budding and flowering, the buds will still cling tightly to the stem and are less likely to fall off when disturbed.
They are not quite at peak oil and aroma at this harvest point. However, you’ll lose fewer buds in the drying process if they are still slightly immature.
2. Culinary Use
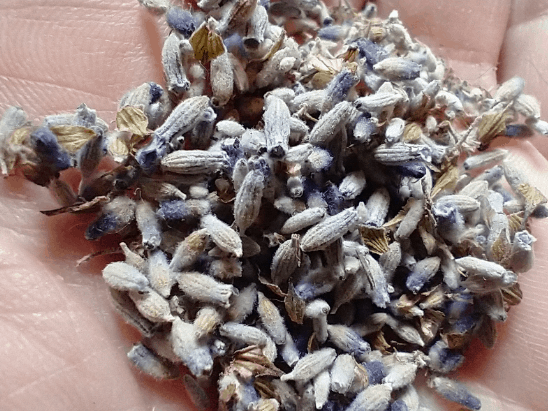
When you are harvesting lavender to dry for culinary use, you’ll need to wait just a little longer than for flower arranging. When 1-2 buds open on a stem, that’s the perfect time to harvest.
You also have to harvest in the morning. Here’s why.
– Pollination and Fragrance
Flowers release scent to attract pollinators. For some plants, the pollen is only viable for a few hours after the flower opens. For this reason, nature has designed flowers so that their fragrance is strongest at exactly the point when the bud opens and the pollen is at peak viability.
With some lavender, research shows that the plant produces more seeds when insects visit first thing in the morning just as buds open. Seed production declines if the plant is only visited in the afternoon after opening rather than in the morning.
So, lavender is a plant that really needs to attract pollinators to arrive just as buds open for best pollination results. As such, it makes perfect sense that those buds would have the strongest, most enticing fragrance immediately before and right after opening in the morning.
– Peak Aroma
If you really want to harvest the most aromatic buds for use in culinary applications, the best time to harvest lavender is in the morning, just as the first bud opens.
– Dew or Don’t Wait?
Some people advise waiting until the dew dries. This will help the cuttings and buds dry faster. Yet it’s not always practical to wait that long if you have other things to do with the rest of your day.
It’s a choice between picking with dew in the morning or waiting until they are dew free in the afternoon. I personally do the dew in the morning route. Then, I’m extra careful about controlling moisture during the drying process.
– Ideal Drying for Culinary Use
Cut the entire stem. Then remove the buds from the stem as soon as possible so they don’t open and release their aroma.
If you leave the buds on the stem to dry, the buds may not realize the gig is up until the stem runs out of water. That’s why even when you harvest and hang your stems up to dry right away some flowers keep on opening. By removing the buds from the stem, they start drying and stop opening.
Lay those buds out on some parchment over a cookie cooling rack or on a fine screen used for drying herbs. Set them in a dark dry location. Drying like this typically only takes a couple of days.
– Curing Buds
Once dried, put the buds in an airtight jar and let the jar sit in a cool, dark location for a few weeks before use. This short curing process allows the fragrant oils in buds to work their way back toward the exterior edges of the buds.
Then, when you open the jar, you also get the thrill of inhaling those intensely aromatic lavender buds!
– Extend the aroma
With a large jar of lavender, by the time you get to the bottom you can barely even smell the fragrance. By instead storing lavender in several smaller jars, you don’t expose your entire lavender harvest every time you open the jar.
3. Craft Applications
When drying lavender for craft applications, your harvest time will depend on the craft type. Here are a few examples.
– Lavender Wands
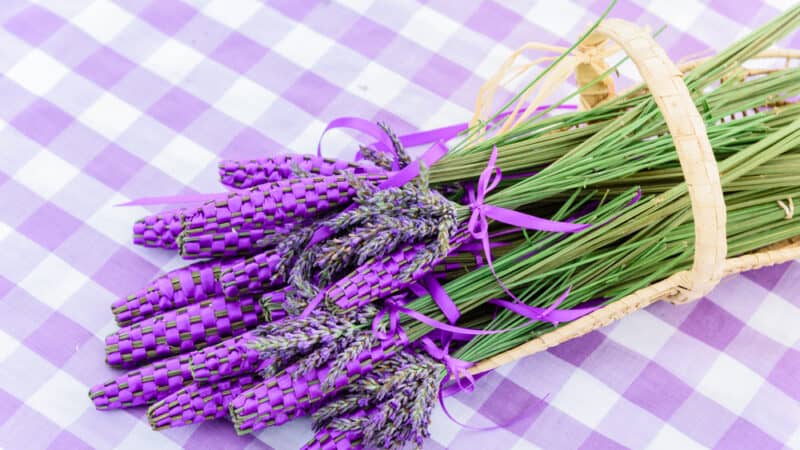
For the most fragrant lavender wands, you’ll have to harvest at the culinary peak so that you get to preserve all that saturated aroma.
In this case, though, you’ll have to harvest after the morning dew has dried. That way you don’t fold super wet flower buds into your wand center and create a mold hazard.
– Sachets
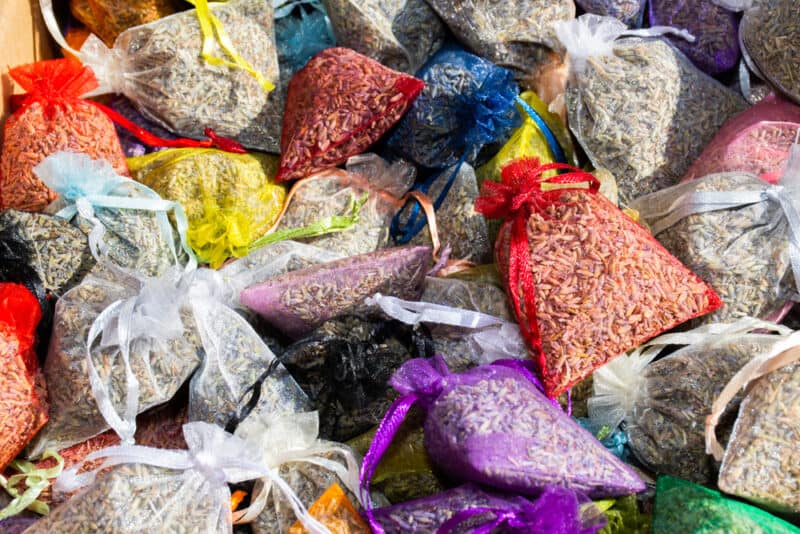
For sachets, using the culinary method will also produce the most fragrant dried buds. You can also store the buds in an airtight glass jar to intensify the fragrance before making your sachets. Then keep your sachets in an airtight jar until you put them in use.
– Wreaths
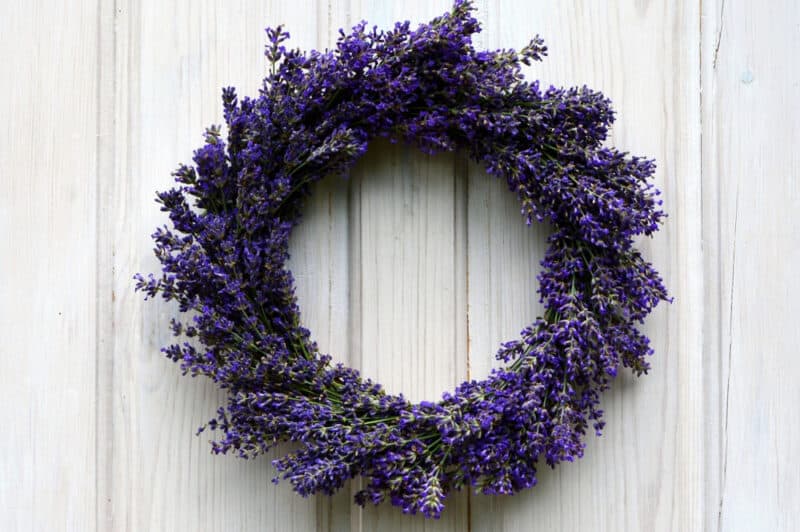
For lavender wreaths, if you want them to last for a long time, harvesting before the bud opens is best. In that case, you’ll have to follow the flower arrangement guidelines.
If you are using your lavender for a special occasion wreath and want peak aroma, then use the culinary harvesting guidelines. You will lose a few more buds during drying, but the wreath will be more fragrant in the short term.
Also, for some wreath styles, you can attach the stems before drying and allow them to dry on the wreath. That way you won’t drop as many buds as you would if you attached already dried stems later.
Lavender Drying Options
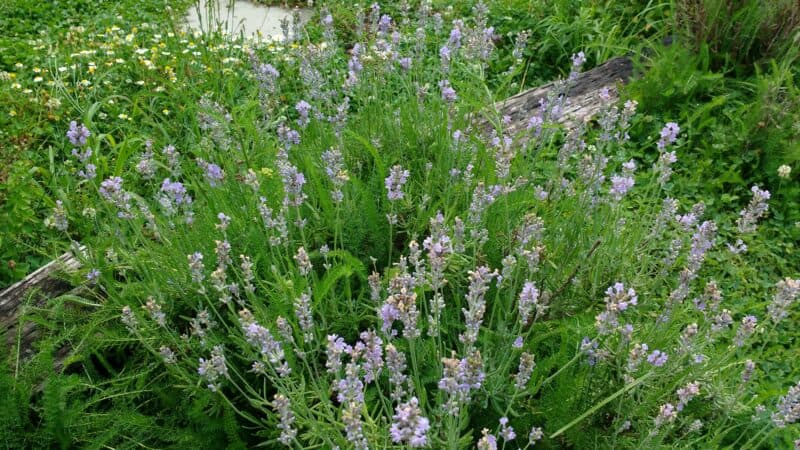
One last thing to consider is your drying method.
1. Air Drying
Outdoor air drying, such as in an outbuilding, is a common location for drying lavender in dry climates. However, many new cultivars of lavender have been adapted to humid environments. Air drying in humidity is not as easy.
In that case, you may need to dry lavender indoors where your humidity levels tend to be lower due to air conditioning and heating systems. Or, you may need to consider alternative drying methods.
2. Dehydrators
Dehydrators work well for lavender if you keep the temperature below 115°F.
Additionally, you don’t want to run the fan on high. Gentle air circulation is much better, so you don’t lose all that amazing aroma during the drying process.
3. Fans
If you don’t have a dehydrator or need to dry larger quantities, using a warm, protected area and an electric fan can help. Don’t aim the fan directly on the lavender or it will dissipate the fragrance and dry the lavender too fast.
Instead, aim the fan so air circulates under and around the lavender to move humidity and keep moisture from settling. Alternatively, using the fan as a vent (by putting the fan next to the lavender, but blowing away from it) can help.
4. Ovens
I also love to dry lavender in my turned-off oven. It’s gas with a lit pilot. So, it always stays dry and around 90°F in the oven with low humidity. These are ideal conditions for drying lavender, especially the buds.
You can do the same with an electric oven by setting it at 100°F or its lowest setting. Warning! Don’t use the “warm” setting, that’s too hot.
The downside of the oven method is that you lay the lavender down. That’s fine for the blossoms, but if you try to dry long-stemmed lavender bunches they dry unevenly and some flowers get crushed.
Instead, dry the flower stems flat without overlapping. Bunch them up after they are dry.
Drying Lavender for Seed Saving
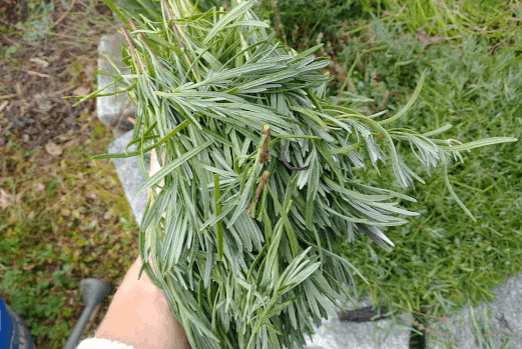
Most lavender is propagated by stem cuttings because it’s so easy and plants mature faster from cuttings. Also, lavender seeds don’t reliably produce plants that are similar to their parents.
For example, I planted one packet of heirloom Munstead lavender seeds and got flower colors ranging from dark purple to whitish purple. Some of the resulting lavender buds I harvested were the most amazing I have ever had. While others were inedible.
Seed Saving
For this reason, saving seeds from lavender is not considered the best way to reproduce your favorite plants unless you are trying to cross-breed new varieties or just have some fun in the garden. However, if you want to give it a try, let the plants flower, form seeds, and dry on the plant before harvesting.
In windy areas, you may have to cover the seed heads with a paper or nylon bag to keep the heads from shattering. In wet areas, you may need to harvest mostly dry seeds in advance of a big storm and finish drying indoors.
Pollination Issues
Also, remember each flower is only likely to produce seeds pollinated in the morning shortly after it opens. Since pollinator behavior is controlled by the weather, if your plants flower during wet or cool periods, they may not form as many seeds.
You can hand pollinate flowers each morning during the flowering period. Or just harvest lots of extra flower heads to make sure you have plenty of seeds to save.
Remember Your Pollinators!
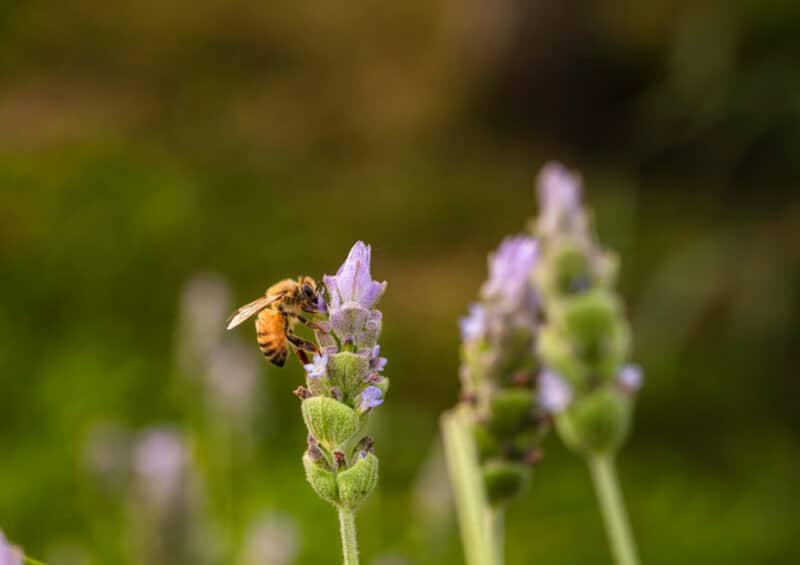
Now, even if you aren’t planning to save seeds, why not leave some flowers to bloom for the pollinators? Lavender is a pollinator’s favorite. By leaving a few blooms on the plant you get to enjoy their beauty and give your pollinators a treat.
Once the flowers are spent, then you can prune the rest of the plant to keep them healthy and blooming beautifully in the future.
