Fermented foods are getting tons of attention lately – and for good reason. They’re incredibly healthy and taste delicious, and they can keep for a good long time. If you want to take your fermentation game to the next level, or you want to live a more self-sufficient lifestyle, you should definitely consider growing and learning how to ferment vegetables.
The idea of fermentation always gave me the chills. All I could imagine was the bubbling, spoiling food that I would be expected to eat, and the words “gross” rang out through my head. As my homesteading efforts grew, and I experimented with different preservation methods, I reluctantly turned to fermentation.
Turns out, learning how to ferment vegetables wasn’t as bad as I thought. I’m a self-proclaimed canning freak; if it’s possible to can, I’ve probably tried it at least once. My idea of fun is whipping up a few batches of jelly or canning leftover chicken broth. How could fermenting be more impressive than canning?
While fermenting hasn’t replaced my beloved canning, I have to admit that fermenting is usually far easier. The process to ferment vegetables requires less time than canning, and you don’t need expensive equipment to get going. Plus, you get probiotics and digestive enzymes that can boost your immune function.
If you know nothing about fermenting, take a look at our article that details what fermentation is and how it works. You need that knowledge to move forward. Ready to get started?
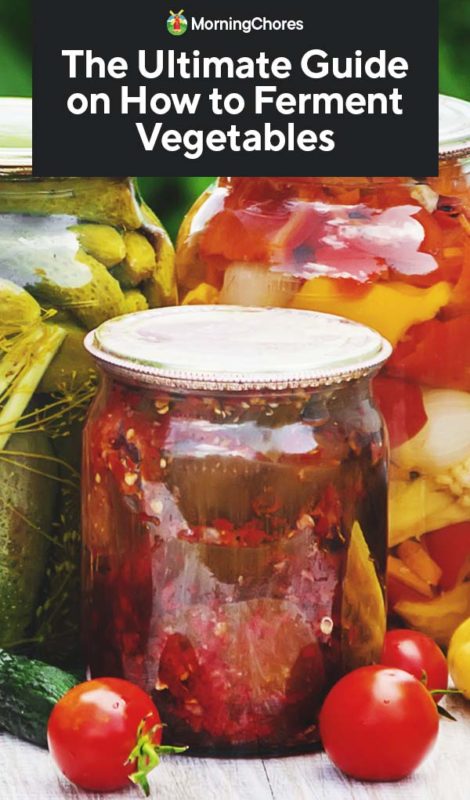
What Can You Ferment?

You might be wondering what can you ferment and what you can’t.
For the most part, there are few things that CAN’T be fermented, and that should give you a sigh of relief. It’s one less thing you can mess up. You can ferment milk, eggs, meat, fruit, grains, herbs, and even honey. Both raw and cooked foods can be fermented. When it comes to fermenting vegetables, the sky is the limit. You can ferment pretty much any veggie or fruit you can grow.
If you want to grow and ferment vegetables from your garden, there are a few options that are particularly easy to get started with, including:
- Carrots
- Broccoli
- Peppers
- Radishes
- Beets
- Cauliflower
Cabbage is another excellent option because you don’t need a brine to get the fermentation going. Just add salt, and the moisture in the cabbage leaves takes care of the rest.
On the other hand, some veggies require techniques that might be a bit more advanced. These include:
- Veggies that are only consumed cooked, such as sweet potatoes and potatoes.
- Foods that are mushy, such as avocados.
- Ripe tomatoes, which are high in sugar, so they need to be fermented like fruits.
- Squash and cucumbers, which have a high water content, so they benefit from being fermented with something like black tea leaves or grape leaves, which will add tannins to the mix.
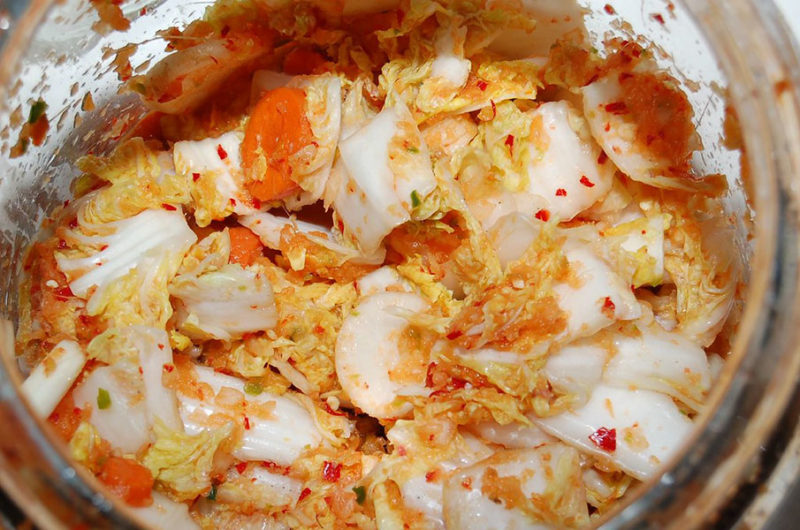
You can even combine crops to make a tasty treat. Try carrots and peppers, or green beans and garlic. Beets with fennel are particularly delicious, as are onions and squash.
Growing a Fermentation Garden
When planning out your garden with the goal of being able to ferment vegetables, you need to keep a few things in mind. First, make sure you’re planning to plant enough veggies to provide you with the amount of food you want. One of the nice things about fermenting is that you can do one container at a time, so if you have some leftover cabbage this year, you could ferment it to eat later. If you want to sell fermented veggies at the farmer’s market or you want to feed the family all year long, you’ll want to plan a larger crop.
Second, organic matters when it comes to fermentation. Remember that fermentation is alive, and pesticides kill living things. Non-organic foods contain pesticides, herbicides, or fungicides, and you don’t want to ferment those chemicals. Chances are, it’ll kill off all of the good bacteria that you want to be able to culture.
Finally, keep in mind that if you want to combine crops for fermenting together – like carrots and ginger, for instance – you’ll want to schedule planting so that things are ready to harvest at the same time.
Tools You Need to Ferment Vegetables
Like I said before, fermenting doesn’t require that you run out and purchase a lot of new equipment, but you will need a few things. Here are the tools you need to ferment vegetables:
1. Fermentation Vessels
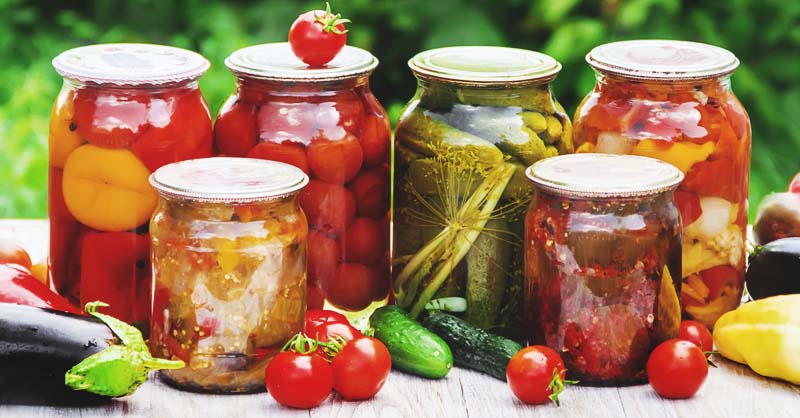
First, you need a vessel that will hold your ingredients. You want to avoid plastic, metal, or containers that aren’t food grade. Wood, glass, and ceramic are ideal choices. Make sure ceramic vessels use a lead-free glaze.
You might be surprised at the adorable crocks for fermentation you can find! That said, glass jars are my preferred vessel. Wide-mouth jars are the easiest choice; you can get your hand in and out. You also don’t have to spend a lot of money.
2. Weights
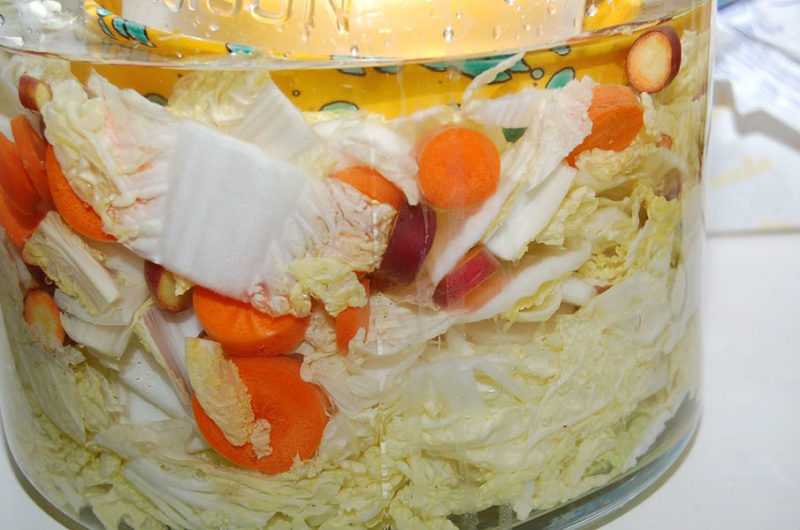
The purpose of weight is to keep your food under the brine. It can be a saucer of water or a cabbage leaf that you tuck over your veggies. Other fermenters use shot glasses or small jars. Whatever you find around the kitchen works just as well, but it must be food grade.
I use glass weights that I purchased specifically for fermenting. They aren’t expensive, and I knew I could be confident that they would get the job done.
3. Airlock Lids
For the most part, airlock lids are optional unless you’re fermenting alcohol, which requires an airlock. Having an airlock lid adds an extra layer of protection from environmental factors, like mold. It’s easy to find lids made for glass jars, and they’re affordable.
The rest of the list are items you’ll more than likely already have in your kitchen, such as:
- A Wooden Spoon
- A Knife
- Cutting Boards
- Measuring Cups
- Salt
- Water
- Spoons
The 5 Major Rules for Fermenting Vegetables
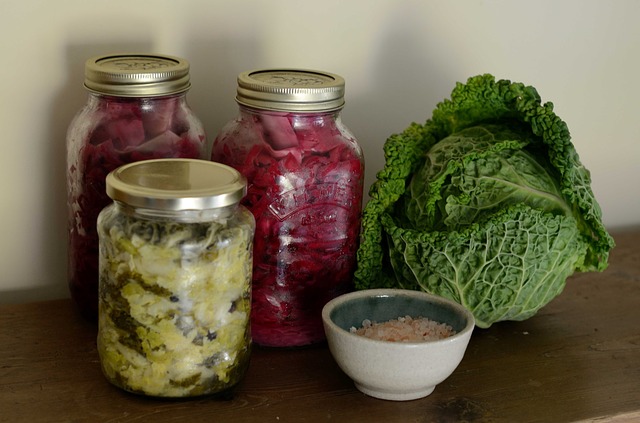
Now that you have the tools and ingredients you need to ferment your vegetables, it’s time to learn about the five major rules you’ll need to follow.
1. Use Fresh, Raw, Organic Foods
Your ferment will be only as good as the beginning food you used to create the fermentation. That’s why growing your veggies is ideal. You want your ingredients to be as fresh as possible. Fermenting anything that has already started to rot or mold leads to a ruined ferment, and no one wants that to happen!
2. The Pieces Must be Uniform and The Right Size
The next primary rule is that all of your vegetable pieces should be relatively the same size so that they can ferment at a similar rate and in a reasonable amount of time. The size you need will vary depending on the vegetable and the recipe, but the key is to keep everything close in size.
3. Use a Starter or Double The Salt
Veggies use a process called lacto-fermenting. Note that “lacto” refers to lactobacillus bacteria. It has nothing to do with dairy, despite the name. So how do you get things started?
Use a Starter
The first option is using a starter, which is putting parts of the lactobacillus bacteria into the ferment to speed it up. A starter is a liquid that comes from other lacto-fermented food. It might be liquid that comes off from other veggie ferments, the whey from a live yogurt, cheese, plain kombucha, or hooch from a sourdough starter.
Double The Salt
The second option is to use salt. Microbes can’t handle too much salt, but lactobacillus handles low and medium-levels of salt. Use the right level of salt to give the bacteria the boost it needs to ferment the food.
What salt is best for fermenting? You want a quality, chemical-free salt that isn’t iodized or table salt. Reach for pure sea salt, kosher salt, pickling salt, Himalayan Salt and Celtic Sea Salt. If you use coarse-grained salt, you have to increase your recipe by 50% because most recipes assume you’ll use a finer salt.
4. Keep Food Below The Brine
The starter and salt protect food that is under the brine. Anything that floats above the brine gets air exposure, and that means it can develop mold. Mold isn’t the end of the world when it comes to fermenting, but it’s better not to have to deal with it at all.
This is when you need the fermenting weight. You can use a saucer, a cabbage leaf wrapped to stop the food from coming up, or a small jar. The options are endless, but make sure it keeps the food under the brine.
5. Keep Ferments in a Cool Storage After the First Ferment
When you first start fermenting, you need to leave it at room temperature. The bacteria has to establish a healthy colony, and they work faster in warmer temperatures.
At some point, we want our fermentation to slow down. Otherwise, it gets too sour as the bacteria colonize. If it keeps fermenting, the food starts to break down and turn to mush.
Start tasting your ferments around day 3. Once you like the flavor, put the jar in cold storage. The ideal place to store it is a location that is consistently around 55℉. It’s not freezing, but cold enough to slow the fermentation process. A refrigerator is a good choice, but you can use a cellar, a cold basement, or similar places.
Making the Brine
There are multiple types of brines, but when it comes to veggie ferments, there are two types: a brine for shredded veggies and brine for larger cuts or whole vegetables.
In general, shredded or finely diced ferments use a dry salted method, and the salt pulls the liquid out of veggies, creating their brine. The best example of this is sauerkraut. Ferments made with larger pieces of vegetables need to be covered with a salt water brine.
Dry Salting Method
If you have shredded or finely diced veggies, or veggies that have a lot of water, use this basic recipe.
- Use one scant tablespoon fine salt per 2 ½ lbs shredded veggies.
Basic Brine
For large-chopped or whole veggies, use this basic brine.
- 1-quart non-chlorinated water
- Three tablespoons fine grated salt (or 4.5 tablespoons of coarse salt)
Mix until salt is fully dissolved.
It’s Time to Get Started
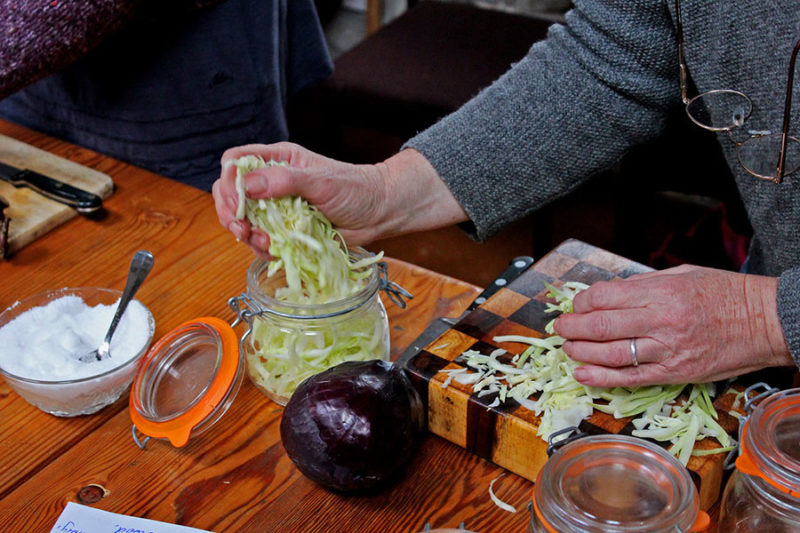
Now that you have the basic idea on how to ferment vegetables, don’t waste time. Dive right in! Fermenting seems scary, but after your first attempt, you’ll realize that it’s one of the easiest ways to preserve your garden produce. Take this easy fermentation guide and get started!

