Fresh pickles! My mouth water at the thought.
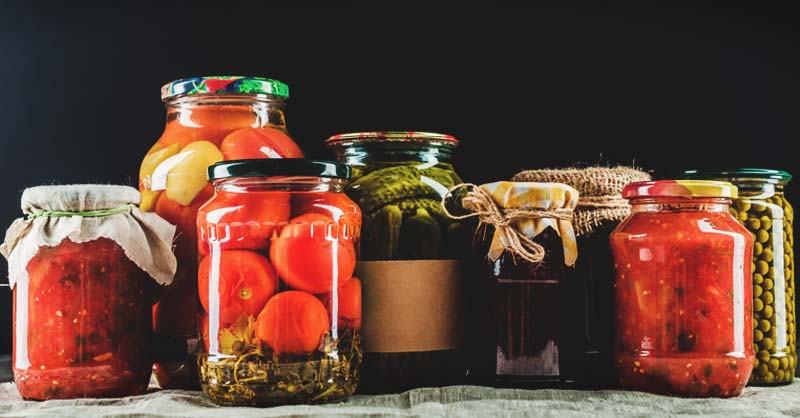
They’re an excellent addition to deli sandwiches, hamburgers, or even good for a healthy snack. Pickling is also one of the easiest methods of food preservation.
If you’re interested in turning your garden harvest into a pickled treat, you’ve come to the right place.
I’ll be walking you through the different methods for pickling, the important ingredients of pickling, a few popular options for pickling, and how to pickle fresh vegetables.
Here’s everything you should know to begin your pickling journey:
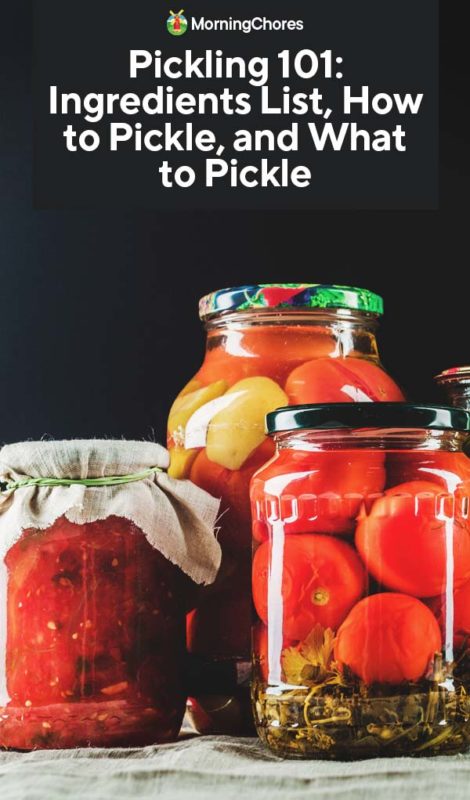
What is Pickling?
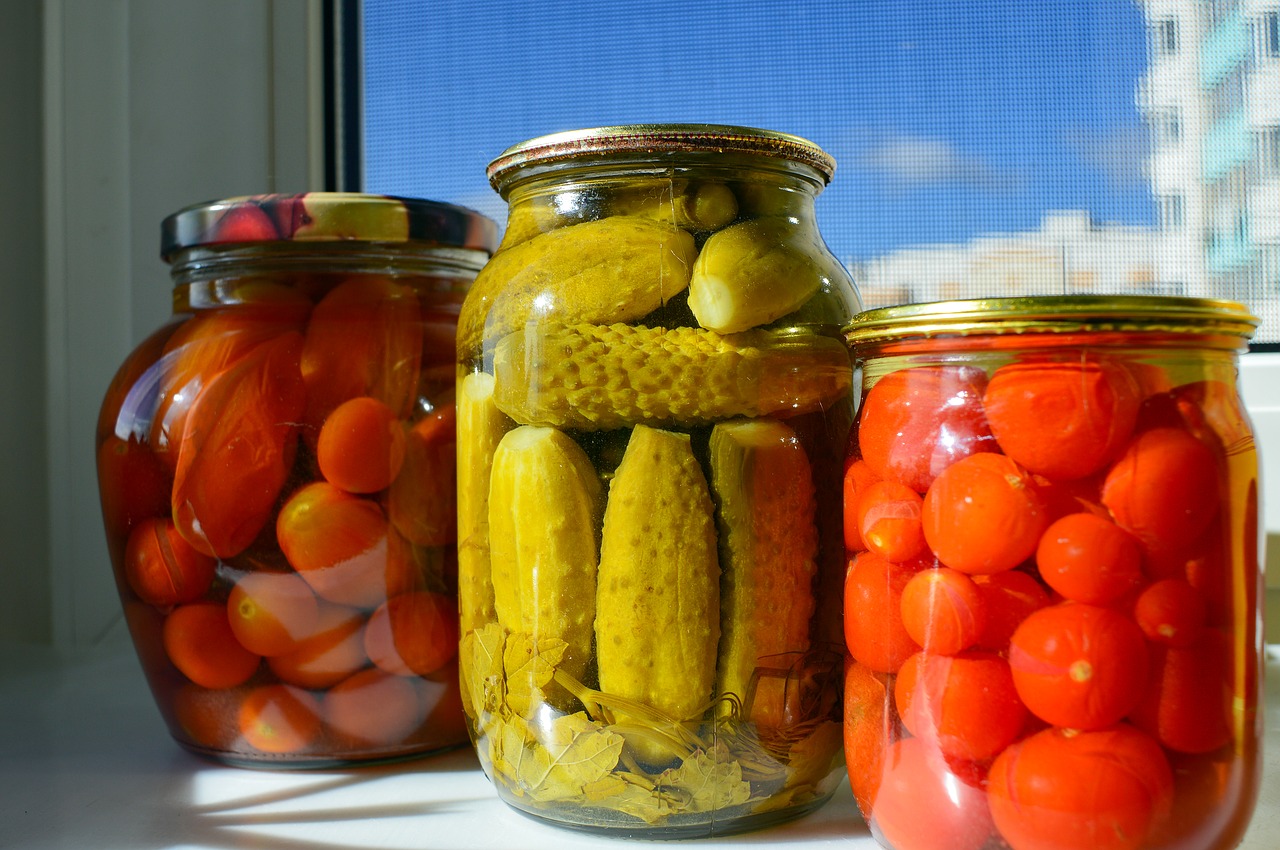
Pickling is a food preservation method where it creates a safe environment for foods to become overly ripe and decay.
Because of the ingredients, it doesn’t leave room for harmful bacteria to form while the food ages. The food can be safely stored in jars and munched on for a gut-healthy treat.
There are two different pickling processes. Fermentation is a popular option, though it takes a little longer for the process to happen.
We’ll be discussing the other pickling option where a vinegar base is used to preserve food and give them the proper environment to age while remaining safe for consumption.
Important Pickling Ingredients
You need three main ingredients to properly pickle anything. You can add two optional ingredients if desired. Here’s what you must have for pickling:
1. Vinegar
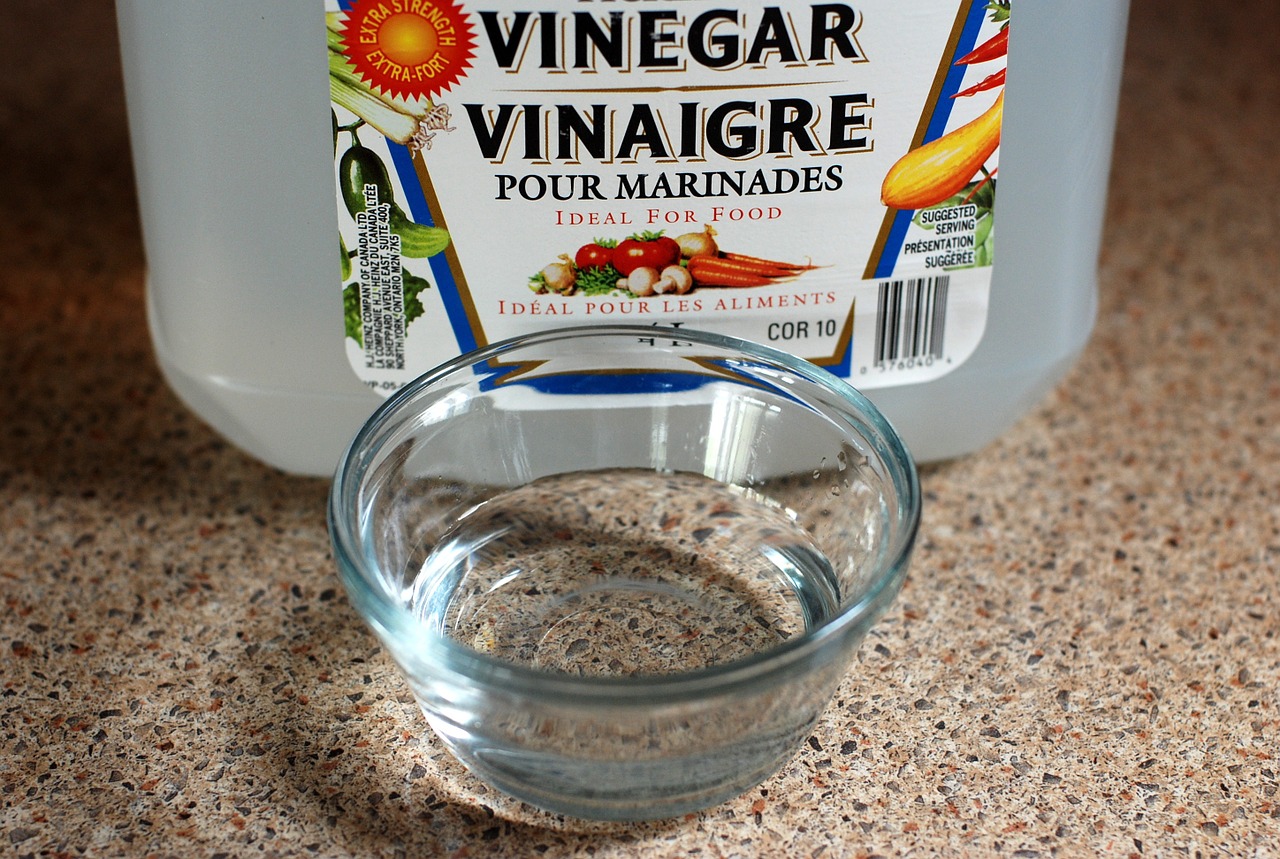
There are two options when choosing the best vinegar for pickling. Your first option is to use distilled white vinegar or white wine vinegar.
Many people prefer these vinegar types because it won’t change the color of the produce you’re preserving.
However, you can also choose to use apple cider vinegar. It has a milder flavor but will change the color of the produce.
The overall important aspect of the vinegar is to make sure you use an option which is 5% acetic acid and use equal parts of vinegar and water.
If you use more water than vinegar, the food won’t be safe to eat.
2. Salt
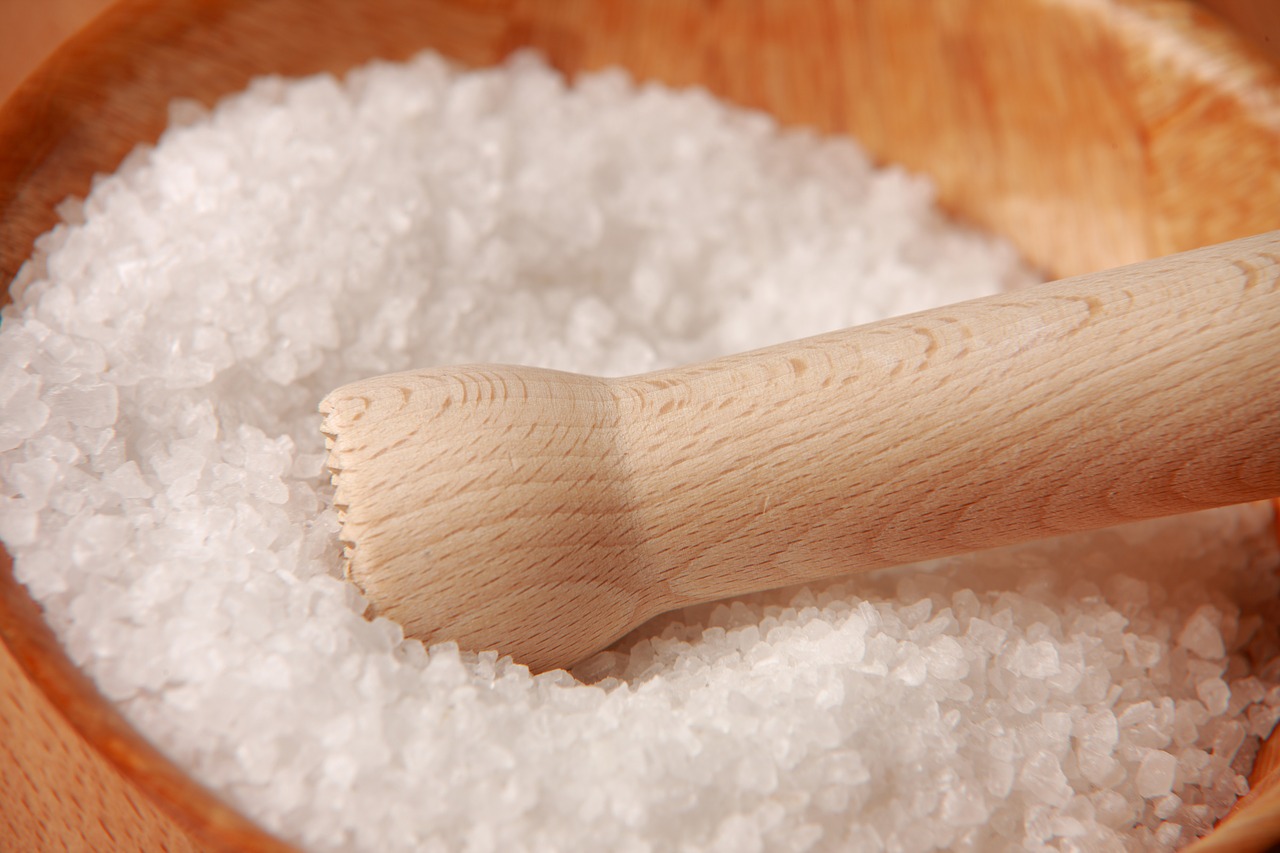
There are multiple choices for which salts to use when pickling food. Your best option is to go with a pickling or canning salt.
These salts have smaller granules and dissolve easier into the solution. You can also go with kosher salt.
Be aware if you do, it tends to clump. You must stir it longer and with more vigor to make sure the clumps dissolve.
The clumps can also cloud the liquid you create for the pickling process. Take all of this into consideration when pickling your produce.
Some people don’t care what the food looks like in the jar, but if you do, choose your ingredients carefully.
3. Water
Water is the last of the three main ingredients you must have to pickle foods properly. If you have hard water or chlorinated water, it will cause the liquid to cloud inside the jar over time.
Should you have the option, go with distilled water for pickling. If you don’t have that available, know any water is okay to use if it’s safe for drinking.
The water choice only makes a difference as far as the appearance of the finished product.
4. Optional Ingredients
When canning you can choose to add sugar and spices to the mix for added flavor. This isn’t required and some people prefer a more basic canning recipe.
However, if you decide to add spices, these are a few favorites:
- Dill
- Mustard seed
- Cumin
- Pickling Spice
Favorite Pickling Options
When you start pondering over pickles, your mind probably goes straight to cucumbers. However, there are many other options for pickling produce.
A variety of items you grow in your garden can be turned into a delicious pickle in no time flat with this simple preservation method.
These are some of the most popular items to pickle. Give them a shot and see which makes your new favorite pickle:
How to Pickle Your Produce
The only thing left to discuss regarding pickling is how to go about doing it. There are only a few basic steps, and if you apply the above information, you should have a pleasant (and tasty) experience when preserving produce using this method:
1. Prep Your Veggies
When you begin pickling vegetables or fruits, it’s important to cut the produce into manageable sized pieces.
For fruits, this could mean slicing them into rings, chunks, or wedges. Vegetables usually do better if sliced into circles or wedges.
This is also the step where you must decide if you want to brine the pickles ahead of time. This is said to help add flavor and crisp to your produce.
If you decide to brine them, you’ll mix the brine, soak the produce in it for a few hours (or longer) depending upon the recipe and quantity, and drain.
You can boil the produce in the brine as well, drain, and dry before moving forward in this step. Again, this is optional.
2. Put in Jars
Once your produce has been sliced (and optionally brined), it’s time to place them in jars. It’s best to pickle items in a pint-sized jar.
If you go with a larger jar (such as a quart), you end up opening more than you can use in a specific amount of time, and it will be wasted.
When you place the items in the jar, make sure they are packed tightly. If you don’t pack the jars in such a way, the produce will float to the top when you add the brine.
If you choose to can your pickled items, the uncovered items will become soft and could develop bacteria.
Therefore, make sure your jars are packed correctly.
3. Add Some Flavor
Once your jars are packed, it’s time to decide if you want additional flavor. As mentioned above, there’s a variety of flavors you can choose from.
Consider adding a few of these spices to your pickles:
- Dill
- Coriander
- Pickling spice
- Cumin
- Turmeric
- Peppercorns
- Mustard seed
4. Make Brine
Whether you presoak your pickles in brine before placing them in the jar, you must cover them in brine once in the jar.
A brine can be as simple as equal parts water and distilled vinegar. You can add sugar or more vinegar to the brine if you like.
However, you must not have more water in the brine than the vinegar for food safety reasons. The acid in the vinegar is what creates the perfect environment for the food to age without inviting the wrong bacteria to the party.
When your mixture has been placed in a cooking pot on the stove and has reached a boil, you’re ready to pour or ladle it over the produce.
5. Fridge or Canner?
The most exciting part about pickling food is you don’t have to can it for preservation. If you’re afraid of canning (which many people are) place a lid on the jar and put it in your fridge. The brine will pickle the vegetables, and they’ll last for a couple of months or more in this setting.
However, if you’re interested in storing your pickled produce without refrigeration, you can easily can it in a water bath.
Every type of produce has different processing times. Be sure to do your research to make sure the jars are boiled long enough to kill any bacteria inside them.
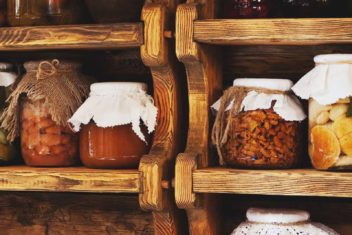
Once finished, allow the lids to seal, the jars to cool, and place them on a shelf in a cool, dark area for storage until you’re ready to enjoy them. Be sure to refrigerate after opening a canned jar.
You’re now in the know on how to pickle foods and preserve them for long-term use. This is an easy, cost-effective and delicious way to preserve your garden harvest.
They’re wonderful picnic food, a healthy snack, and can even work as a tasty side dish to most meals. Hopefully, this will give you a new way to appreciate the foods you grow.

