Dehydrating food is a great way to stock your pantry. Sure, you’re undoubtedly canning and freezing up a storm, but dried goods are ideal for long-term storage too. Dried fish can last for several months if stored properly! If you have a good source of fresh fish nearby, check out these ways of drying fish. You’ll be able to put a lot of protein away in storage to enjoy during the leaner months.
What are the Benefits of Drying Fish?
Well, for starters, it doesn’t have the same risk of spoilage as canned or even frozen fish. Let’s say you pressure can several jars of tasty fish stew. You set these up nicely in your cold cellar and forget about it… but then a shelf breaks or your cat gets downstairs and knocks the jars off. All that hard work will be spilled across the floor, stinking up the place.
Same goes for frozen fish. Have you ever come home after a few days’ worth of camping or foraging to discover that there’s been a power outage? If you have (and I have…), you’ve likely found that most of the stuff in your fridge and freezer have spoilt.
Method #1: Air Drying
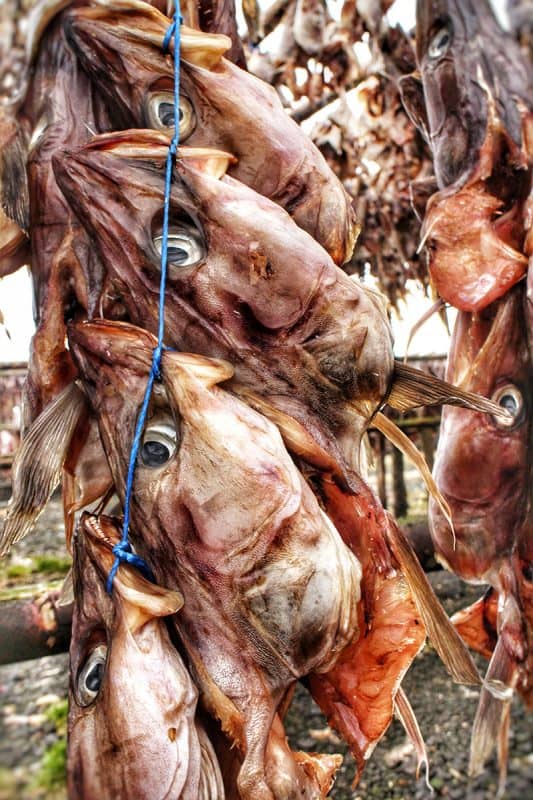
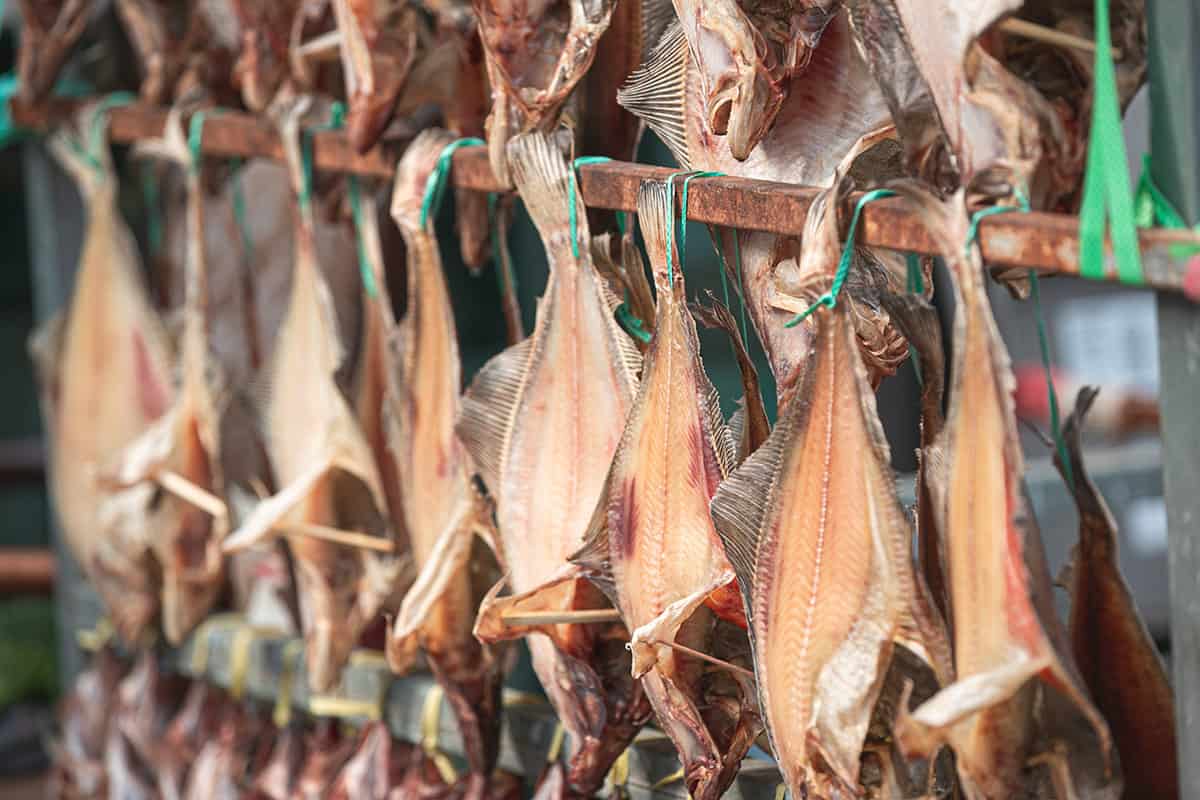
This is the method used for traditional Icelandic harðfiskur (literally “hard fish”). Over there, where winds are pretty constant around the coast, skinned and filleted fish are hung on wooden trellises outside. Those winds dry the fish out beautifully while keeping bugs from accumulating.
Icelanders use haddock, cod, and wolffish for this, but you can use any lean fish you have available. Don’t choose fatty ones, as they’ll go rancid and spoil. The key is to ensure that the species are large enough to make the endeavor worthwhile.
Once they’ve dried out, you can pound them as flat as possible with a meat mallet. This is both for the sake of easy storage, and to make them a bit easier to eat. Gnaw on these dry fish slabs dry – as they do it over in Iceland, usually smeared with a bit of butter.
Of course, the slabs can also be added to soups and stews to rehydrate them as needed.
It’s a method that works well if you’re in a windy, cool environment. If you’re in an area that’s windy, but also warm and humid, the fish is likely to go “off” before it dries out.
How to Dry Fish via This Method
To do this method, clean, gut, and either butterfly or fillet the fish. Make sure to save the heads and bones for soup stock or homemade fish emulsion fertilizer. If the fish you’re drying out is quite thick, make even cuts through the flesh, all the way to the skin. This will allow for more even drying.
Once that’s done, cut a hole in the tail end and thread a thick piece of twine or cord through it. You’ll use this to tie the fish to a lattice structure outside.
Ideally, you should do this process in the spring or autumn, depending on where you are. For the fish to dry properly, the weather needs to be both windy and below 10°C/50°F. Warmer than that, and it’s apt to spoil.
On that same note, some people dip their fish in brine before hanging it to dry. You can do this to improve its flavor and/or if it’s slightly above the temperature mentioned, as it’ll help prevent spoilage.
Check the fish regularly over the next few days to mark the drying process. If and when you think it feels like hard, fishy paper, try breaking a piece off in the thickest area. It should be dry straight through and break off easily in your hand. If it isn’t, leave it out there for another day or so.
Once it’s properly dry, it’s time to beat it. Aw yeah. Lay the dried fish on a cutting board or table, and have at it with a meat ballet. It should flatten nicely or break apart into flakes. At this point, you can transfer the dried goodness to plastic zipper bags or clean glass jars. Keep these in your pantry, away from any moisture.
Method #2: Sun-Dried Fishies
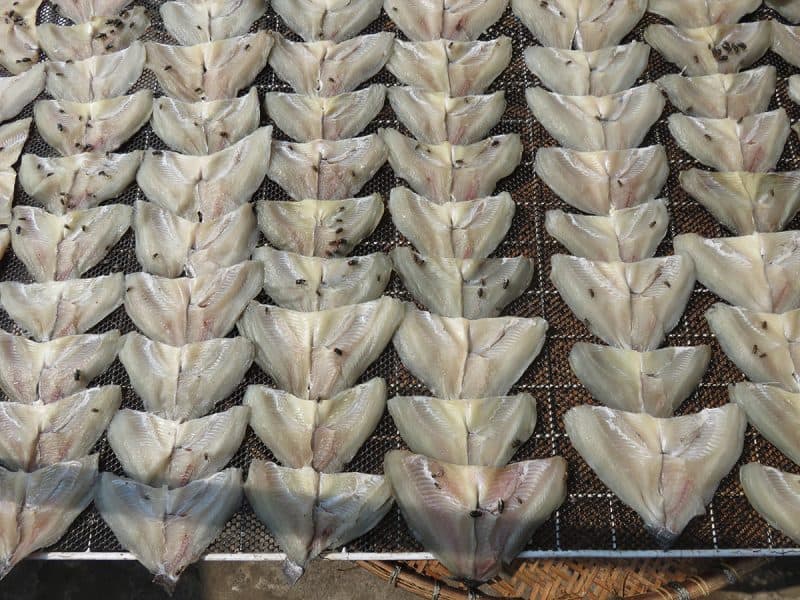
Now, if you’re in a hot, dry locale, you can use both wind and sun to dry out your fish snacks. Start this process first thing in the morning, preferably around sunrise.
Gut and fillet the fish, and dip them in brine. Then spread them out onto mesh racks in a place where they’ll get direct sunlight for as long as possible. Exposure to the heat and sun should dry and sterilize the fish quickly. Turn them over every couple of hours to ensure even drying on both sides.
Method #3: With Salt
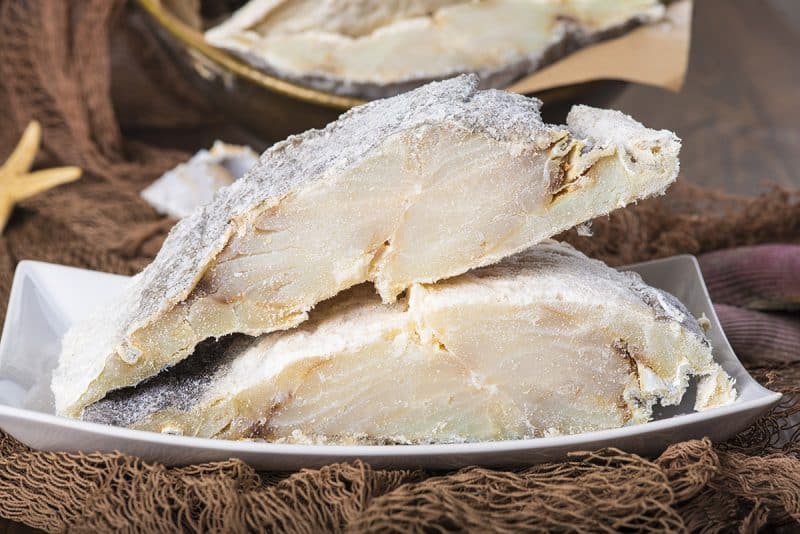
Have you noticed that salt has a startling drying effect on oh… just about everything it touches? If you don’t live in one of the aforementioned climates, salt is another great way to dry fish. Salting fish is one of the most ancient methods around. Furthermore, salted fish—especially cod—has been a staple in North America and Europe for centuries.
As you might assume, fish preserved via this method is incredibly salty. As a result, you’ll need to soak and rinse it several times before cooking with it. The good news is that salted fish keeps for a really long time, and you can use it to make delicious dishes like Bolinhos de Bacalhau: Portuguese salt cod dumplings.
For this method, you’ll need coarse-grain salt like pickling, sea salt, or Himalayan mountain salt. Never used iodized table salt, as it’ll discolor everything. After you’ve cleaned, gutted, and filleted your fish, pour about two inches worth of salt into a large container. Set down a layer of fish, cover with another inch of salt, and repeat.
Once you’ve laid out all your fish, cover with another couple of inches of salt.
Leave this in a dry place for eight to ten days. If you’ve used large, thick pieces of fish, they might take another couple of days. Once they’ve dried out nicely, pack them into plastic bags (with salt still clinging to them) and store them somewhere cool and dry.
Method #4: Using a Dehydrator
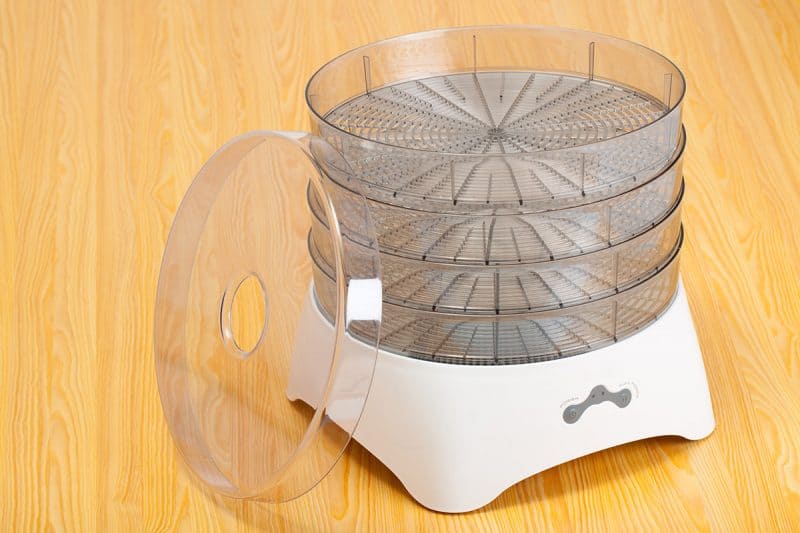
If you have an electric dehydrator, you have an excellent tool for drying fish safely and effectively. This is the best method for drying smaller species like smelts. Alternatively, if you’re drying larger fish, make sure to cut it into small pieces.
Once you’ve cleaned, gutted, boned, and skinned the fish, slice the pieces thinly. Aim for about 1/4 inch, but you can go thinner than that if you have a good filleting knife.
If you’re marinating your fish for flavor, this is where you toss it into a bowl full of seasonings and leave it in the fridge overnight. Alternatively, you can use a dry seasoning rub and set everything into the dehydrator immediately.
Lay out the fish strips evenly on every dehydrator tray, making sure there’s enough space for air to circulate.
Set your dehydrator to 63°C/145°F, and dehydrate your fish for 10 hours. Check them after this time. If they still feel a bit juicy to you, put them in for another four hours. The fish should be dry and brittle enough to flake apart in your hands. Either that or they’ll have a leathery texture: it all depends on the type of fish you used.
At this point, you can pack the fish into vacuum-sealed bags, plastic zipper bags, or glass mason jars. Store in a dry cold cellar, or freeze it to extend the shelf life.
Method #5: Smoking
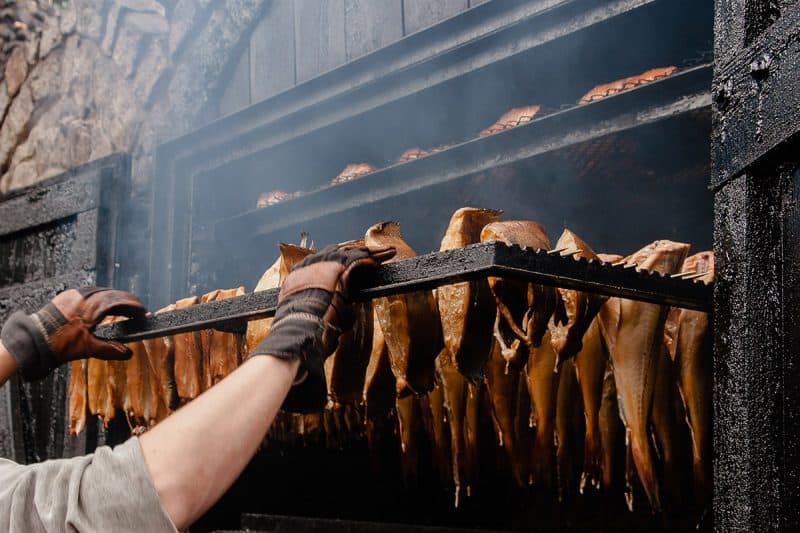
Smoking fish is a lot like the air dry harðfiskur method mentioned first. This time, however, you don’t hang the fish where cross breezes can hit them. Instead, you’ll spread them horizontally onto wire grills or mesh, suspended over a low fire for a few days. You can shorten this process to a few hours instead if you have a smoker.
Grab some fish fillets (or make them yourself), and soak them in a brine bath overnight. Then pat them dry with some paper or dish towels, and season them merrily. Then, grease the wire rack and spread the fish out over it.
If you don’t have a wire rack, or you want to do this with all local materials, you can also build a lattice out of wood. Check out the video below for some ideas:
To dry fish out completely, it needs constant exposure to smoke over a period of a few days and should be flipped every eight hours or so. If, in contrast, you only want moderately dried fish (like for smoked salmon on bagels or what have you), you can drop the drying time significantly. The same goes for if you prefer chewier dried fish to crisp and crumbly.
Drying Fish is Both Fun and a Wise Idea
Self-sufficiency isn’t just about making everything yourself. It’s also about celebrating the bounty available and trying not to let anything go to waste. Every locale has wonderful wild items that we can preserve for future use, and fish is no exception! Depending on where you are, remember that you can fish in pretty much every season.
When your harvest is abundant, whether through fish traps, nets, or really lucky lines, set aside half of everything you catch. Your future self will thank you for doing so.
