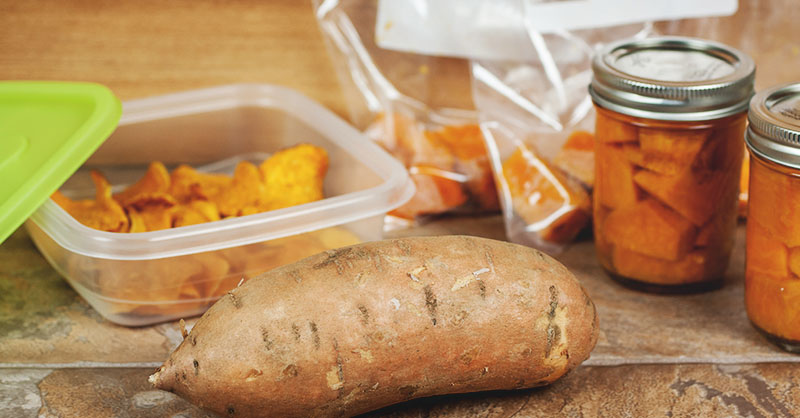
While growing up I HATED sweet potatoes. There was something weird about the fact that a sweet potato was a vegetable, yet was used in a dessert. I carried on with the rest of my childhood thinking sweet potatoes were the most confusing vegetable that I had ever encountered.
Then one day, I discovered a tasty crock pot recipe that included sweet potatoes, and I was sold on them from that point on.
But now I not only grow and cure them but can them as well.
Did you know there are multiple methods to can sweet potatoes? Well, you won’t be able to say that tomorrow. Here are three different canning methods to always have fresh sweet potatoes stocked in your pantry:
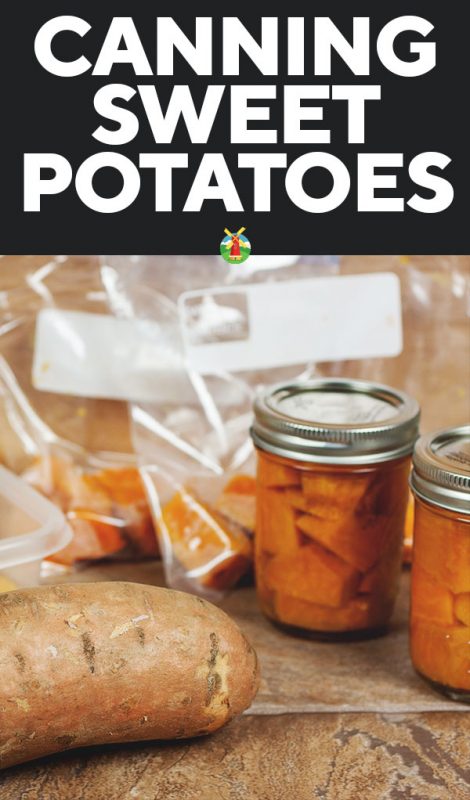
A quick note before we get started, though. When canning vegetables you usually add a teaspoon of canning salt per quart jar. You can do this with sweet potatoes, though a lot of people do not realize that salt is actually used for nothing more than a flavor booster in low-acid foods.
If you feel more comfortable with salt being used in your canning, then go for it. If you are trying to avoid salt for health purposes, then feel free to omit the ingredient. It is totally up to you.
Method #1
You will need:
- 3 pounds of sweet potatoes per quart jar
- Sugar
- Water
- Canner
- Jars
- Jar grabbers
1. Peel’em and Dice’em
You’ll want to begin the process by peeling your sweet potatoes and then rinsing them with cold water. You can use a knife or a potato peeler to help make the peeling process go a little faster.
Once you’ve got your potatoes peeled and rinsed, then you’ll want to cut them into about 1-inch cubes. I don’t think anyone really uses a measuring tool to make sure that their cubes are one inch, so eyeball it and cut them as close to an inch as you can.
2. Prep and Pack Jars
It is important to prepare your canning jars correctly because you don’t want bacteria to form inside your jars and contaminate your food. The best-case scenario in that instance is that your food spoils, but you then waste a ton of food. Worse case scenario in that instance is that bacteria forms in the food, don’t show up in your food, and then you eat it and become sick.
Avoid that scenario if at all possible and be sure to wash and sanitize your canning jars. When your jars are sanitized but still hot, begin to pack them with your cubed sweet potatoes. You want to be sure to leave one inch of headspace in the top of the jar.
3. Create the Juice
When canning (unless you are canning meat) you usually need a liquid to go along with the process. In this particular method, you are going to create a syrup. You do this by putting equal parts sugar and water together.
Then you bring the liquid to a boil. How much syrup you make will depend upon how many sweet potatoes you plan on canning at a time. If you do small batches, then you’ll need less syrup. If you are canning larger batches, then you need to make more syrup.
When you’ve got your syrup made, you are ready to get busy finishing up the canning process.
4. Add the Syrup and Process the Jars
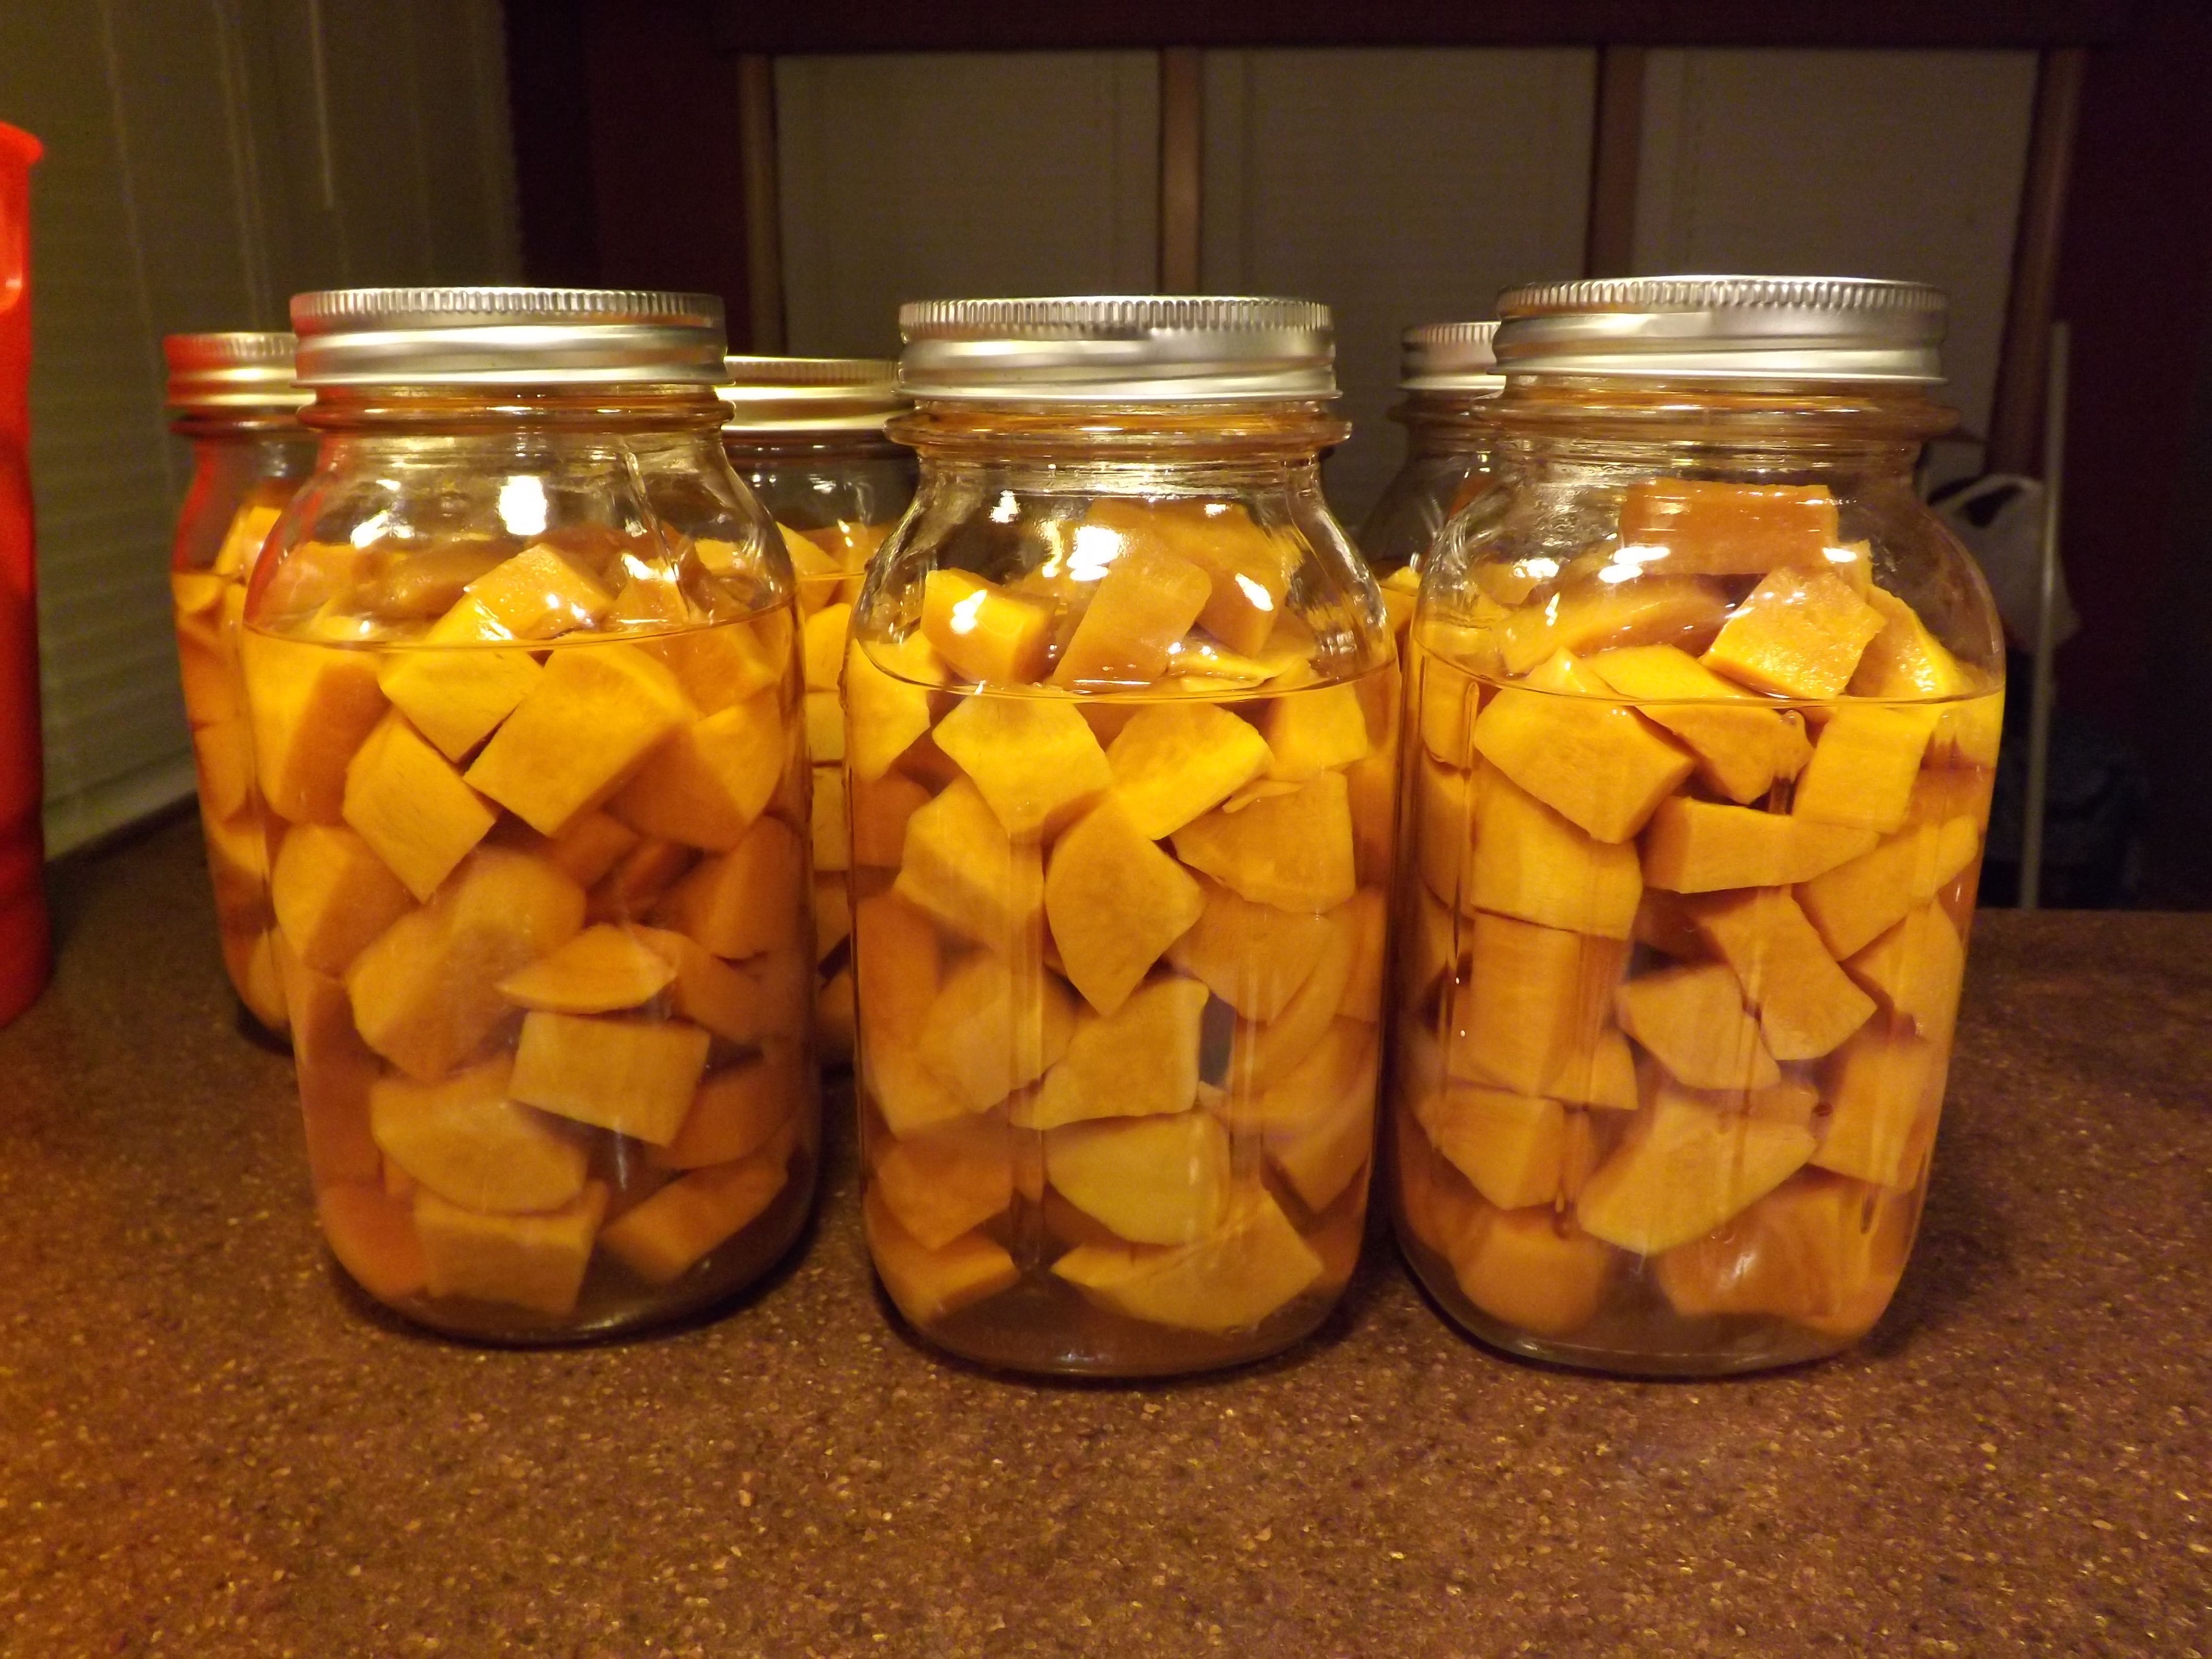
You’ll want to add your hot syrup to your jars by ladling the liquid over the sweet potatoes. Again, be sure to leave one inch of headspace.
From there, you’ll want to slide a canning knife down the side of the jar in order to release the bubbles trapped in the jar.
Then you’ll add hot lids and rings to the jars. You’ll need to pressure can the sweet potatoes for 90 minutes under 10 pounds of pressure.
5. Finish Them Up
When the sweet potatoes are done with the canning process, you’ll want to be sure that the pressure valve has dropped on the canner before removing the lid so the canner won’t explode because of it being under pressure.
Then you’ll want to use your jar grabbers to grab the hot jars from the canner and place them on a hard surface that has been covered with a towel so you don’t burn the surface.
From there, you need to let the jars sit for 24 hours. When the 24 hour period has ended, be sure that the button is dropped on the lid to ensure that the jars have sealed properly. Now you can label them and put them away until you are ready to enjoy them. Remember to add the date though.
Method #2
You will need:
- Pressure Canner
- Roughly 3 pounds of sweet potatoes per quart jar
- Water
1. Prepare the Potatoes
This method is a little different because we are going to begin by washing the sweet potatoes while leaving the skins on them. Some people prefer this method because if you leave the skins on the potatoes, it helps to prevent discoloration during the canning process.
Then you’ll need to boil the potatoes (still leaving the skins on) for about 15 or 20 minutes, or until the potatoes are just slightly softened. When you can just poke into the potato with a fork, then you know they are ready to be pulled from the boiling water.
From there, allow the potatoes to cool until you can touch them with your bare hands and not get burned. When the potatoes are cool, peel them. You should be able to just slide the skins off from them at this point.
If not, you can always use a knife or a potato peeler to help you.
Once the potatoes are peeled, cut them into one-inch cubes. Be sure that you cube the potatoes because if you try to mash them you can have some heating problems during the canning process which could allow bacteria to form in your jars, which you don’t want.
When your potatoes are washed, boiled, peeled, and cubed, then you are ready to launch the canning process.
2. Pack the Jars
You will want to make sure that your canning jars have been thoroughly cleaned and sanitized. When they have been, you need to begin packing the jars with the cubed sweet potatoes. Be sure to leave one inch of headspace.
Now, some people prefer to prep their sweet potatoes a day in advance so they have plenty of time to cool before packing their jars. In that case, you’ll need to be sure that you reheat the sweet potatoes before packing them into the jars.
3. Add the Water and Debubble
Once your canning jars have been packed, it is time to add some boiling water over the top of the cubed sweet potatoes. You need to be sure that the sweet potatoes are covered while still respecting the one-inch headspace.
Then you need to use your canning knife and slide it down the side of the jar to release any air bubbles that may have been trapped in the jar.
Also, if you worry about your sweet potatoes being discolored, you can always add a splash of lemon juice or orange juice to each jar, so the acidity in the juice can help combat that problem.
4. Put Lids on the Jars and Process
Now that your jars are all ready to go, you need to add hot lids and rings to the tops of your jars. Be sure that they are tightly secured to the top of the jar.
Then you’ll need to process the jars in a pressure canner for 90 minutes at 10 pounds of pressure.
5. Wrap it Up
Once the pressure valve has gone down on the canner, you’ll need to remove the jars with a jar grabber. Then place them on a hard surface that has been protected with a towel to let them cool for the next 24 hours.
When the 24 hour period is up, check the lids to make sure the button in the center has gone down, ensuring that the jars are sealed. If they are sealed, then you are ready to label and store the sweet potatoes until you are ready to enjoy them.
Method #3
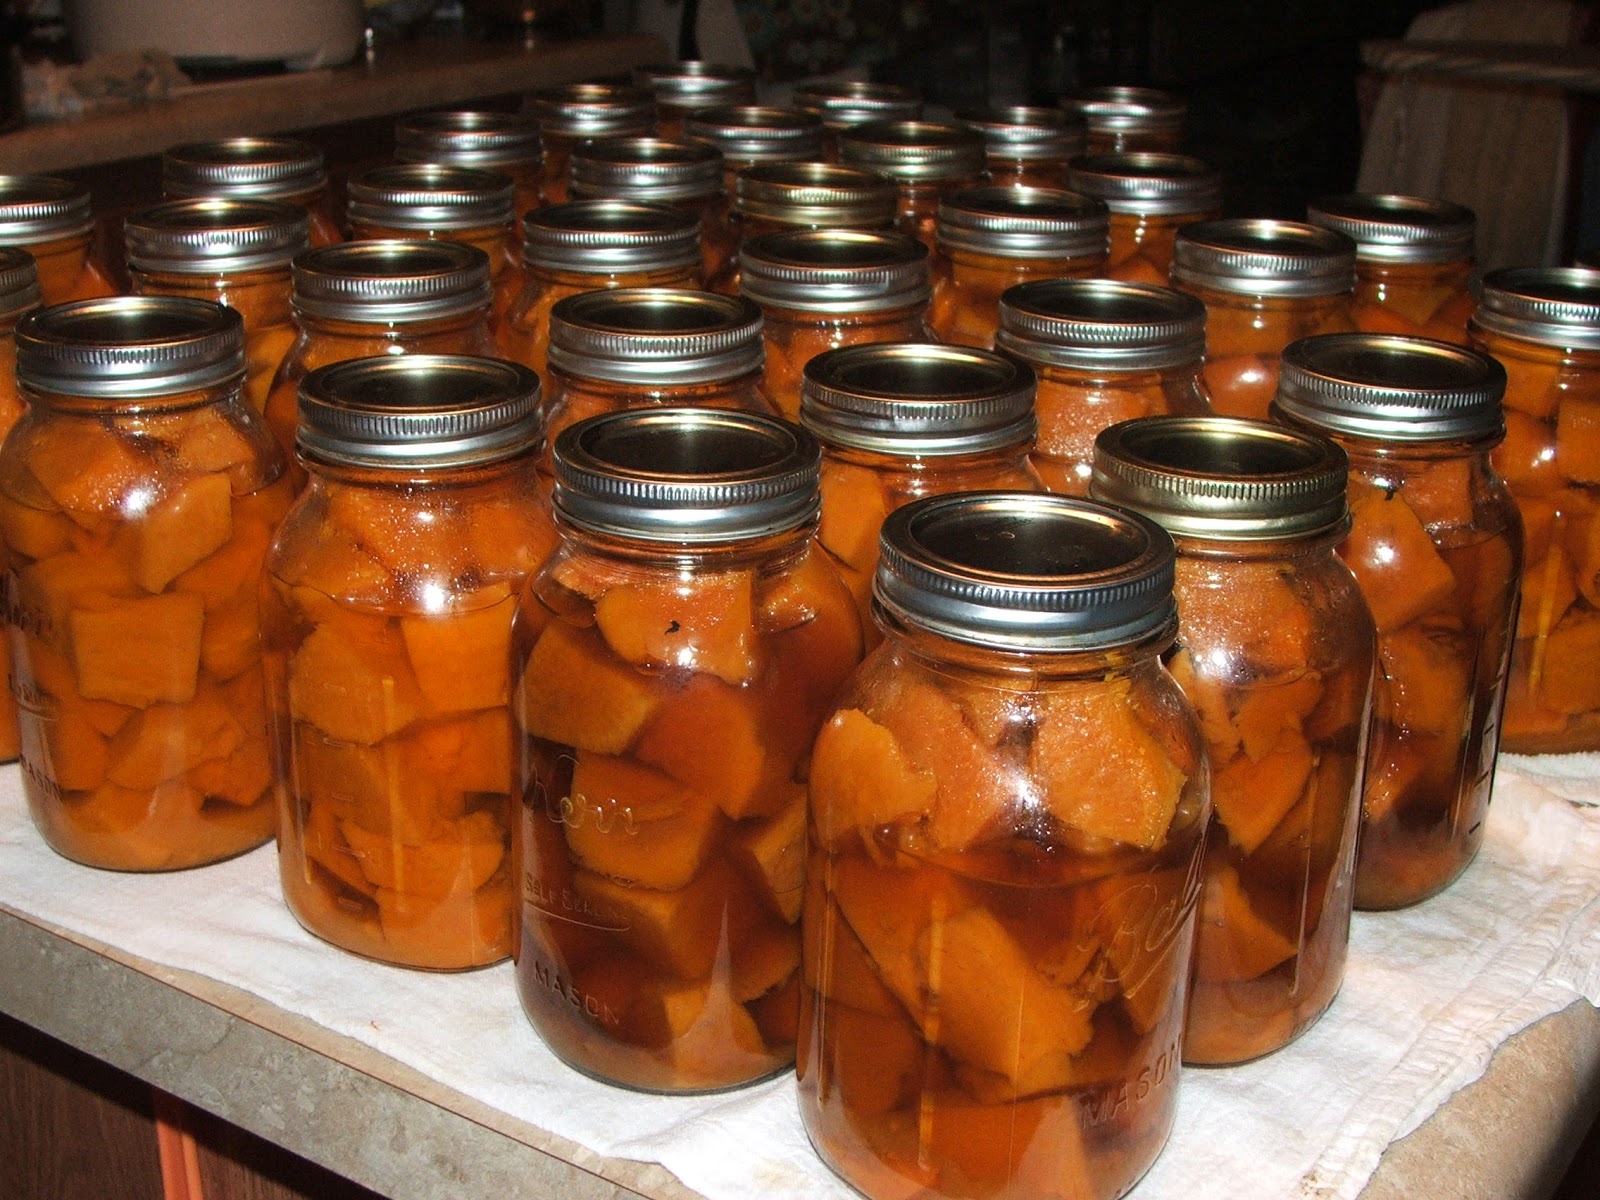
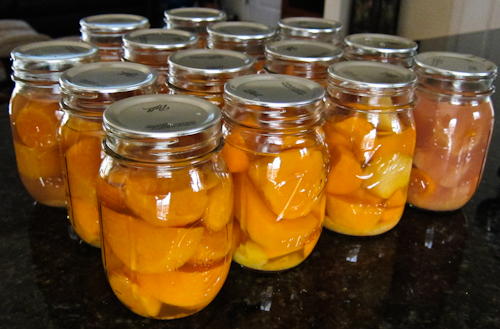
via Canning Granny
Method #3 is basically identical to the previous method I mentioned, so I’m going to spare you the rehashing of the entire process and jump straight to the difference.
Now, some people like to can their food in order to be super healthy. Other people like to can their own food to be slightly healthy, know what’s in it, and save money. If you are in the first category, then you’ll probably want to just to stick to canning with water, so you don’t have any added sweeteners or calories.
However, if you want to can your sweet potatoes in syrup but still prepping them in their skins (as mentioned in the previous method), then instead of ladling boiling water over the top of the sweet potatoes, you simply ladle hot syrup over the top.
But there are some different variations of the syrup you use. You can make a basic simple syrup that is equal parts sugar and water.
Or you can step it up a notch and make a brown sugar syrup. You’ll need 2 parts brown sugar to 1 part water. It is up to you which syrup you decide to go with, but either way, I’m sure you’ll find it delicious.
Remember, always pressure can your sweet potatoes, and you’ll need to do so for 90 minutes under 10 pounds of pressure.
So there you have the explanation of how to can sweet potatoes. Three useful methods of canning your own delicious homegrown sweet potatoes. Try each of them and see which method you prefer.
Or if you already can sweet potatoes, go ahead and share which method you prefer now. Just leave us your comments in the space provided below. We love to hear from you!

