You spent all summer growing vegetables in your garden, and now you’re wondering how to cure those vegetables to keep them throughout the winter.
Proper storing and curing vegetables is a key step towards a sustainable lifestyle. Root cellars used to be common, but new houses are rarely built with a cellar designed to hold shelves of canned goods and cured veggies.
That’s why curing is so vital – it helps veggies last, even if you don’t have the ideal storage conditions.
You want to get this right, so let’s get started.
General Advice to Curing Vegetables
Not all vegetables need to be cured, but if you’re growing ones that do, it’s best to learn the proper techniques. There are a few tips that apply regardless of which veggie you are curing.
- Don’t wash the vegetable with water after harvesting it. Scrub off dirt with a brush or dry cloth.
- Air circulation is key. Harvested crops kept too close together will rot rather than cure.
- Don’t store damaged vegetables. If you nick something while harvesting, use it right away.
How to Cure Onions and Shallots
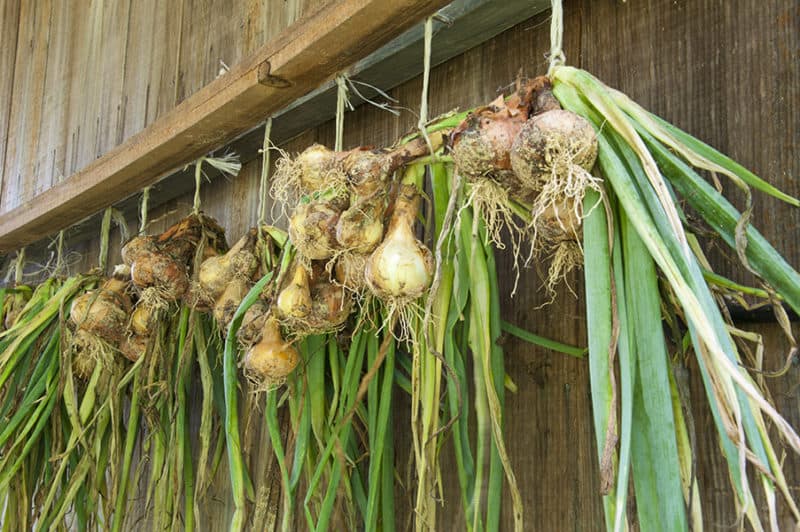
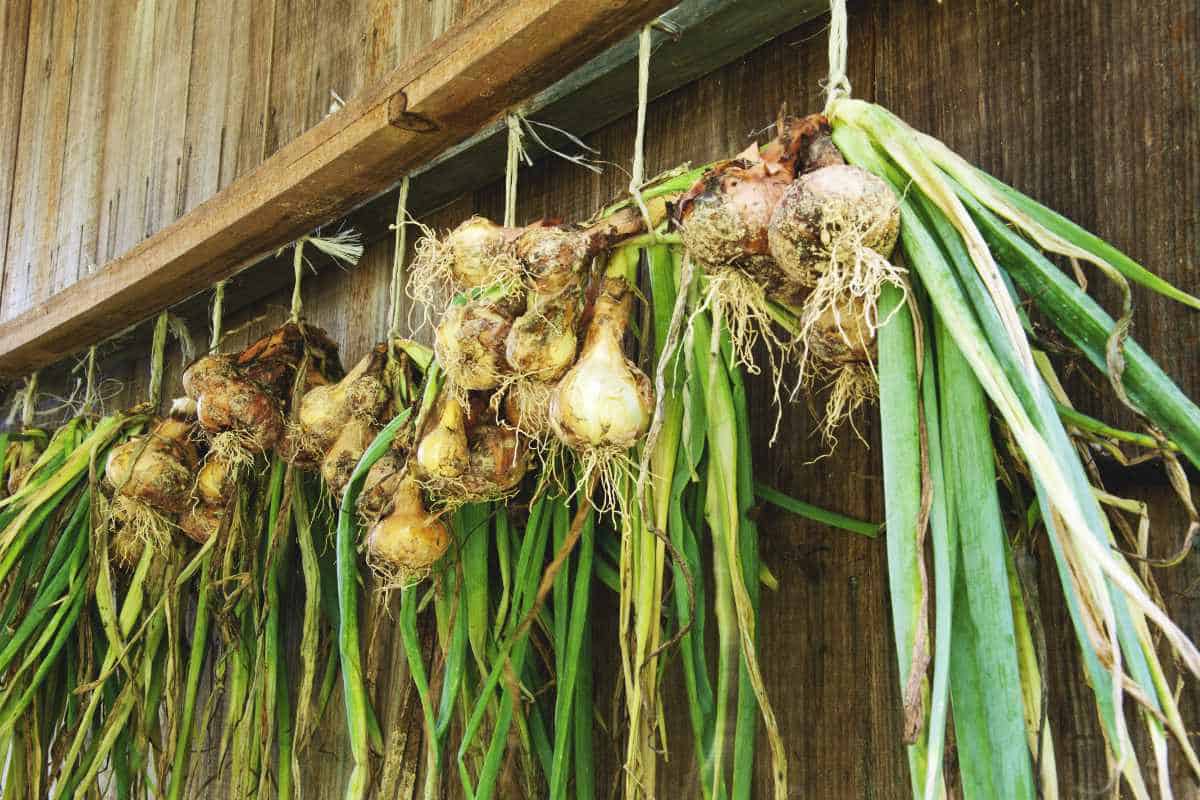
Onions and shallots require 1-2 weeks of dry, warm conditions to dry and cure properly.
The process is the same for curing these vegetables.
You’ll know that onions and shallots are ready to be harvested when their tops dry out and bend over. The tops fall over to stop photosynthesis and continued growth, so now it’s time to pull them.
Here are a few suggestions for curing onions.
- If the weather is dry without any threat of frost or rain, pull the onions and leave them in the field or garden bed in the sun for 3-5 days.
- If you have a greenhouse or a hoop house and the temperatures are around 80-90ºF, you can lay the onions on a wire rack in a single layer for two weeks. They need to be checked for mold and rotated frequently.
- Another way to cure onions is to lay them in a single layer on a clean surface. That might be in your garage, sunroom, barn, loft, or covered porch. Make sure the location has proper ventilation and no risk of frost. They need to lay here for 14 days, with frequent checks and rotation.
You’ll know that the onions are cured because the skins become papery and all traces of green will be gone. If you notice any green in the stems, it means that the onion needs to cure longer.
Storing Cured Onions
Now that your onions are cured, cut off the tops, leaving 1 inch above the bulb. Store the onions in a basket or a crate to ensure proper air circulation. Keep them in a location that is consistently 35-40ºF.
How to Cure Potatoes
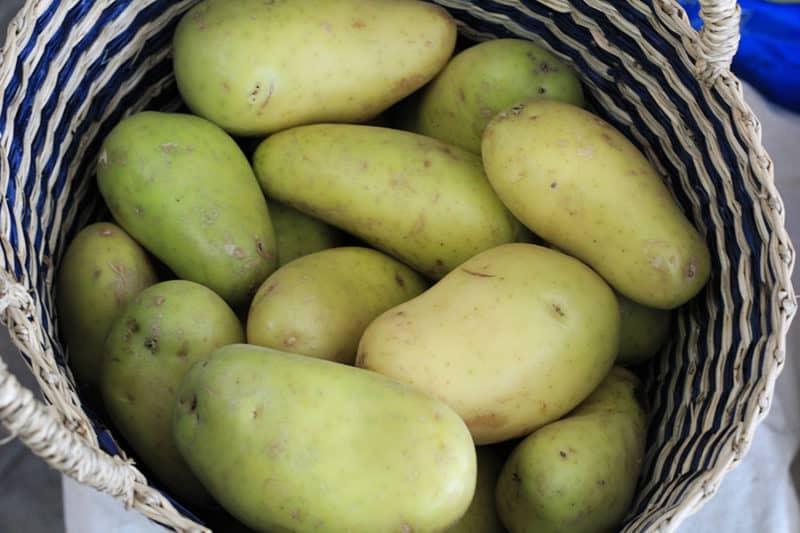
Potatoes need to be cured for 10 days – 2 weeks in a well-ventilated area with high humidity.
Most people know that some vegetables must be cured – like garlic and onions. But many people have no idea that potatoes need to be cured. Yes, you can eat them fresh out of the garden if you want, but if you want to store the potatoes to eat in the coming weeks and months, curing is a must-do task.
You’ll know that it’s time to harvest your potatoes when the foliage starts to turn brown and die back. Don’t harvest yet; stop watering and wait about 2 more weeks to let the skins set. The skins need to thicken and form a stronger barrier.
Now, it’s harvesting time. Kids love to dig for potatoes; it’s one of the most fun harvesting activities.
Remove the potatoes and gently brush off the soil. Then, it’s time to cure. You need a location that is dark, well-ventilated and has high humidity levels.
You can keep the potatoes in open paper bags, crates, or cardboard boxes. Garages or basements work well. Any injured tubers need to be removed before storing them.
Storing Cured Potatoes
When you’re ready to store potatoes for the wintertime, put them in a dark, humid environment that is around 40-45ºF.
How to Cure Garlic
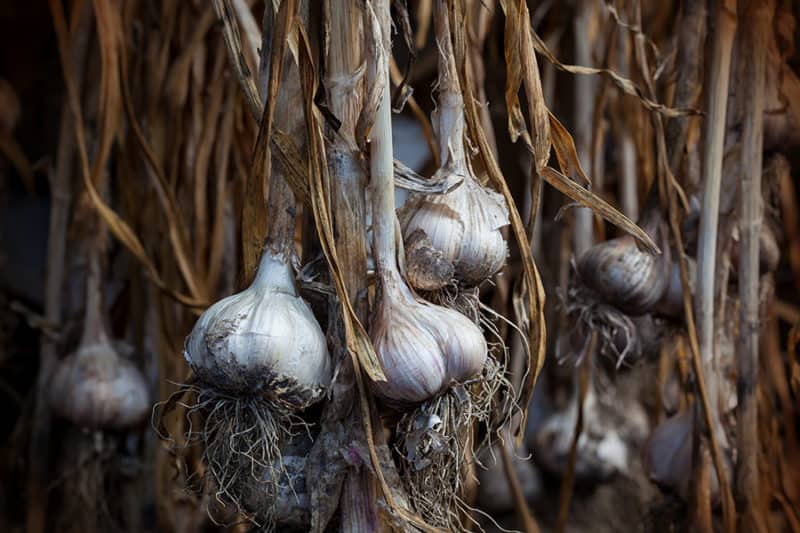
Garlic needs to be cured in a warm, well-ventilated area for at least 2-3 weeks.
When it comes to curing vegetables, most people are familiar with the idea of curing garlic. You’ve probably seen pictures of garlic hanging from the rafters.
Gardeners know that garlic is ready to be harvested when the lower leaves turn brown. The only way to be sure that the garlic is ready is to dig up a few bulbs and cut them in half. If the cloves fill the skins, it’s time to harvest.
Make sure you don’t yank the garlic bulbs out of the garden. You’ll end up breaking them. Instead, always carefully dig up the garlic bulbs.
Once removed from the garden, shake off the extra dirt by hand. Never use water to clean the bulbs. Now, its time to cure them.
Make sure you leave the stalks and roots attached to the bulbs as they cure. Pick a well-ventilated area, such as an open, covered porch or your garage, to lay the bulbs out to cure.
The bulbs need to stay out there for 2-3 weeks, but some might need up to 4 weeks to properly cure. Try to keep the garlic bulbs out of sunlight because it can alter the taste.
You know that the curing is finished when the tops and roots are dry, and the skin has a papery feel.
Storing Cured Garlic
Once cured, you can cut off the tops and roots, if you want. Some prefer to leave them intact so that they can braid the garlic into bundles of 4-6 bulbs.
No matter if you decide to braid the bulbs or not, garlic needs to be kept in a cool, dark place that is between 32-40ºF. Be sure the garlic has plenty of good air circulation.
How to Cure Winter Squash
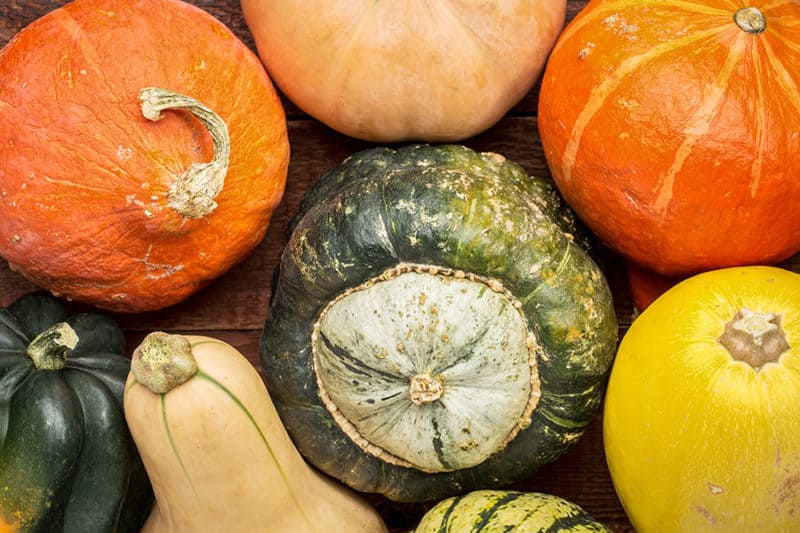
Most varieties of winter squash need to be cured for 1 week in warm, dry conditions with good ventilation.
You can grow many different types of winter squash, but the curing process for these vegetables is the same regardless. The only types you don’t want to cure are delicate and acorn squash.
Winter squash need to be harvested before you have a heavy frost. You’ll know they’re ready when the foliage starts to die back, the stems become dry, and the skin can’t be indented with your fingernail easily.
Note: winter squash can handle 1-2 light touches of frost. However, as the nights get colder, it’s best to cover them or bright them inside when the temperatures get too cold.
When you harvest the squash, be sure to leave at least 1 inch of stem attached to the squash. Broken or short stems reduces storage life. Once harvested, here are some ways to cure winter squash.
- If the weather is dry, you can leave the squash in the sun for 5-7 days. You need to cover in the evening if frost is predicted.
- If you have a greenhouse, squashes can be cured in there at 80-90ºF for 3-5 days.
- Another good choice is a warm, sunny location, such as a loft inside, a sunroom, or a south-facing window.
Storing Cured Winter Squash
Once your squashes are cured, find a location that is between 50-60ºF with good ventilation. Good choices include basements, bulkheads, and mudroom.
How to Cure Pumpkins

Pumpkins need to be cured for 10 days to 2 weeks in a warm, dry, well-ventilated area.
Curing pumpkins is similar to curing winter squash.
It’s time to harvest your pumpkins when they’re fully colored with hard rinds. Don’t look at the color as a total indicated because the color varies based on the variety you’re growing.
Pumpkins should have a hard, shiny shell that you can’t easily dent with your fingernail. The stem should be hard and shriveled.
Be sure to harvest your pumpkins before the first hard frost. They need to be harvest before the weather turns too cold and rainy.
To harvest your pumpkins, cut the vines with a sharp knife or a garden lopper. These tools need to be sterilized to prevent infections.
Once harvested, clean the pumpkins with soapy water to remove the soil and any pathogens living on the surface of the fruit. Instead of soap, you also can use one part chlorine bleach to 10 parts water. Let the fruit dry in place.
Set them in a warm place that is between 80-85ºF with high humidity around 80%. The pumpkins need to stay there for 10 days to 2 weeks. When they are fully cured, the skin will be hardened and the flavor will be improved.
Storing Cured Pumpkins
You need to store cured pumpkins somewhere that is 50ºF with around 60% humidity. That could be your shed, garage, basement, or maybe a root cellar you have. Be sure the location is cool and dry.
Cured pumpkins can easily store for 3-4 months in the right conditions.
Curing Grain Corn

Grain corn needs to be cured for a week or two in a dry area.
While you don’t need to cure corn that you plan to eat fresh, any corn meant to be used as grain needs to be cured.
Harvest the ears when the husks turn tan, but before it starts to freeze or get too rainy.
Remove the husks and put the ears in a warm, dry place with plenty of ventilation. Let them sit for a week. The veggies are done curing once about half of the kernels fall off when you twist the ears between your hands.
Storing Cured Grain Corn
Store the cured ears in a cool, dark, dry place. When you’re ready to remove the kernels from the ears, put them in a warm place, like next to a heating vent or radiant heater for a few days.
Get Ready to Cure Your Vegetables
Figuring out how to cure veggies isn’t hard, but it’s a necessary step if you want to be able to store these crops for an extended time.
One of the benefits of growing these crops is that they can be stored for long periods, so take care of them and learn how to cure them properly before storing them away to eat later in the year.
