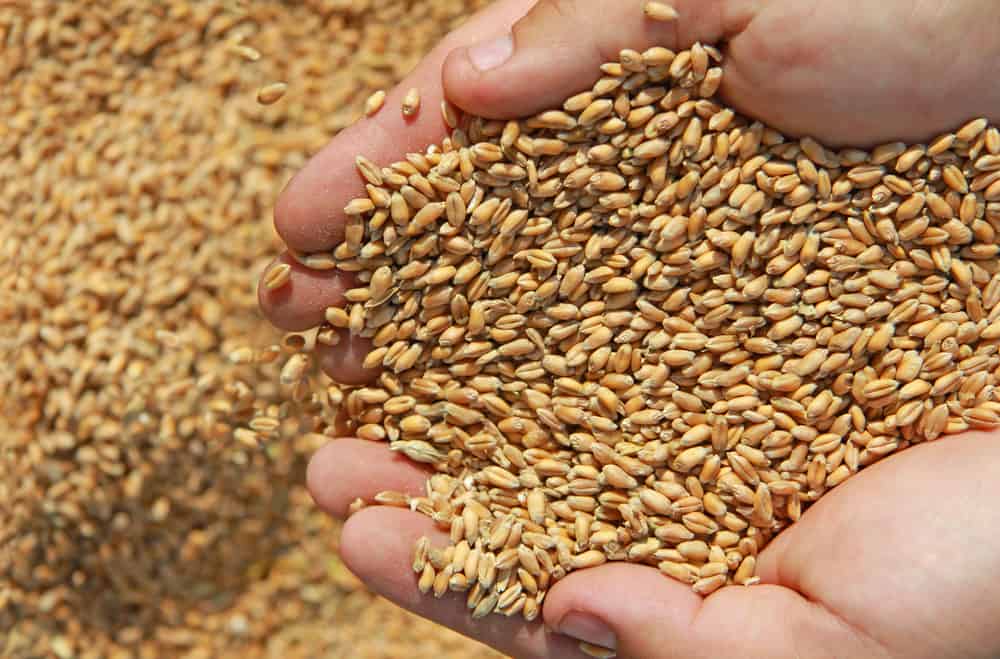
Grain always seems like the last frontier in raising your own food. For most of us, growing grain conjures images of golden wheat fields, combines, and hired farmhands.
But small farms and homesteads have been growing grain long before large-scale agriculture took over. You can plant a row of oats or a yard of wheat just as easily as any other plant.
The intimidating part for most new grain growers is threshing and storing. No one wants to spend a season growing grain only to lose it to lousy processing.
Plus, threshing grain can be pretty hard work.
It’s a time-consuming process if you’re doing it without machinery, but it can be fun too. Once you know how to thresh and store your grain, it’ll feel as natural as canning tomatoes or pickling cucumbers.
The Grain Harvest
Whether you’re growing oats, wheat, rye, or any other grain, the process of harvesting, drying, threshing, and winnowing are the same.
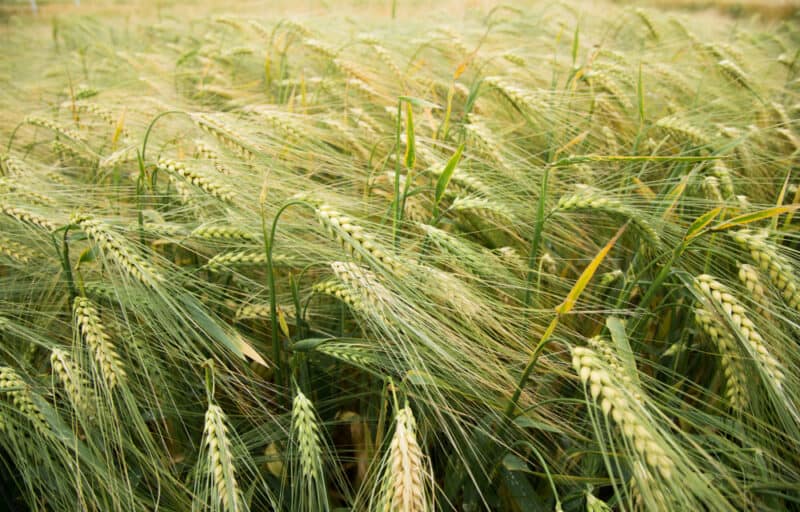
You’ll know your grain is ready to harvest when the seed head is heavy and bending the grain stock down under its weight. The seeds themselves will feel hard when you press them. The seeds won’t dent when you pinch them or release a milky liquid.
Depending on how much grain you have to harvest, you can clip the stalks with pruning shears, cut them down with a scythe, or use an actually harvesting machine. Usually, if you’re growing a small amount of grain in an acre plot or a garden bed, you can harvest with shears or a scythe.
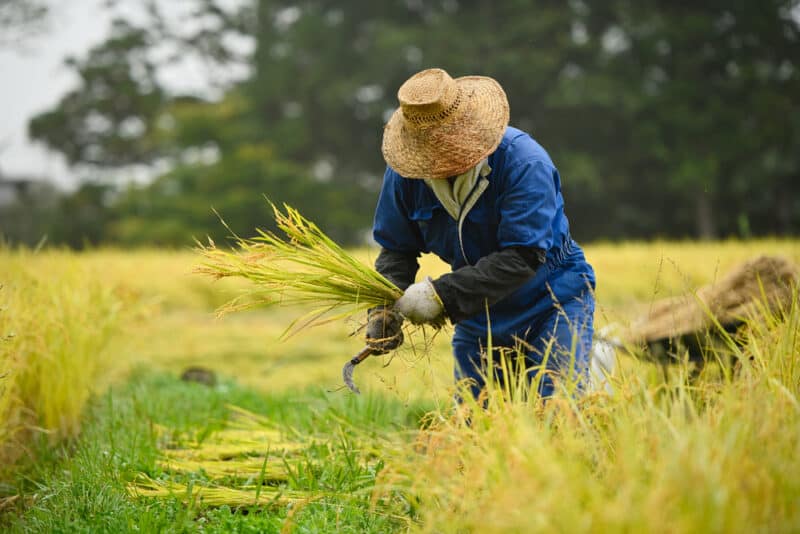
It’s important to pick a dry stretch of days to harvest you’re grain. The stalks must dry for 7-10 days – usually in the field – before you can thresh the grain.
Last year, a homesteading friend of ours harvested his oats, and when a surprise storm came up four days into the drying process, he had to cover everything for two days to save the crop.
Remember that you never know when rain might come, so try to have something ready to cover your harvest just in case.
Threshing Grain
Once they have dried well, you can start threshing your grain. There are a few ways to go about threshing, so pick whichever method seems most practical for you. But first, what exactly is threshing?
Threshing grain is simply the process of separating the edible part of the grain (the seed) from the straw (the stem). If you don’t have mechanical help and are threshing grain with traditional methods, threshing grain from one bushel of wheat or oats will take about an hour.
The actual work of threshing your grain is pretty simple – you crack the head of grain so the edible seed can fall free of the chaff. The chaff is the part of the plant surrounding the seed, holding it in.
When you thresh grain manually, you’re beating the plant to release the seeds so that you can separate the wheat from the chaff in the winnowing process.
People have been threshing grain throughout most of human history. Our long-term relationship with grains has given us a variety of threshing methods to choose from. Unless you’re growing enough grain to justify the cost of a threshing machine, one of these traditional methods will be best for you.
Stomping
The simplest method of threshing grain is stomping. Lay your dried grain stalks on a cloth and walk around on them. Stomp a bit, dance a bit, jump up and down on the stalks for a while – making sure to jump all over the cloth.
It can take over an hour of stomping to loosen all your seed heads, but once you’re done, you can remove the stalks and winnow out the threshed grain.
Flailing
If you can find a grain flail, try Lehman’s or your local antique store, you can flail your grain the old-fashioned way. A flail is essentially a pair of connected sticks with which you beat the grain heads to loosen the seed.
In all threshing, you want to lay your grains on a cloth so that the loose seeds can be easily gathered up after threshing.
Animal Threshing
Another option, common for a while in Egypt, was to thresh the grain by leading animals over it. This method is faster, easier, and more effective. Unfortunately, it often damages the seeds because the weight of a horse or ox is much heavier than that of a person or flail.
Rubbing

Another simple way to thresh grain is by rubbing the grains between your hands. Take the seed heads in your hands and rub them firmly between your hands until the shell loosens. This method takes a lot longer than many other methods, but if you don’t have a lot of grain, it can be a calming, enjoyable practice.
Winnowing Grain
Once you’ve threshed your grain, it’s time to winnow. When the seed is loose in its chaff, it’s ready to be separated out. Winnowing can be easy. Just pour your grain from one container to another in front of a fan.
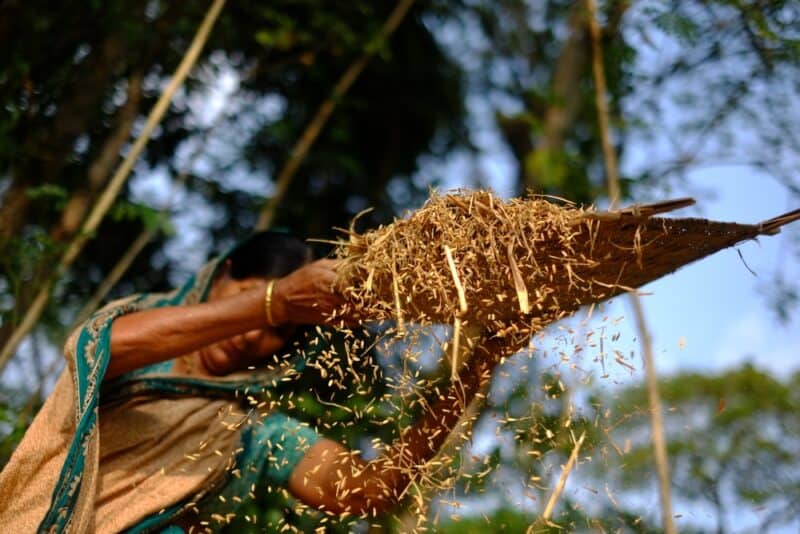
The fan isn’t strictly necessary, but it helps to blow the light chaff away from the heavy grain seeds. You may have to pour back and forth between containers a few times to clear out all the chaff.
Because the chaff is so light, it’s usually easy to winnow away from the grain seeds. Just remember to winnow your grain outside so that you don’t have chaff all over your house for the next month. Light, fluffy chaff will blow around indoors forever, no matter how many times you vacuum.
Storing Your Home-Grown Grain
Long-term storage of grain can be a little tricky. We tend to assume all grain is shelf stable, but that’s not always the case. Grains, especially fresh, whole grains, will last for a long while on your pantry shelf. But they will store better at cooler temperatures, and in drier locations.
Grains store best at temperatures below 60°F. Freezing your fresh grain is a great way to preserve it long-term. The freezer protects it from pests, heat, humidity, and oxygen. But you don’t have to store your grain in the freezer. You can also choose a cool, dimly lit place in your pantry to store your grain.
Pantry Storage
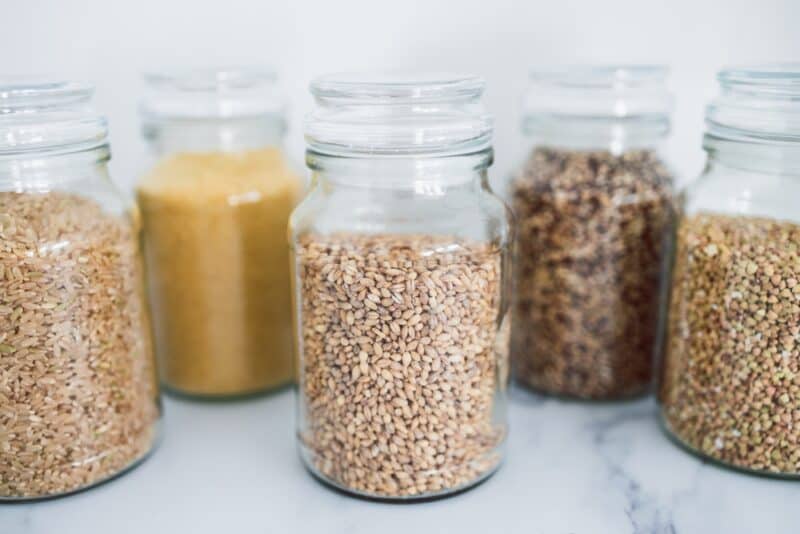
The most important thing to remember about storing grain in your pantry is pest control. Open bags or bins of grain quickly attract pests. I remember a housemate once lost a year’s supply of oats, rice, wheat, and millet to pantry moths because none of the jars were properly sealed. Years later, I lost a bag of oats to the same carelessness.
Keep your grain in well-sealed containers. Check those containers regularly to make sure they remain well sealed and never assume a grain bag won’t be chewed into by mice. Always use up the oldest grain first, and store any grain you’re hoping to keep long-term in well seal buckets or bins. I like using food-safe 5-gallon buckets with tight, well-fitting lids.
Keep Them Whole
If you’re growing wheat or rye, it’s a good idea to store the grain whole and only grind what you need for each day’s use. Grain holds on to its freshness and nutrients better in its natural state.
It also holds on to its flavor better. It’s much more satisfying to bake with freshly ground wheat or rye flour than with flour that has been ground for months.
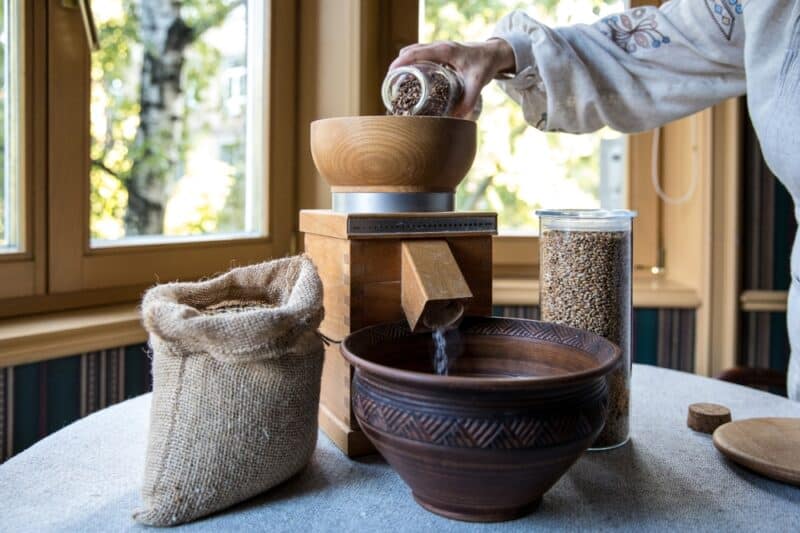
Unground grain also has much more potential. You can use whole wheat berries (wheat seed) as a rice substitute by simmering them in hot water until they’re tender. Then, serve them alongside some sauteed, garlicky kale as a nutritious side or simple meal.
Whole rye can be ground into cracked rye and added to breads or hot cereals. Or it can be added to hearty vegetable stews. Of course, these grains can also be ground into fine baking flour.
Oats can be stored whole, or you can roll, cut, or grind them into flour. While it’s better to store most of your oats whole in the long term, it’s not as practical to expect everyone to roll oats right before breakfast each morning.
Instead, try storing the bulk of your harvest whole, but processing enough for each week or month ahead of time. Then, you won’t avoid using your oats out of exhaustion in the morning, and you’ll be able to store fresh oats for the future.
