I can tell you from experience that creating a herb garden is one of the easiest, most fulfilling ways to get started with gardening. Plus, when you discover that for the same $3 you spend on a few sprigs of rosemary or mint at the store, you can grow a year supply — every harvest feels like a paycheck.
Of course, you’ll also soon realize that herbs have their own agenda. They like to expand past their original planting area, grow into each other, self-seed, and spread and take over. Some people have even gone so far as to call some herbs “invasive”. Gasp!
Of course, there’s an easy way to remedy that problem. USE THEM!
Talking Herbs
Personally, I don’t think herbs are actually trying to take over your garden and swallow your lawn. I believe they are doing the herb equivalent of raising their hand to say “pick me”. They are telling you, as plainly as they can, that they desperately want to be harvested – A LOT.
Herbs are so productive because they really want to be cut and dried. They want to bring you joy year-round. In fact, humans have been cultivating herbs and encouraging them to increase their productivity for thousands of years on purpose.
Many gardeners, unfortunately, fail to heed their herbs cries for cutting. When that’s the case, things can get a bit out of control. However, you won’t be one of those gardeners. You’ll be ready with easy ways to dry small and large batches of herbs to store and use in a myriad of beautiful ways.
Here’s how.
Early Harvests And Entry Level Production
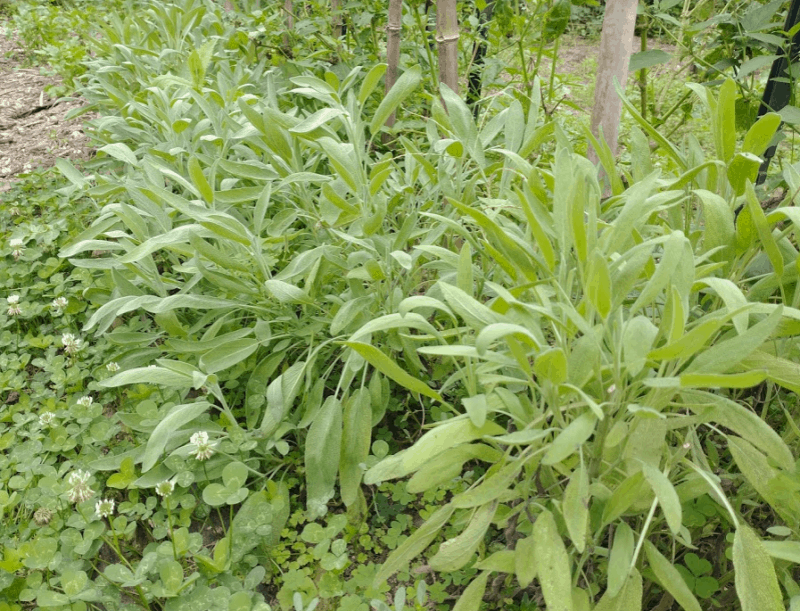
The first step in keeping your herbs happy is to start harvesting them early. Your first harvests will be small. Just take a few nips off the tops of your plants to encourage them to become bushier. Toss those cuttings in salads or garnish plates with them.
A week or so later, you’ll see how those few snips caused the plants to put on nearly twice the top growth everywhere you cut. So, then you’ll cut some more.
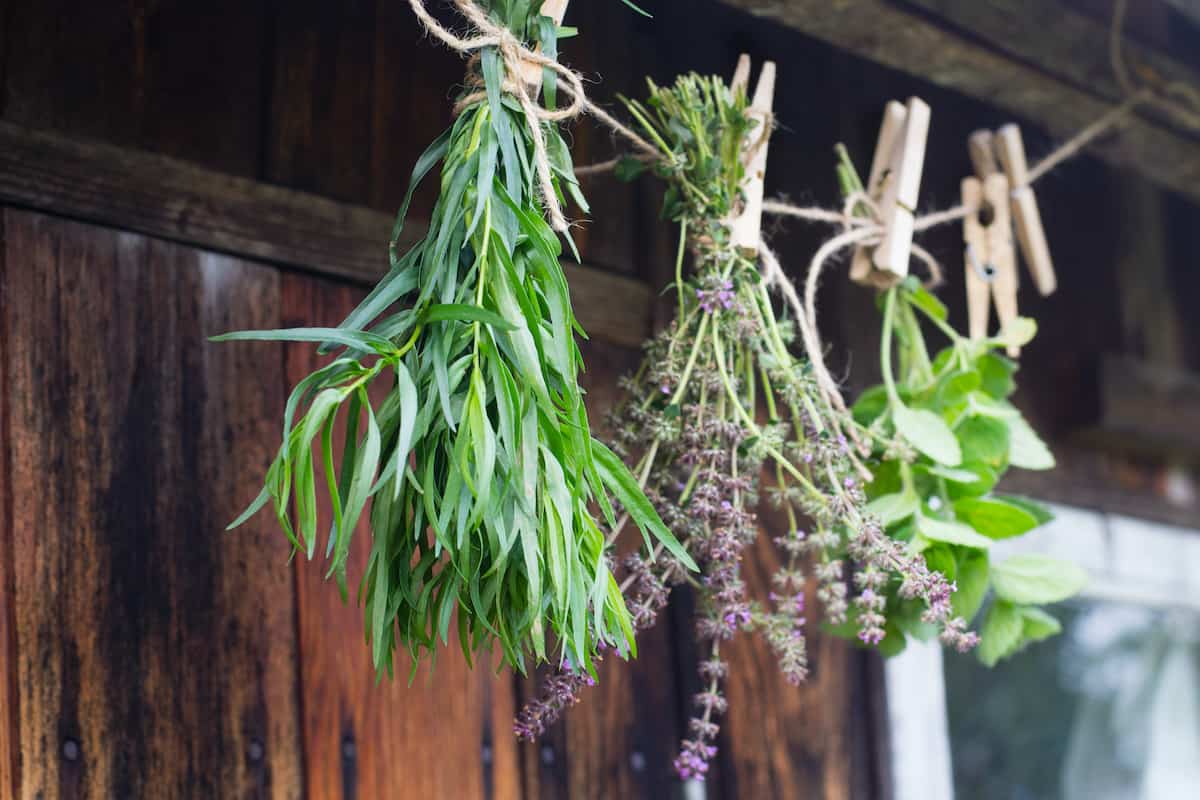
You may use all of that. Still, if you do have extra, that’s the perfect time to use one of those gorgeous rustic style herb hangers to dry small bunches of herbs.
1. Method: Herb Bunch Hangers
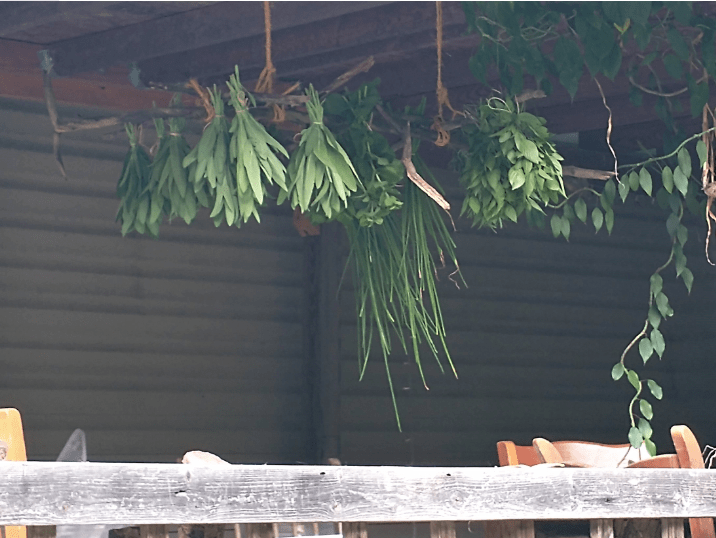
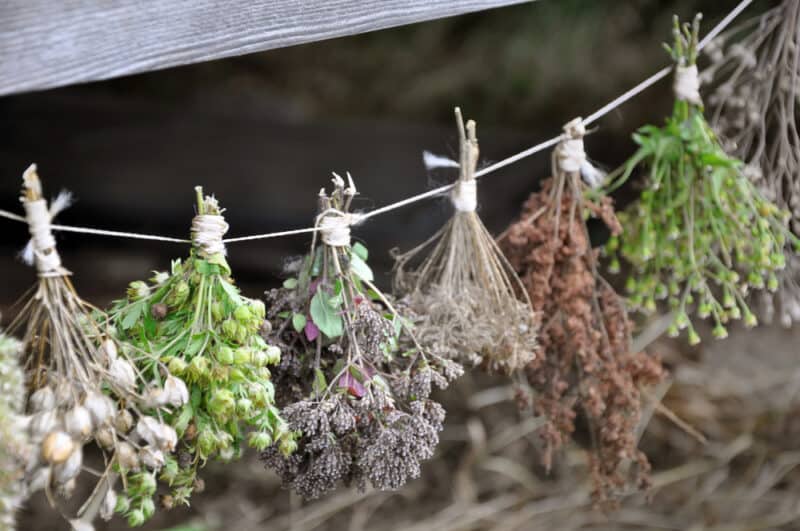
To hang dry herb, you first need to cut and tie your herbs up in bunches. Keep the bunches small so they’ll dry quickly.
Also, make extra-large loops in your single-tied bow so you can use those loops to attach to your hanger. Using the loops is easier than tying your bunch, then tying your tied bunch to something else. Plus, with a single-tied bow, you can just untie the string and use it again for more bunches or tying up plants.
Next, you’ll need some kind of hanging apparatus to put those loops over. Your imagination is the limit on what you can use as long as you keep a few factors in mind.
- Peg-styles work best so you can slip your bow loops over them to hang your herbs
- You need sufficient space for airflow, so your herbs dry quickly without molding
- You need to be able to hang it someplace with minimal dust and good airflow
- It needs to be sturdy enough to support the weight of the herb bunches you plan to hang on it
– Examples
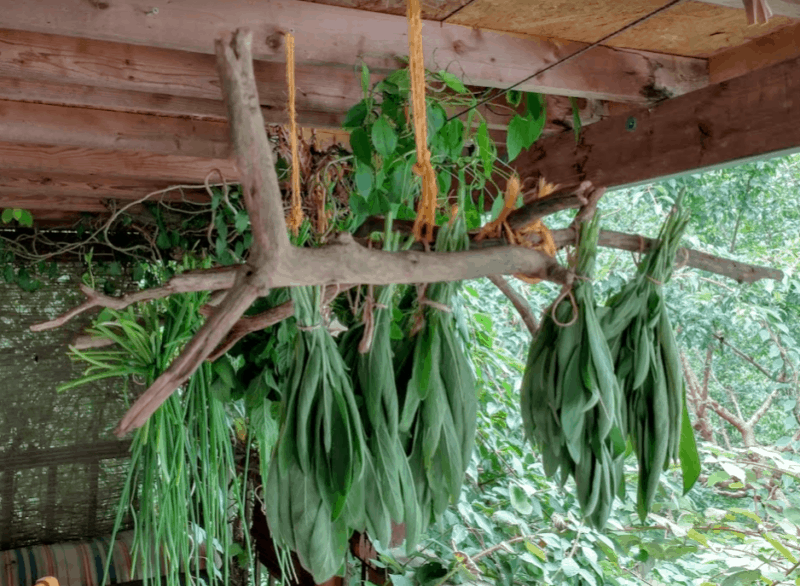
You can start as simple as repurposing a coat rack or a key rack for herb drying. You can find all sorts of old hanging racks at antique stores and yard sales.
You can also just borrow space from hanging areas you already have. If you hang pots over your kitchen island, throw on a few extra hooks for herbs. You can also hang them on an actual hanger and hang them around your house.
Personally, I like to make my own herb hangers. Matt, my significant other, calls them my “herb mobiles”. I collect downed mountain laurel branches from our woods, lash them together, and suspend them in out of the way areas of our porch.
2. Pros and Cons of Herb Hangers
Hanging herbs in bunches on herb hangers is about as simple and rustic as it gets. Even though I dry hundreds of pounds of herbs each year, I still hang some bunches just for the beauty and pleasure of doing it.
– Pros
You can come up with a rack to fit just about any space. They also make beautiful decorations. When you aren’t using your herb hangers to dry herbs, put up some fragrant herb and flower bunches to hang through winter just for fun.
– Cons
The downside of using herb hanging racks is the hefty investment of time it takes to tie and hang each bunch. Also, if you leave them too long, the bunches get dusty and you won’t want to use those herbs in the kitchen.
3. Practical Advice for Herb Hangers
If you want to dry herbs by hanging them on herb hangers, treat the act of cutting and tying bunches as a meditation. Enjoy it for relaxation, not for production. Take your time and make it beautiful.
Only hang herbs as long as it takes to dry them. Then, put them in airtight jars, in a cool location out of direct light for long storage. Wait at least a week for the aroma to intensify in the container before using it.
Productive Herbs & Intermediate Production
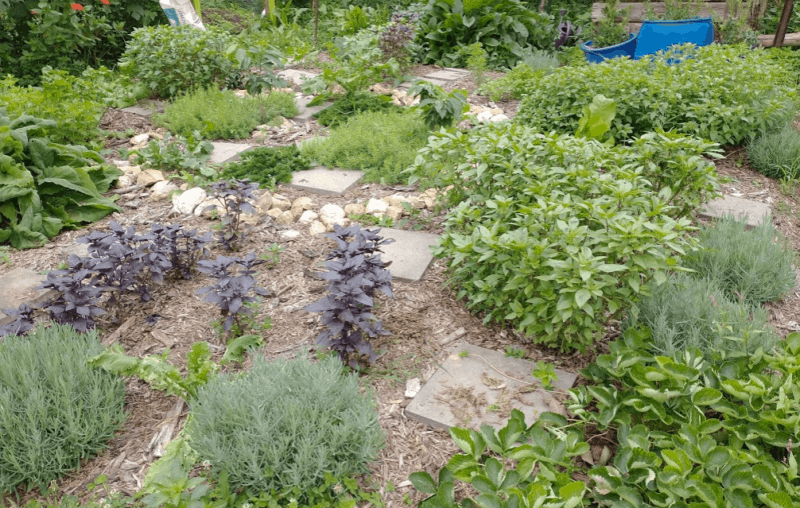
Once your annual herbs are in full swing and your perennials are well-established and highly productive, you’ll find that herb hangers aren’t the most efficient way of saving all that flavorful, fragrant goodness. Then it’s time to consider using trays or drying racks.
1. Method: Trays and Racks
You can buy, make, or use trays and racks you already have.
– The Oven Rack
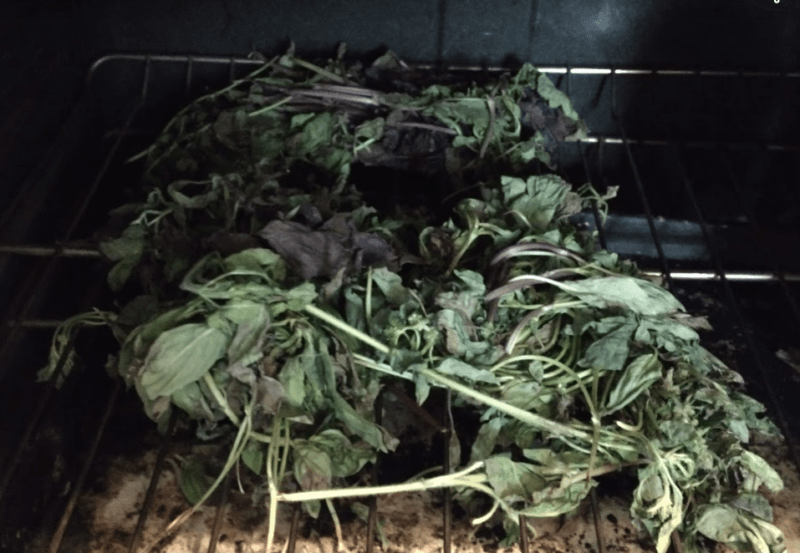
The racks in your oven are wonderful for drying herbs. Just make sure they are clean and don’t have oozy bits of cheese from your home-baked macaroni or lasagna on them.
I lay the herbs directly on the built-in oven racks. Then I put a sheet pan on the bottom below the racks to catch any herby debris that falls off as the herbs begin to dry and I handle them in the oven.
Some people put their cookie cooling racks on sheet trays on top of racks. That works too. However, the herbs don’t dry as fast.
If you want to speed things up a bit, turn your oven to a setting of 135°F or less. Also, turn your herbs using tongs every couple hours so they dry evenly and quickly.
– Formal Herb Drying Trays
You can also make or buy formal herb drying racks.
– Shelved Laundry Bag Style
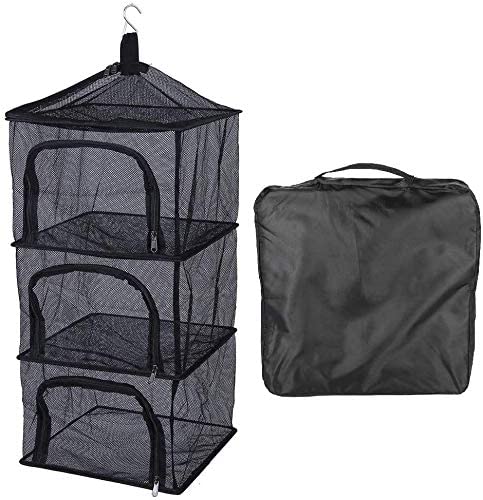
The least expensive version looks like a hanging laundry bag with built shelves. They are usually made of nylon netting that allows for easy airflow. They also have zippers along the side that allow you to easily put herbs on each shelf.
– Framed Trays
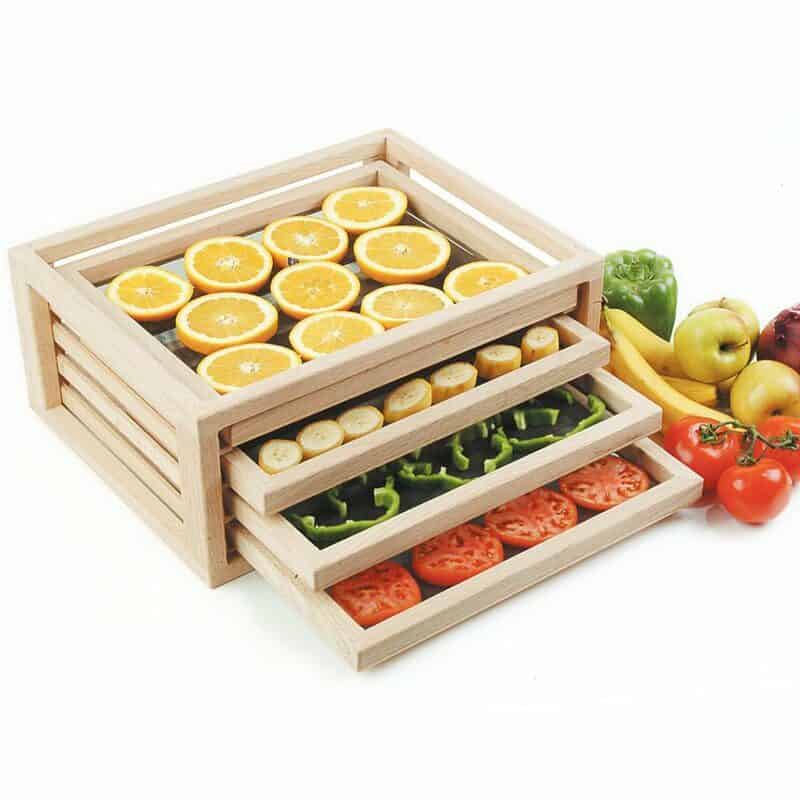
The upgrade from this inexpensive model is wooden framed herb drying trays. These are frames with some kind of screen, netting, or hardware cloth attached to them.
You can lay them out on tables and set herbs on top of them. Or sometimes they are designed to fit inside shelving units.
Although pretty, the models I have tried in shelving units can be tricky to use because they often limit airflow. However, if you set them in front of a fan set on low, you can solve that problem. Or if you use them outdoors on a breezy day, that works too.
2. Pros and Cons of Trays and Racks
When you start to scale up your production beyond what’s reasonable to do in bunches, trays and racks are certainly the way to go.
– Pros
Trays and racks are by far the easiest way to dry larger quantities of herbs. If you use trays you already have there’s no extra storage to plan for and nothing to buy. There are also lots of different styles, sizes, and ways of using them.
– Cons
If you use your oven, it’ll have herbs in for a couple of days. That’s fine if you aren’t cooking in it. However, if you have a family to feed, taking herbs in and out while you cook can be a pain.
Also, if you build or buy dedicated herb drying racks, you have to store them somewhere when not in use. Plus, prettier designs tend to be more time consuming to make and costly to buy the materials.
3. Practical Advice
I use my oven to dry herbs in summer because it’s usually too hot to cook. So, if I can plan my herb drying around when we eat more salads or cook outside, that’s ideal.
I also keep a few framed trays around. Even so, I use these for other projects like making paper, sifting finished compost, dehydrating tomatoes, and more.
Since they serve more than one purpose, it makes more sense to store framed trays. Of course, you have to clean them between various uses. So, keeping them on the smaller size is better.
If you find ways to integrate herb drying into your schedule, using tools you already have can save you money and space.
Heavy Production & Herb Addicts
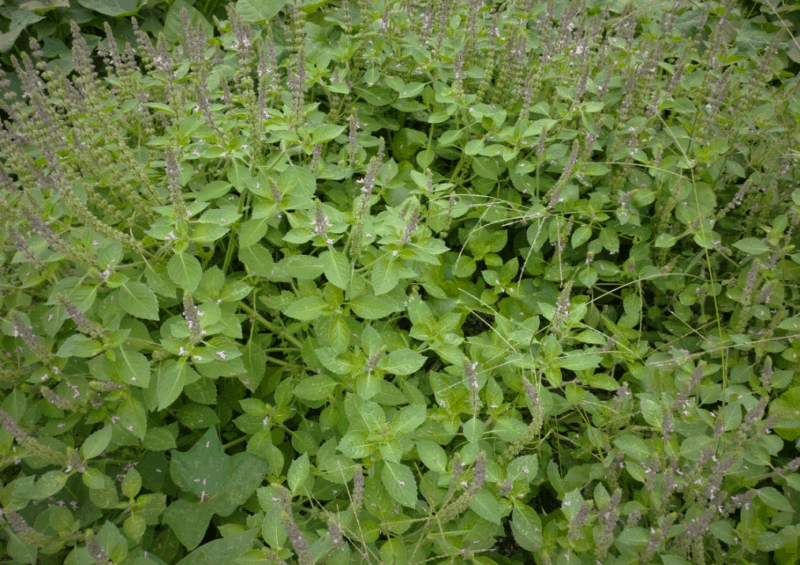
For most home herb growers, you won’t need to consider ways to dry more herbs than can fit in your oven or on a few framed trays. Still, if you start getting into tea-making for year-round consumption, distilling essential oils from herbs, and using herbs for your livestock and medicinal needs — you might.
1. Methods for Large Volume Production
For all of you hardcore herb driers, there are a few more options.
– Your Car
Your car can be the perfect place to dry herbs. Hatchbacks are particularly useful.
You can use racks laid out inside your car. Or you can use a light sheet or piece of row cover to make a herb hammock for drying.
Here’s how.
- Wait for a few sunny days when you don’t need to drive anywhere.
- Put your seats down so you have a wide-open area to work with.
- Hang your makeshift hammock using the handles or other potential hooks inside your car frame.
- Crack your windows a couple of inches so the humidity escapes.
- Lay your herbs out on the hammock cloth and flip occasionally as you would in an oven.
- Once dry, you can roll up your herbs in the hammock to thresh them.
– Oast Boxes
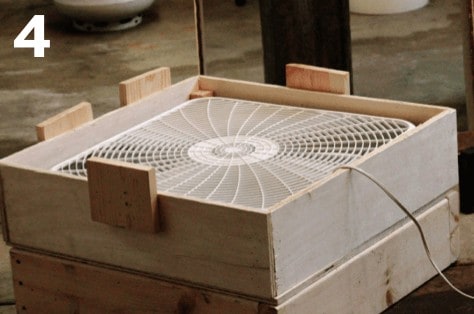
Oast boxes are commonly used to dry hops for beer production. Even so, they also work well for drying herbs.
They are basically a series of stacked frames topped with a framed box fan. The fan pushes air through the herbs in the frames below. You can also use a hairdryer as a heat source if your herbs aren’t drying fast enough.
– Solar Dehydrators
Solar dehydrators are another good option and can be used for fruits and vegetables as well. These are standing structures with an air draw on the bottom, a series of drying racks in the center, and a release for the hot air and humidity on top.
– Drying Houses
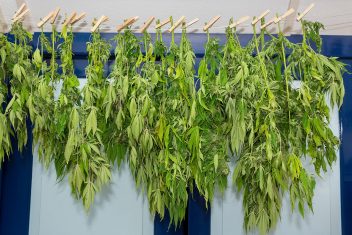
You can also put up a drying house as our ancestors did. These were designed with good airflow, but also with protection from excess dust and outside elements. They had rafters to use for hanging things dry and spaces for flat drying.
They are typically associated with drying corn, tobacco, and fruit and meat curing. They often had built-in smokers to add heat and expedite drying. However, they would have certainly been used for herbs as well.
These aren’t so common now, even on modern homesteads. However, small farm hemp production might be changing that.
Some people are converting their garages and sheds into modern drying houses with a few simple steps.
- Seal up the space to keep out dust.
- Add lines or racks for drying.
- Use fans to circulate air.
- Finally, employ dehumidifiers to remove excess humidity.
2. Pros and Cons
Going big isn’t always better. Still, if you are selling herbs to supplement your income or using large amounts, it may be necessary.
– Pros
If you have the right equipment or a good plan, processing a whole bunch of herbs at once can be faster and easier than trying to do lots of small batches.
You may have to do a bit of set-up or spend some time and money on construction. Then you can save time and money in the long run.
– Cons
The obvious cons of going big on herb drying options, except using your car, is the cost of construction, space for storage, and time to set-up. You’ll also need to figure out how to store all those herbs you processed and that presents a whole different set of challenges!
3. Practical Advice
I frequently use my car to dry tea herbs. I don’t drive much, so I find it a wonderfully simple way to get masses of herbs dried at once. I also always have floating row cover material on hand, so there are no costs for setting up.
I also have oast boxes that were given to me. They work even better than the car. However, they are very large and heavy. They also rely on electricity. So, I find that I don’t get them out as often as I would if I kept them set-up in an outbuilding somewhere.
Someday… I’ll have a drying house. It will likely be a space full of herb mobiles, drying racks, my oast boxes, and maybe a sealed-up area for more modern type drying. However, that’s the subject of another article!
Conclusion
My best advice to you is to use what you already have to get started or make something for free. If you fall in love with herbs, increase production, and expand your herb gardening areas, well then it’s time to start upgrading your drying tools.
In that case, there may be a drying house in your future too!
