There are several different ways to dry peas and beans, but some are more effective than others. In fact, there’s one spectacular way to dry both of them to great effect.
Got your attention? Read on to discover the best way I’ve found to dry beans and peas for your pantry.
String ’em Up
Now, string beans got their name because of the fibrous “string” that runs along the bean pod’s seam. That said, it’s kind of fun that the best way to dry these beauties is, in fact, on a string.
I learned this technique a couple of decades ago when I first discovered the Foxfire book series. Until then, I’d just collected ripe beans and let them dry in a basket until they felt fairly ready.
Nuh. There’s a much better way.
By stringing the beans onto a cord and hanging them to dry, they get air circulation all the way around. This prevents any of them from getting furry at the bottom of a basket or hanging mesh.
That one moldy bean can contaminate the entire batch! Anyone who has grown food and then lost a bunch of it to rot knows how devastating that can be.
So, let’s get these beans hanging instead.
What You’ll Need:
- Sturdy cotton or linen string
- Darning needles (keep an extra on hand in case you misplace one)
- Fully mature beans, still in their pods
- A warm, dry place to hang these up once you’re done
- Hammer and nails or hooks to hang them up
Set Up the Hanging Space
If you haven’t prepped your drying area yet, do it now. Grab that hammer, and jam some nails or hooks into wherever it is you plan on hanging these beans.
It’ll need to be a warm, dry place that’s away from direct sunlight but still gets some decent ventilation and airflow.
I hang mine inside a large, barn-type shed that I have on the property, but a dry attic space or spare room would do just fine. Don’t hang them in the kitchen, as steam and such from cooking will slow down the drying process.
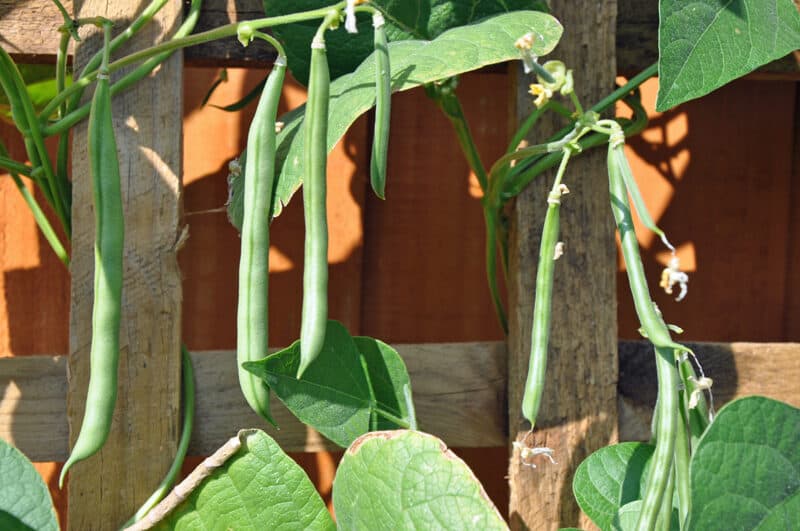
If you live in a fairly dry climate, you can also hang these outside. Just make sure that you hang them somewhere like the north side of the house. Otherwise, they’ll cook or shrivel in the midday sun.
Back to the nails or hooks: aim to space these about a foot (12″) or so apart. This will accommodate most regular-sized beans, with plenty of space for air to flow around them. If you’re growing longer bean varieties, then add a bit more space, of course.
Get Stringing!
Pick bean and pea pods that are plump and juicy in pods that look like they’re getting close to drying out a bit on the vine. You can repeat this task throughout the season, so grab as many mature pods that you have going right now.
Measure out about four feet of sturdy thread or string, as you’re going to double it up. Thread your darning needle, and tie up the string ends with a double or triple knot.
Stab one of the needles through the middle part of one of the pods. Aim to thread this between the bean “seeds” themselves, as you don’t want to split any of them. The needle should slide through the pod’s skin quite easily, but if it’s being stubborn, you can give it a bit of a wiggle as you push it through.
Repeat this process with the next bean or pea; only this time, you’ll thread it onto that string at an opposing angle to the first. Basically, you’re making a cross or plus sign with the pods.
Keep going like this, alternating directions with the pods until they’re all threaded. This photo is a great-looking example of the effect you should be aiming for.
Tie off the business end of the string or thread you’re using, and cut the needle free. Then tie a loop with a double knot, and hang up your threaded pod masterpiece! Repeat this process until all your beans and peas are hanging up and swinging merrily.
Allow these to dry like this for at least a month. You’ll know that they’ve dried sufficiently when the pods are brown, and crunch satisfyingly in your hands if you break one in two.
A Note About Split Peas
Did you know that the “split peas” people use in soup are the exact same species as regular peas? It’s true! The difference is how they’re dried and processed.
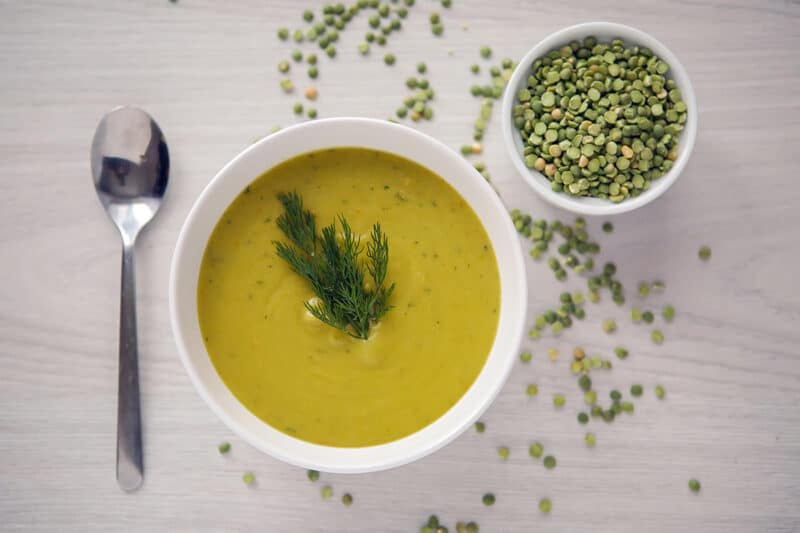
If you want to store plenty of split peas for winter soups, your drying method will be a bit different. You can still string up those pea pods and hang them to dry. The difference is that you’ll only dry them for two to three weeks instead of four to six.
When the pea pods are just starting to dry out properly, take them down. Pop the inner pea seeds out of the pods, and transfer them to mesh hanging dryer nets. Be sure to get the ones that zip closed so no critters can get into them. Again, you’ll want to hang these in a nice, warm, dry place with good ventilation.
As these peas dry out, they’ll split down the middle, down their natural seam. Let these dry thoroughly for a few weeks, and then store them as needed.
Best Storage Methods
There are a few different storage methods you can use, depending on your personal preferences.
The old-timey Southern method is to store these dried pods in paper bags or burlap sacks until you’re ready to use them. This method is great because the outer dry pod stays dry and crunchy, which in turn keeps the inner seed dry as well.
Other people leave them hanging where they are until they want to use them. Provided that they’re out of the way and not smacking anyone in the face whenever they walk through the room, then this method is just fine as well.
The downside to both of these is that paper bags, burlap, and free-hanging can all be accessed by mice. Unless you have good traps or some excellent cats around, you may very well lose quite a bit of your stores to mice during the winter.
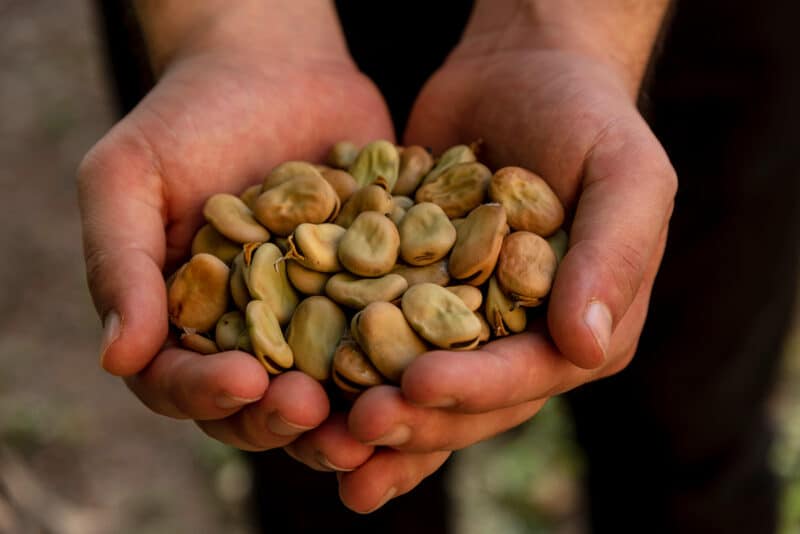
My preferred storage method is to shuck out all the dry peas and beans out of their shells and transfer them into glass mason jars. They need to be completely dry when this happens to avoid the aforementioned fuzz.
Since rodents can’t bite through glass, there’s no chance of them gnawing on my Purple Podded beans or heirloom peas when I’m not looking.
I’d recommend trying out a couple of different methods to determine which you like best. If you do decide to hang them, however, I’d recommend putting those squirrel-proof cones over top: the kind that you hang over bird feeders, so the squirrels don’t eat all the seeds.
They work remarkably well for anything you want to hang off the ground but keep mice out of.
How to Use Dried Peas and Beans
When you’re ready to cook something with the beans, crack the dried pods open and shuck the dried seeds into a clean bowl or pot that has a tight-fitting lid.
Remember that they’ll swell up to at least twice their size, if not more. As a result, only use as many as you think you’ll need, so nothing goes to waste.
Pour boiling water in over them, cover the pot with the lid, and let that soak overnight (or at least 12 hours). Then, drain the contents, rinse them well, and use them in your recipe.
For split peas, however, the method is also a bit different. Since they’re split in half, that reduces their cook time dramatically.
You don’t have to pre-soak them: just use them in traditional split pea soup or stew according to the recipe you’re following. Generally, they’ll cook down to tender softness within two hours.
Remember to Save Some to Plant Later
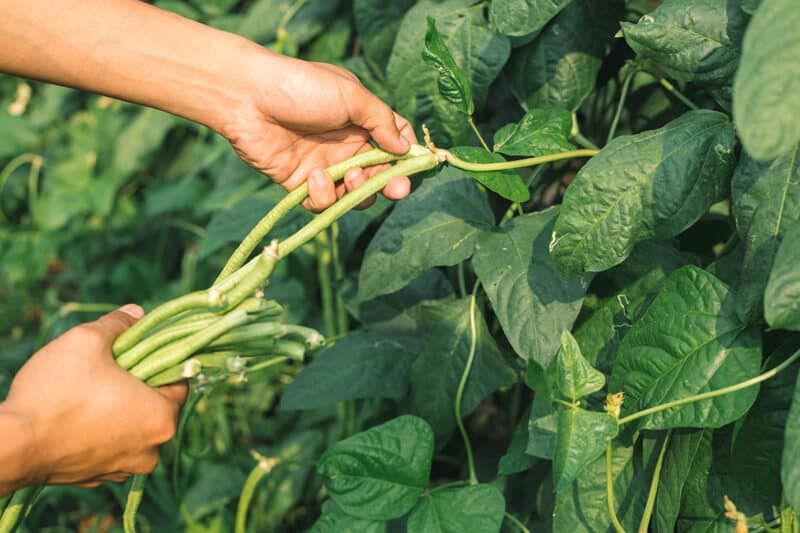
Just as a final note, if you discover a bean or pea variety that you really love, remember to set some of them aside to plant next season. It would be really frustrating to cook them all up and then realize that there aren’t any left to sow!
I try to set aside about 10% of my harvest for next-season sowing. This allows enough extra to anticipate germination failure or predation while ensuring that plenty of plants survive to produce another bumper crop.
