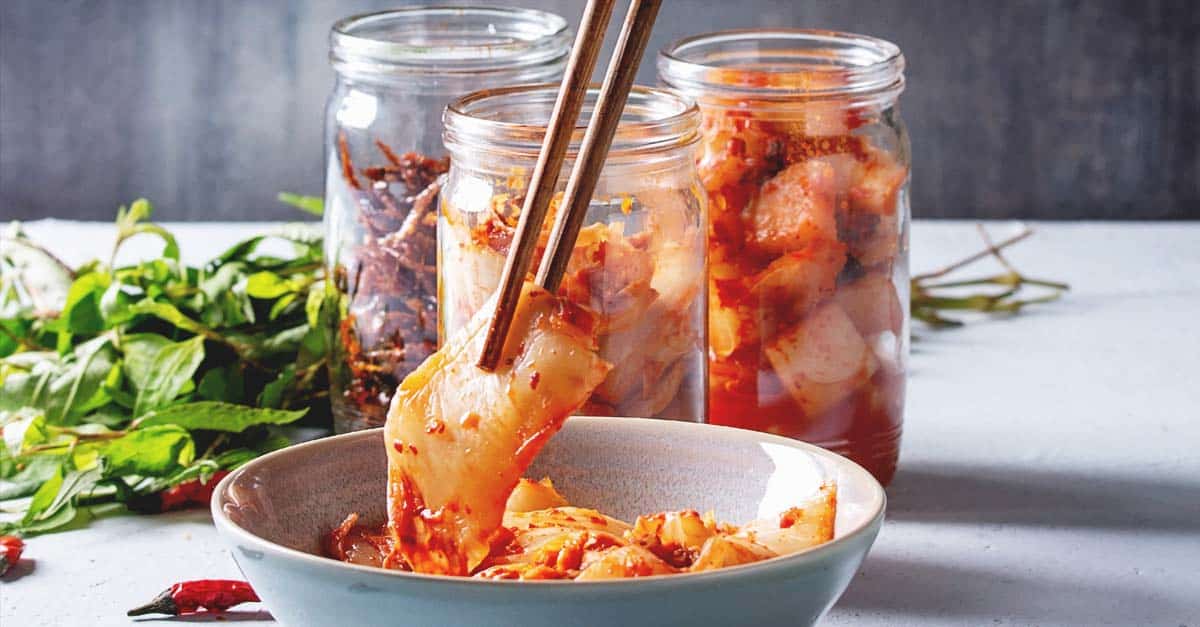
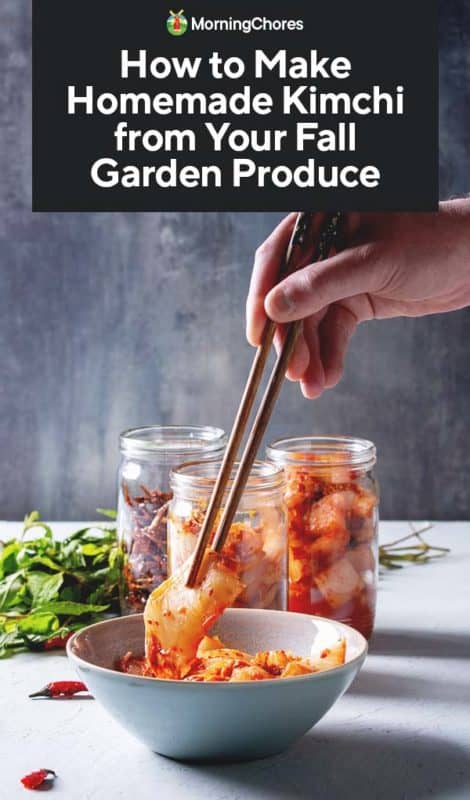
Kimchi is my absolute favorite fall ferment to make on the homestead. Plus, fall is the absolute best time of the year to make it.
The key ingredients – Chinese or Napa-style cabbage, carrots, and daikon – all grow great in a fall garden and taste even better when grown in cool weather. They will sweeten up through the first few frosts and only need to be harvested before your first hard freeze.
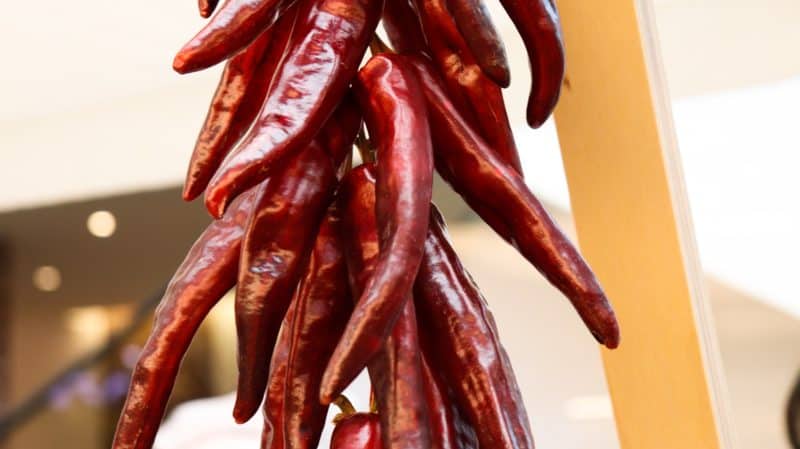
Not to mention… all those glorious gochu peppers I harvested throughout summer are now completely dried and ready to be flaked or powdered. They are the magic ingredient that gives kimchi the sweet, spicy, funky tang that makes it so special.
Besides fall being the best time to bring together all those amazing homegrown ingredients, it’s also about the time colds start catching and flu symptoms sneak up on you. Eating fermented foods, particularly the kinds loaded with garlic, spicy peppers, and vitamin-loaded veggies can help you stay healthy.
So, if you want to learn about and make your own homemade kimchi, read on for all the details you need to get your own batch going!
What is Kimchi?
Sauerkraut is probably the most well-known form of fermented cabbage. Despite its German name though, cabbage is believed by many to have originated in North China. Additionally, ancient Koreans may have been the first people to cultivate a deep understanding and practice of fermenting vegetables for winter storage.
So, in a way, kimchi is kind of like the parent of sauerkraut. Sauerkraut is typically made with ballhead type cabbages that were adapted from the non-heading cabbages found in China. But, kimchi is typically still made with cabbage types more similar to the strains that would have been used in ancient times.
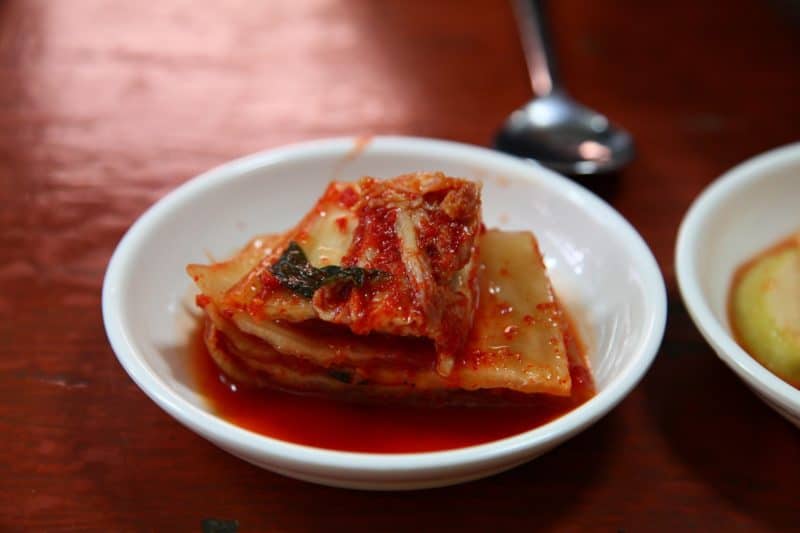
Fast-growing Chinese or Napa type cabbages are the main ingredients in most kimchi recipes. Carrots and Korean or Daikon radishes add crunch and color. Scallions are also typically used to add savory, spiciness and more texture.
Special Korean peppers, called gochu, have a very sweet kind of spiciness and are a “must-have” in most kimchi recipes. However, there’s a bit of a controversy over whether ancient kimchi recipes would have included the famous gochu peppers considered necessary to make authentic kimchi today.
Gochu Controversy
For a long time, historians believed that peppers were introduced to the Korean peninsula by way of the Portuguese trading routes in the early 17th century. However, some Korean researchers have found evidence that the famous Korean peppers actually evolved on the Korean Peninsula thousands of years before then.
References in historical Korean texts, Scoville ratings, and evolutionary markers in plant varieties are cited as evidence for the pepper’s early introduction into Korean culture. Though this research has not yet been universally accepted.
Personally, it makes no difference to me where these peppers evolved. But I can promise you using real Korean peppers and not just spicy substitutes make kimchi taste more amazing.
So, if you didn’t grow your own gochu this year, then make an exception to totally homegrown kimchi, and order some from a spice distributor. (Also, order some gochu seeds while you are at it, so you can grow them yourself next year!)
Other Ingredients
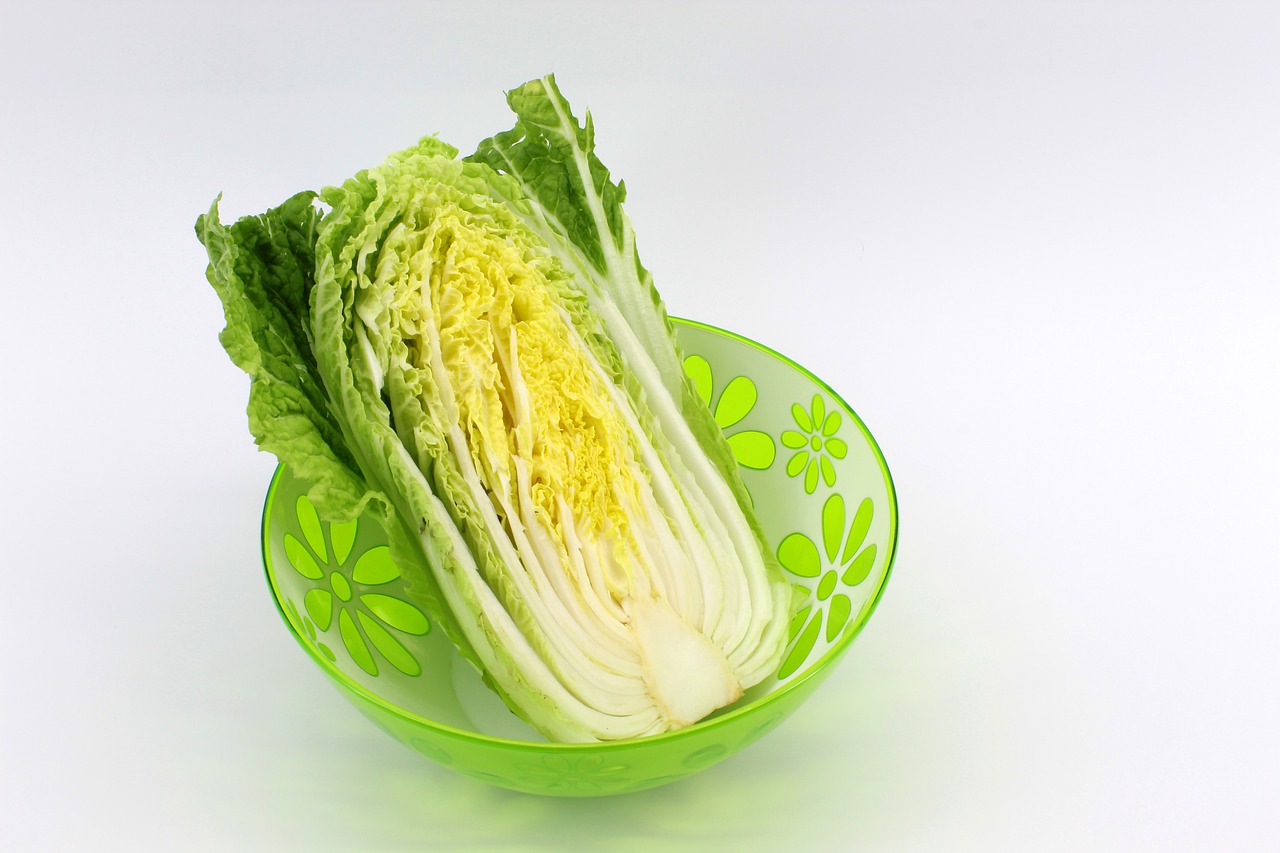
Besides the veggies and gochu, there is a huge variety of recipes out there to choose from to make easy or complicated kimchi. Any number of ingredients can be added to create the perfect taste profile. The ultimate goal, though, is to balance the six taste elements of salty, sour, bitter, sweet, spicy, and umami.
Salty
Kimchi is made by brining the cabbage in saltwater to help make the sugars in the vegetables easily digestible by the lactobacillus bacteria that cause fermentation. In kimchi, the salt acts as a preservative, as a stimulant for the fermentation process, and as a flavor in the finished product.
Sour
Sour is a taste produced during fermentation. The lacto-bacteria that digest the plant sugars create that flavor complex that gives kimchi its mouth-puckering feel. That sour sensation starts in as little as two days but develops more fully over a longer fermentation period.
Traditional Korean kimchi is buried in the ground for weeks to months as both a storage mechanism and to allow the sour flavor to fully develop.
Bitter
The bitter flavor comes from the cabbage and daikon. Those two brassica family plants contain compounds like glucosinolates and isothiocyanate that are perceived as bitter by our taste receptors.
Many of the plant sugars that mask some of that bitterness in the fresh-harvested plant are consumed during fermentation. So, the bitterness present in the fresh vegetables is more flavor-forward after fermentation.
Sweet
Sweet was probably optional in ancient kimchi recipes. However, today, many kimchi eaters enjoy the addition of a little added sweetness to balance the other flavors. Ingredients like sugar, brown rice syrup, fruit juice, or chopped fruit linger a little even after fermentation.
Many recipes call for the addition of sweetener at the start of fermentation. However, depending on what kind of bacteria and yeast you have floating around your house, that added sugar can sometimes be converted to vinegar or alcohol during fermentation.
If you want more sweetness to linger in your final product, then add sweetener at the end of fermentation just before you refrigerate your kimchi. Refrigeration slows fermentation and keeps yeast and bacteria from digesting the sugars as quickly so your kimchi tastes sweeter, longer.
Spicy
Those gochu peppers mentioned earlier contribute most of the spicy flavor to kimchi. Depending on how and where they were grown and whether the seeds and ribs were powdered, gochu can range from barely spicy to just under a cayenne pepper kind of spicy.
Generally, though, gochu are used for their mild and consistent heat feel in the mouth, not the hot pepper burning sensation. Other ingredients like scallions, garlic, and ginger are also added to balance the bitter, salty, sweet, and sour elements.
Umami
The final thing needed for the best kimchi is umami. Umami is the sixth taste that is more prevalent in Asian cuisine. It comes from long-fermented or earthy tasting ingredients. Mushrooms have natural umami. But, in kimchi, the umami usually comes from fish sauce.
Though fish sauce is most common, miso paste, shrimp paste, seaweed, or Korean salted shrimp are also often used to fill that flavor niche.
How to Make Homemade Kimchi
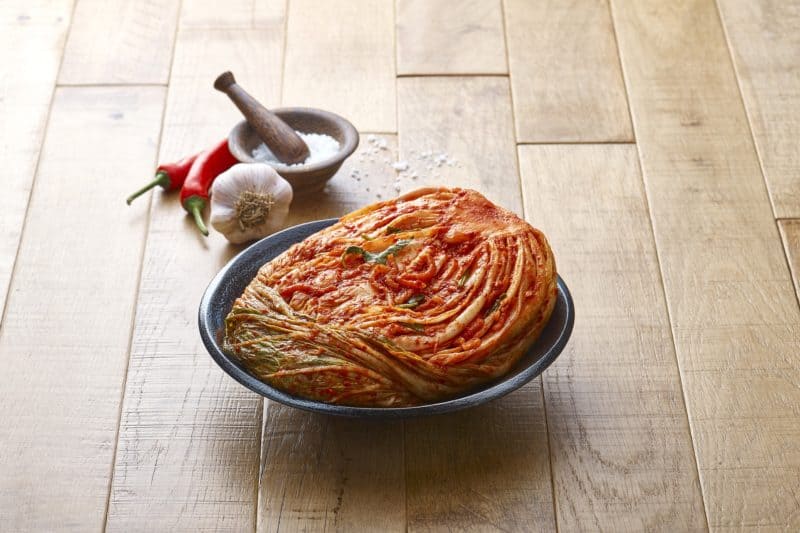
Now that you understand the history and flavor profiles required for good kimchi, it’s time to make some. Despite the incredibly complex and satisfying flavor, kimchi is quite easy to make. In fact, it’s a whole lot like making sauerkraut but with a few added ingredients.
Step 1: Chop the Veggies
You can make kimchi with halved or quartered cabbage heads. But most people cut it up into one-inch pieces. That makes it easier to fit in jars for long-term storage.
The carrots, daikon, and scallions add texture and beauty to the mix. You can use as much or as little as you like.
Personally, I use about 1/4th to 1/3rd cup of mixed carrots and daikon to each cup of cabbage, or a ratio of 1:4 or 1:3. For the scallions, I use the whites and greens of 2 scallions, chopped into ½ inch pieces, for every cup of cabbage.
Feel free to add as many or as few of these veggies as you like, cut in any shape you prefer. After all, this is your homemade kimchi!
Personally, I like to slice the carrots into matchstick sizes because that makes them easy to chew. I prefer my daikon harvested young and thin-sliced like potato chips to add a fun shape.
Step 2: Brine the Veggies
Now it’s time to brine the veggies. The first thing you need to do is figure out how much salt to use.
I weigh my veggies, then I use 2% of that total weight in salt. Some people use the ratio of ¼ cup salt to every 1 pound of veggies.
There are also two ways to make your brine. You can either massage the veggies in a bowl with salt and let them express its own brine. Or you can soak them in a mix of salt and water.
For me, the method I use depends on how much water is in my cabbage. If I harvest after a few rainy days, the cabbage leaves tend to hold a lot of water. So, I rub them with the salt and let them stand for an hour or so until they are sitting in their own brine.
If I harvest my cabbage after a dry period, or if it’s been in the fridge for a while, then I mix enough water and salt to just barely submerge my cabbage and let it soak to soften. Leave it in the brine for about 30 minutes.
Also, some people only brine the cabbage then add the veggies. I like my homemade kimchi salty, so I brine them all.
After brining, strain out the extra liquid and reserve it for later use. Also, if you only brined your cabbage, now is the time to mix in your veggies.
Step 3: Add Your Spices
This is where kimchi gets interesting. You get to pick what ingredients you use to make your kimchi taste delicious to you.
I like to keep my kimchi simple. I usually only use gochu powder, garlic, ginger, and fish sauce. I grow the first three ingredients and buy the fish sauce.
This is how much I use for every 1 pound of veggies.
- 2 tablespoons powdered gochu
- 4-6 cloves garlic
- 4 thumb-sized portions of ginger
- 1 teaspoon fish sauce
You can throw this all in a food processor or mince the ingredients separately. Once they form a nice paste, mix them into your veggies.
Step 4: Ferment Away!
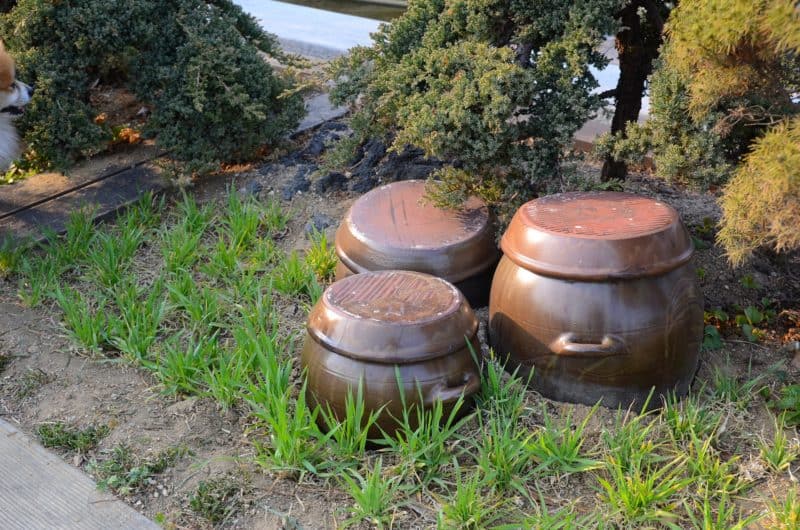
Now, load your almost kimchi into your fermentation vessel. This can be a fermentation crock, a bucket with an airlock, mason jars with airlock lids, or whatever else you use for fermenting. You can also just use a jar with a lid and burp it daily to keep too much carbon dioxide from building up.
Whatever you use, top your kimchi off with that brine you reserved in step 2 so that your kimchi can ferment in anaerobic (airless) conditions. You may need to mash the veggies down in your fermentation vessel to make sure they are totally submerged.
Then, let your kimchi ferment for 3-14 days. For quart jars, it usually only takes 3-4 days for good flavor to develop. In larger batches, like 5-gallon buckets, it can take two weeks to get that fabulous fermentation funk.
This stuff does have a strong smell. That’s part of why traditionally it was buried for fermentation. So, turn on a fan or open it outdoors to check on the state of fermentation or to move on to step 5.
Step 5: Store and Enjoy
When your kimchi is fermented to your satisfaction, you can stir in any sweetener you want to add. A bit of brown rice syrup to taste or a sprinkle of brown sugar is what I use if the bitter, sour, spicy flavors need a little sweet balancing.
Then, you can put this stuff in jars and store them in the fridge. Most people say you should only keep this for a month or so.
Personally, I make 25-pound batches and use them for 6-8 months until my next crop of cabbage comes in and I get to make more. I’ve even kept homemade kimchi for a year and it was still delicious.
Of course, as the person eating your homemade kimchi, you are the only one qualified to be the judge of how long you feel comfortable storing your kimchi. If you are eating it daily, and even with every meal, as is common in the Korean culture, then you’ll know right away if the taste goes off.
Kimchi Crazy!
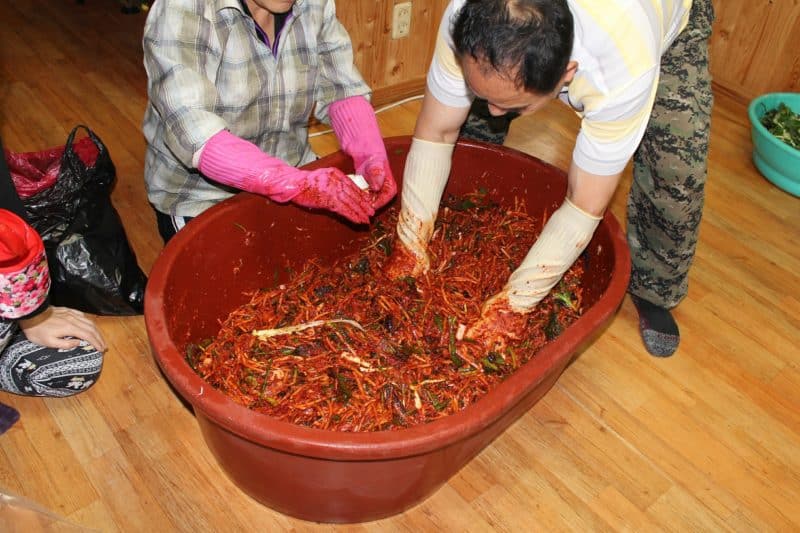
I have to warn you…Kimchi is addictive, especially if you make homemade kimchi. If you are like me, then you’ll end up growing large quantities of kimchi ingredients in your garden each spring and fall.
In case that happens to you, let me leave you with a few heirloom plant varieties to add to your seed list: Chinese Hitton Cabbage, Koral carrots, Japanese Minowase daikon, and He Shi Ko bunching onions. Those are my favorites for homemade kimchi. And don’t forget the gochu!
