Corn can either be ridiculously easy to grow or absolutely horrendous, depending on the season. If grown properly, you’ll have oodles of beautiful kernels to enjoy. In fact, you may have more than you can eat fresh without getting tired of it. Fortunately, there are several scrumptious ways to preserve corn so you can eat it year-round.
1. Freeze It
This is by far the easiest and most time-efficient way to preserve your corn harvest. It works for any sweet corn that you’d normally eat off the cob, and you can either freeze it blanched or unblanched.
If you have a large enough freezer, you can just go right ahead and freeze whole cobs. You don’t have to blanch them ahead of time; just pop as many ears into freezer bags as you can. Push the extra air out of the bags, seal them well, date them, and pack them into your chest freezer.
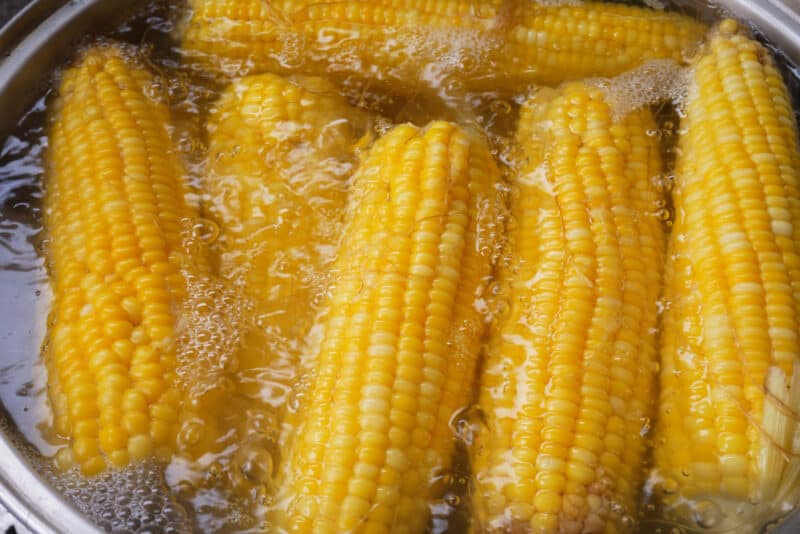
Alternatively, you can take the kernels off the cobs if you want to save on freezer space. Simply boil those ears for about 10 minutes, remove them from the water, and allow them to cool to room temperature. Then cut the kernels free by removing them with a large carving knife. Transfer the kernels into freezer bags in whatever portions you think you’ll need. Then press the bags flat, take the excess air out, and freeze in layers.
2. Make Pickled Corn Relish
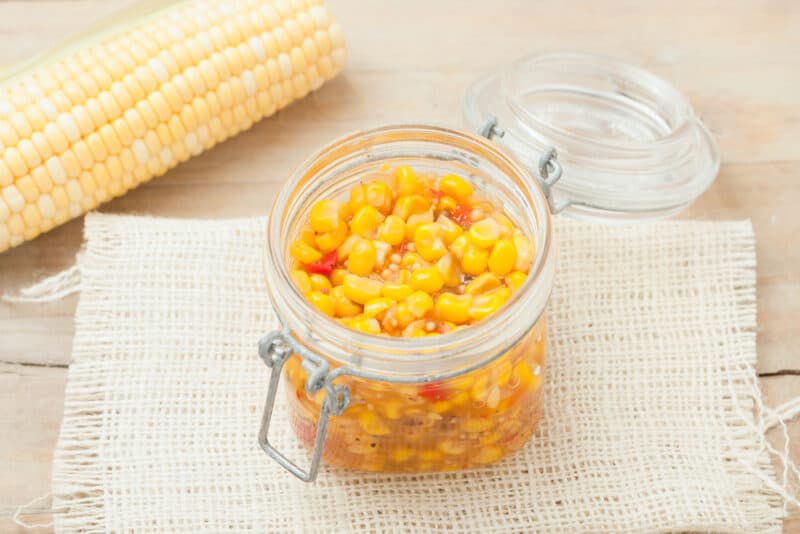
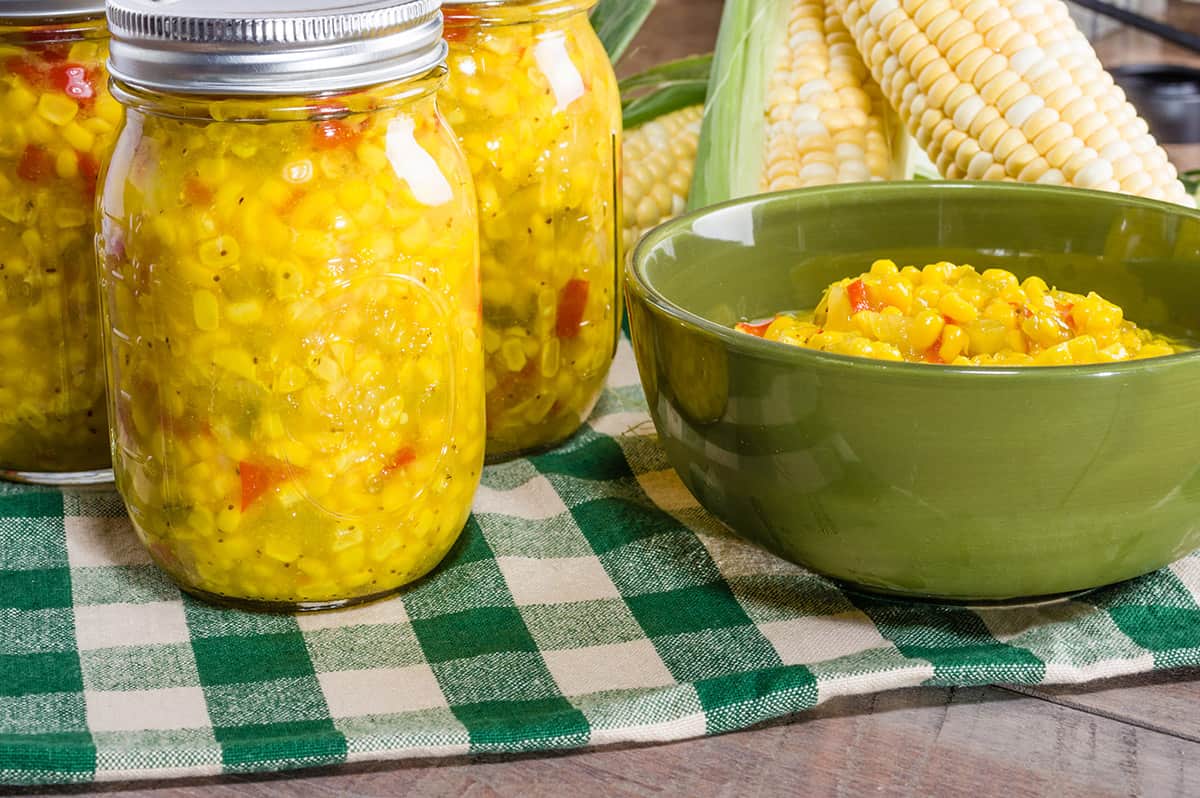
Pickled sweet corn relish is absolutely gorgeous. You can use it on burgers, tuck it into wraps, use it as a garnish on burrito bowls… you name it. Just hunt around for a traditional sweet corn relish recipe that appeals to you. Feel free to make adjustments to it, but try to avoid adding any other low-acid ingredients like beans. They might be tasty additions, but they’ll make long-term preservation a lot more difficult.
I like to add a bit of minced jalapeno to my corn relish for a bit of extra spice, but omit this if you’d prefer it mild instead.
Once you’ve made the relish and transferred it to clean, sterilized jars, seal them up and process them in a boiling water bath for 10 to 15 minutes. Once cooled and sealed (wait for the pop!), you can store these for up to a year.
3. Pressure-Can Sweet Corn
Since corn is low acid (as mentioned), it can’t be canned safely in a hot water bath unless it’s pickled. Instead, if you want to preserve corn in a way that maintains its flavor and texture, then you’ll need to use a pressure canner.
Aim to process several jars at once in your canner or otherwise, it may not reach the proper temperature and pressure needed to kill off any potentially harmful bacteria.
Peel your corn cobs, remove all the silk, and then cut the kernels free. You can either hot pack or cold pack corn for canning. With cold packing, you transfer kernels into clean, sterile jars and then cover them with boiling water.
Alternatively, hot packing requires you to bring the corn kernels to a boil in a saucepan and then transfer that into the sterile jars while it’s hot. Either way works well — just make sure you leave one inch of headspace when you fill them.
If you want your corn to actually have flavor when the jars are opened, add one teaspoon of salt to each quart-sized jar or 1/2 a teaspoon to each pint jar.
Once filled, put on the two-part lids and tighten the bands slightly. Then process in your pressure canner at 10 pounds pressure. Process for 55 minutes for pint-sized jars or 1 hour and 25 minutes for quart-sized ones. Just make sure to check your pressure canner’s instructions so you can adjust the pressure according to your altitude as needed.
Remove the jars from the hot water allow them to cool. Check the lids after 24 hours to make sure they’re sealed downwards and don’t pop up and down when pressed.
4. Dehydrate the Kernels
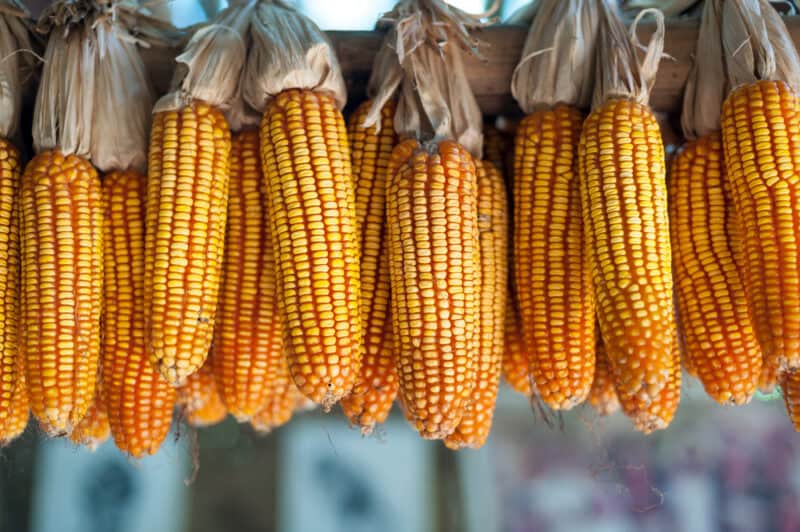
There are two different ways to dehydrate corn kernels: either hang up the ears and allow them to dry out, or cut the kernels off and put them through the dehydrator.
I go the first route whenever possible, mostly because it’s the easiest way to go. This is the route I take for milling and popcorn types, rather than sweet corn.
To do this, pull the husks back and remove all the silk. Save that silk if the corn is organic, and dry it separately to use medicinally. Tie a strong cord up in a warm, dry room, and then tie the corn ears all along this cord. Leave them to hang here until kernels are brittle enough to shatter when hit with a hammer.
Alternatively, you can remove all the kernels and spread them over your dehydrator trays. Make sure there’s room between all the kernels for hot air to circulate. Set the dehydrator to 125–130°F for 8–10 hours. Then check to see if the kernels are hammer dry.
If they’re not, dry in additional 2-hour increments until they’re brittle. Once fully dry, allow them to cool completely for a couple of hours. Then transfer to airtight containers like canning jars or tightly lidded plastic containers, and store for up to a year.
5. Mill Corn into Meal or Flour
As an alternative to storing the kernels whole, you can mill the corn into meal or corn instead. Just make sure that it’s fully dehydrated before grinding it. Additionally, you’ll need to add 1 tbsp pickling lime for every pound of dry corn you’re processing.
Choose a non-corrosive pot such as glass or ceramic so the lime doesn’t react with it. Add about 4 quarts of water for 2lbs of corn. Heat the water on high until it just starts to simmer and then dissolve 2 tbsp of lime into it.
Add your dry corn and stir well. After a few minutes, use a slotted spoon or strainer to remove any floaters. These bits of corn might have started to rot, and you don’t want them contaminating your flour. Simmer the rest for about 5 minutes, then remove the pot from the heat and let the corn soak for 8–12 hours. This will allow the lime and water to break down the kernels.
Drain the kernels through a sieve or colander and rinse with cool running water. Then transfer the corn to a rough dishcloth a handful at a time. Rub the corn kernels with the cloth until the yellow seed coats fall off, leaving only the inner white endosperms. Once all hulls have been removed, press the corn between two dry towels to remove any excess water.
Then, process the kernels with a grain mill or put them through a food processor. At this point, you can either use it immediately to make tortillas, arepas, etc. or you can keep it refrigerated for up to a few days. Leftovers can be packed into plastic bags and frozen, but make sure to use the contents within two to three weeks.
6. Preserve Corn with Salt Curing
This is one of the oldest known methods of preserving food, after drying. Salt has been used to cure and store food for winter for thousands of years, and with good cause! The amount of salt that you use to preserve your corn will determine whether it’s lacto fermented, or put in a salt stasis.
If you only use a bit of salt, then you’ll create a product that tastes like corn kimchi. This type of salt pickling creates a product that isn’t as tangy or sharp as vinegar-cured vegetables.
In contrast, high salt curing puts the vegetables into a sort of stasis. The high salt basically replaces the veggies’ cellular water with a tasty salty brine. Since salt is antibacterial, the veggies don’t rot. Of course, you might have to rinse and boil the corn kernels a few times before eating them as they might be a bit too salty for most palates as they are.
To salt your corn, you’ll need kosher, pickling, or canning salt along with sterilized jars and fresh, washed corn. Weigh the kernels carefully, as you need 20% to 25% salt weight per vegetable weight. This means that if you have 1lb of corn kernels, you’ll be using 1/4 lb salt to cure them.
You’ll be alternating layers of corn kernels with layers of salt inside sterilized Mason jars until you get to the top. Then put a cabbage leaf on top and weigh it down with a plastic bag filled with water or baking weights. Keep this at a temperature between 65°F and 72°F for a couple of weeks. Then remove the weights, seal up the jars, and store them in your refrigerator or cold cellar.
7. Make Corn Cob Jelly
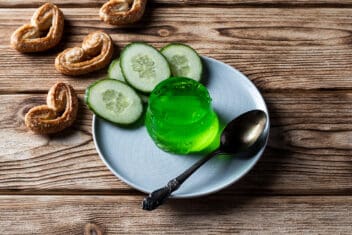
Finally, after you’ve made all the delicious preserves mentioned above, you can make corn cob jelly. Our ancestors didn’t throw anything out until they’d used everything to its greatest potential. Corn cob jelly tastes like a cross between honey and summer sunshine and is a great way to squeeze every last edible bit out of your corn harvest.
Try making this jelly after you’ve had a cookout or BBQ, as you need a dozen or so corn cobs to make the jelly.
After you’ve eaten all the kernels off the cob, put them into a large pot and add just enough water to cover them. Bring to a boil and then reduce to a simmer for 45–60 minutes. Then remove the cobs and keep simmering until the liquid has reduced by about 1/3.
Use a ladle to transfer 3 cups of this cob juice into a separate pot. If you don’t have 3 cups’ worth, you can add a bit more water. Raise the heat and use a whisk to stir in 1 package of powdered pectin as the temperature is rising. Then use that whisk to stir in 3 cups of sugar, added one cup at a time. Allow this mixture to come to a full boil and let it bubble merrily for 4 or 5 minutes.
Remove from the heat and use a spoon or fat skimmer to remove any foam that’s clinging to the surface. Transfer the contents into sterilized jelly jars using a ladle and funnel, leaving 1/4 inch headspace. Clean the rims before putting on the two-piece lids and bands, then transfer into a hot water canning bath. Process at a full boil for 10 minutes, then remove and allow to cool. Label clearly with the date and contents and store for up to a year.
This jelly is gorgeous on pancakes or toast, especially when you’re missing sweet, warm weather in the depth of winter.
Now that you have some great ideas on how to preserve corn, don’t wait to start preserving your own! Whether you’ve grown it yourself or gotten a bushel (or five) from the local farmer’s market, make sure that not a single beautiful kernel goes to waste.
