Anyone who has planted corn before has undoubtedly experienced one of the many problems growing corn that can pop up. Although these plants are quite hardy, they can also be finicky. Under- or over-abundant watering can cause issues like irregular temperatures, low pollination, and certain insect activity.
Then there are the diseases and pests that plague corn. Here are some of the main issues you may come across when growing corn.
1. Kernels Aren’t Germinating
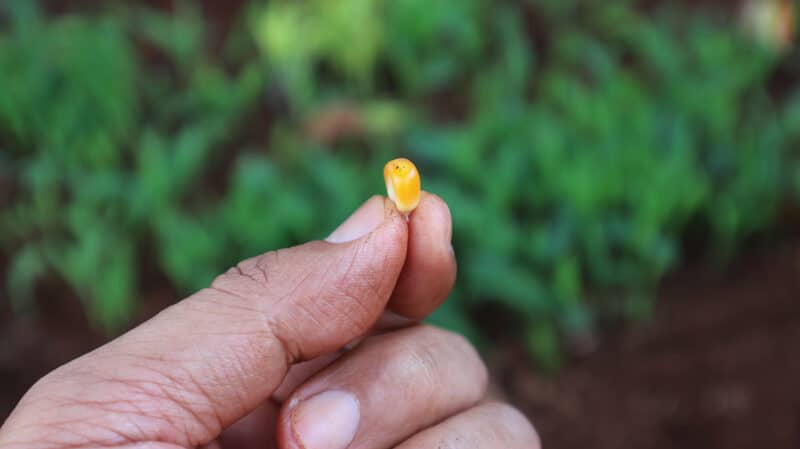
Corn kernels can germinate anywhere from one to three weeks after planting them. If your kernels haven’t sprouted after a month, dig some of them up to see what they look like.
Do the kernels appear mushy and rotten? If so, then your soil might not have sufficient drainage. Although corn needs a lot of water to grow well, accumulated moisture can rot the seeds before sprouting. Additionally, if you plant your corn too early in the springtime, the cold soil can put them into torpor or kill them before they can germinate.
Alternatively, do the kernels seem dry, but there’s no sign of life? They might not be getting enough water, or again, you might have planted them too early. There’s also the chance that the kernels are old and/or sterile.
Don’t plant your corn until at least two weeks after the last frost date in springtime for best results.
2. “Failure to Thrive”
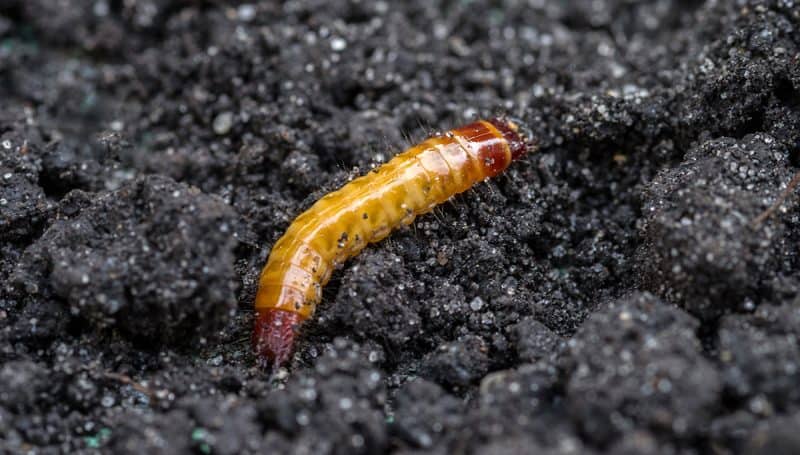
If some of your kernels have germinated, but the seedlings seem weak, dig around in the soil a bit. You may be dealing with seed corn maggots or click beetle larvae. These jerks love to gnaw on sprouting seeds and new growth and will annihilate your seedlings.
The best way to eliminate these pests is to rotate your crops regularly. Turn over the planting beds thoroughly in autumn so your bird friends can eat the worms, maggots, and larvae nesting in them. Additionally, you can bait these worms and maggots with potatoes. Spear potato slices on sticks and nestle them a few inches deep into the corn bed soil. Check these traps a few times a week, and either drown the insects when you find them or feed them to your chickens.
3. Young Plants Look Sawn Off Near Soil Level
This has happened to me with both corn and sunflowers, and it turns out that cutworms are to blame. These grubs sleep in the soil during the day and feed at night when they gnaw their way through plant stalks right at the soil level.
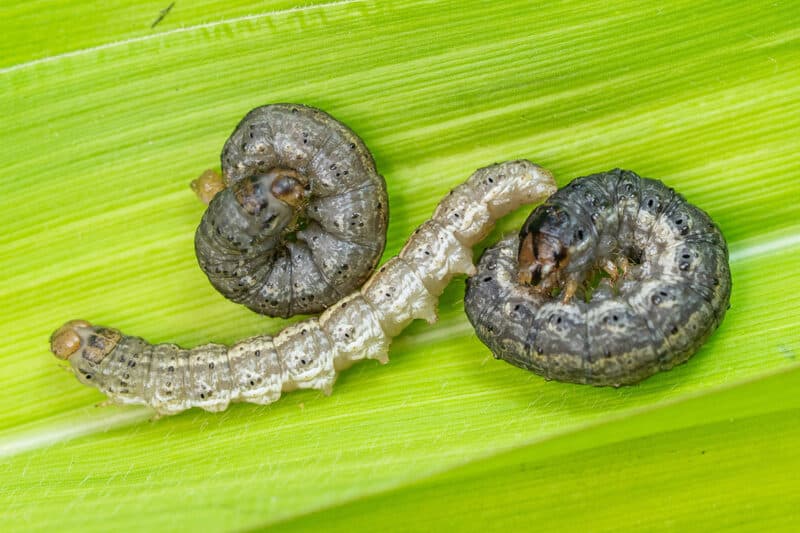
You can take a flashlight and go hunting for them at night, dropping them into a bucket of soapy water to drown them as you go. Additionally, you can create protective “collars” for your plants.
Just take cardboard rectangles that are at least 6 inches long and wrap them around the bases of the plant stalks. Push them down an inch or two into the soil, leaving the rest of the board exposed above.
As an added step, you can wrap double-sided sticky tape around these collars. They’ll trap the grubs as they try to get to your plants so they can’t wreak more havoc.
4. Fallen Stalks
Corn borers can weaken stalks beneath the surface, so they fall over. Additionally, high winds and small children or pets can stomp their way through your plants. Eliminating garden detritus can fend off the borers, and fencing off your corn can keep interlopers out of that patch.
Additionally, soil that’s overly high in nitrogen can make your corn plants fall over from exhaustion. Choose well-aged compost as an amendment and try to keep nitrogen levels lower.
5. Uprooted Plants
In addition to the aforementioned children and pets, wild animals can do a lot of damage to your corn plants. Large birds can pull them up in search of tasty kernels and worms. Additionally, raccoons and squirrels like to scrabble through the soil to look for big, juicy grubs.
Try using row covers to protect the seeds and seedlings until they’re about a foot tall to avoid this frustrating corn growing problem.
6. Holey Plants
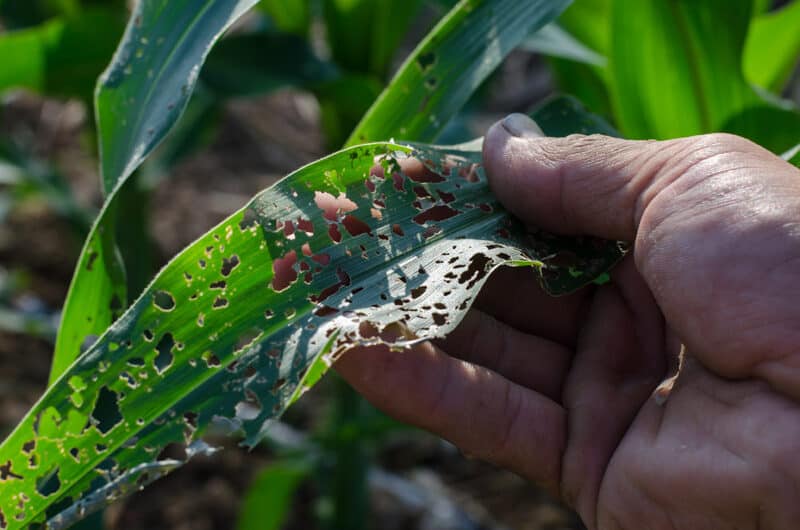
Are there holes all over your corn plants’ leaves and stems? Several different insects can cause those, but the most common is the corn flea beetle. These small chitinous beasts take chomps out of corn leaves and transmit a nasty disease called Stewart’s wilt. It’s a bacterial infection that transforms your plants’ vascular systems into sludgy, slimy messes.
Be sure to turn the soil over deeply before planting to expose beetle larvae to ravenous insects. This should eliminate most of them. Additionally, check plants thoroughly for beetles and destroy them if found. Finally, since these jerks crawl around rather than flying, the ubiquitous double-sided tape can work wonders to keep them away too.
This tape will also catch grasshoppers, which like to eat corn leaves as well.
7. Mottled Leaves
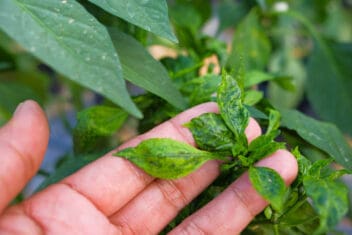
Corn can be susceptible to dwarf mosaic virus and sugarcane mosaic virus, which cause mottling and striping on leaves. It can also rot them right down the stems into the root.
There are no treatments for this issue. All you can do is pull up and burn your corn plants so the pathogen can’t spread. Then turn the soil over and let that area lie fallow for a few years.
Also, remember that insects can spread mosaic viruses. Eliminate aphids as soon as they appear, and plant flowering species that attract parasitic wasps.
8. Rolled Leaves
If your leaves are curled or rolled inwards, then you likely haven’t been watering your corn sufficiently. These plants are heavy drinkers and need consistent moisture to develop properly. If they don’t have enough to drink, they can shrivel inwards with thirst.
9. Dried-Out Leaves
Corn plants are heavy drinkers and lack of moisture is a common cause of corn growing problems. If they don’t get adequate moisture, the leaves will shrivel up.
First, they’ll turn yellow and curl; then, they’ll turn brown and wilt. You can offer them a lot of water when the leaves are still yellow, and they may recuperate. However, once the leaves turn brown, your only option is to snip them off, so they don’t rot on the stalks.
9. Purple-Striped Leaves
Are your corn plants short and wimpy, with purple-veined leaves? Then you may be dealing with a phosphorous deficiency. This is actually quite common and can be combatted using bonemeal as a soil amendment. You can also offer your plants a diluted fertilizer tea made with a formula that has a 5-10-5 nutrient ratio.
10. Deformed Kernels
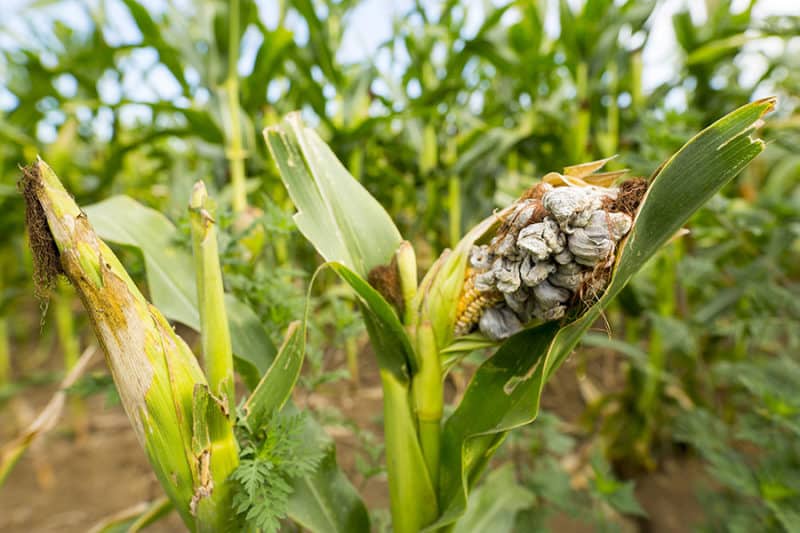
With corn smut, the ears end up looking as disfigured as the Elephant Man, with big, grey, knobbly ears. If you’ve ever had smut show up on your corn plants, you’ll know it. Smut is caused by the Ustilago maydis fungus, which is highly contagious. If smut appears on one of your plants, chances are several others are also infected by it.
The only good news about smut is that it’s considered a delicacy in some places. This fungal issue is most common in the Southern USA and Mexico, and some people consider the resulting blight a delicacy. If you do, then corn smut might not be a growing problem so much as a welcome surprise!
It’s known as huitlacoche in Mexico and is also known as the “Mexican truffle.” Apparently, it tastes like a cross between corn and mushrooms, but it’s up to you whether you want to risk trying a bite.
You really can’t prevent or get rid of smut, as it’s a very stubborn, soil-borne pathogen. Your best bet is to rotate your crops regularly and choose smut-resistant varieties to plant.
11. Fungal Issues
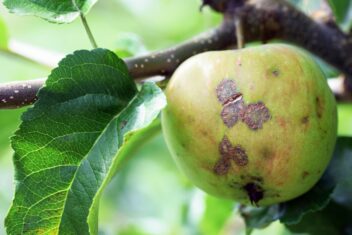
In addition to the smut mentioned above, you may also have to contend with other fungal issues like rust (Puccinia sorghi), leaf blight (Colletotrichum graminicola), gray leaf spot (Cercospora zeae maydis), and tar spot (Phyllachora maydis).
Many of these fungal pathogens reside in the soil and can be notoriously difficult to eradicate. Choose varieties that have been bred to resist fungus and clear detritus so air and light can reach the soil. Crop rotation is ideal, and if any severe blights occur, it’s best to plant elsewhere for five to seven years.
Additionally, try not to water your corn plants from above. Use irrigation hoses at the soil level to offer moisture, as water accumulation within the leaf folds can promote fungal growth.
12. Tiny Little Bugs
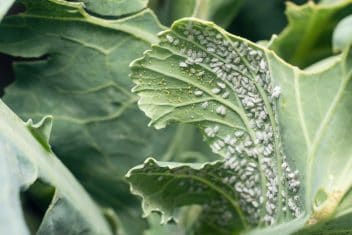
If you’ve never seen a corn plant absolutely covered with aphids, consider yourself fortunate to have avoided this common corn growing problem.
These little blighters can be immensely fond of your corn plants. You may discover that leaves fail to unfurl or that the entire plants are bent over and stooped-looking. Seriously, aphids are insidious.
Hose them down with neem oil and/or diluted dish soap, and sprinkle them all around them with food-grade diatomaceous earth to get rid of them.
13. Lack of Silk
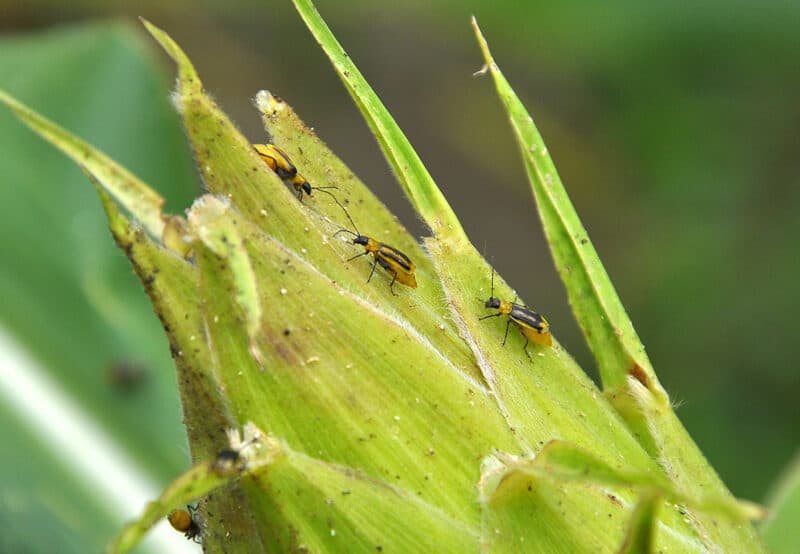
If silk isn’t developing in your corn’s ears, check them for insects. Beetles and earwigs are notorious for nesting inside them and mowing down silk as it develops.
If you find them, pick them out and drown them so they can’t return. Then wrap the aforementioned double-sided tape around the stalks to catch any other intruders. Hose down the plants with garlic and hot pepper pesticide as added deterrents.
Alternatively, if you find that there’s little silk developing and your corn leaves are turning yellow, you may be dealing with a nitrogen deficiency. Feed your plants with a higher nitrogen diluted compost tea (like fish emulsion) over the course of few weeks and see if it improves.
14. Irregular Kernel Development
Have you opened up corn ears to discover that many kernels have failed to develop? The most common cause for this corn growing problem is the lack of steady, sufficient moisture during the development stage. Seriously, these plants need a TON of water at root level from silking through to harvest time.
Another reason for this kind of under-development is the lack of thorough pollination. Do you have at least a dozen corn plants? If not, then there may have been insufficient pollen to fertilize all the silks. Alternatively, if the weather was really windy during pollination time, the pollen may have been flung from the tassels away from the silks, resulting in sparse fertilization.
15. Stunted Ears
Lack of adequate nutrition plus insufficient growing space = teensy corn ears. Make sure to work plenty of aged compost into the soil before planting. Then space out your plants, so they’re 8 inches to 10 inches apart. A lack of nutrition can keep the ears small and also slow their development process.
People who live in colder climates with short growing seasons may also experience this. For example, the last frost date in my zone 4b area is May 30th, while the first frost date is September 14th. That’s only 106 growing days. Now, consider the fact that corn has to be sown 10-14 days after the last frost date. That drops my corn-growing days down to around 90.
Many sweet corn varieties take 90–110 days to mature. This means I’d have to get seeds in asap and hope and pray for enough heat and rain to mature them. Corn doesn’t like to be transplanted, or else I would start the seeds indoors earlier. Instead, I am for smaller varieties like popcorn or cultivars that mature in 70–80 days.
16. “Popped” Kernels
This issue can happen for several reasons, but I’ve seen it when there are drastic temperature shifts during the growing season. For example, I lost an entire popcorn crop a few years ago when we had a vicious heatwave. Temperatures leaped from around 85°F to 114°F overnight and lasted for over a week before dropping again.
That was enough to fast-track kernel development so they broke through their seed coats. There’s no way to cure or prevent it: all you can do is salvage what you can and try again next year.
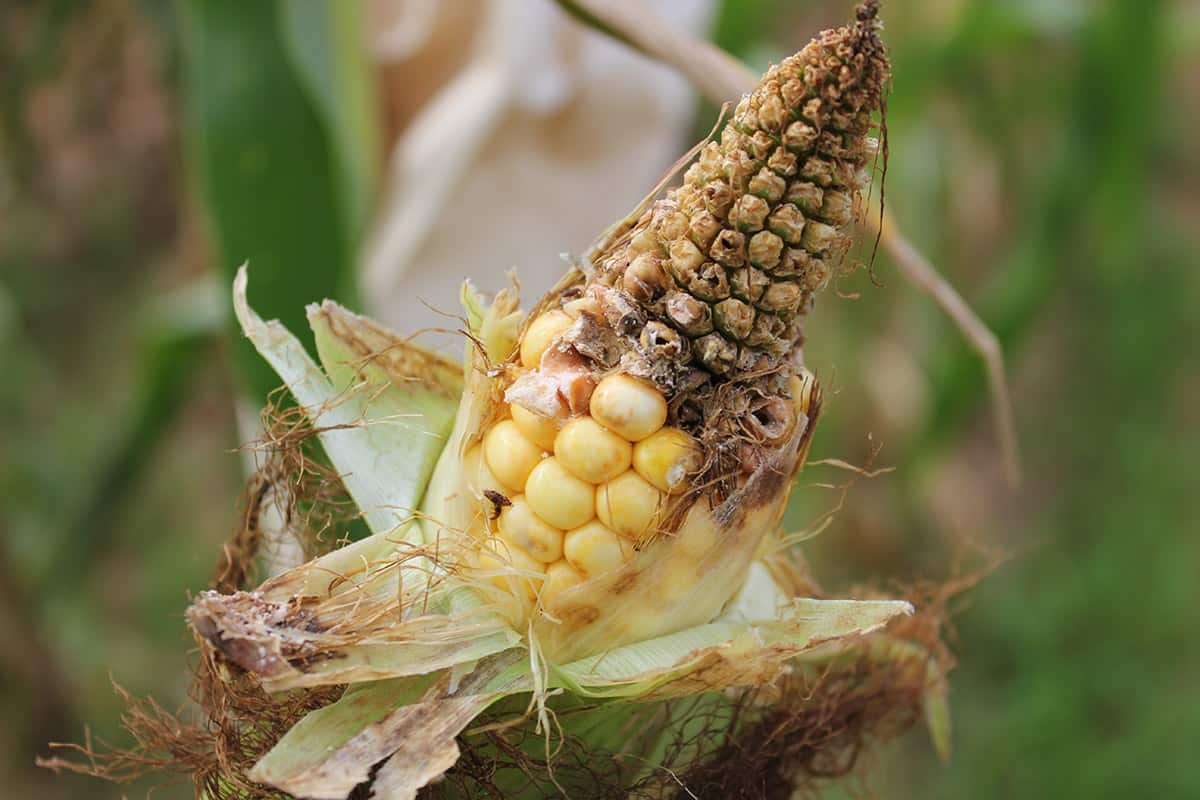
17. Rotten-Looking Kernels
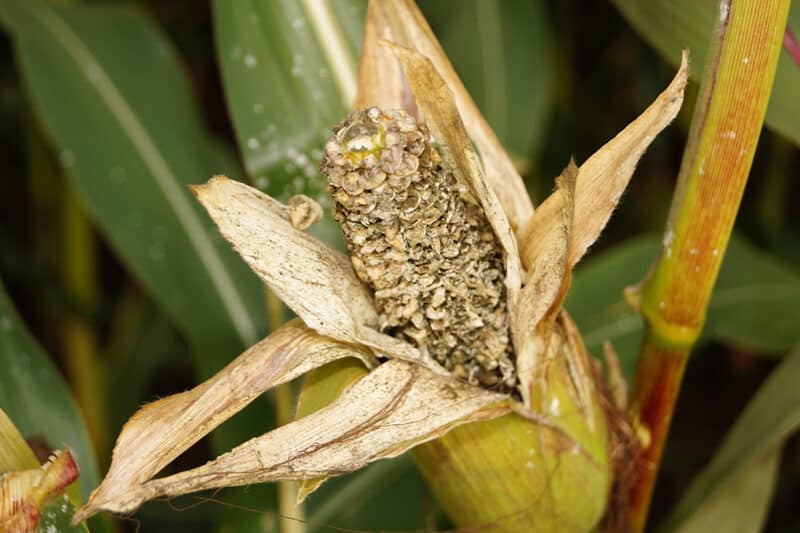
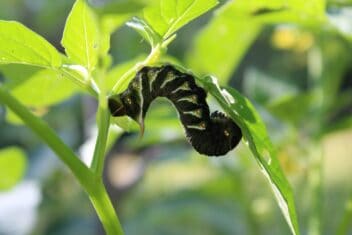
Corn earworms and other caterpillars can work their way down into the ears and make them appear as though they are rotten. It’s nice and cozy in there, with plenty of food for them to devour. Fend them off with sticky tape and remove them by hand when and if you find any.
Prevention is Best
Many—if not most—of these corn growing problems can be prevented through proper care during the growing season.
Check out our guide to growing corn here for some helpful tips on how to get the most out of your corn. Whether you’re just growing enough for winter popcorn evenings, or you’re aiming to feed your family and community, these guidelines can help to keep your plants healthy, happy, and productive.
Choose disease-resistant varieties when possible, and make sure your soil is rich and well-draining. Corn needs full sun, and your plants also need to be planted in blocks for proper pollination. Take advantage of beneficial companion planting, keep the plants well-fed, and you should have a great harvest!
