Do you enjoy cooking with fresh ingredients? Would you like to make tomato sauce to enjoy on nights you make Italian food?
Well, whether you make tomato sauce for a fresher flavor, or you’re looking to save money at the grocery store, you’ll be interested to know it doesn’t take much to make it yourself.
If you’re curious how to take the fresh tomatoes from your garden and turn them into a tasty sauce, you’ve come to the right place.
I’m going to share with you how I make my own fresh tomato sauce year after year. Here’s how you can make it too:
Ingredients:
- 45 pounds of tomatoes
- 2 medium onions, chopped
- 12 cloves of minced garlic
- 2 tablespoons Italian seasoning
- ½ cup olive oil
- 1½ tablespoons sugar
- ¼ cup salt
- 2 teaspoons crushed red pepper
- Lemon juice
1. Prep Tomatoes
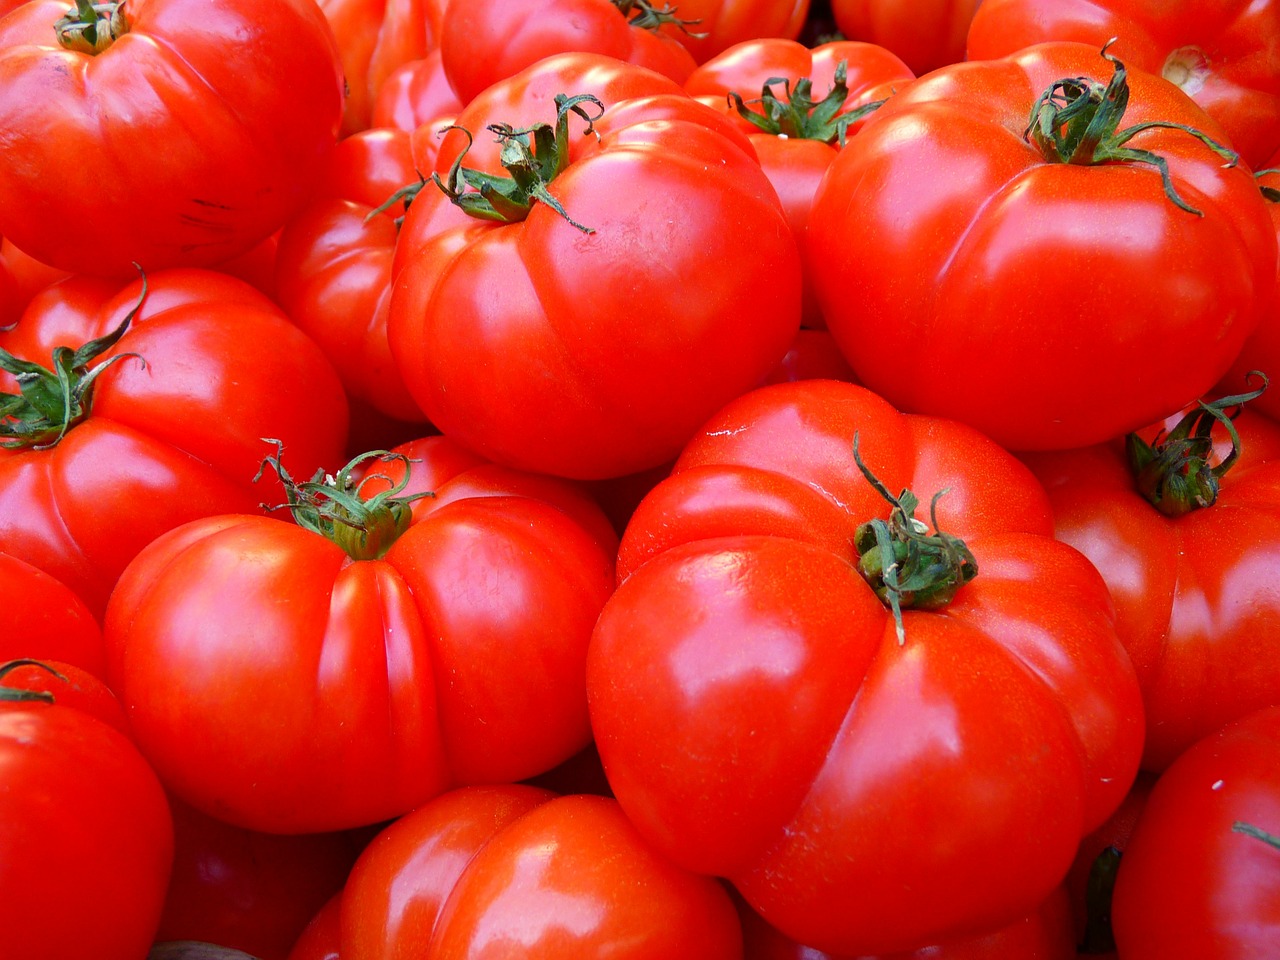
If you’re making tomato sauce fresh from the garden, begin by picking the ripe tomatoes. You’ll need approximately 45 pounds of tomatoes.
Once you’ve brought them into the kitchen, wash them in a sink of cold water. Remove the blossoms and stems from the tomatoes.
Finish by removing the cores of the tomatoes and also cutting them into smaller pieces. You can quarter them or cube them.
However, you don’t want to cut them into too small of pieces as this can drag out this process more than necessary.
2. A Short Cut
Tomato sauce is something I make when I’m cleaning out my pantry before summer canning begins. If I have any left-over jars of crushed tomatoes, I cut out the first step and utilize the crushed tomatoes.
If you have a large amount of left-over canned tomatoes from the previous canning season, don’t let them go to waste.
Instead, open the jars and repurpose them. It’ll reduce the number of jars in your pantry, and you’ll be more likely to utilize a few jars of tomato sauce faster than a large number of crushed tomatoes.
3. Throw It in a Pot
Next, sauté the onions and garlic. Do this by placing the olive oil in a skillet, chopping the onions, mincing the garlic, and tossing the ingredients into the oil.
When all ingredients are translucent, you’re ready to pull out the big pot. Place the tomatoes and all other ingredients (besides the lemon juice) into the pot.
Allow everything to cook together for approximately 20 minutes. Be sure to stir the mixture to keep it from sticking to the bottom of the pot.
4. Thin It Out
Once all the ingredients have cooked together, it’s time to make everything smooth. Run the mixture through a food mill or food processor.
If you’re using a food mill, place the food mill on top of a large pot. Ladle the mixture into the food mill and run it through.
The larger chunks should be chopped fine and fall into the pot below. Continue until the entire pot has been run through the food mill.
However, if you have a food processor, it’s most likely the faster option. Place the cooked vegetables into the food processor or pulse until everything is finely chopped.
When the contents of the entire pot have been processed, place it back in a pot, and move forward with the process.
It doesn’t matter which method you use as long as the ingredients are reduced to a fine chop before moving forward.
5. Spend Some Time by the Stove
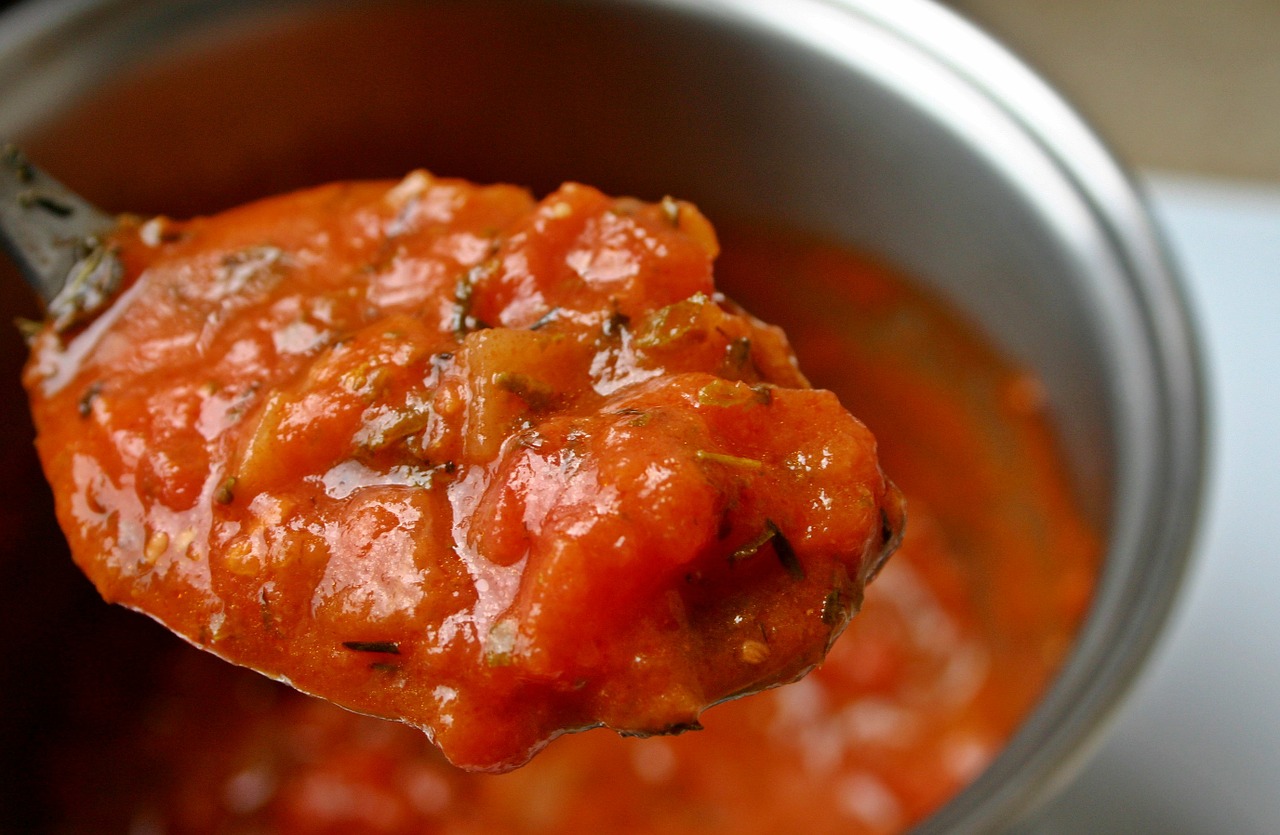
The hardest part about making tomato sauce is the time and patience it requires. You must cook the tomato mixture down until it reduces to half of its original size. It can take a while.
With this in mind, don’t begin cooking tomato sauce until you have the time to dedicate to it because it can take hours for everything to reduce.
However, during this process, make sure you stir the tomatoes regularly to keep them from sticking to the bottom of the pot.
Cook the tomatoes on medium to medium-high. You are ready for the next step once the volume of the tomatoes has been reduced by half.
6. Prepare Your Jars

While you’re waiting on the tomato sauce to thicken and reduce, work on preparing the jars for canning your tomato sauce.
Be sure to wash your jars in warm, soapy water and dry them thoroughly. A great way to do this and save time is to place the jars in your dishwasher.
If you have a sanitize setting, this will wash, dry, and sanitize your jars and rings at the same time. If you don’t have a sanitize option, consider sanitizing your jars in the oven.
Remember, it’s not necessary to sanitize jars when pressure canning. But I’m going to recommend you water bath this recipe because it makes it simpler for those who are new to canning.
In this case, it’s vital you sanitize your jars to reduce the risk of food borne illness developing in the home canning process.
7. Process
When the tomato mixture has reduced by half and has the desired consistency, it’s time to place the sauce in the prepared jars.
Before placing the sauce into the jars, add one tablespoon of lemon juice to each pint jar or two tablespoons to each quart jars.
Use a canning funnel to help channel the sauce into the jars making sure to leave ½ to an inch of headspace at the top of the jar.
This step is vital to make sure the lids will seal properly. When finished filling the jars, place a fresh lid and ring on the jar and secure them.
Place the jars in a water bath canner. Add water to the canner until it thoroughly covers all the jars. Turn the stove on high heat and bring the water to a rolling boil.
Once the water is boiling, set the timer for canning. Pint sized jars will need to be canned for 35 minutes while the quart jars will need to be processed for 40 minutes.
8. Wait and Store
After the jars have completed the canning time, use a jar lifter to remove the jars from the water canner safely.
Be sure to place the jars on a hard surface which has been covered with layers of towels to avoid scorching.
Let the jars rest for 12 to 24 hours before checking to see if they sealed properly. You’ll know they sealed when the button in the middle of the jar has been suctioned downward.
It’s common to hear a ‘ping’ sound when this happens. You can check the lids by running your finger over the top of the jar.
If you accidentally push the button down while checking, or if you come across a jar which hasn’t sealed, remove the old lid and place a new lid on the jar.
Reprocess the jar and repeat the process until the jar has sealed properly. When you know all the jars are sealed, label them with the contents and the date they were processed.
After labeling, store the jars in a cool, dark location. If stored where there’s too much sunlight or warmth, the food could continue to cook which will cause spoilage.
A basement, root cellar, under a bed, or in a pantry would be some of the ideal locations for proper storage.
When the cans are stored, you have officially made and processed your own tomato sauce from start to finish. Congratulations!
We hope you’ll enjoy the process of making tomato sauce and also enjoy the excellent flavor it provides to traditional meals.
Hopefully, you’ll agree the added time invested is worth the increased flavor and money saved in the long run.
