Opening a jar of homemade soup on a cold fall evening is one of my favorite pleasures, and it makes all of the work of pressure canning soup worth it. Canned soup that you purchase in the store will never compare to the complexity of flavors and freshness that you can make at home.
For a while, the idea of pressure canning soup seemed a bit scary to me. I conquered all kinds of jams, jellies, pickles, salsas, and even low-acid veggies in a pressure canner. Making and canning soup seemed like a different level, but I finally decided that I wanted to can jars of chicken soup for easy dinners.
So, I scoured the internet and read everything that I can. I discovered that you can make and can some delicious soups at home. When you’re too tired to cook dinner, all you have to do is pour a jar of soup into the pot, reheat, and you have a homemade meal.
Why You Should Can Soup at Home
Yes, you can go to the store and grab dozens of cans of soup without putting any effort forth. It’s worth the work, though! Here are some reasons why you need to can soup at home.
1. The Flavor is Better
Just like anything else, the flavor of homemade soup is usually better than anything you’ll purchase at the store. You can use your own recipes, so long as you adapt them to make sure they’re safe.
2. Don’t Forget It’s Convenient
Do you ever feel like making dinner is a chore? I know that I do. When I feel too tired to make a meal, I put a quart or two of canned soup – I have a family of six – into the stockpot and heat it up. My family is happy and full, and I know that I fed them a homemade dinner even when I’m tired.
3. You Can Use Up Veggies From the Garden
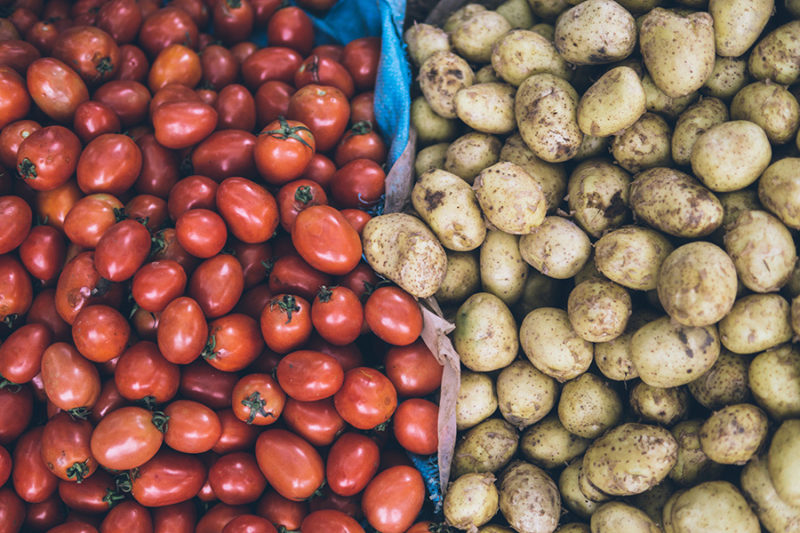
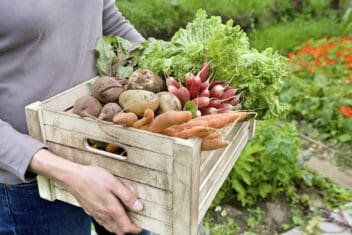
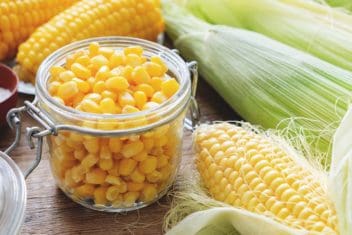
Sometimes, you have too many veggies from your harvest that need to be used up. You can put them into a veggie soup. It’s a tasty way to use up vegetables so that nothing gets wasted. Put leftover green beans, carrots, corn, and peas into your veggie soup.
4. You’ll Be More Prepared
I firmly believe in being prepared for anything, and my food stockpile needs to reflect that. Having a pantry full of homemade canned soups means that we have plenty of good foods no matter the situation. That might be a significant disaster situation or just a week when our budget is tighter than usual. Life happens, so be prepared.
The Important Rules of Pressure Canning Soup
Before you learn how to can soup at home, there are a few rules we have to cover. These rules are important. You don’t want to use improper canning method because it increases the risk of botulism. Botulism can be fatal, and no one wants to put their loved ones at risk.
Soup Must Be Pressure Canned
There are no exceptions to this rule. I don’t care what grandma told you! There is no safe way to use a boiling water canner and can soup. Don’t listen to anyone who tells you different, okay?
Let me explain why you can never ignore this rule.
Soup is low-acid, which means you need to heat it to very high temperatures to be able to kill off botulism spores properly. If you don’t use a pressure canner, there is a chance those spores will either cause your food to spoil or get whoever eats it sick. Botulism can make you very ill, and in some cases, it can be deadly.
Never take the chance!
No Dairy or Thickeners
Don’t add noodles, rice, flour, cream, milk, or any thickeners to your soup. Commercial canners have the equipment to do so, but we don’t.
I know; chicken noodle soup without the noodles doesn’t sound so yummy. All you have to do is add them when you heat the soup to serve it. If you need to thicken your potato soup or add some milk, do that when you’re reheating the soup in the pot.
This rule feels like a bummer, but it’s for a good reason. These ingredients stop the heat from penetrating to the center of the jar, so it stops the destruction of the bacterial spores that cause botulism.
There is only one exception to the rule of no thickening agents. You can use a scientifically tested method that calls for Clear Jel, the stuff used in pie fillings and relishes recipes.
Butter, milk, cream, cheese, and any other dairy product are low-acid foods that can’t be canned at home.
Cook Beans First
This rule is simple. Always make sure you cook beans and peas before you add them to the soup. Nothing complicated; you can remember this one!
It seems like a strange rule, but rehydrating peas and beans take a lot of water. If you don’t rehydrate them first, they’ll absorb the water in the jar. That affects the heat penetration.
Only Use Safe Ingredients to Can
If the ingredient isn’t safe to can separately, then it’s not safe for you to can in the soup.
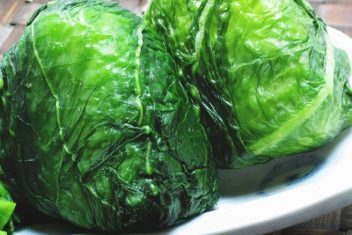
For example, I’m a huge fan of unstuffed cabbage roll soup. It’s seriously one of my favorite soups, but cabbage doesn’t have a tested method of canning by itself. Sauerkraut is pickled, but sauerkraut in a soup doesn’t sound yummy.
That means I can the base of the soup separately and add the shredded cabbage in when I reheat it to serve for my family. Yes, it’s an extra step, but being safe is essential.
Don’t Can Pureed-Style Soups
It’s not recommended to can puree-style soup. So, you don’t want to can potato soup that’s blended, for instance. The best way to do it is to make the soup and can it before the pureeing step. Can it chunky. Then, puree it when you’re reheating it.
The reason behind this rule is that there is conflicting information about the safety of canning pureed soup. It’s unclear what temperatures are safe to can a pureed soup, due to its density.
What Soups are Safe to Can
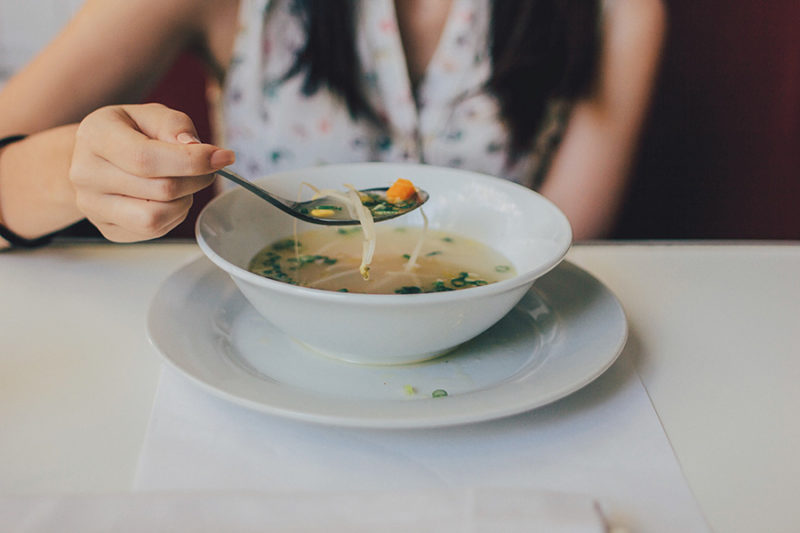
Not every food can be canned, there are some food you should never can. So, what soups can you safely can at home? There are so many options, so don’t let the rules get you down. Here are a few examples.
- Vegetable soups in a broth base
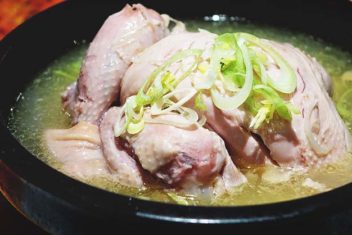
- Chicken Soup
- Chicken or Beef Broth
- Beef Stew
- Potato Soup – before pureeing
The USDA guidelines are some of the looser guidelines. They tell you what you can and can’t put into the soup and how long to process it. Then, the cook has creativity over the ingredients. If you stay within those safety parameters, you can be assured of its safety.
Simple Steps for Pressure Canning Soups
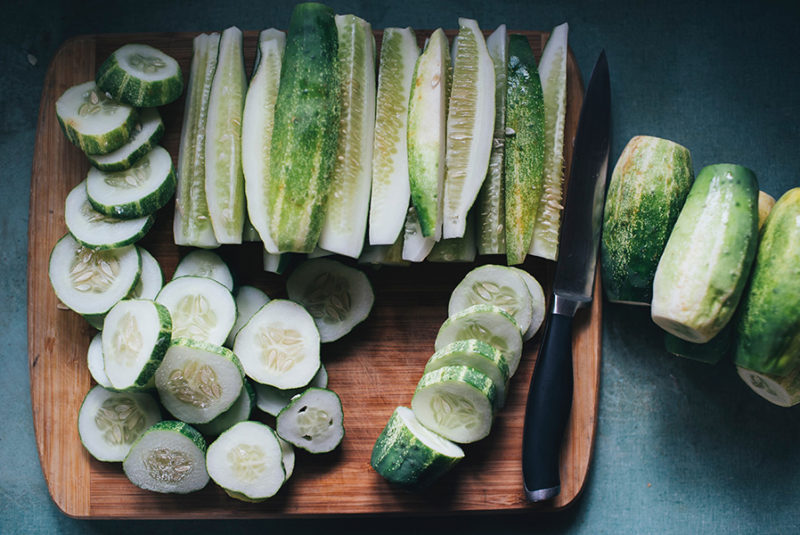
Most soups follow the same general steps, so once you’ve canned one style of soup, you can figure out how to can another batch. Let’s get started!
What You Need
- Soup Ingredients
- Jars, Canning Lids, Canning Rings
- Pressure Canners
- Stockpot
- Ladle
- Slotted Spoon
The Steps for Canning Soup
- First, be sure that you wash and prepare all vegetables. They all need to be cleaned before you cook them.
- Then, cook any meats and vegetables that are used in the recipe. Unlike when you pressure can meat, you need to cook these thoroughly.
- If you’re using beans, cover the dried beans with water and bring a boil. Let them simmer for two minutes. Remove from heat, and let them soak for at least an hour. Then drain.
- Decide what liquid or broth you’re going to use, such as chicken broth, beef broth, canned tomatoes, or water. That’s going to be based on your soup.
- Put all of the solid ingredients, spices, seasoning, and broth together in a stockpot. Bring everything to a boil and let simmer for 5-10 minutes. All of the flavors need to blend!
- Now, get your jars with the prepared soup, and make sure you leave 1-inch headspace. Fill each jar halfway with the solid ingredients; use your slotted spoon. Then, add the liquid to cover with a ladle.
- Wipe the rim off of the jars, and place the lids and rings on properly. Then, place the jars into the pressure canner and lock the lid.
- Process the soup according to the proper canning times.
Recommended Processing Times for Pressure Canning Soup
When you’re canning soup, process pints for 60 minutes and quarts for 75 minutes. The exception to this is you need to process pints and quarts containing seafood for 100 minutes. You might need to adjust your processing based on your altitude.
The listed processing times and pressures are determined by the National Center for Home Food Preservation.
| Style of Pack | Jar Size | Process Time | 0-2,000 FT | 2,001-4,000 FT | 4,001-6,000 FT | 6,001-8,000 FT |
| Hot | Pints | 60 Minutes | 11lbs | 12lbs | 13lbs | 14lbs |
| Quarts | 75 Minutes | 11 | 12 | 13 | 14 |
It’s important to note that no matter how long you cook the soup in the stockpot on the stove, the processing times don’t get any shorter. Don’t stray from these times.
Canning Soup Recipes To Try
- Homemade Vegetable Soup by Fresh Preserving
- Homemade Chicken Soup by Simply Canning
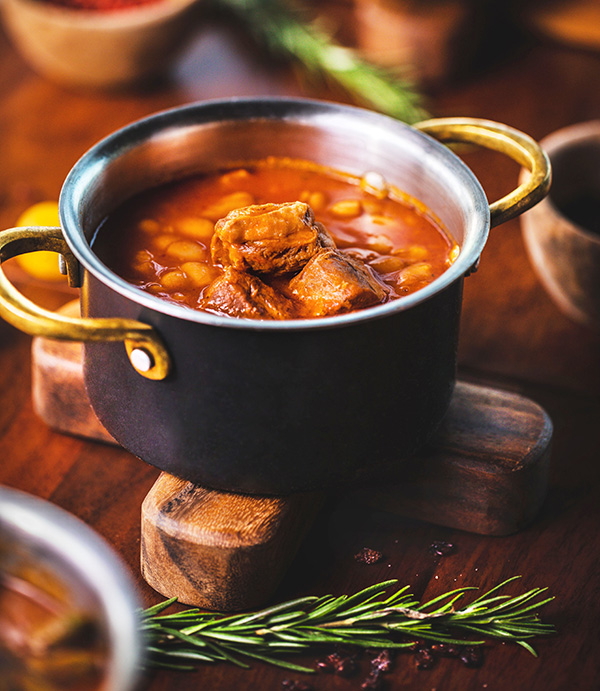
- Ham & Bean Soup by The Grateful Girl Cooks
- Chicken Mexican Soup by Food.Com
Here’s the complete list of our recommended 60 canning recipes if you want to try more than soup.
Final Thoughts
Pressure canning soup seems hard at first, but it’s one of the most freeing canning endeavors that you can take on. Just remember to stay within the safety parameters. Never add dairy products, noodles, rice, thickeners, or any of the other forbidden items. If you use the right processing time, then you’ll have some delicious homemade canned soup before long.
