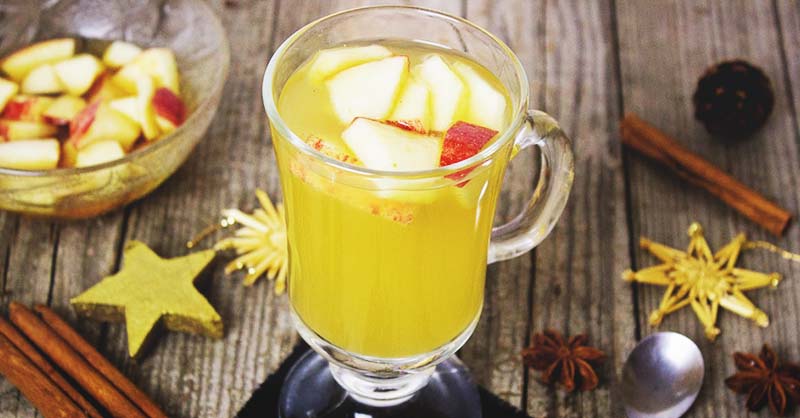
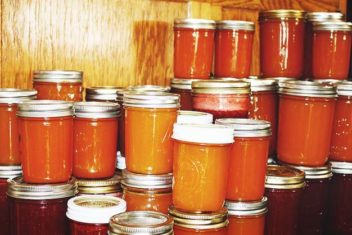
Apple juice is great for many things. It’s a wonderful way to keep your body functioning regularly, it’s an excellent way to take in your vitamins and minerals, and it’s also delicious.
Why should you have to run to the store every time you want apple juice?
If you use the apples you grow yourself, or even if you use the apples you find when they’re on sale, then you don’t have to make a grocery run the next time you crave apple juice.
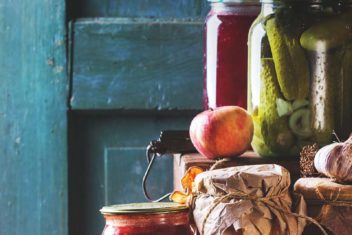
I’m going to tell you how to make apple juice and also how to preserve it too. This way you can make it in bulk and store for later use.
Here’s what you need to know to make your own apple juice:
You’ll Need:
- 4 pounds of apples per quart of apple juice
- Water
1. Prep Your Apples
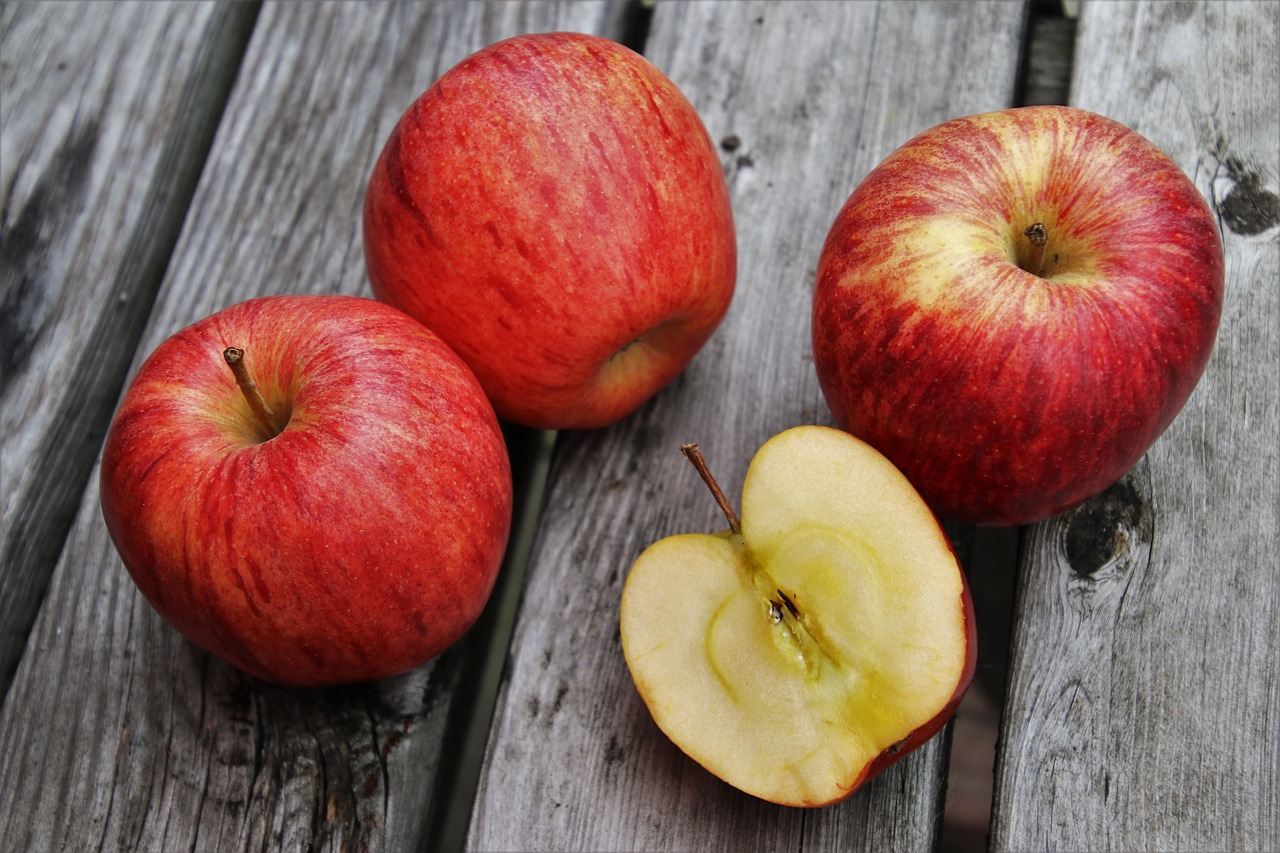
Begin the process of making apple juice by washing the apples in cold water. Drain the water from the sink they’re being washed in and allow the apples to drain for a few minutes.
After the apples have drained, remove any remaining stems and begin chopping the apples. You can slice them or roughly chop them.
Once the apples have been cleaned and are cut up, you’re ready for the next step.
2. Fire Up the Stove
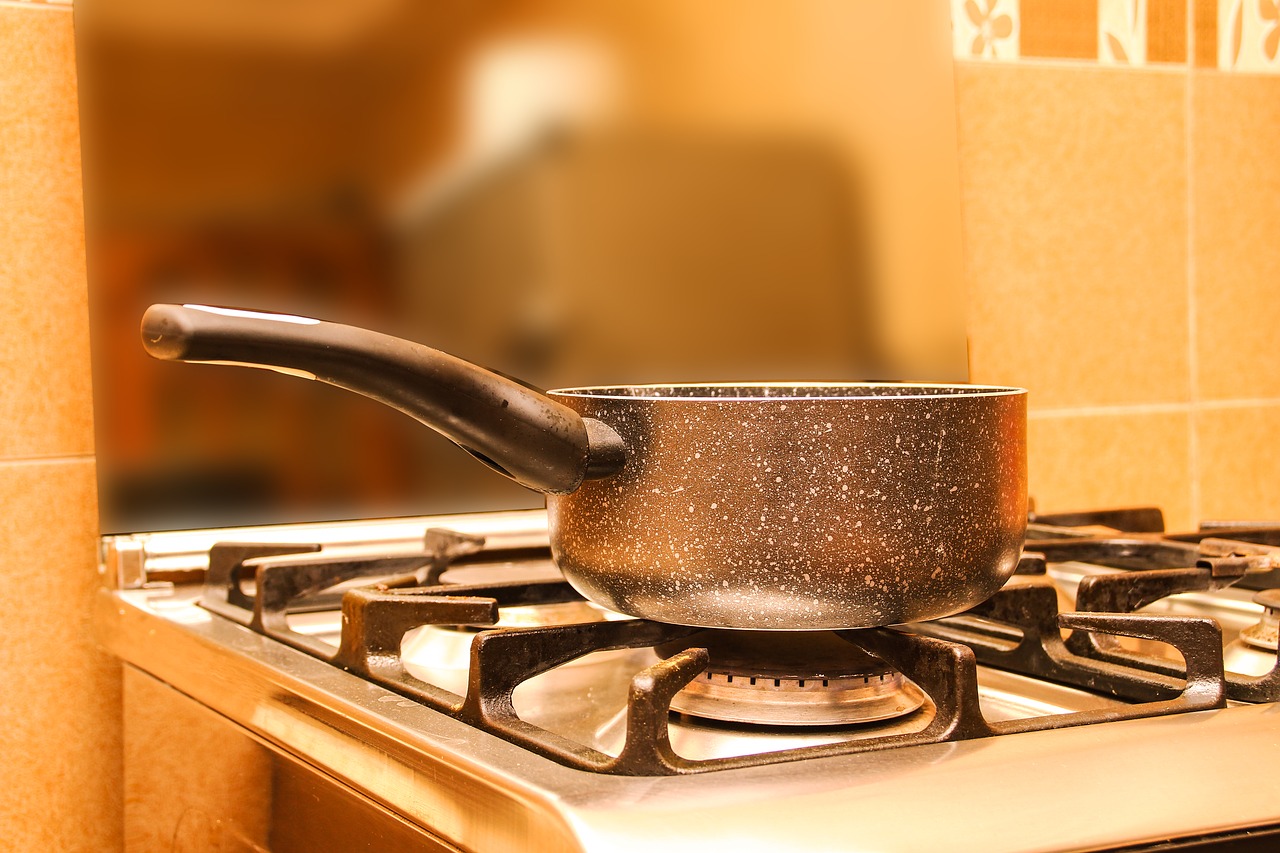
Take the cut up apples and place them in a stockpot. Add enough water to the apples to keep them from sticking to the bottom of the pot.
Also, be sure to stir the apples regularly. It will help prevent them from sticking to the bottom of the pot.
When the apple pieces begin to feel tender and can be easily punctured with a fork, you’ll know they’re done.
3. Get Ready to Squeeze
Take the tender and cooked apples off the stove. Place a cheesecloth, jelly bag, or a ham sock over a strainer. Place the strainer over another pot.
Pour the apples into the strainer. Loosen the layered cloth from the strainer and begin to squeeze the apples.
The point is to remove as much juice from the apples as you can. When you squeeze and juice is no longer coming out of the bottom of the bag, you can eat the apples or toss them to the compost.
4. Reheat
When preserving foods or juices, they must go into the jars hot. This is vital for healthily preserving food.
Therefore, place the apple juice in the stockpot on the stove. Turn the stove to medium heat and allow the juice to be heated all the way through for 5 minutes.
It’s important only to heat the apple juice. Don’t bring it to a full boil. When the 5 minutes is up, your juice is ready to make its way into a jar.
5. Prepare the Jars
Preparing the jars for canning is another extremely important step in the process. Begin by washing the jars with warm, soapy water. Be sure to wash the rings as well.
When the jars and rings are washed, be sure to rinse them thoroughly. Once rinsed, they should be dried.
When pressure canning, you don’t need to worry about sanitizing your jars. In this recipe, I’m going to tell you how to water bath the juice because it’s a more straightforward method for those new to canning.
With this in mind, it’s important to make sure you sanitize your canning jars. If you have a dishwasher, you can wash, dry, and sanitize the jars in it as long as your dishwasher has a sanitizing option.
If not, you can place the jars in the broiler pan, turn your oven on low, and allow it to preheat. You can turn the oven off and place the jars inside the oven.
This should heat the glass thoroughly and make it sanitized and ready for preserving food.
6. Process the Juice
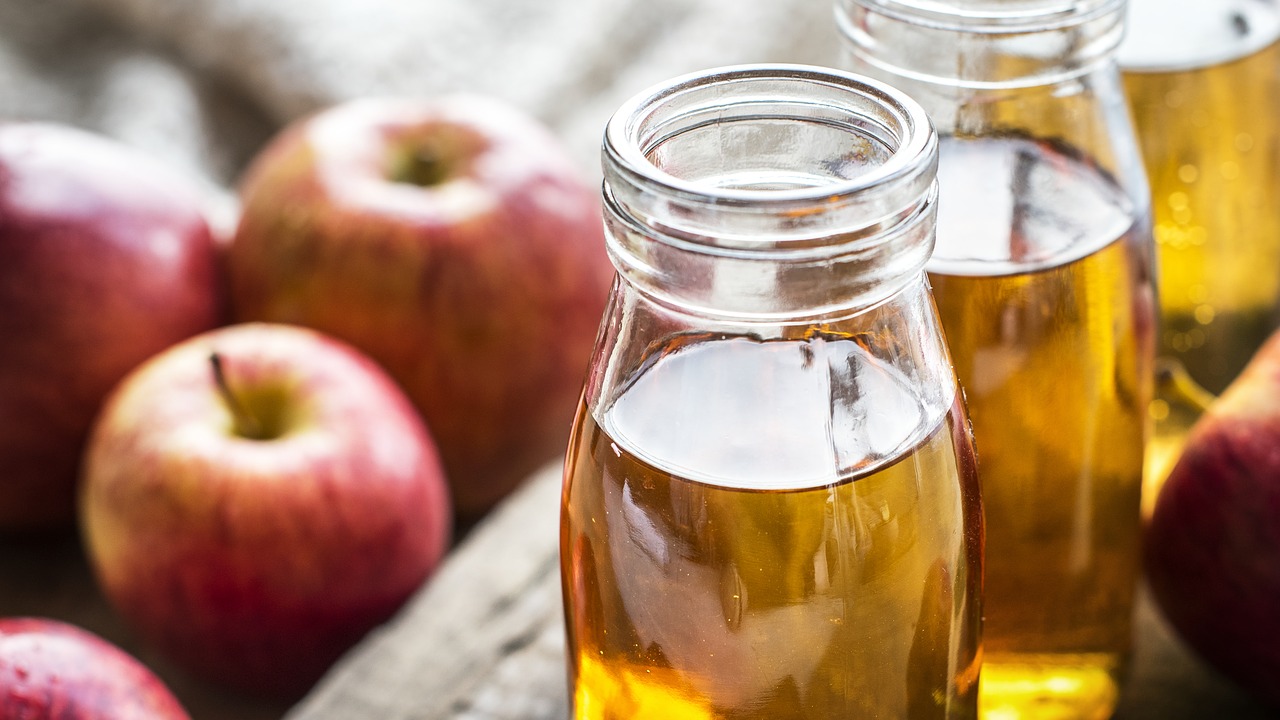
When the jars have been prepared, ladle the hot apple juice into the jars. Leave approximately a quarter to half-inch headspace in the jars to allow the lids room to seal correctly.
Place a new lid and a ring on each jar securely. From there, place the jars in a water bath canner. Fill the canner with water until each jar is fully covered.
Turn the stove on high heat and wait for the water to reach a boil. Once the water boils, set the timer for 10 minutes.
Once the 10 minutes are up, turn off the stove and proceed with the canning process.
7. Wait and Store
Use jar grabbers to remove the hot jars from the water canner safely. Place the hot jars on a surface that has been layered with towels to avoid scorching it.
Make sure the rings are still secure on the jars and leave the jars alone for 12-24 hours. After the waiting period has ended, check to see if the lids sealed.
Check the lids by running your finger over the top of the jar. If the lid is smooth, the button in the center of the lid vacuum-sealed itself to the jar. If you heard a ‘ping’ sound, you heard the jar sealing.
However, if you feel a button still standing on the lid, or you accidentally push it down yourself when checking the lids, you’ll know the lid didn’t seal appropriately during processing.
If this happens, place a new lid on the jar and reprocess the apple juice again as mentioned above. When all the jars are sealed, label them with the date they were preserved and what’s inside each jar.
Finally, store the jars in a dark, cool location. If you store them where it’s too warm or too much sunlight, the juice could continue to be heated, and this could cause the juice to spoil or become discolored.
A Second Option
If you’d like to make smaller batches of apple juice, consider investing in an electric juicer. You can wash, core, and slice apples.
Once they’re processed, you slide the pieces of apple into the juicer and allow the machine to extract the juice.
When the apples have all been juiced, you can drink it immediately, or you can heat the juice thoroughly before preserving it for later use.
As you can tell, making apple juice isn’t a complicated process. You can add sugar to sweeten your juice if desired. You can also add spices if you want the extra flavor.
That is what’s great about making your own juice. You know exactly what goes into making it, and you can add or take away any ingredients you like.
We trust you’ll enjoy making your own juice and will find its flavor delicious. Whether you have apple trees, can purchase apples in bulk, or have found a great deal on apples, making your own juice is an excellent method for utilizing them.
