Do you raise your own pigs?
Or have you ever considered purchasing a whole hog from a local farmer? If so, then you may have recently looked into the prices of having someone process meat for you.
Well, don’t be surprised when that fresh meat suddenly gets a little more expensive.
However, you can save some money on the processing part of raising or buying fresh meat by learning how to process an animal yourself.
If you are interested, I recommend that you first have look at how to butcher a pig. Then read on so I can tell you what to do with it once the animal has been butchered and is ready to head for your freezer.
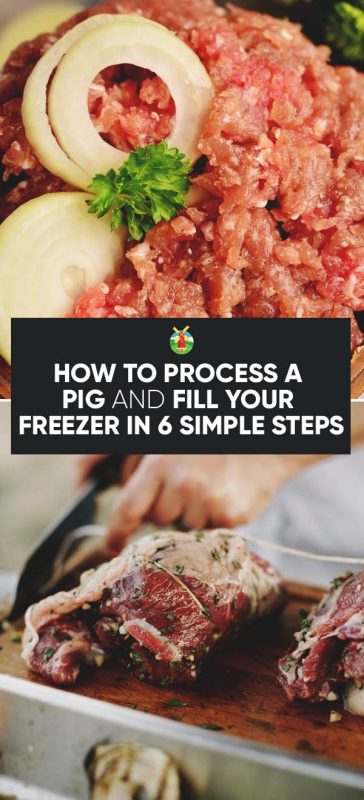
How to Process Your Pig
Here is what you do:
1. Let the Meat Take Some Time Off
Once you’ve butchered a pig, you’ll soon learn that it isn’t a lightweight task. I remember the first time we butchered a hog. One of our friends called us up and said they had a hog that they needed to get rid of and didn’t have the room in their freezer.
They offered it to us. We had never butchered a hog before so they offered to walk us through the process, and we could keep the meat too.
Obviously, this was a no-brainer for our family. We have a lot of hungry mouths to feed!
Naïve to the process, we ran off to their house to cull the pig. Then we loaded it in the back of our truck. We should’ve known that the process was going to be a lot different than a deer (which we had plenty of experience with) when we had to use a backhoe to lift the pig up into the truck.
However, when I felt that subtle thud as the back of our truck started feeling the load, alarms started ringing. This was going to be much more physically taxing because a hog is a heavy animal. The rest of the process was similar to butchering other animals, but just trying to maneuver the dead-weight of a pig was interesting.
Plus, when you butcher a deer, you can slide your knife into hip sockets and things of the nature to get the bones to release a little easier from each other.
Well, that isn’t the case with a pig. You need a handsaw or Sawzall at the least to get the meat away from the skeletal system of the animal.
Again, you can have a look at the tutorial for the entire process. I will say, now that we’ve butchered more pigs, it has become a little less taxing, and we gave ourselves a better set-up for handling butchering pigs too.
Even so, it still is a physically taxing job because pigs are super heavy. Once you get the animal butchered, you will have to let the meat rest for a day or so. We put our meat in a large cooler on ice for a day or two to let any excess blood drain out of the meat. It makes processing less messy, and the meat tastes better in our opinion.
Also, we go ahead and divide our meat out during the butchering process. Meaning, when we load the meat in the cooler we have 2 hams, 2 front shoulders, and then the 2 sides of the pig. I don’t just leave the pig divided in 2 and place the 2 complete halves in the cooler. It is too bulky and more work when I go to process it.
2. Get Your Equipment Ready
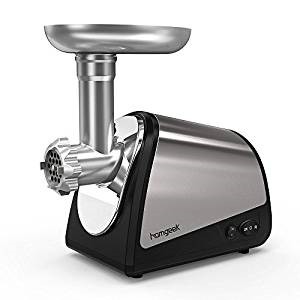
Now, when you decide to process your own meat there are a few items you will definitely need. The first item is a good butchering knife and knife sharpener. Butchering meat goes so much easier if you have a knife that is easy to handle and stays sharp.
However, butchering meat will also dull any knife so you need a quality sharpener too.
Next, you’ll need a decent cutting board to cut the meat. We have a board that I can take with me anywhere. Sometimes we’ll process meat in our kitchen, other times we’ll use our outdoor kitchen area. I have been known to process meat (when it’s raining, and I don’t want the mess in my kitchen) on a sanitized butchering platform in our garage.
If you have a solid cutting board to work with, then you can lay it on a solid surface anywhere and process your meat.
Then you’ll need a good quality meat grinder. You are probably going to make sausage out of some of your pork, but if you don’t have a decent meat grinder the task can be very tedious.
Also, you’ll need a hand saw because when dealing with the ribs, you will have to saw through the bone in order to process them efficiently.
Finally, you’ll need a way to seal your food. You can use a vacuum sealer, or simply some butcher paper and some freezer bags. It is really about preference. I’ve used both, but I actually prefer the butcher paper method because it goes faster and does a decent job storing the food.
When you have all of your materials together, then you are ready to get down to business with this abundance of pork waiting to be processed.
3. Do You Like Ham?
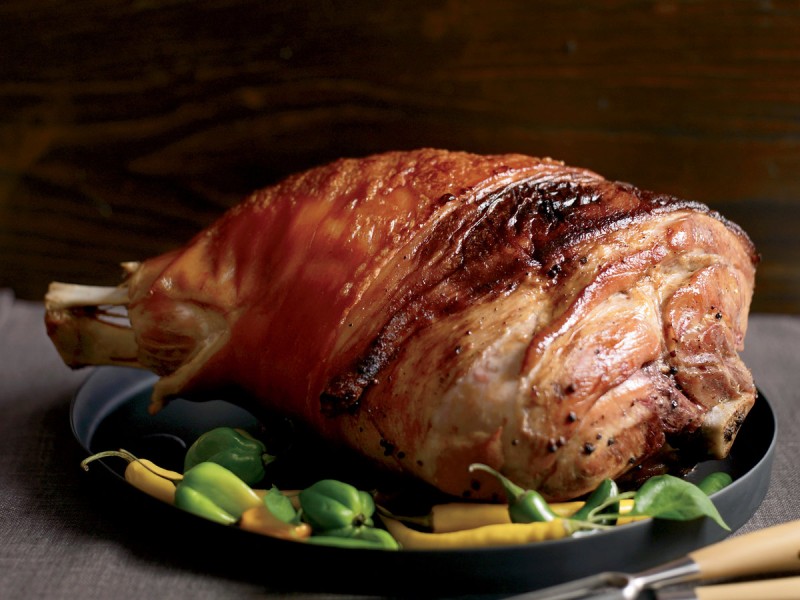
We always deal with the hams first because there are so many options for them. You can cure them and turn them into country hams. If you are interested, here is how you do that.
Please know that curing ham takes time, and you’ll need a smokehouse, so you can both hang them and smoke them in there. If you are willing to take on those projects, then I highly recommend trying your hand at country hams. We’ve begun this hobby and are loving it! The outcome so far has been delicious.
However, if you aren’t a huge fan of country ham, or you aren’t up for all of the projects to create them yourself, then you should consider either grinding the hams into ground pork to use as ground pork or as sausage, or you could freeze the fresh hams and when ready to use turn them into city hams.
As you can tell, there are lots of options for those hams so you’ll need to do a little planning before you begin processing.
4. Head for the Shoulders
Next, we take on the shoulders. A pig’s shoulder is pretty large with different cuts of meat to it. You’ll have the upper and meatier part that you’ll use. This is where you’ll get your Boston butt.
We have learned when processing pigs that they have lines where bonier sections end and meatier sections start. You’ll learn through processing a few that if you follow those lines (in most cases) you’ll get the proper cut.
Look at the shoulder and see if you can identify the line where the meatier section stops, and the bonier section begins.
Then you simply use your sharp knife and cut down that line. The meatier part, again, is your Boston butt. While the slimmer section of the shoulder will be your pork picnic. I use this for barbecue, but you can use it for sausage or in stews too.
5. Divide Out the Mid-Section
Now, the middle section is where you are going to get a lot of different cuts of meat. Let’s begin at the top part of the middle section.
First, you’ll have the loin in the top section. Your pig will be divided into 2 at this point, so you should have 2 sides. This will be identical on both sides. The upper portion of the middle (where the ribs are located) is where you will locate your pork loins.
You can leave them either as large loins, or cut them down into pork chops. Sometimes we’ll divide the larger loin into a slimmer loin, a roast, and then some chops. It is up to you as to what you’d like.
Then you’ll move down to the ribs. This is where processing a pig gets interesting because you will need a hand saw as you will be sawing through bone. The lower portion of the ribs will be your spare ribs. The upper meatier portion will be your country style ribs.
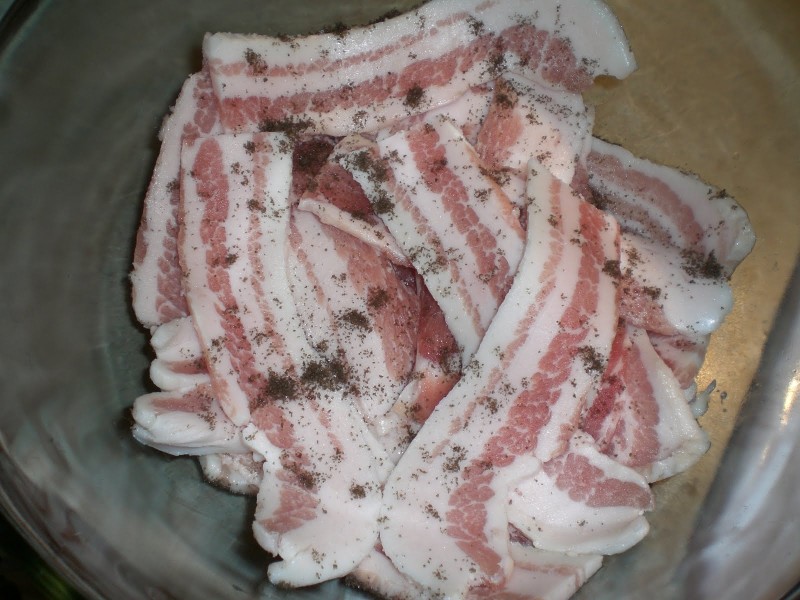
Finally, you’ll have the belly section left. You’ll have to cut this into manageable sizes, so you can cure this and make delicious, homemade bacon.
However, you can also get salt pork from this section or grind for sausage or simply, ground pork.
As you can tell, you are going to get a lot of meat from one hog. Hopefully, you’ll get lots of enjoyment!
6. Putting It Away
The final step in processing a pig is actually putting it away. You’ll have to make sure that you have decided on a packaging method before you got started.
Once your meat has been divided out, you’ll have to package it accordingly. Be sure that you label the meat with the date (I use the month and year), what is in the package, and the amount.
For instance, when I put away pork chops, I put away what we’ll use for 1 meal. We are a family of 5 so I put around 5 pork chops in each pack.
However, there will be some packs that will get a little extra because that is just the way the numbers fall.
I mark that so I know to use that pack when we have company instead of on a regular weeknight for dinner.
Then you’ll put everything away in your freezer for safekeeping until you are ready to use the meat.
However, I also use this time to make a list of what I’m putting into the freezer, so I can keep up with what I actually have on hand.
Then I’ll mark things off as I cook them. It is just something I do so I don’t end up wasting anything or purchasing something because I don’t know I have it buried in my freezer.
Hopefully, this has given you some direction on how you might want to process your hog (or a future hog.) I also hope it showed you that processing a pig isn’t that difficult of a task. The biggest challenge is probably dealing with the ribs because they do require a saw.
