If you have a sloped yard, chances are at some point you’ll need to figure out how to keep the earth where you want it. Or even if your plot is as flat as a pancake, you may want to add some different elevations. That’s where learning how to build a retaining wall comes in.
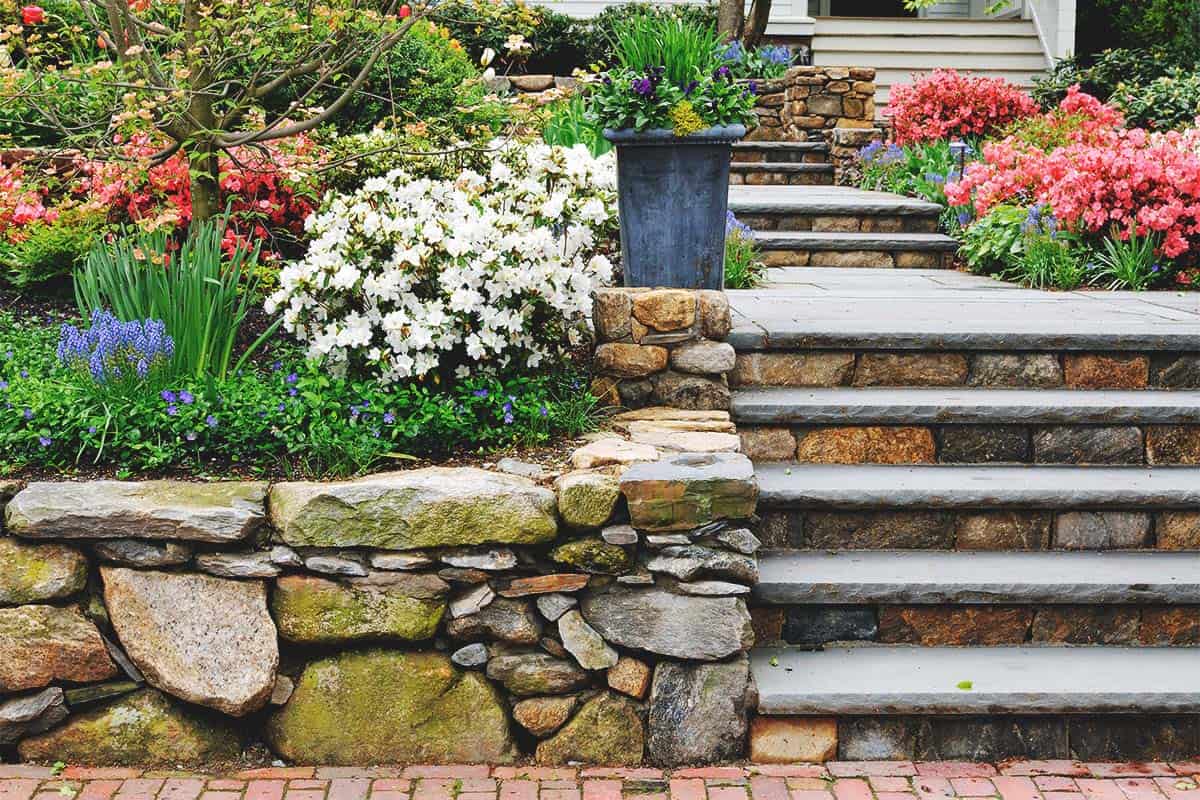
Retaining walls are a tried-and-true way to tame a hilly yard, build terraced gardens or to keep dirt and water away from a house foundation. They’re ideal for creating raised beds and they make an attractive addition to any home.
You may have spied some not-so-sturdy retaining walls out there. They’re the ones that are listing to the side, have crumbled at the ends, or look like they’ve stopped doing their job altogether. Those are the retaining walls that likely weren’t built to last. You don’t want to make that mistake, so here’s how to build a retaining wall the right way.
Reasons For Building a Retaining Wall
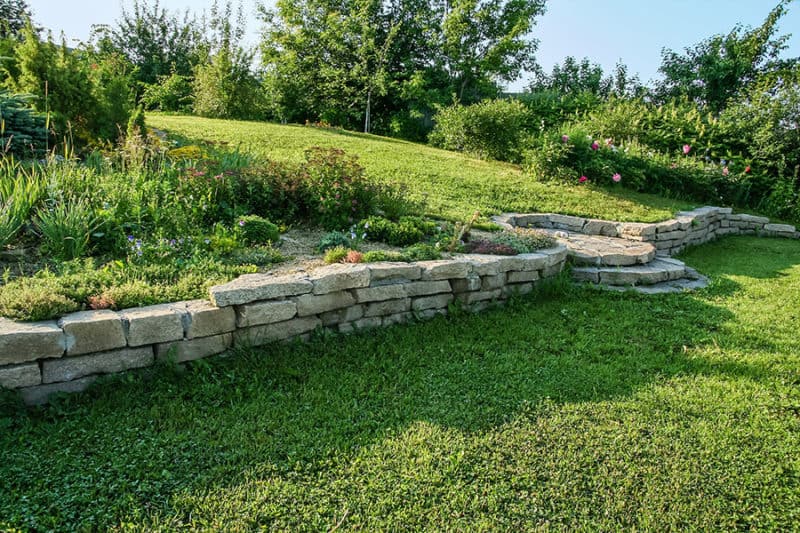
A retaining wall can be used to:
- Stop erosion
- Create raised beds
- Add structure and texture to the landscape
- Give definition to a patio or porch
Basically, anywhere you want to hold back soil, a retaining wall is a good option.
The Fundamentals of Building a Strong Retaining Wall
There are three things you need to know in order to learn how to build a retaining wall: soil is strong, water is even stronger, and poor compaction can ruin everything. Let’s take a look at the elements you need to master when learning how to build a strong retaining wall.
Soil is Strong
We have already established that you’re building a retaining wall to keep soil in check. That means your wall is going to have soil behind and underneath it. That soil is always shifting and reacts to pressures from the weather and ground movement. Rain, wind, plant roots and even drought change the soil structure.
On top of that, gravity constantly pushes the soil abutting your wall. Soil weighs one-hundred-plus pounds per cubic foot. That’s a lot of pressure. Here’s how to make sure your wall can withstand the challenge:
- Start underground. If you bury the first course of the retaining wall at least one-tenth of the total height of the wall it helps prevents the soil from pushing the wall out from the bottom.
- Vertical walls have gravity against them. Fill as you go along and compact well. Step back your building materials to get gravity working with you. This allows your wall to lean and push against the soil. If you purchase commercial retaining wall blocks they typically have a built-in lip or some type of pin system that lets you easily lean your wall back.
Water is Stronger
Water is such a powerful force. Think about the Grand Canyon and the Colorado River. You don’t want water to exert that kind of power on your wall. Water pressure can cause bulges and eventually cause the wall to collapse. Have a plan to divert the water away from your wall.
After you have excavated for the wall your first step is to lay down drain tile and a course of gravel. That way the water will flow through the soil, meet the gravel and flow away from the wall rather than pushing against it.
Plan to add extra drainage wherever you have natural runoff areas.
Focus on Compaction
Poor compaction causes your wall to shift and look like the leaning tower of Pisa. Use a hand tamper or vibrating plate compactor to compress ground and gravel.
When installing your base of stones make sure it is solidly compacted so your wall stays level. Each course also needs to be leveled. A level wall helps all the blocks or rock fit together more tightly. This makes a stronger and tighter wall.
Use a six or nine-inch torpedo level to check individual blocks or when leveling front to back. A two and four-foot carpenter’s levels are good for checking several blocks at a time.
Steps to Building Your Retaining Wall
A quick note: Before you begin your project check local building codes, zoning, and your homeowner’s association regulations (if you have one). Check for underground utilities by calling 811.
Choose Your Building Blocks
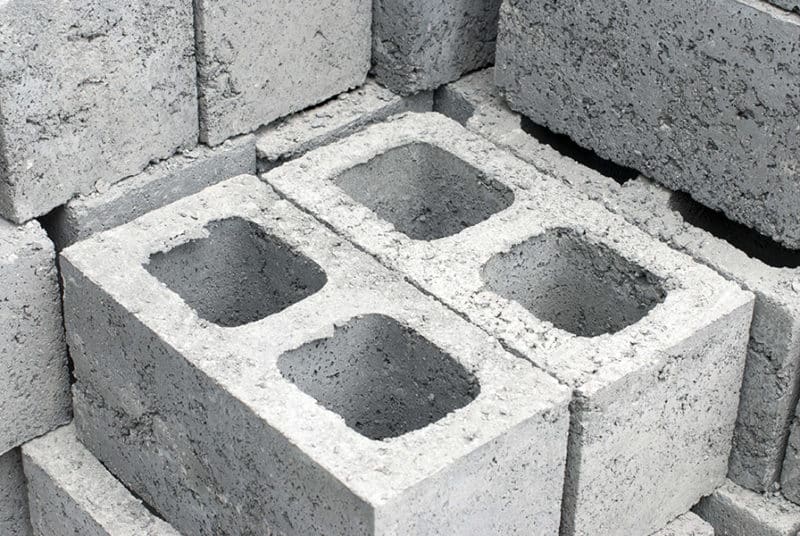
First things first, figure out what you want to build your wall out of. You can use a variety of building materials for a retaining wall. Blocks that fit together and can be mortared are typically the most strong and sturdy.
Good ones to consider are cement blocks, interlocking blocks and landscaping blocks. If this is your first wall, interlocking blocks are ideal. They’re perfect for shorter walls with a height under 28 inches.
Cement blocks are relatively inexpensive and are easy to work with. They are solid and can be reinforced with rebar, which is essential if you’re in an area with lots of rain or water pressure from flooding.
Landscaping blocks are easy to use and great for a smaller project. They can get pricey and are not as stable as interlocking blocks. Of course, you can use reclaimed bricks or stones gathered around your property, though irregular items make the work a bit more challenging.
Make a Plan
Steps two, three and four are to plan. I can’t say this enough. Wall building is not something you do on a whim. Unless you want to be picking up the pieces of a useless, collapsed wall, you must plan ahead.
Examine where you plan to excavate and determine what height your wall should be. For a straight wall, mark the entire bed by using stakes, string and marking paint. For a curved wall, you can use a rope or hose to outline the shape before taking a shovel and marking the outline.
Look at the area and determine what type of soil you have, note any natural drainage patterns, and measure the height of the land behind your wall. An extreme slope is an advanced project that you should consult a professional on.
Calculate Your Material Needs
Calculate how much material you need to complete the job, and add in ten percent extra for blocks to cover any that need to be cut or that break.
To determine the number of blocks you need, divide the total length of the wall by the length of the block. This gives you the total number of blocks for one course.
Divide the ideal wall height by the height of the block. Multiply that number by the number of pieces you need to create a single course. Remember that your first course will be underground on a firm footing.
For instance, if your wall is 10 feet long and 6-inches wide, and a block is 6-inches long by 6-inches wide, you need 20 blocks for one course.
If you want a 2-foot wall and each block is 4-inches tall, you need 6 blocks stacked on top of each other, plus one block that sits below ground level. That’s 7 rows times 20 blocks for 140 blocks total. Add in ten percent waste and you need about 155 blocks to complete the job.
Start Digging
Now that you have marked the layout you can begin digging the trench to create your compacted foundation. Dig the trench about twice the width of the desired wall thickness. Your wall thickness depends on the height of your wall – you generally want the base to be at least 1/8 of the final height. Don’t skimp on your foundation!
For a smaller trench under two feet, dig down eight inches. That gives you four inches to lay down gravel and then start laying your block. You want to dig deep enough to bury your first course and allow for about 6-inches of your base material.
Be sure that there is enough room so that the base of your new wall doesn’t touch the slope.
Tamp Down the Dirt
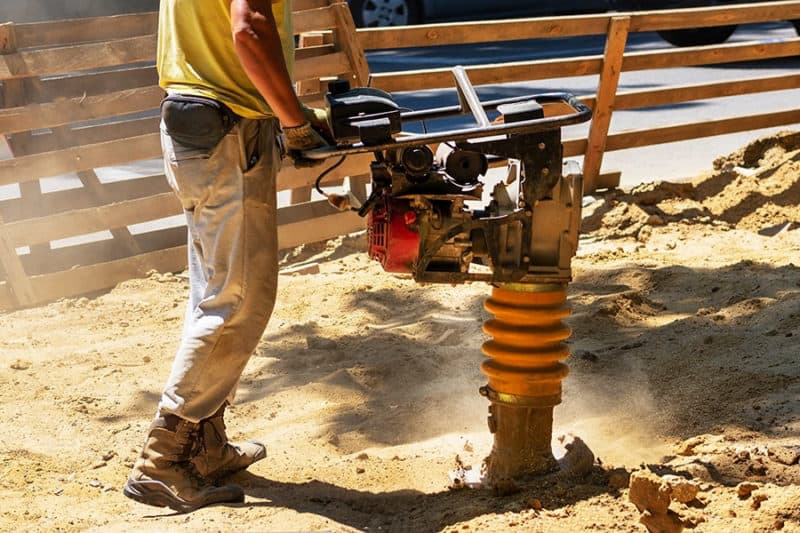
Get ready to tamp down the dirt to form the foundation for your wall. This is where knowing what type of soil you’re dealing with is key. Clay soil requires more retention than sandy soil, so it needs to be well compacted. Remove any wet or organic soil.
Now tamp down the dirt until it’s firm and completely compacted using a hand tamper or vibrating plate compactor. Once things look good, use a torpedo level to make sure the earth is flat.
Lay Gravel
Next, spread gravel or crushed rock across the entire trench. Number 2 gravel is a good size for the base. Crushed rock provides the best drainage and it stays compacted. Avoid rounded stones.
Tamp everything down firmly and use a level to determine that the ground is flat once again.
Start the First Course
Lay the first course of stones in the center of the trench that you’ve made. It’s vital that you get the first course right, so take your time, use a level, and make sure everything fits together and feels solid.
After you put the first block in place stop and make sure it is level in both directions: side-to-side and front-to-back.
If you are using interlocking blocks you need to knock off the flange with a level. That way the first row lays flat. Wear safety goggles whenever you are cutting stone.
Complete the Next Few Courses
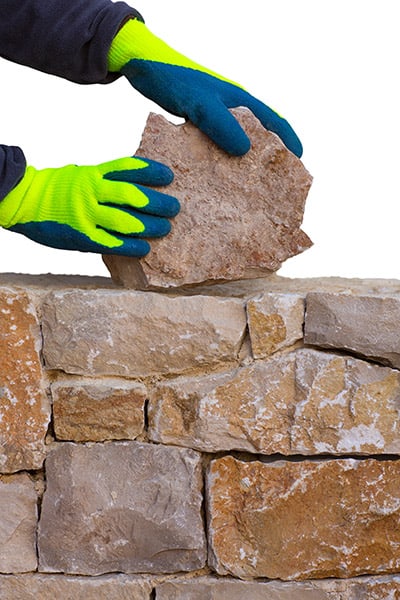
Sweep the top of the blocks to ensure that the surface is clear. Use a rubber mallet to tap the next row of blocks into place. You want the edges to be offset, so cut the first block in the row in half. That way the joints don’t overlap.
If you’re using concrete blocks, you can hammer rebar into the holes as you go along for extra strength. You can also add cement mix to the holes you put rebar in to help stabilize.
Interlocking blocks are held together by the flange. If your wall is over 28-inches tall, then add a swipe of mortar through the middle of the block. Place the next course on top and tap to make a good connection.
If you are using landscaping block for a wall under two feet then you can do without mortar.
Continue to sweep off blocks as you go. It’s important for the surface to be clean for a good connection.
Install Drainage
After installing the first few rows then you need to put in the drainage system. You have gravel underneath which allows water to drain out from under the wall. Now you need to add drainage directly behind the blocks.
To do this, lay down landscape fabric behind the wall. There should be enough to reach the top of the blocks.
Lay gravel on top of the landscaping fabric directly behind the wall. Next, continue with more blocks. After you do several more courses, fold the landscape fabric back over the gravel and cover it with soil.
Having proper drainage is an important function of your wall. This video focuses on the steps to ensure that water flows away from your wall. Note how he is carefully checking that his base is level.
Complete Your Courses
Continue to stagger the courses so that the joints don’t overlap. If you’re using capstones, follow the manufacturer’s direction for installation. As you build up, step your blocks back toward the slope.
Backfill
Backfill with sand or gravel – don’t use topsoil or organic soil. You can add topsoil to the top foot or so of a 3-foot wall, but make sure that gravel or sand is between the wall and any organic soil.
The Bottom Line
Pretty much any yard can benefit from a retaining wall, whether its purpose is to hold back a sloped hill or to add interest to a flat area. While the process might seem challenging, now that you know how to build a retaining wall you can tackle the project and be sure it will last.
