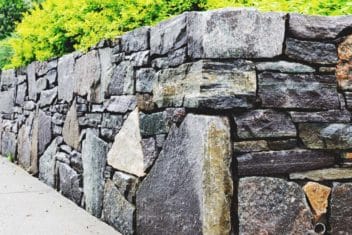
When creating a garden or farm on a budget, it’s smart to take advantage of local materials. I’ve built trellises, chicken coops, and mini greenhouses from salvaged materials. Similarly, using local stones is an ideal way to build things.
The greatest benefit of local stones is you don’t have to pay for them. You may need to shell out cash for mortar, but rocks are available pretty much everywhere.
You might need to collect stones for a while before you get started, or build with what you have and add to it in the future. Ready?
What Kinds of Things Can You Build With Local Stones?

The easiest things to build are small structures like retaining walls. If you’re aiming to make some permanent raised beds, then stones are ideal.
In fact, stone raised beds work exceptionally well in any growing zone. Gardeners in warm, arid climates may find that stone raised beds help retain moisture. Meanwhile, northern gardeners won’t have to replace wooden beds every few years.
Wooden raised beds take some heavy beatings in harsh environments. Heavy snowfall can do a lot of damage, as can extreme variations between heat and cold. With stone, all you have to worry about is regrouting them now and then if any of the rocks jiggle loose.
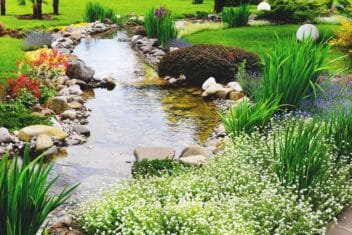
Local stones are also ideal as permanent fire pits and garden benches. Use them to create a sturdy base for a cob oven or a support structure for a water feature.
Which Type of Stones To Use
Unless you want to spend several months cobbling together pebbles, look for large rocks. You’ll also need some smaller stones to fill gaps between the larger ones.
I’d suggest amassing a large collection of various-sized stones. That way, you’ll have a wide variety to work with, and you won’t get frustrated.
Think of this as a stone version of an extensive LEGO collection. It’s good to have more pieces than you think you’ll need.
The types of stones you’ll use will, of course, depend on your location. You may have big chunks of fieldstone, granite, limestone, or even sandstone. Each one serves a different purpose and is best suited to different building projects.
Are you building a wall just to border the perimeter of your garden? Then head down to your local river or creek and start collecting big, flat rocks. These tend to be limestone or fieldstone, but can have different types of composition, based on your locale.
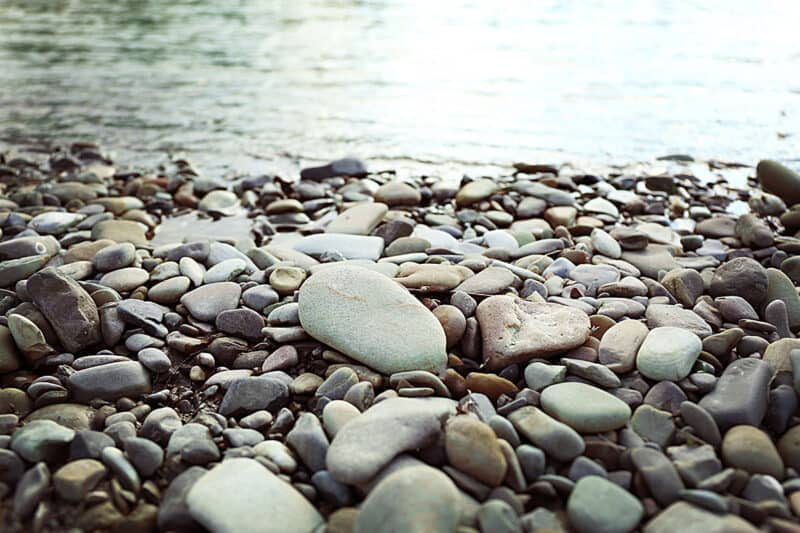
Some people like to build using sandstone because of its durability. This type of stone is fine for dry, hot locations, but not damp ones. Additionally, it’s better if you use it to create perimeter walls rather than raised beds.
This is because sandstone absorbs moisture really easily. And what are raised beds full of? Compost-rich soil that needs to be kept damp in order to nourish life.
The water that you use to keep your plants hydrated doesn’t play nicely with sandstone. Instead, the damp stone turns into an ideal place for mold and bacteria to flourish.
This can lead to soil-borne pathogens, which can leap into the plants you’re growing for food.
In contrast, limestone and fieldstone aren’t very porous. Moisture slides right off them, and they dry quickly in the sunshine.
How to Hold the Stones Together
There are two different ways to hold stones together: dry fit (also known as “dry stack”), and mortared.
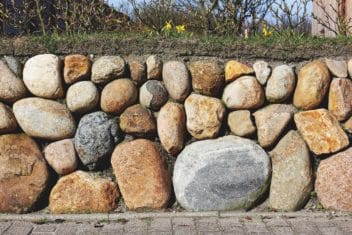
As you may have guessed, the former method just involves stacking local stones on top of one another. They don’t have any type of glue or paste to hold them in place.
Instead, you have to choose shapes that fit together well. Then you lay them atop one another until they reach the height you’re looking for.
This dry stacking method is perfect for the aforementioned perimeter walls. Since these aren’t going to be filled with soil, you don’t have to worry about precious growing mediums oozing out through the cracks.
In contrast, choose the mortared approach for raised beds and retaining walls.
You’ll use the same type of stacking method as you used for the dry fit, but this time you’ll “glue” them together with mortar paste.
Mortar Paste
To make cement mortar, you really just need to combine mortar sand with cement powder and water. That said, however, a lot of builders also recommend adding hydrated lime to the mixture.
That’s a type of limestone powder, not citrus juice—just to clarify. We’re not making mojitos here.
Adding hydrated cement to your mortar paste recipe has a few benefits. For one, it makes the paste much more workable. Secondly, it keeps the mortar sand and cement powder from separating.
They don’t generally play nicely together when you add water. The added lime creates a great texture that’s a lot easier to work with.
As an additional bonus, hydrated lime makes this mixture significantly more waterproof. If you’re building raised beds in a damp climate, this is a huge benefit.
This cement mortar paste recipe from the Chicago Tribune is an ideal mixture. Use it to keep your local stones from tumbling down the hill and maiming your neighbors.
- Three 5-gallon buckets of dry sand
- 6.38 gallons of Portland cement
- 1.12 gallons of hydrated lime
Reduce or increase these measurements as needed to suit your project. For example, a small raised wall may only need half that amount, while a perimeter border will require several times these proportions.
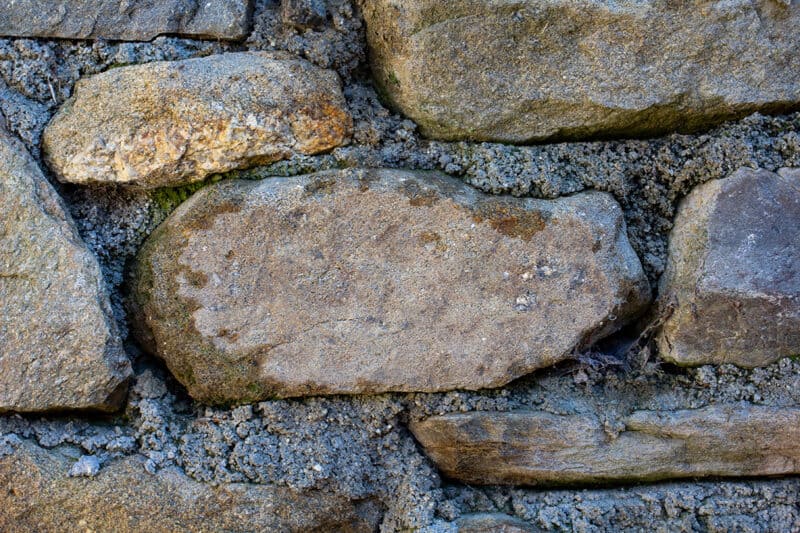
Remember only to mix as much of this mixture as you’ll be able to use within a couple of hours. This stuff dries really quickly, and you don’t want to waste any valuable materials. Just don’t add extra water if and when the mortar stiffens. This will dilute the mixture and damage its integrity.
Combine all your ingredients in a wheelbarrow or other large container. Then, be sure to mix everything thoroughly before you add water. Think of this like cake mix: if you don’t blend all the powders before adding the water, you’ll get lumps and air bubbles.
Add water a quart at a time, mixing thoroughly as you go. You’ll know the consistency is perfect when it feels like peanut butter.
Stack ‘Em Up
Our article on building stone walls is a solid how-to guide. The info in that piece can give you step-by-step instructions on building both dry stack and wet (cemented) walls.
It’s a guide you can follow when you’re doing all kinds of projects with local stones. For example, I’ve used the wet method for creating walls for water culverts.
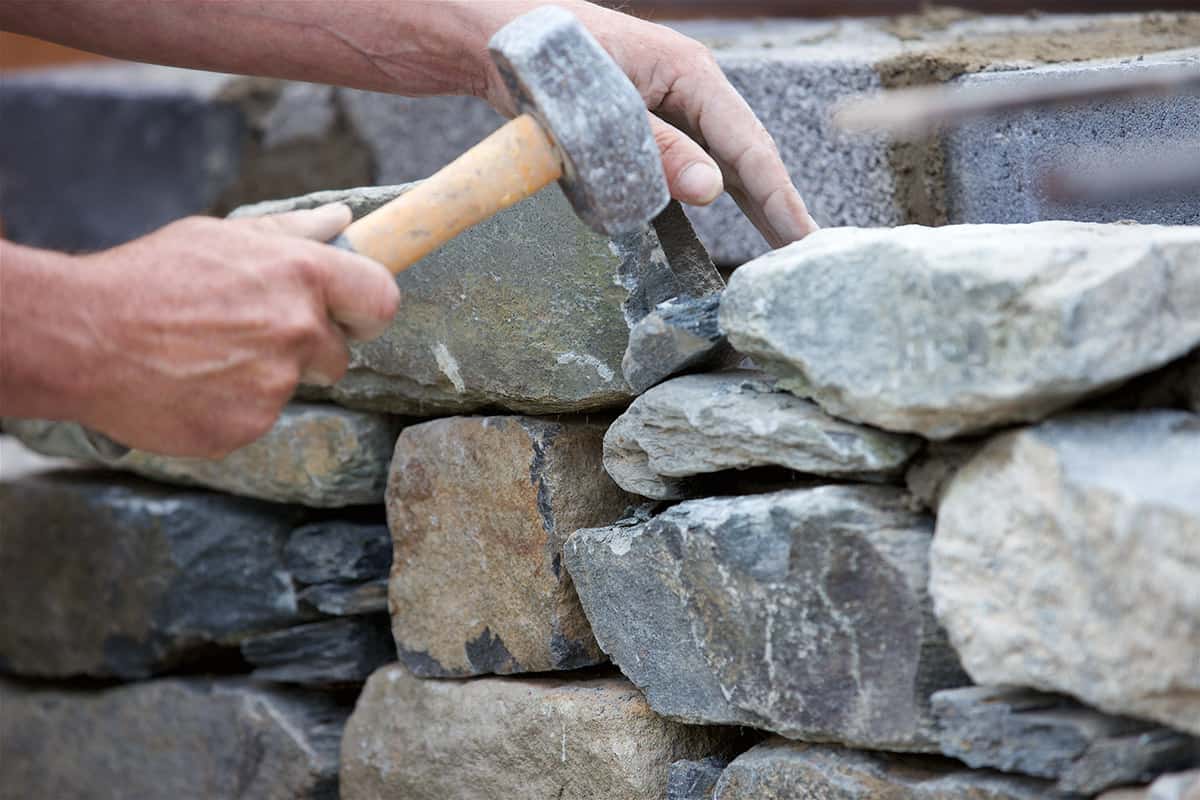
When building with stones, the general rule of thumb is to stack all the big, heavy ones together first. If you’re doing a dry stack, you can leave the gaps open or shove smaller rocks in between to fill them in.
For a wet wall, you’ll spread a layer of mortar over every row (course) of stones before laying the next ones down. If there are big gaps between them, you can push smaller rocks in there once the mortar is spread.
The paste should hold them in place, but feel free to trowel some more in there. If it squishes off, trim off the excess.
Here’s a tip for you: try to smooth out the mortar paste as much as possible. Even use your hands if you find that a trowel leaves things too spiky. Cement dries really hard and is great at tearing clothes and scraping skin when you brush past.
Smoothing this paste is especially important if you’re building spaces that will be used by small children or elders. We don’t want those with sensitive skin and joints getting maimed by our handiwork.
Side Note: if you live in a very wet area, you may have to leave some “weep holes” in these stone walls or raised beds. This just means that you don’t mortar together all the stones on the base level.
Instead, leave gaps close to ground level at regular intervals. Then, when you fill the beds, lay down a good few inches of gravel.
This will allow any excess water to drain so it doesn’t bog your plant roots.
Potential Building Problems
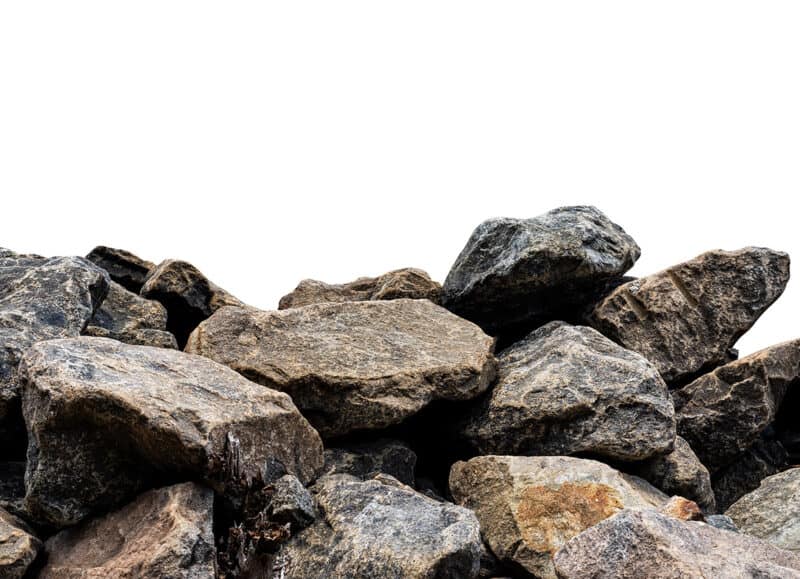
Are you familiar with “decomposed granite” (aka “DG”)? If not, well, let me tell you all about it.
Over time, granite can break down into small pieces, basically like coarse gravel. This is often used decoratively or on driveways. Some people even use it to aerate their soil instead of perlite or volcanic rock.
I wouldn’t recommend this, nor would I suggest using granite for your edible or medicinal gardening beds. Over time, DG can cause your garden soil to compact.
It’s not sturdy to have the same aerating or draining effect that the other rocks have. Instead, it breaks down more and more, hardening your soil. Furthermore, building raised beds out of granite can lead to bits chipping off over time.
Guess where these chips end up when they break off? That’s right: in your soil.
If your heart is set on using granite in your garden, use it in a retaining wall to combat erosion. That way, it’s not only okay if the soil compacts nearby: it’s even beneficial. Alternatively, keep the granite for building projects like some of the ones mentioned earlier.
