If you dream of living off-grid but don’t have the funding or aren’t ready to build a permanent structure, you might want to consider building a yurt.
A yurt is a traditional, nomadic structure developed (and still used) by Mongolian nomads as they follow their herds from pasture to pasture. Yurts are designed to be easily set up and torn down. They’re portable, cozy, roomy, and beautiful.
More and more people are even opting to stay in their yurt long-term. They can be made traditional or rudimentary, or more complex. I’ve even seen modern yurts with sleek, contemporary styling. Ready to learn the basics of building a yurt?
What Is A Yurt?
Yurts have become hugely popular as alternative houses, upscale campsites, and even unique storefronts, but what is a yurt exactly?
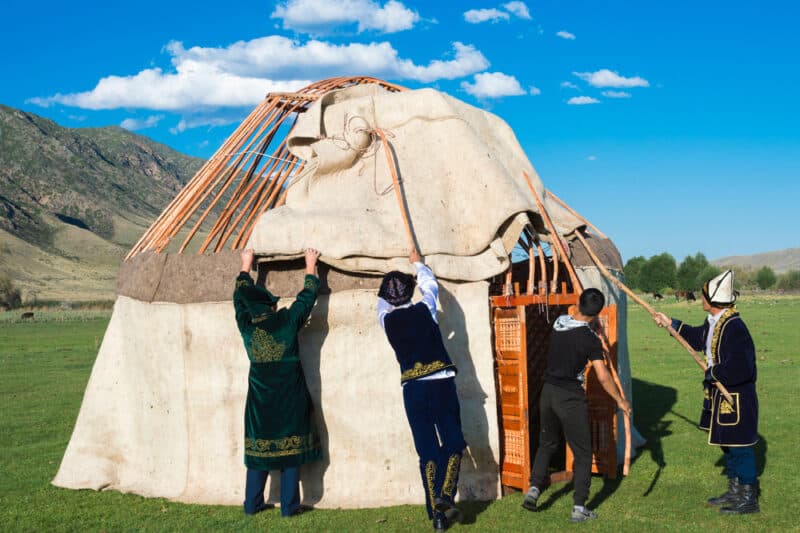
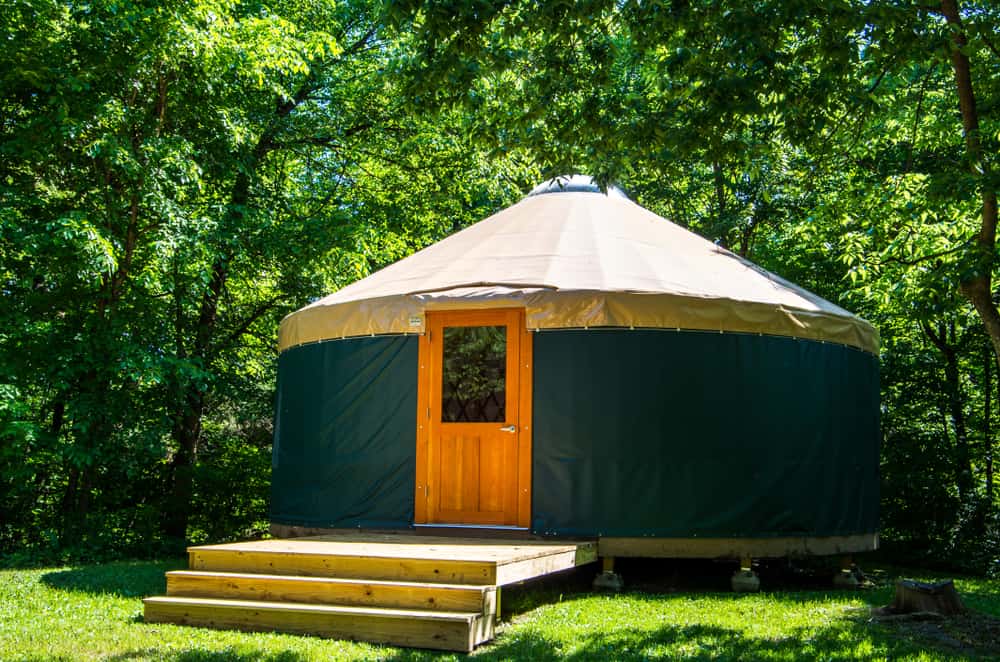
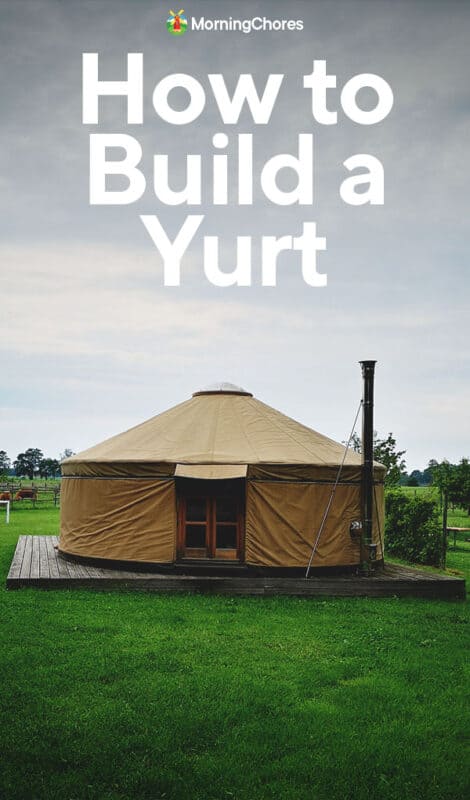
Traditional yurts have wooden latticework walls and wooden rafters covered with a felted wool skin. Modern, American yurts usually replace felted wool with plasticized canvas and space-age insulation panels. Traditional yurts also rarely have windows, while American yurts often make use of plastic or conventional-glass windows to bring in more light to the yurt’s interior.
Why Build A Yurt?
Twelve years ago, in the summer of 2010, my husband and I build our yurt and moved in to live off-grid in the woods of New England. We’d spent the previous half-year exploring alternative housing options, building a platform for our roundhouse, and ordering a yurt-kit from a local building company. By summer, we were ready to jump into off-grid yurt life.
All we needed was a free weekend and a few helping hands.
Homesteaders who choose to set up yurts often see them as “first-step” houses. We intended our own yurt to be the early part of a five-year plan that was supposed to culminate in the building of a “real” house. But we quickly fell in love with yurt-living and never bothered building our “real” house.
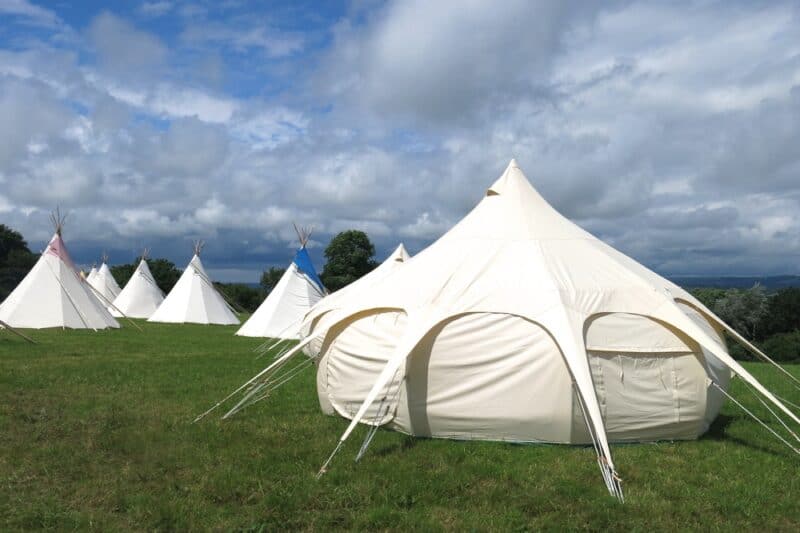
Yurts are a smart option for temporary structures on undeveloped land. When you’ve just purchased a plot of land, building a conventional house can feel like an overwhelming task. Yurts offer a breather. They’re a chance to get to know your land and carefully pick out the best spot for a permanent structure.
You don’t need to dig a foundation or clear-cut a large area of land to set up a yurt. However, it’s a good idea to build a platform as the base of your yurt. That platform can be as structurally solid as you care to make it. We set up our platform on unsealed tree trunks sunk into concrete. After 11 wild, New England winters, we finally needed to shore them back up a bit.
Many people build yurts to provide temporary housing for adult children who need a little more privacy, studio space for creative workers, Airbnb campsites, or full-time homes. Yurts offer the opportunity to continually re-evaluate your location, lifestyle, and family priorities.
Since they’re easy to set up and tear down, they can easily be moved from one location to another. And, since yurts are temporary structures, they often fall outside building and tax code requirements.
Life in the Round
If you’re building a yurt to use as a family homestead, keep in mind that yurt life is a little different than conventional living.
Yurts often fall under the “Tiny House” label. My own, 24-foot yurt (yurts are usually described by their diameter measurement) is only about 460 square feet of living space. With a family of four and two dogs sharing the space, we have to be creative about privacy, storage, and décor.
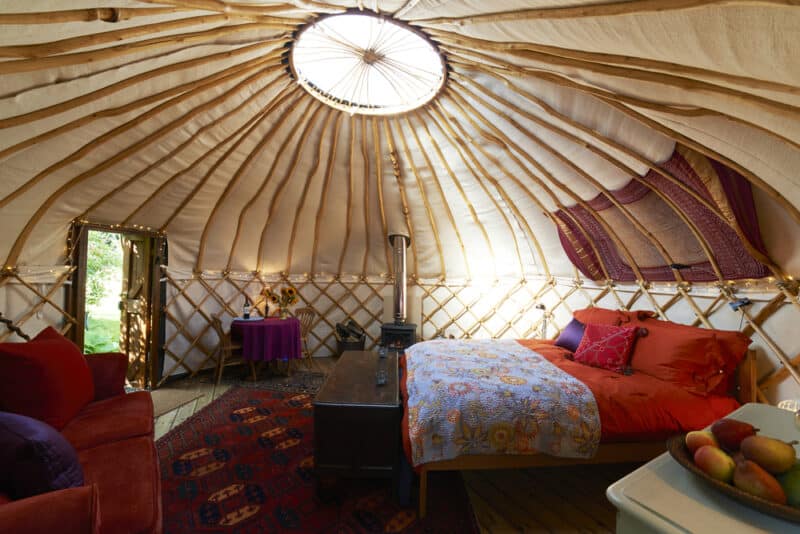
Many people chose to divide up their yurts into interior rooms, build lofts, or connect two or more yurts with conventionally built hallways and bathrooms. Other’s prefer the yurts naturally open-concept design. As you design your own yurt interior, keep an open mind and make changes slowly. You may be surprised at how little space you actually need.
Be aware that some cities don’t consider yurts as permanent housing and they may have restrictions on them. Check your local laws before settling down in one permanently.
Building a Yurt From Scratch
There are two ways to build a yurt. The most creative and inexpensive yurts are built from scratch, but the most common, and easiest way to build a yurt is by purchasing a kit from one of the many yurt companies in the United States.
If you’re going to build your yurt from scratch, you should have some carpentry experience and a clear understanding of the reasons behind yurt design. You can even find yurt plants online. They’re usually about $25-$50. You can also buy books that will give you information beyond the scope of this guide.
The plans will help you cut rafters for the roof, build the wall lattice, and put together a central ring where either a dome or an opening will let light into your yurt. Most of the plans available do include measurements for canvas or wool walls as well.
Some plans will help you design spaces for putting windows into your yurt. No two yurt plans are exactly the same. Some recommend connecting the lattice with rope, others prefer bolts, and still others use nails. The truth is, you can play with the design in some pretty major ways and still come up with a strong structure.
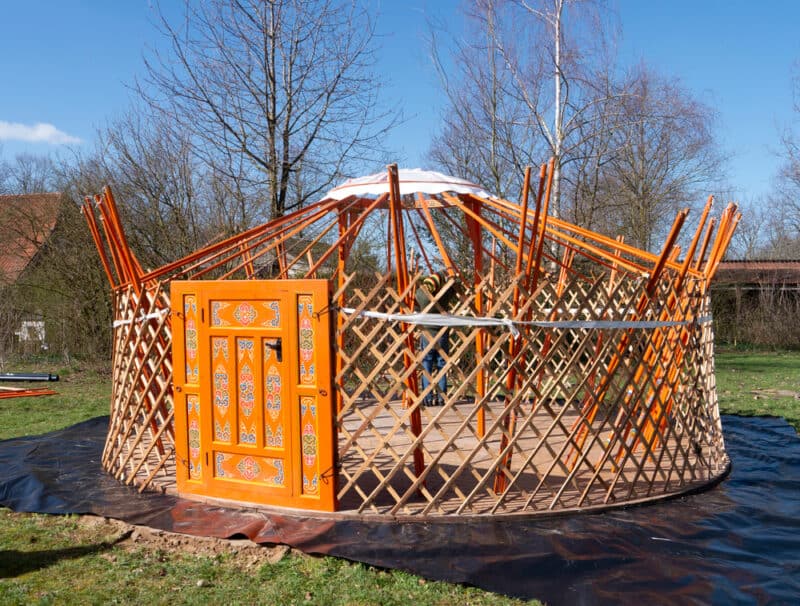
Building a yurt from scratch can allow for a lot of innovation, but it can be challenging to source items like stove flashing, yurt windows, and the huge, plastic dome that tops off the American yurt. If you’re having trouble finding anything from yurt insulation to the dome itself, I’ve found that reaching out to yurt companies like Colorado Yurts works wonders.
Building a Yurt From a Kit
Kit-built yurts are still a big project! When you order a yurt kit, you’ll get everything necessary to set up the yurt – including instructions. Kits can be expensive (and shipping can double the cost of your kit!). These days, a 20-foot yurt kit starts out around $13,000. 12 years ago, we paid less for a 24-foot yurt with insulation and an extra window. But with the rising cost of lumber, even a yurt from scratch can get pricey.
Whether you’re building from scratch or from a kit, you will still have to build your own platform/base for your yurt to rest on. You’ll also need a few, friendly helpers to make the heavy lifting go more smoothly.
Most yurt companies recommend using a couple of frames of scaffolding to lift the heavy, wooden ring into place. When we built our yurt, we did borrow 8ft of scaffolding for the dome-lifting. But, when we took down our yurt for some deep cleaning eight years after the original setup, we simply used a tall stepladder to reset the dome.
The Basics of Finishing a Yurt
Whether you’ve built all the components yourself or ordered them in a kit, the final stage of building your yurt will look similar. It’s time to put all the pieces together into a completed yurt.
Most yurt instructions encourage you to set the doorframe in place first. This is because the doorframe provides a stable point of reference for the lattice to attach to. Once you’ve set the doorframe, it’s time to set up the lattice wall. Some walls come in two or even three sections, but our lattice came as one simple, accordion-style section. It opens up like a baby gate, attaches to the doorframe, and then stretches in a wide circle, only to come back around and attach to the other side of the doorframe.
Once the lattice is stretched out and attached to the platform, it’s time to run the tension cable across the top of the lattice. The cable keeps the lattice from leaning out and gives the rafters something to rest on. Once you attach the cable, it’s time for the most challenging part of yurt-raising – setting the ring.
Setting the Ring
This is a challenging step because someone has to hold the heavy wooden ring in place while someone else secures the first three rafters. The ring is heavy, so try to make sure you’re in a comfortable position and standing securely on your scaffolding or ladder. Then, attach the first three rafters one by one to the ring and set their notched edges onto the tension cable.
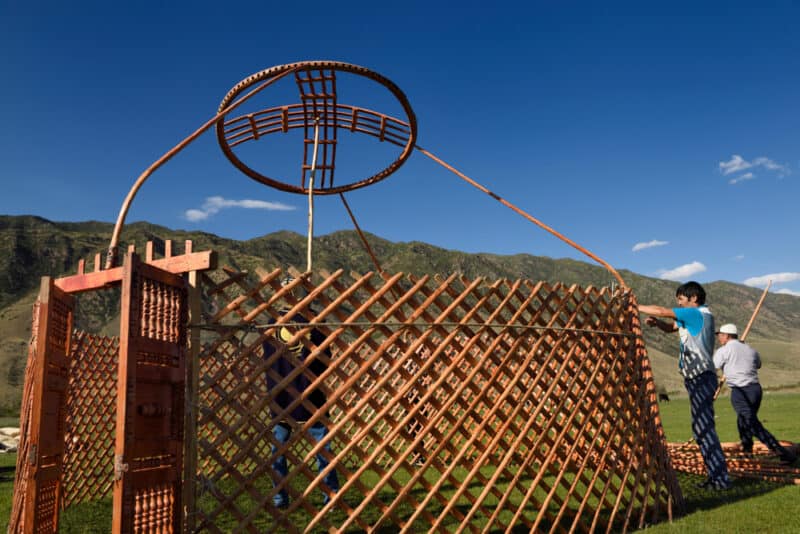
Once the first three rafters are set, the ring should be stable enough that you can slowly set the other rafters without continually holding up the ring. When you have set all the rafters, you can cover the frame of the yurt with fabric and insulation. Finally, you can set the dome.
Viola! You have a complete yurt. Setting up our yurt took us one full day with a crew of three. We had scaffolding and two professional builders as part of the group. Give yourself two days to work, but don’t be surprised if the project moves quicker than expected.
Important Considerations
Yurts are not common structures in America. Sometimes it’s hard to know which questions to ask, and which building options are necessary. You might not know to ask about certain upgrades that can be incredibly useful. Here’s a bit of advice from my own experience building a yurt.
Insulation
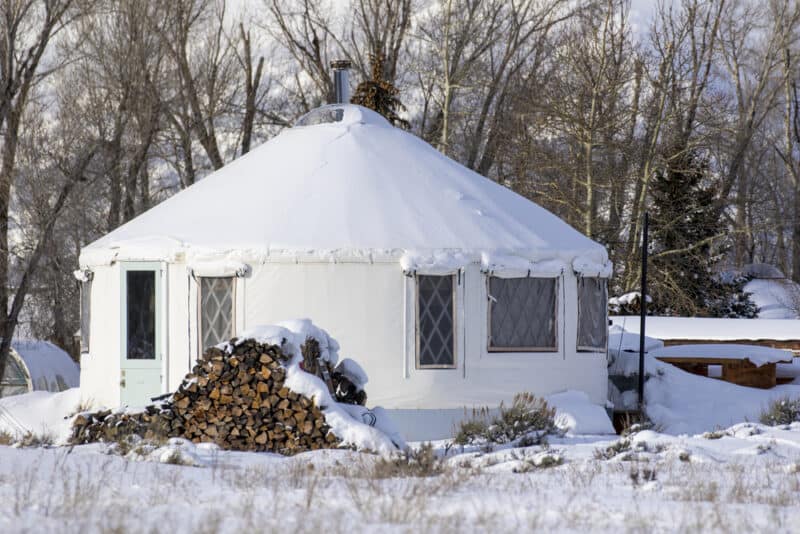
Unless the temperatures in your area never get below freezing, you’ll want the insulation package. Yurt insulation isn’t ideal. It’s very thin. On nights below 10°F, we’ve found that it holds heat only if the stoves are continually burning. But I can’t imagine facing a northern winter without the insulation!
Some yurt companies offer a double insulation package for extreme weather locations. Double insulation packages help yurts hold heat in cold temperatures. Don’t skimp on insulation. Make sure your floor, roof, and walls are all well insulated so your yurt stays cozy all winter long.
Doors & Windows
Make sure you seal your door well before winter! We didn’t even think about sealing, caulking, and painting our door before the first winter, and it took quite a bit of weather damage before we could repair protect it in the spring.
The plastic windows that come with a basic yurt kit will shrink throughout the seasons. Ours lasted about 5 years before they didn’t fit the windows at all anymore. If possible, spend the extra time or money ensuring that you have windows that will last.
