If you’re looking for a cheap, easy way to make sure you can cook outdoors, look no further! You can create a basic cob oven for under $30. You just need appropriate outdoor space, some strong hands, and a bit of patience.
Get your straw, rocks, and shovel ready and let’s get going.
What You’ll Need
Building a cob oven is pretty easy, though time-consuming. In terms of materials, you’ll need the following:
- A shovel
- Trowels and scrapers
- Jigsaw
- Plywood or other scrap wood
- Cardboard
- Drawing compass and pencil
- Tack nails or staple gun
- Gravel
- Assorted nice, large rocks or cinder blocks
- Broken rocks and bricks
- Empty glass beer bottles
- At least 22 fire bricks
- Dry perlite
- Sand
- Clay: either good, sticky stuff you’ve dug up from your land or else buy some at the hardware store
- Single-wall galvanized stove pipe, 24″ long, 5″ or 6″ diameter (optional! You don’t have to put in a flue pipe, but some people like to)
- Straw
- Sticks
- Measuring tape or ruler
- Twine
This is basically all you’ll need to build your clay oven.
We’re estimating that you’ll be building one that’s about 28 inches inside. This is a standard size and gives you enough room to bake pizzas, breads, festive cakes, and what have you.
The Basic Cob Mixture
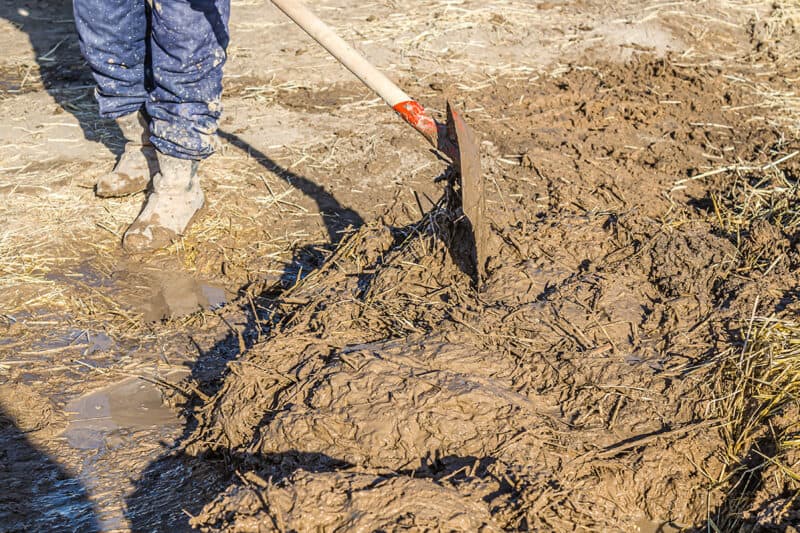
The basic cob mixture is 2 parts sand to 1 part clay, and 1 part straw, with enough water added, so it all holds together. Interestingly, the word “cob” is an old English term for “lump.” Being English, I find this endearing, especially since cob building is so very lumpy.
Please keep in mind that this is just a rough estimate. You’ll get a feel for the texture once you start working with it. For example, the straw can be anywhere from 10-20% of the full volume you’ll be working with.
If you find that there’s too much straw sticking out of the mixture after you’ve worked it, add more clay. If there isn’t enough, add straw by the handful until it looks and feels right.
Follow this link for a great how-to demonstration on how to tell if your cob mixture is right.
Do You Have Enough Room to Build?
First things first: do you have enough room to build an outdoor oven? You may be thinking that hey, it would be amazing to bake bread and pizza and maybe a nice moussaka outside when you have friends over.
And yeah, that would be great, so long as you don’t end up setting the neighborhood on fire.
Remember that this is going to be an almost permanent structure. This is important when it comes to picking a spot for it, as you won’t be able to pick it up and move it whenever the whim strikes you.
Choose a location that’s close enough to your home to be convenient but not so close as to be a fire risk. If you live in a fire-prone area, then you’ll need to surround it with sand, gravel, or other non-flammable material.
You’ll also want it a good 60 to 100 feet away from the house.
Put it in a place where you’ll be able to move freely around it to tend food. Be sure to create a space nearby to keep firewood at hand and another space to keep vital utensils.
Also, keep in mind that this thing is going to need a roof. Because this oven is made out of mud, you can imagine what rain would do to it.
Aim for a roof that’s at least 10′ x 10′. Bigger is definitely better if that’s an option. This should be big enough to cover your oven, as well as prep tables and even some seating.
Establish the Foundation
Since cob ovens are made of mud, and mud is heavy, you’ll need to create a rock-solid foundation. It needs to be level, offer sufficient drainage, and strong enough to hold that heavy oven in place.
You can place it on the ground, though that makes access difficult, so you might want to build on a sturdy platform.
We’re aiming for a 28-inch oven, so you’ll need to do some maths here. That 28-inch is the interior cooking space but doesn’t take into account the cob thickness.
Estimate that you’ll need to take into account the plaster, insulation, and cob materials as well. So, let’s add that up.
28-inch cooking space
8-inches for the cob thickness (4-inches all the way around)
2-inches for plaster
16-inches insulation
That’s a 54-inch foundation to support the oven. At least.
I’d recommend going several inches larger to account for any mismeasurements, so let’s aim for an even 60-inches.
Measure it Out
Jam a stick into the middle of where you plan to build your oven. Tie twine to it, and measure out 30-inches. Tape or tie another stick to this end, and use it as a compass to measure out a circle. That 30 inches is the radius, which will create your 60 inches diameter.
Aren’t you grateful for that 10th-grade geometry class now? And we thought we’d never use it again. Moving along…
Use this circle as a guide and dig down a good foot or so. If you’re in a cold climate, you can dig a bit deeper. Basically, you want to make sure there’s enough drainage to account for snow thaw, etc. Then dig a down-slope trench that will carry water away from your precious cob.
If you’re not familiar with this term, “down-slope” refers to the natural topography of your land that (big shocker here) slopes downward. It may be a really slight incline, but it’ll be the natural path that water flows down your property.
This way, you’re not fighting to drain your foundation uphill. Make this several feet long, and several inches deep, just to make sure it drains well.
Some people swear by perforated metal pipe for this, but gravel works just fine. Just make sure to tamp it down every 5 inches or so.
Make Sure it’s High Enough
It’s smart to raise your oven off the ground, mostly so you can work with it more easily. Since you’re going to be tending food in there, you probably don’t want to squat every time you do so.
Aim to have the business part of the oven at least 40 inches above ground level.
You’ll create the foundation by dry stacking those flat stones or cinder blocks around the circle you carved into the soil. Once they’ve reached 40 inches tall, fill in the inside with rubble.
Use smaller stones, broken bricks, and cinder blocks to fill this up. Nobody’s ever going to see it again, so don’t worry about making it pretty.
Once it’s about 6 inches filled from the top, fill the rest in with sand and tamp it down. Leave that top 6 inches clear, as now you’ll need to lay down some insulation. This is where those empty beer bottles come in.
Lay those out in concentric circles until the space is fairly filled, with an inch or two separating each bottle ring. Once they’re in place, fill in between the gaps with perlite.
Then keep filling with perlite until that 6-inch space is filled and the area on top is level. At this point, you’ll need to “cap” the foundation with a 1-inch layer of cob.
Create the Hearth
Grab your level and smooth this cob, so it’s as flat as possible. This is where the firebricks will rest, and they’ll do best on a level plane.
Use a thin stick or chopstick to mark the exact center of your cob oven, so it sticks up out of the cob. Remember that the hearth needs to be pushed to the front, overhanging the edge by at least an inch. This is a good reference photo to work from.
Sift some sand through a strainer to get small pebbles out, and spread that over the cob surface. Lay out the front fire bricks, so they overhang as described, and then spread the rest out to cover the cob surface completely.
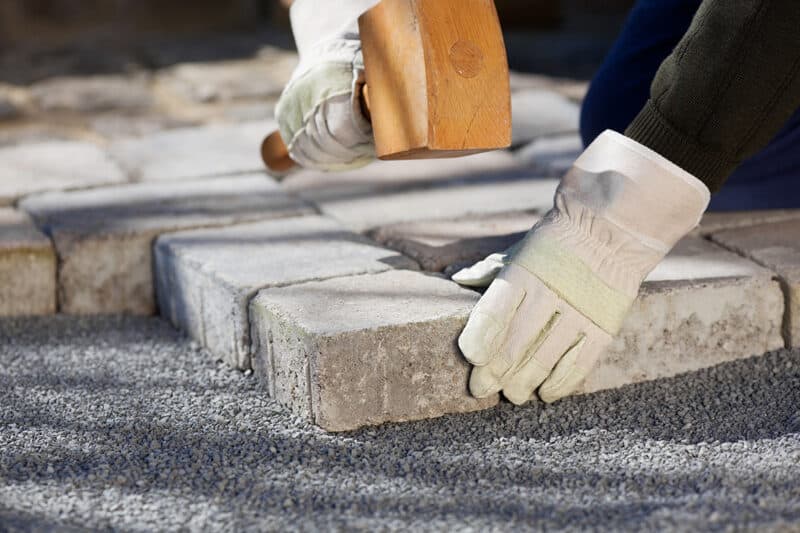
Just remember to push the bricks downwards into place as you go, rather than sliding them around. Avoid getting sand between them, as this will create an uneven cooking surface. Basically, you want these fitting together as firmly as possible.
Arch it Up!
So, while you can wing other parts of the oven’s construction, you’ll need to dive into maths-land in order to sort out the archway.
However high you’re planning to construct it, you’ll want the doorway to be about 65% of the interior height, and 50% of its diameter width.
This means that if your dome is 25 inches high, the doorway will be 11.5 inches wide, and 16.25 inches tall. If your brain is starting to wibble beneath the strain of sorting this out, just use this online percentage calculator.
You’re welcome.
Now, grab your compass, pencil, and ruler. You’re going to create a template support out of plywood to support your dome while you’re building it. Let’s say you’re working with the measurements listed above: you’re going to create a pair of solid arches as the support base.
As a tip, reduce the height on these slightly. You can prop them up on bits of scrap wood for easy removal after the dome has solidified.
So, for the sake of argument, let’s reduce the doorway prop to 16 inches. Just put down a 1/4 inch piece of wood before putting the arch support into place.
Create this doorway in a nice, wide arch rather than a narrow one. Aim for something that looks like the doorway to a medieval monastery, not a window.
Cut this piece out with a jigsaw, then use it to trace another the same size on the second piece of wood. Cut that one out too.
Set the templates anywhere from 6 to 10 inches apart. Cut pieces of scrap wood to these lengths and nail or screw them into the arches to create a support structure.
Then cut cardboard the same width, and attach it over the arch with that staple gun or tack nails. I’m impatient so I like to use a staple gun, but to each their own ecstasy.
This will support the structure you’re building, so ensure the arch is sturdy enough to support it. Some people like to use a double- or triple-thick cardboard layer for this. I say go with your instincts.
Once done, put down that 1/4 inch scrap wood, and plop the form on the firebrick overhang. Mix up some straw-heavy cob so it’ll firm up nice and strong as you work.
Then lay down the cob layer by layer, pressing it down firmly as you work. It should be a couple of inches thick, and you’ll work your way from the bottom all the way to the top.
Optional Flue Pipe
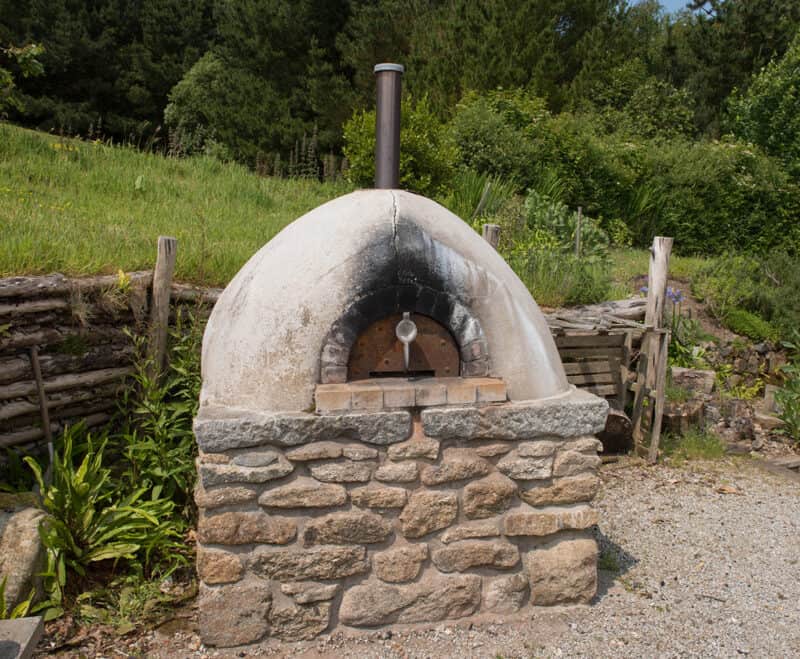
If you’re planning on putting in a stovepipe, now is the time. You’ll take that galvanized stove pipe and prop it on some bricks or wood inside the arch you’re building, so it fits into place well.
I’ve never done this: I’ve only built cob ovens without pipes, so you might want to watch some other tutorials on this.
For example, this seems to be a great reference video on how to install a pizza oven stove pipe. Although they built theirs with vermiculite, you can see how they propped up the flue pipe on wooden blocks to hold it in place as it set.
Build the Oven Dome
There are several different ways to approach building the main cob oven dome. Most people use wet sand to form a nice rounded form, which will support the cob beautifully as it sets. It’s also one of the cheapest methods around, as well; it’s just sand.
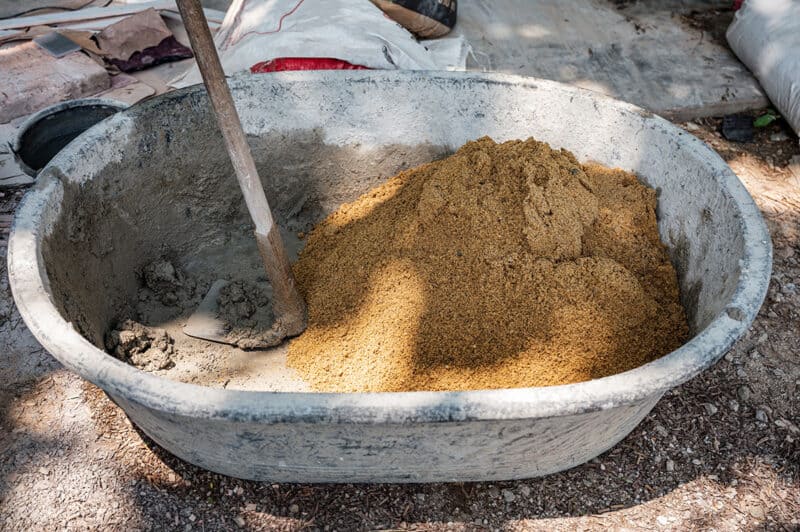
To do this, just wet the sand enough that it holds together when you clump it in your fist. Then, use the string and pencil method to mark a perfectly round 28-inch diameter circle on the fire bricks.
Pile sand onto the area a bit at a time, packing it down and building it up until it’s the size of your desired oven interior.
In our case, we’re aiming to build 25 inches high, so keep measuring as you go until it reaches that height. Then cover it with wet newspaper or plastic wrap.
Another easy dome construction method is to use a partially deflated exercise ball instead of sand. In this instance, you let out enough air that it can be squished flat on one side.
Then center it and cover it with plastic wrap in preparation for the cob application. Check out this video for tips about this method!
Whether you’re using sand or a rubber ball, be generous when slathering on the cob mixture. It should be 4 or 5 inches thick all the way around. Just make sure to maintain even thickness as you go!
Use that ruler or tape measure and keep checking in to ensure that it’s even, layer by layer.
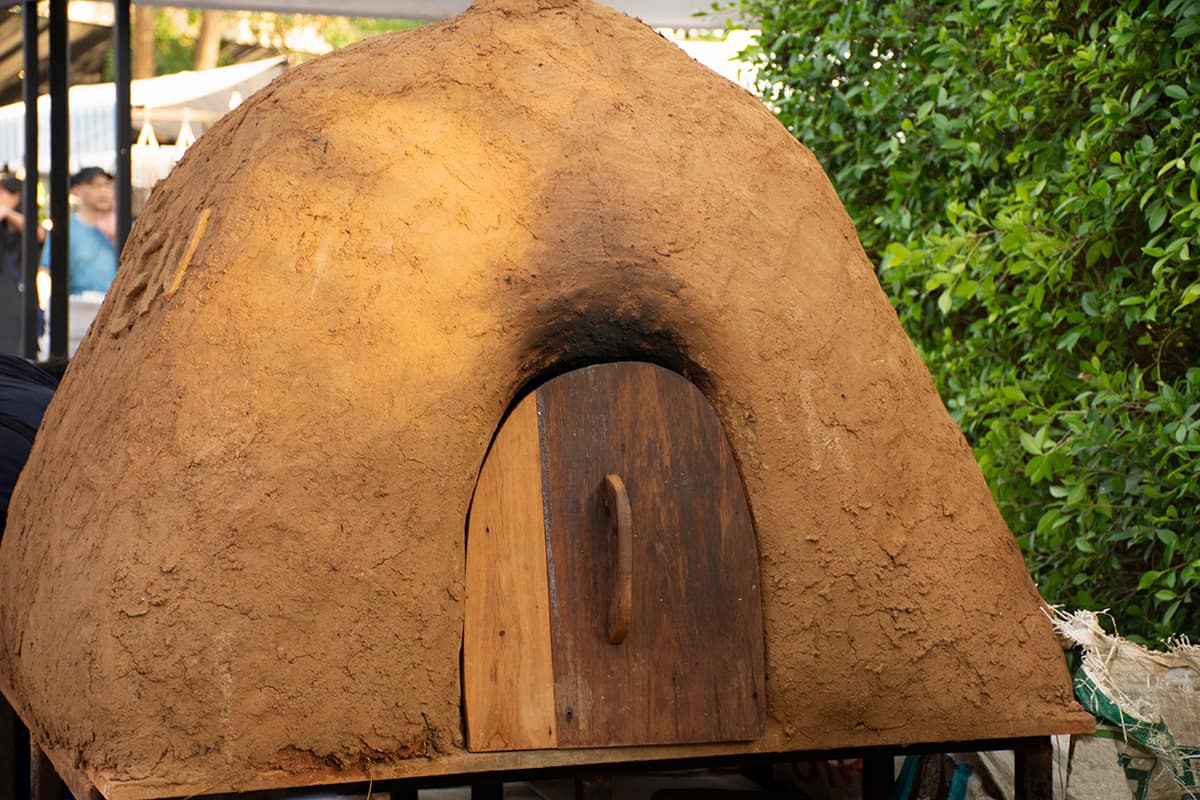
By the time you’re done, that dome should look like half an egg perched on its foundation. Round, smooth, and beautiful to behold.
Allow this to dry for at least three to four days before removing the sand or ball from the inside. This should allow the cob enough time to be able to maintain its structural integrity without a frame beneath.
Once you’ve removed the interior, it’ll dry out a lot more quickly and thoroughly.
If you live in a fairly warm, dry environment, just let the cob dry out on its own for about a week. On the other hand, if you’re in a damp locale, you can build a very small fire inside the cob oven to help it dry out.
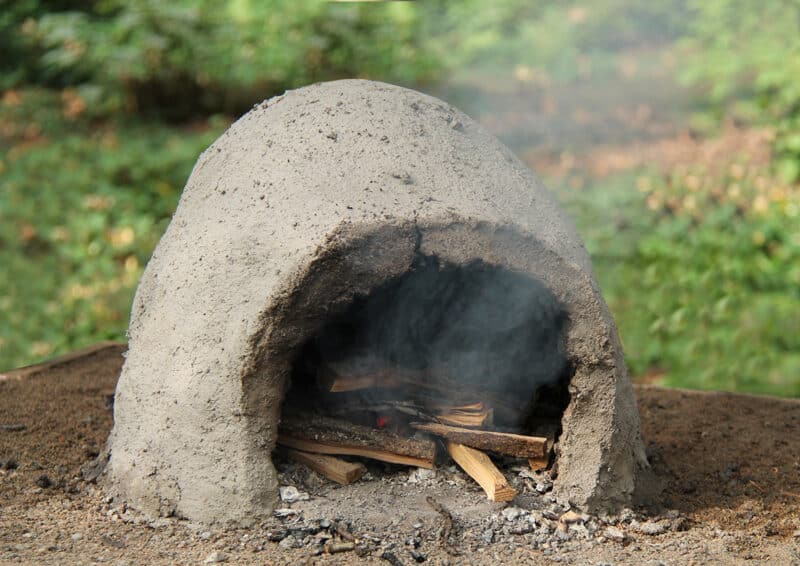
Make sure it stays small, though! If you add too much heat on the inside, it’ll dry more quickly than the outer shell, and collapse in on itself.
Insulation Time
Oh, you’re not done yet.
Once the dome is dry and firm, you need to insulate it. You’ll do this by chopping up loose straw and mixing it with a light clay slip. The clay slip consistency should be somewhere between buttermilk and thin yogurt: just enough to coat the straw so it stays in place.
You’ll take handfuls of this stuff and slop it aaaalllllll over the outside of your cob oven. Make it a good few inches thick all the way around, making sure to maintain consistency.
This is a good photo to use as a reference. Pack it down into place as you go so it stays put. You’ll know you’re on the right track if it looks like a deranged giant bird created a nest in your yard.
Let that set for about an hour, and then create a thicker clay mixture to plaster over it. Mix clay with just enough water that it feels like thick custard. Pour, smear, or trowel this all over your straw until it’s covered.
Once that’s set into place (in an hour or two), add yet another coat. This time it’ll be a nice, juicy cob layer. Remember that it’s a 2:1 ratio of sand to clay, with just enough water to hold it together.
Whether you add more straw into this mixture is up to you. Add some in if you want durability, leave it out if you want it smooth as a baby’s backside.
Be Creative!
Now that you’ve put the final layer on, you can think about how you want to decorate this cob oven. You can get super decorative with carvings, sculptural work, or mosaics if you like. Or, you can keep things super simple and just whitewash it.
Remember that you can create these ovens to take on any personality that you like. Standard ones are really simple, but some people opt to make their ovens look like turtles, birds, little houses, or even dragons! Check out some cool cob oven ideas on Pinterest and such to get ideas on how to design and decorate your own.
If you’re feeling really ambitious, the next time you build a cob oven, you can extend the structure to create a heated seating area. Or make an entire oven system so you can cook or warm multiple dishes at once.
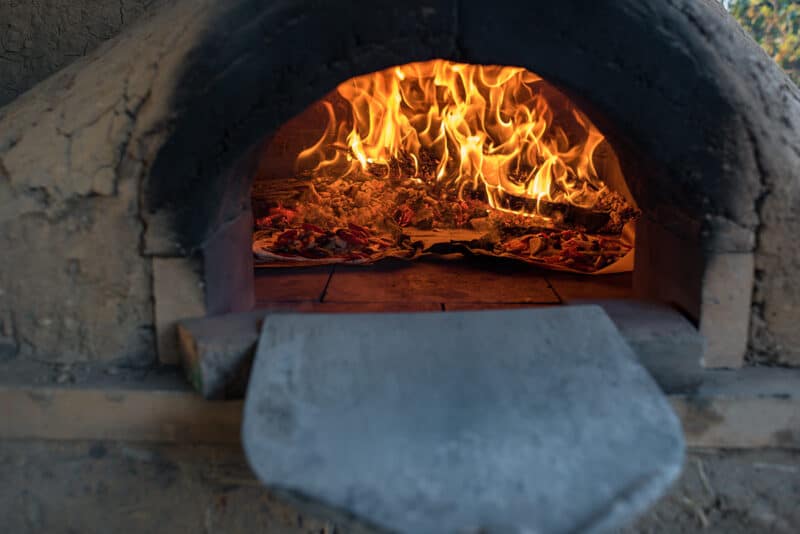
Cob is one of the most versatile materials to work with. You can build just about anything with it, and as long as you keep it dry and maintained, it’ll last for several years. Be playful with your creations, decorate them to suit your own personality, and cooking in them will be an absolute joy.
