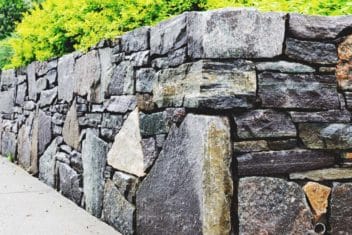
Freestanding stone walls are iconic. It’s hard to imagine the rural fields of Europe or the farms of New England without them. Not only beautiful, they’re also a way to add something that is practical to your landscape. They can be used as fences for garden areas and to separate livestock paddocks. In areas where there is a lot of stone, they’re low cost to build.
The downside is that building a freestanding stone wall is backbreaking work. On the bright side, it’s a project that can be done over time. My grandfather used to work on building stone fences in the winter when other work on the farm slowed down.
Issues of practicality aside, I love rocks. The many different colors and textures get my creative juices running. As a child, I can remember hauling rock out of the creek with my grandfather in the cold winter. We had a Morgan horse who pulled a cart that we loaded up with creek rock. Then, we hauled the rock to the garden or horse paddocks for future walls.
Mortar or No Mortar
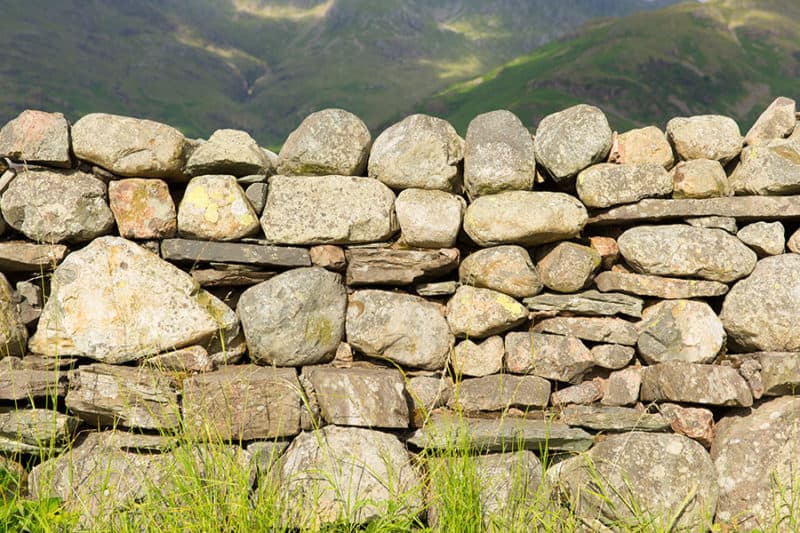
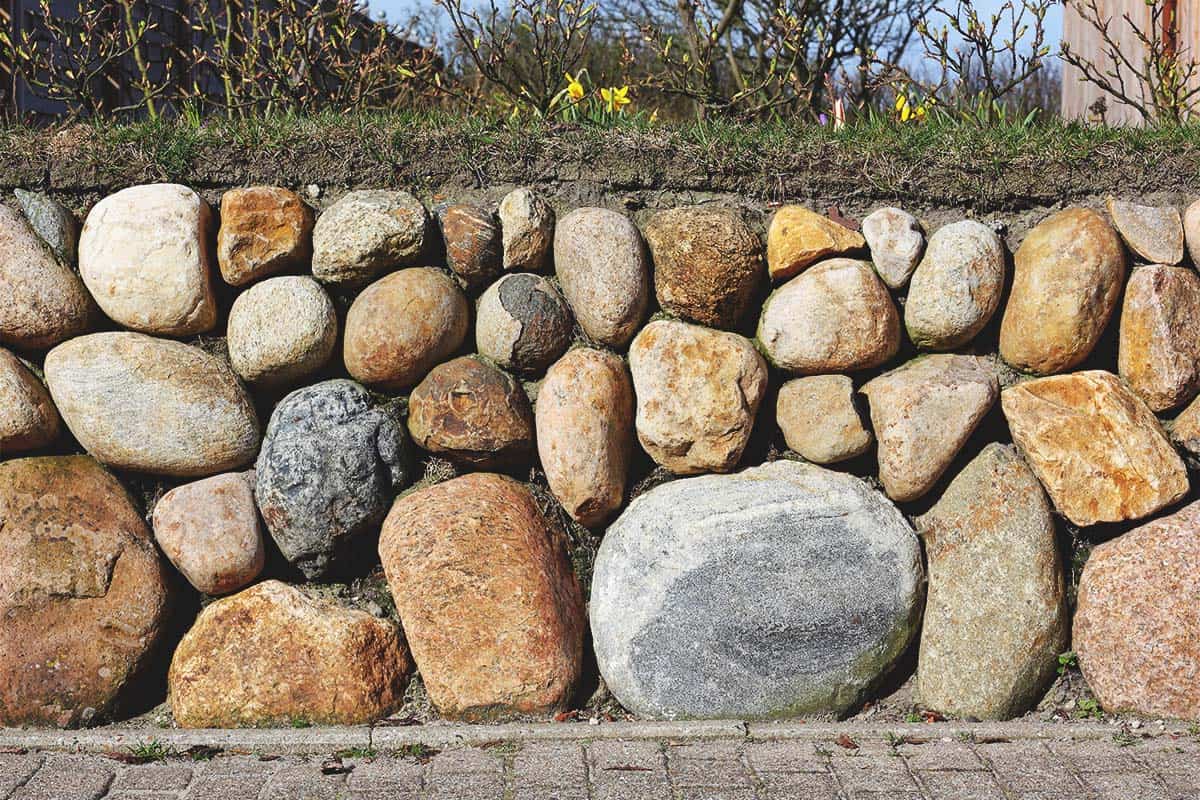
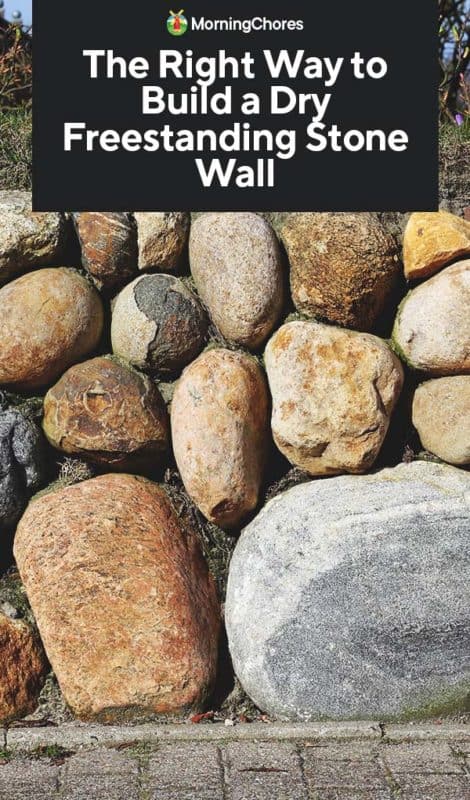
To mortar or not to mortar, that is the question. In this article, we’re talking about “dry walls,” which is the type of wall that you build without using anything but some rocks and your labor – no mortar required. A freestanding wall doesn’t have soil pushing against it like a retaining wall does, so it doesn’t need to be as strong. A dry wall can still last for centuries, however.
You can use mortar to “glue” a freestanding stone wall together. Mortar adds strength and durability. If you want your wall to look natural you can use a dark grey pigmented mortar and then wipe off the extra at the joints.
The advantage of no mortar is a clean, natural look, less cost and a wall that goes together quickly – provided you have a ready stone pile. With a dry wall, the strength comes via gravity and the stones fitting together to provide stability.
Where to Find Stone or Rock?
You may be laughing and thinking to yourself, why my garden of course. Yes! Many of you may have an abundance of stone on your property. You naturally excavate it while tilling or mowing.
Another great source of rock is if you have a creek on your property. The nice thing about creek rock is that it is worn smooth by the water action. Whenever you are working around the farm collect rocks and add them to your pile.
If you are purchasing rock, visit a local stone yard to see what types are available – they can also help you determine how much rock you need. The nice thing is that you can get it delivered right to your work site. No harnessing up the horse.
For a dry wall, you want a variety of shapes and sizes. Some rocks can be smaller than the wall width, larger stones should be the same width as the wall, oddly-shaped rocks can be used as filler, and flatter stones can be used as capstones.
Materials Needed
Technically, you can build a wall with rocks and your hands, but these materials will make things a lot easier:
- Shovel
- Stakes
- String
- Level
- Tape Measure
- Tamper
- Rocks (be sure to calculate how much you’ll need)
- Landscaping fabric
- Hand sledgehammer
- Chisel
- Rubber mallet
Set the Foundation
Freestanding stone walls are unique in that you don’t absolutely need to prep a foundation. You have the option of walking along the area where you plan to build the wall, removing any roots, plants or rocks, checking for any soft areas, and then tamping down the ground.
That said, digging and filling a solid foundation will make your wall last much longer, so it’s worth the effort.
Mark The Area
Use stakes, string, and a tape measure to mark out the width and length of your wall. Remember that you can build your wall in sections. Eventually, you might want to fence the entire garden but for starters, you may do one 20-foot section.
Dig the Foundation
Every wall needs a frost-free foundation if it’s going to last. Dig a trench 8-12 inches deep (or the frost-free depth recommended by your county engineer).
The trench should be about the width of your wall. The width of the wall is up to you, but it should be half as wide as the height of your wall for safety, so a 3-foot wall should be 1 1/2 feet wide at the base. If you plan to have a long wall, you might consider renting a skid steer or backhoe to move the dirt.
Line the Trench
To help with drainage and keep the gravel in check, lay down landscaping fabric along the bottom of the trench. The fabric should be wide enough to extend up the sides of the trench.
Add Gravel
Fill the trench with gravel until you are about four inches from the ground level. Fill the gravel in two-inch sections and tamp down as you go. Keep going until the trench is full.
Tamp the gravel down firmly. This is an important step as it will give your wall stability.
Build the Wall
Sort Your Rock
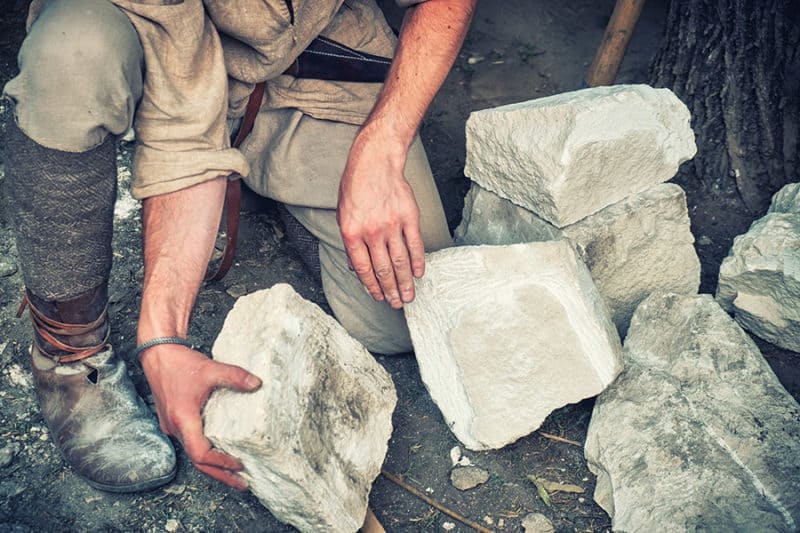
This step makes it easier to find the right rock that you need. Sort your rocks into smaller piles based on size. If you have children, this is a good job for them. There are 5 types of stones you’ll use to build your wall.
Face stones are the large stones that make up the majority of your construction. Hearting stones are used to fill the interior and gaps in the wall. Capstones are the ones you use to complete the top of the wall. You’ll use footing stones at the base of the wall. These should be the largest rocks. Finally, through, or tie, stones are long stones that extend from one side of the wall to the other.
Build the First Course
Lay down your stone in two rows in the trench. Each row should be flush with the sides of the trench. If you have a gap in the middle, no worries, you’ll fill that area next. Use stones that are similar in height to make building easier when you move on to the next courses.
Have you stacked firewood? Think of laying stone as stacking firewood. When you look at a stack of cordwood you see the short ends of the wood. The same thing applies to the bottom courses of your freestanding stone wall.
Fill the interior gap and any gaps in the face of the wall with hearting stones. Note that hearting stones are NOT gravel, they should be larger than that.
Build the Next Courses
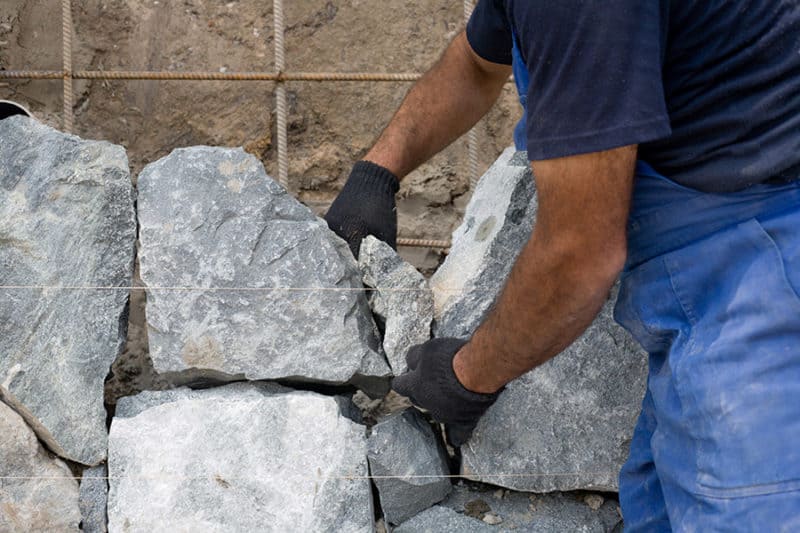
Next, lay the second course. Start with face stones on top of the two previous roes and then every few feet lay a through stone, also called a tie stone. These stones should extend across the width of your wall and are essential for stability.
As you go, make sure that you alternate joints so that you don’t have edges overlapping with the course below. This weakens your structure. When you use rocks that are different sizes you naturally avoid overlapping. Tap the stones in place using a mallet. Fill any gaps and in between the rows with hearting again.
Continue building your courses, fill with hearting stones as you go. Keep each course as level as you can. You should also be checking to make sure the face of the wall is even. You don’t want any distinct bulges. The wall can become more narrow as it gets taller, but it shouldn’t get wider at the top.
Don’t Fuss
Don’t get all caught up in wondering which rock is the perfect fit. You can easily turn the project into a never-ending cycle. Grab a rock and go.
If you need to reshape a rock, use a sledgehammer and chisel to knock off a corner. Remember to wear eye protection as pieces of rock tend to shoot off in all directions.
Final Course
On the final course, carefully select some flat stones for the top of the wall. The flat stones cover the fill rock and add a finished look to the wall. They also create more stability.
Finish Off the Wall
After you set your capstones, go back and examine your wall. You might have gaps and holes in your wall that you missed while building. No problem, just take some more of your hearting rocks and stuff them in those holes.
Wall Maintenance
You did it – you built a beautiful and sturdy freestanding stone wall! Just remember you’re never done.
Like any fence, stone walls require upkeep and maintenance. Make it a habit to walk around your wall every so often and check for fallen rocks. Animals or children can cause rocks to fall down. A tree limb may fall on the wall. Replace any missing capstones.
Look down and check on your foundation. Is it weathering well and still firm? You can always tap rocks more firmly in place or add hearting where things are looking loose.
A Note on Safety
Remember to be safe when building your freestanding stone wall. Stone is heavy and can do some real damage if a large one was to fall on an unclad foot. Where solid work boots to protect your feet.
Wear gloves to protect your hands. I prefer to wear leather gloves but they do sometimes interfere with dexterity. Some people prefer nitrile gloves because they grip well, but they wear out quickly when working with stones.
Wear long pants and shirt sleeves to save your skin from abrasions.
Eye protection is vital. Pieces of stone can chip off and fly into the air. Eye protection is especially important when you are cutting or hammering rock to change its look or size.
The Last Word
Working with stone is satisfying because it gives you a great return on your investment and can last for generations. I find building freestanding stone walls particularly gratifying because they go up quickly and add a nostalgic look to a garden.
