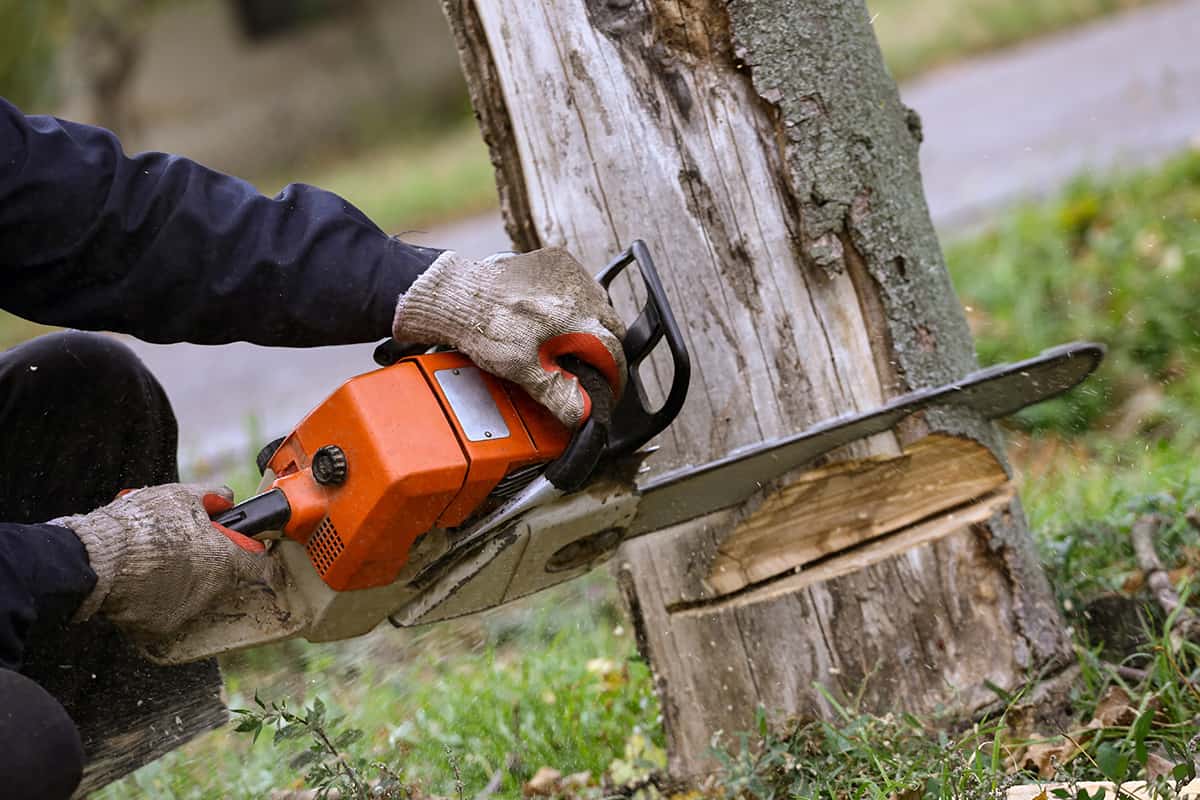
Cutting down a tree takes some finesse. Unless we’re talking about a sapling, you can’t just go out and lop the thing down. It takes planning and care to cut a tree down or you risk harming yourself or damaging your property. But done right, you can beautify your property or stock up on fuel for the winter.
Hopefully, the tips I’m sharing here will help you to stay warm in cold weather, and avoid any tree-cutting injuries while you’re at it.
What You’ll Need
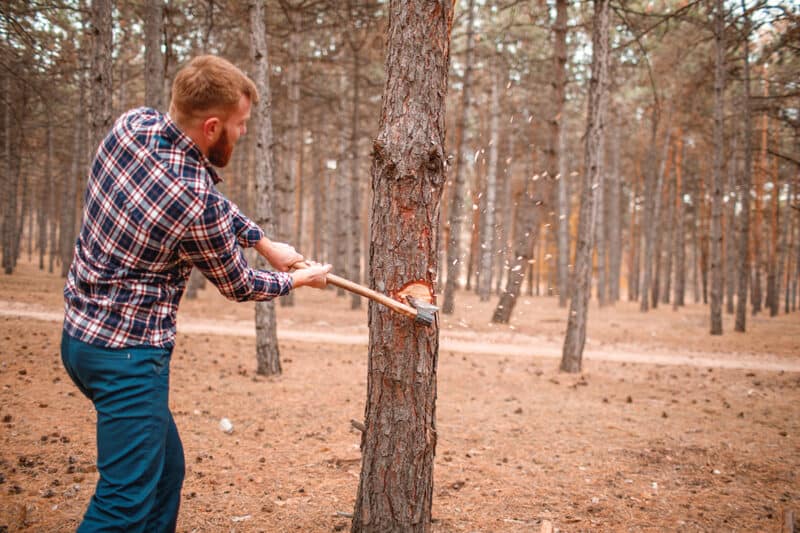
Okay, I’m going to start this off by saying that I’m not an arborist, nor have I had special woodcutting education. I did, however, learn how to cut down a tree from my grandfather and I’ve managed to chop down many over the past few decades without maiming myself.
You’ll need different tools to take down different trees. For example, if you’re taking down a tree with a diameter smaller than your arm, you can just use a good axe. In contrast, you’ll want to use a chainsaw for trees that are thicker than that. Here is what you’ll need:
- Chainsaw
- Chainsaw oil, fuel, chain, and maintenance tools
- Axe
- Safety goggles or face shield
- Thick trousers or chainsaw chaps
- Safety boots
- Hard hat
- Felling wedges (optional, if you’re taking down thick trees)
- Splitting maul
Preparation is Key
Before you even think about cutting down a tree, you need to do some prep work. This makes all the difference between success and something much, much worse.
1. Scout the Area
Take a good look around the surrounding area. Chopping a big tree down can be really satisfying, but will be immediately less so if it takes out a power line or your neighbor’s shed when it comes down.
Now, estimate how tall the tree is. It can be hard to estimate a tree’s height and you wouldn’t be the first person to underestimate it. Hold your arm out at a 45° angle. Back away until the bottom of your hand is in line with the top of the tree. The distance to the tree is about the tree’s height. Add a little bit of distance just to be safe.
Now, walk that perimeter all the way around. Are there any power or phone lines that it might hit on the way down? Any buildings or vehicles it might damage? What about garden spaces? It would be devastating to take a tree down for winter fuel only to have it destroy all your tomatoes when it falls.
Look out for animal habitats as well, especially if you’re cutting down trees during fawning season. There may be little ones in the grass or shrubberies nearby.
Then examine the tree itself. Does it have significantly more branches on one side than any of the others? If so, you can be guaranteed that the tree’s gonna fall in that direction. This is because there’s more weight on that side and it’ll naturally pull the tree down. Doesn’t matter where you make the cut: that’s where it’ll lean.
2. Familiarize Yourself with Your Tools
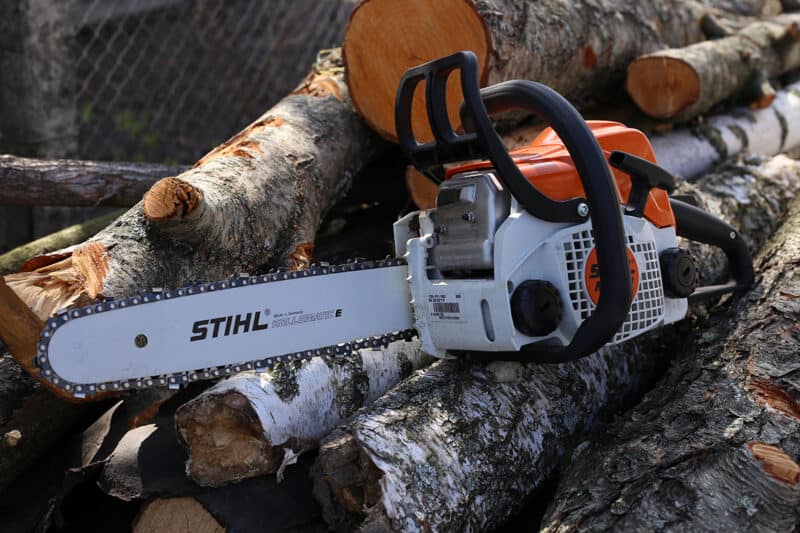
Cutting down a full-sized tree is not ideal for learning how to work with your tools for the first time.
If you’ve never used your chainsaw before, take some time to read the instructions thoroughly so you know how to use and care for it. Make sure it has oil and fuel, and practice with it a fair bit to get the feel for it. Try cutting some dry, fallen logs to learn how your individual machine operates. This will also give you an idea of how you’ll need to maneuver it as you move forward.
Same with axes. Every single axe has its own personality and will handle differently. Chop some firewood from already-cut log slices so you can learn how much force you need to do the job. The more you practice, the more working with these items will become second nature to you.
Steps to Cut Down a Tree
Before you make a single cut, plan out two escape routes. These will be clear areas that you can leap into if the tree shifts unexpectedly. That way, you run less risk of getting sh*tmixed by a massive tree trunk.
Make sure there’s no debris in that area that would cause you to trip and fall. The last thing you need is an impediment in your getaway path. When you’re falling from a tree, random branches and rocks are not your friends.
1. Plan the Cut
The key to cutting your tree down is to make sure that the cut is on the fall side. This means that the tree will fall in the direction where you cut into it. If there’s a heavier side (as mentioned above, with more branches, etc.), then that’s where you’ll want to make that cut.
Aim to start the cut around hip height, as this is a comfortable height to work with. Higher than that will tire out your arms, and lower might injure your back. Don’t worry about having a tall stump: you can always cut that further down later.
2. Start Cutting
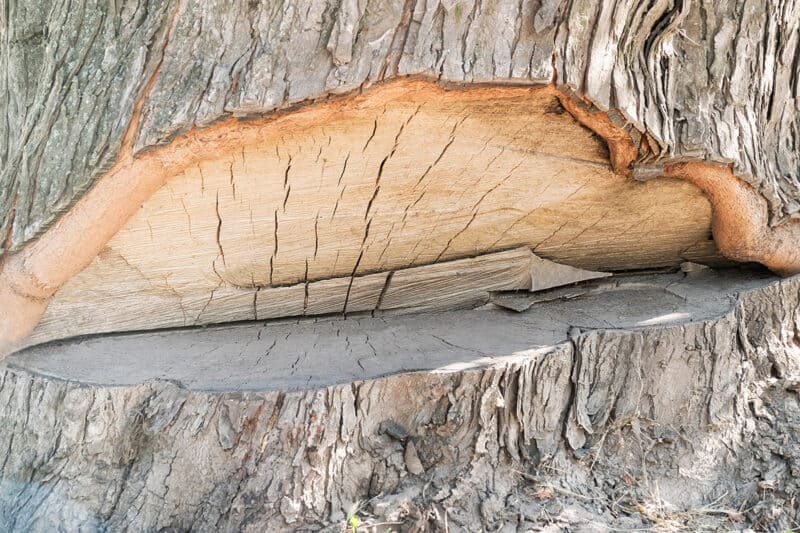
Put on that handy safety gear and start cutting the notch. You’ll want to start with the top part of the wedge.
Start your chainsaw and cut into the tree at a 45 to 60° angle. Cut downward at a slow, steady angle until you’re about 1/3 of the way into the tree trunk. Remove the saw while it’s still on, and then make a straight cut a few inches below that. This one will be horizontal, parallel to the ground, and should meet the first cut 1/3 of the way in.
Remove the cut piece by hand and toss it to the side. If you haven’t gotten all the way through, use your axe to loosen it until you can take it out. If the tree is thicker than 18-20 inches in diameter, you can shove a cutting wedge in there so it doesn’t pinch your saw during the process.
3. Do the Felling Cut
To take the tree down, walk around to the other side of the tree. You’ll be making a cut directly opposite the notch you’ve already created to make the tree fall.
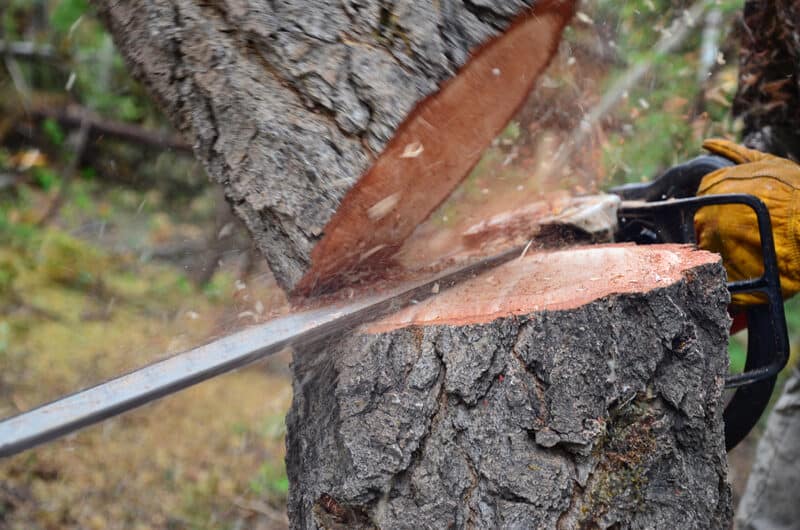
Cut downward at an angle again, aiming towards the notched cut. You’re creating a type of hinge here, so you’re not going to cut completely through the wood: just very close to the end of the notch. As your saw approaches this point, you’ll notice that the tree will begin to move.
This is where you pull the saw away and retreat to a safe distance while keeping your eye on the tree and where it is falling.
4. Limbing and Bucking
These terms sound like part of a fun Saturday night, but they are actually related to tree cutting.
“Limbing” is the process of removing the limbs and branches from the fallen trunk, so you have one, straight, long piece of timber.
“Bucking”, on the other hand, is when you cut the trunk into sections. The size of the sections will depend entirely on what you’re doing with them. For example, if you’re creating a log cabin, you’ll buck sections that are equal in length so you can build with them. In contrast, firewood pieces will be cut to fit your needs. Most folks cut 16 inches for outdoor fires or large hearths, while we aim for 12 inches for our wood burner stoves.
You don’t want to cut into the ground below the trunk with your saw. To avoid this, you can either prop the trunk up onto something so there’s clearance below, or do two partial cuts. Basically, you use your chainsaw to cut halfway to 3/4 of the way through the trunk, then roll it around so you can finish cutting through from the other side.
Troubleshooting and Tips
When I was first learning how to cut down a tree, I made the mistake of using my chainsaw to cut upwards from below. Can you guess why this was a less-than-ideal approach? If you guessed that the tree leaned in that direction and “pinched” the chain, get yourself a treat. I had to use another saw to cut through from the back to get the saw loose, and the chain needed to be replaced.
If you find that the tree you’re cutting is falling in a different direction than anticipated, don’t panic. Just retreat to a safe distance and let it fall. Your safety is the most important thing here: the tree can be sorted out later.
Be sure to familiarize yourself with any laws or regulations about tree cutting and firewood transportation in your area. For example, if you’re in the suburbs rather than somewhere rural, you may need to consult with the city before taking down trees on your own, even if they’re on your property.
Additionally, pretty much every state and province has laws about transporting wood across boundaries: sometimes even counties, nevermind actual state lines.
Also, try not to do any wood cutting by yourself. It’s always best to have someone else with you for jobs like this in case of emergency, but if none are available, then have a backup plan in place.
Let someone know when you’re heading out to do some wood cutting. Tell them whereabouts you plan to do your work, and when you plan to get back. Ask them to reach out to touch base if you don’t check in with them by X time. If they can’t get hold of you, it could be because you’ve been injured on the job.
Make sure you have your cellphone’s GPS turned on so emergency response teams can find you, and keep bottled water on hand so you can stay hydrated even if you’re pinned.
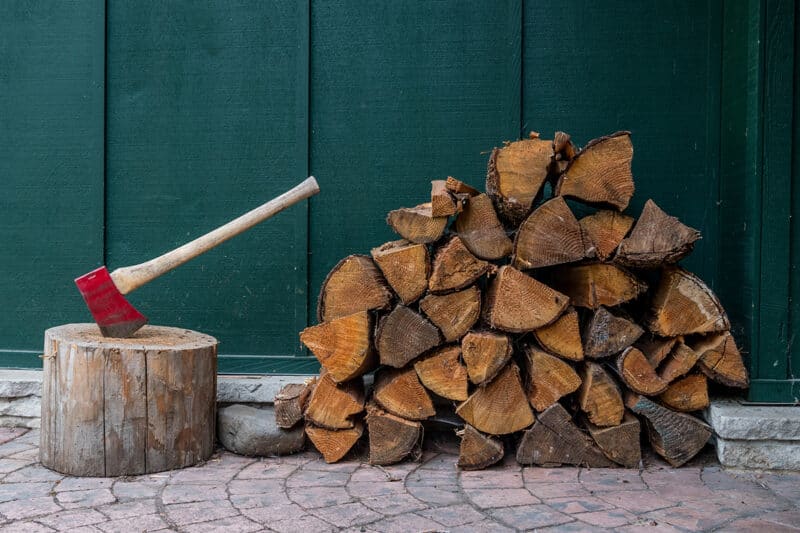
After you’re done chopping, head to our guide on stacking and maintaining a woodpile for some helpful tips.
Be safe, and have fun being self-sufficient!
