Have you ever been in the middle of a remodel or redecorating an area and not been able to find the items to match the look you were going for?
I found myself in this exact predicament about a week ago. We remodeled our bathroom and laundry room combo.
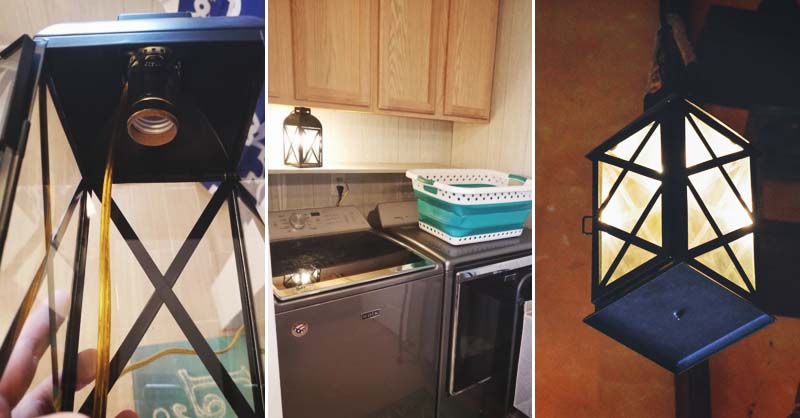
The corner where my washer and dryer are hooked up seemed rather dark. I didn’t want to wire an overhead light in the area, but I couldn’t find a lamp to suit my taste.
This was when I had the idea of making a lamp. It’s a simple process, inexpensive, and gave me the light I needed with a look I wanted.
Here’s how you can make your own DIY lamp too:
You’ll need:
- Item you want to use as the lamp
- DIY lamp kit
- A drill
- A lightbulb
1. What Should I Use for a Lamp?
What I love about making my own décor is it has my style and my design behind it. You won’t walk into someone else’s home and see the same item.
The other cool part of DIYing your own décor is it usually saves you money. Before I decided to make my own lamp, I looked at a track light to hang overhead in the bathroom and position the lights to where some would shine in the dark corner.
When I looked at the lighting options, they were more money than I wanted to pay. This is when I decided to create my own lighting choice.
You can use almost anything to make a lamp. People use vases, wooden stumps to make a lamp base or keepsakes.
As long as you can drill a hole through it, you can turn it into a lamp (in most cases.) The other issue I faced was I needed a shorter lamp to fit on a shelf between laundry cabinets.
Therefore, I decided to buy a metal lantern to where the light could hang down into the lantern instead of standing on top of it.
Look around your home or local big box store and see if there’s anything which strikes your fancy to make a gorgeous lamp.
2. Get Busy Drilling
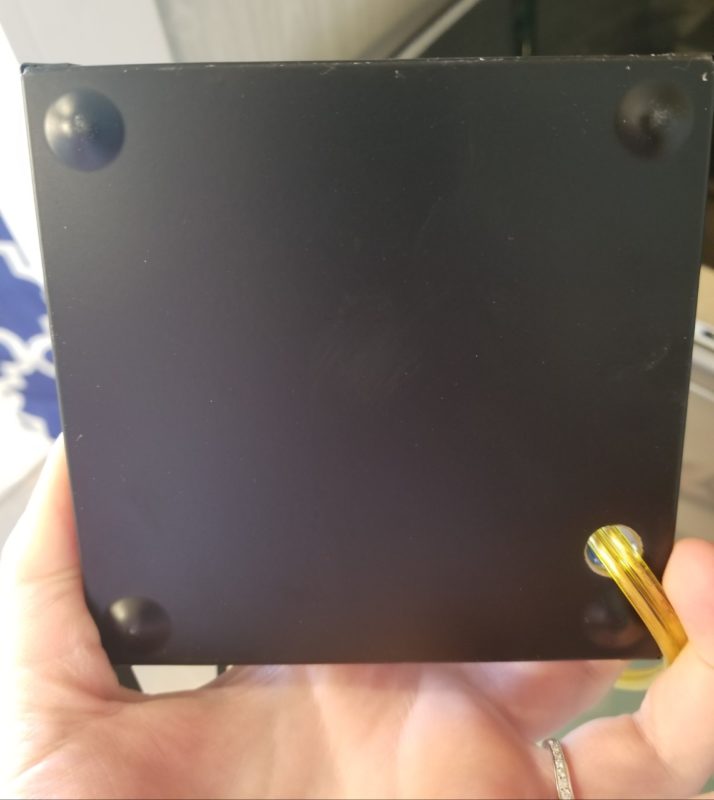
Once you have picked out your item, grab your drill. You must drill a hole through the bottom of the object to allow space for the cord to run through.
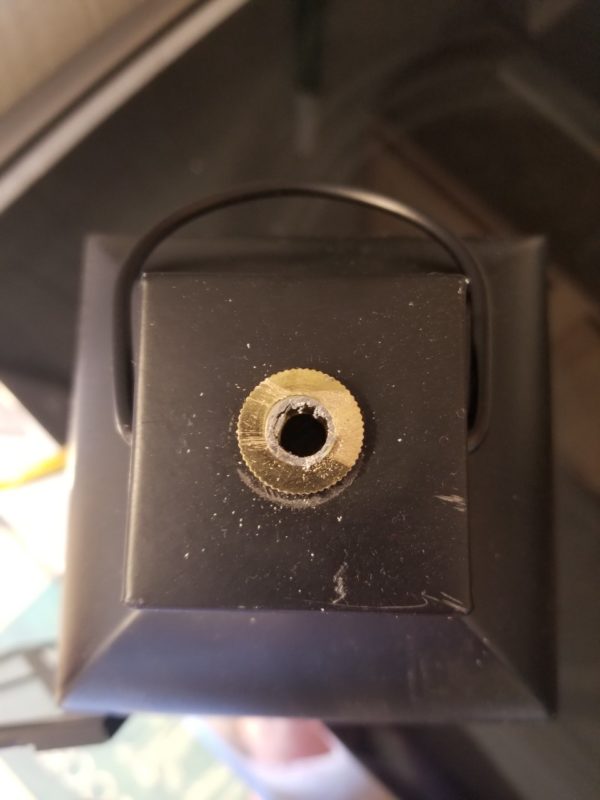
You must also drill a hole through the top of the object to allow the cord and light bulb socket to either stand up on top of the item or be hung upside down through the hole.
Be sure to drill holes in the proper locations. On the bottom, you’ll want the cord to run off to the side or back to make sure the lamp doesn’t wobble when sitting on its base.
For the top hole, it should be centered to make sure the light bulb doesn’t hang off center. Also, make sure the hole is large enough to fit the cord, and the end piece of the light bulb socket fits into it to be held securely.
If the hole is too small, the cord could be damaged running through it. If it’s too large, the entire socket won’t be secured. This impairs the functionality of your lamp.
When you’ve drilled your holes, attempt to run the light cord through them to make sure you have the proper fit before moving on with the process.
3. Figuring Out the DIY Lamp Kit
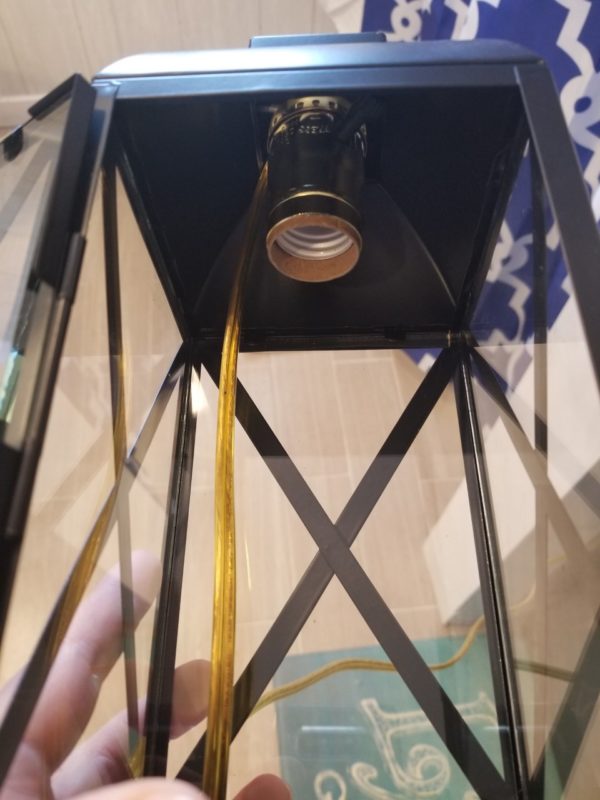
It can be overwhelming (especially if you haven’t made a light before) when looking at the DIY light kit. Depending upon the kit you buy, you should have:
- a knob socket
- a harp to support your lamp shade
- a cord
- a
finial which holdsyou lamp shade and socket in place - fittings to attach the wires to the socket
The basic idea of any lamp DIY kit is to run the cord through the holes in the lamp. When the cord has been run, you’ll notice two wires open at the end of the cord.
Read the instructions which come with your lamp kit to know where to apply the wires inside the socket.
Once the wires have been applied to the socket, apply the fitting to hold everything securely. Again, because each lamp kit varies, be sure to read the instructions which come with the kit you purchased.
If you want the light bulb to hang into something, hang the socket upside down and use the finial to hold the socket in place. It will go on the outside of the lamp and directly on top. Cut off the top of the finial if it’s sticking up too far.
If you want the light bulb to stand erect on top of the lamp with a shade, stand the socket up in the hole you drilled in the top, attach the harp around the socket, and secure it with the finial.
4. Let It Burn
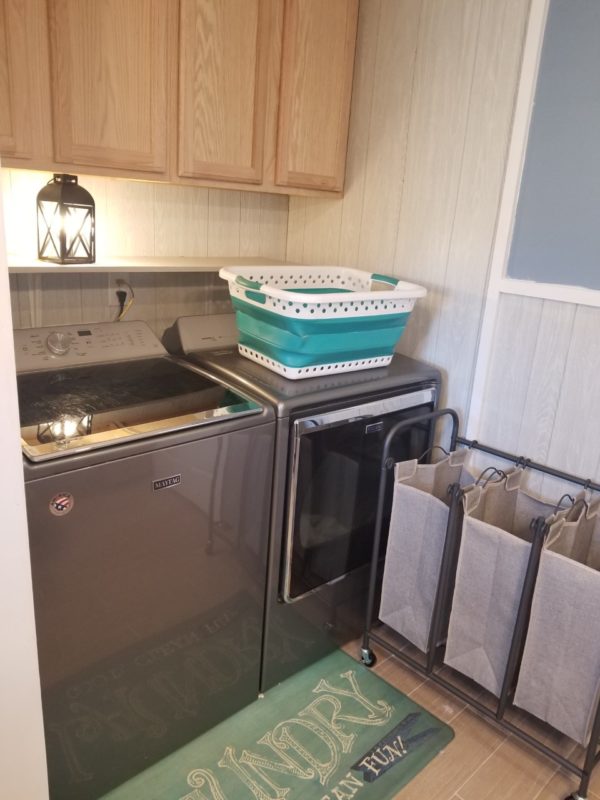
When your lamp kit has been fully put together, it should look like a lamp which is only missing a light bulb and possibly a shade, depending upon the style of lamp you chose.
I went with an LED light bulb inside my lamp because it puts off a nice amount of light in the space but doesn’t become hot.
If you don’t have an LED light bulb, and you’re making a lamp where the light bulb will be enclosed, be sure to super glue the cord to the side of the inside of the lamp to keep it away from the light bulb to avoid any potential fire hazards.
In fact, I’d highly recommend you only use an LED light bulb with an enclosed lamp for safety purposes.
If you made a typical style lamp with the light bulb on top and a lampshade, screw the light bulb into the socket.
Remove the finial from the harp around your socket, apply the lampshade, and reapply the finial to where everything is held securely in place.
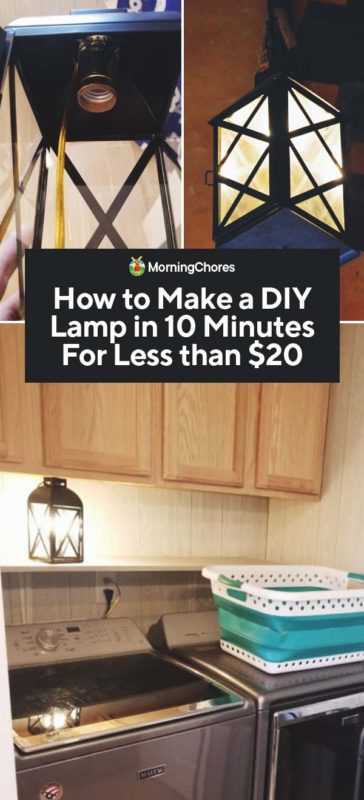
With the method I used to make my lantern lamp, I spent approximately $13, and it only took about 10 minutes to construct the lamp.
Remember, if you haven’t made your own lamp before, it may take you a little longer. The price of the lamp could be only the cost of the lamp kit if you have the item you’re making the lamp out of at home already.
The price could jump if you choose a fancier or more expensive item to make a lamp from.
Hopefully, this tutorial will inspire you to make your own home décor and creations. It’s a great skill to have and can work wonders for your budget.
It could even become a new side-gig to make extra money, if you can make lamps people love and would want to purchase from you.
As you can see, the options are limitless when you open your mind to creative DIY projects. I hope you’ll enjoy your lamp as much as I’ve been enjoying mine.

