Yarn comes in a huge range of colors, but sometimes you buy a skein and wish it had a little more pizzazz. Or maybe you’re making your own yarn, and you’re tired of dyeing it all one color. Maybe you’re looking for something a little extra with your yarn.
Have you ever thought about adding sequins and beads to your yarn? Or maybe doing a pretty dip dye yarn? What about a funky tie dye?
Keep reading to discover how to add fun embellishments to your yarn.
Notes on Dyeing
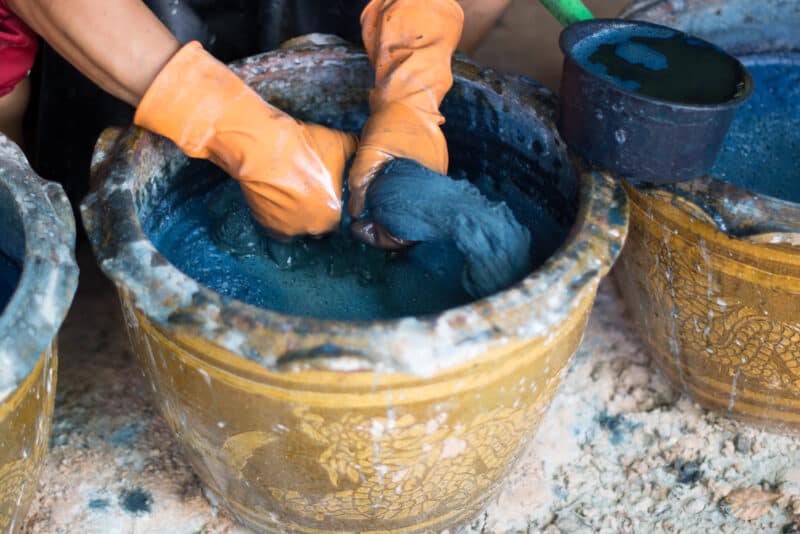
The type of dye you choose, whether you’re going for a fun tie dye or you’re doing to dip dye yarn, will depend on the type of yarn you’re using.
Acrylic yarn can’t be dyed with something like a Rit dye. Rit is perfectly good, but you need to use a “disperse dye,” or else the acrylic won’t hold the color.
Something like iDye Poly Fabric Dye will change the color of acrylic much better and will last much longer. Follow the directions closely, and you’ll be able to tie-dye or drip dyen yarn as described below.
For natural fibers like cotton or wool can be dyed with traditional or natural products.
You should soak your yarn in water or a water and vinegar mix, following the manufacturer’s directions.
Before you dye store-bought yarn, you need to scour it by soaking it in warm water with a bit of dish soap for two hours. This removes chemicals and oils that might prevent the dye from taking.
Then, you’ll need to mordant the yarn in vinegar, salt, or alum. Soak for two hours.
For store-bought dyes, you should follow the instructions of water to dye ratio. Usually, you can find the information in the package, but one teaspoon per cup of water is a good rule if you don’t know how much to pour into the water.
For natural dyeing techniques, check out our guide. Natural dyes make a particularly good option if you want to dip dye yarn because it’s usually more subtle.
Tie Dying Yarn
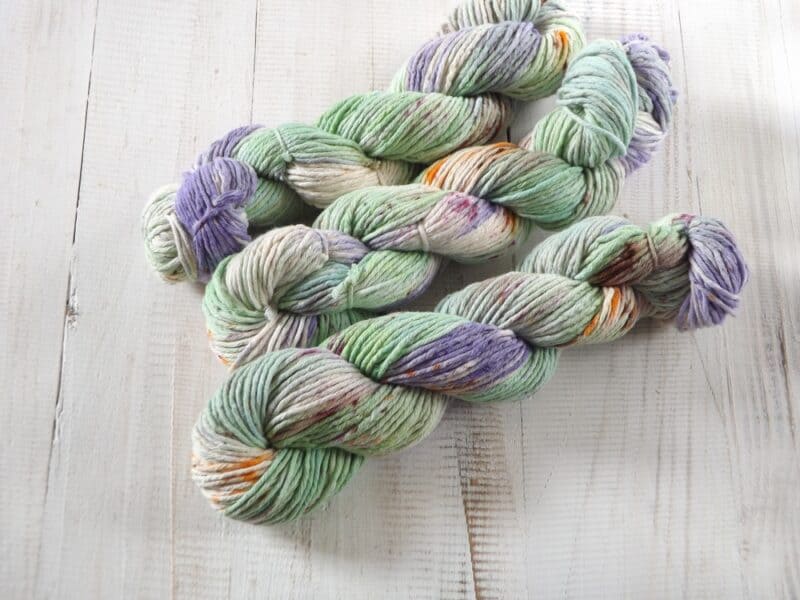
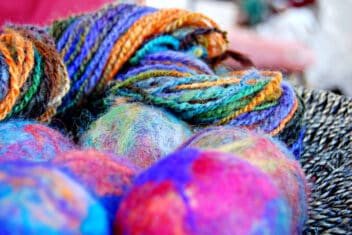
Tie-dye fabrics and yarn have an eclectic mixture of colors in striped patterns that is instantly recognizable. It stands out from dip dye yarn in that it’s usually more colorful and has more variations.
To tie-dye yarn, start by unwrapping the ball and coil it into a loop. Soak it in water for 20 minutes, depending on the dye you’re using. Wring it out once it has soaked.
Next, you can bind the material with thread or rubber bands. Twist the yarn up and then wrap string or rubber bands to hold it in place. The thread and twisting will determine the pattern on your item when the dyeing process is completed.
Think about how many lines and stripes you want as you twist and bind the yarn. Areas that are tightly bound and folded won’t be touched by the dye, so it will be the original color.
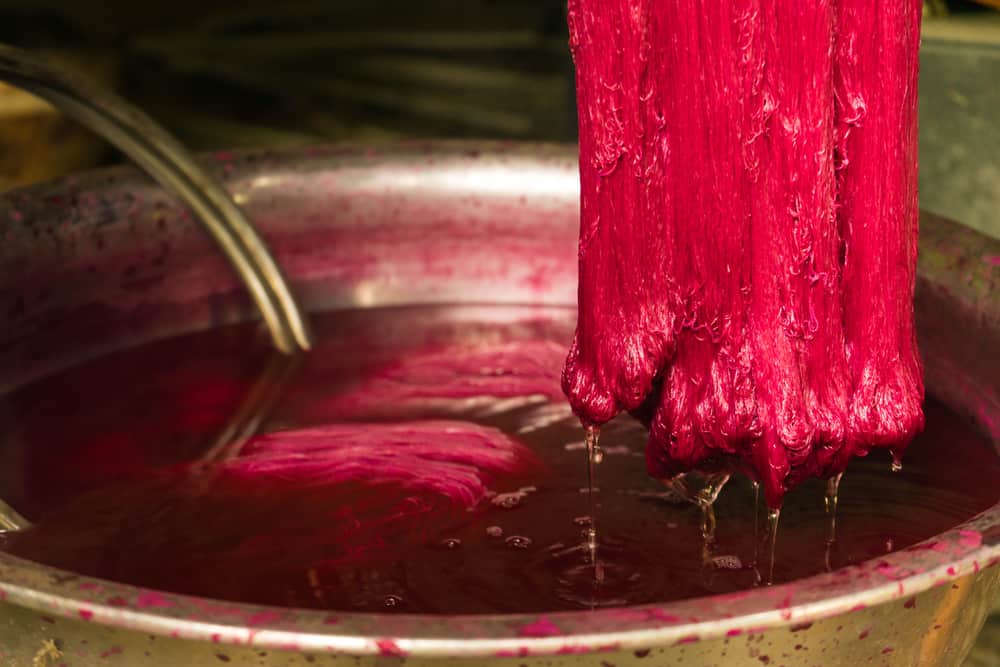
Then, soak the yarn in dye in a large bowl. You can soak one part of the yarn in one color and another in a different color. It’s up to you!
The final look of your yarn will depend on the drying process after you’ve tie-dyed the fibers. A tie-dye design often incorporates several colors, so there’s a contrast in the yarn. Therefore, you’ll want to soak your skein of yarn in a few different colors.
For instance, you can put the top end in a pink dye and the bottom end in a purple color. Voila, you’ll have a lovely pink/purple tie-dye yarn.
Alternately, you can hand paint the yarn with dye or use squeeze bottles. If you go this route, you don’t need to bind the yarn unless you want to.
After the dye has been absorbed, you can remove the binding and unravel to reveal the design.
You won’t be able to get perfect edges between the colors, and that’s part of the fun. You’ll also probably get a more intense color on the outside of the yarn and a pale, pastel-like effect on the inside strands that didn’t absorb as much of the dye.
If you want to make the color lighter, rinse the yarn several times and leave it hanging to dry. This choice will depend on your personal taste and the intensity of color you want to achieve.
How to Dip Dye Yarn
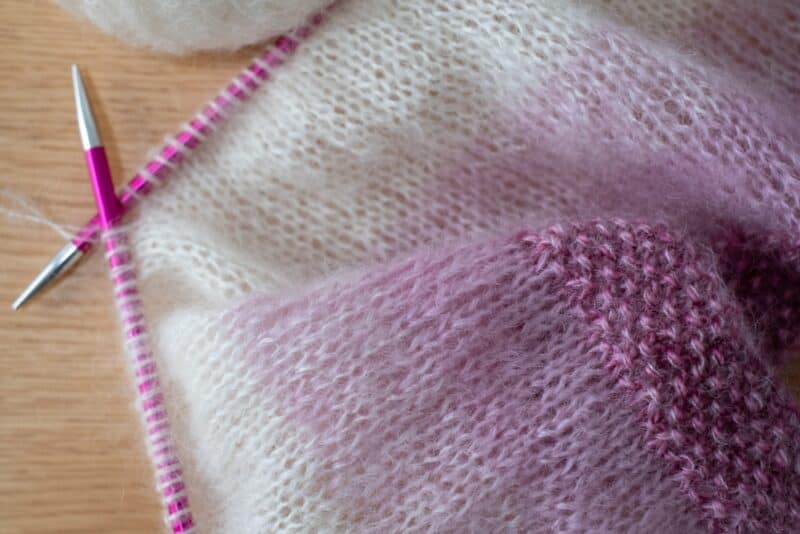
Dip dye yarn is another fun option for adding a splash of color to your yarn and creating an eye-catching effect. Dip dye is more uniform than tie dye in that you don’t use lots of colors and involves separating, leaving part of the yarn it one color, and dipping another part to absorb the dye.
The trick to dip dye yarn is to prevent the dye from leaking to other areas of the yarn. You also want to create a soft gradient between the shades, rather than a harsh line. If you’ve never dipped-dyed fabric before, it might take a while to get the hang of the technique.
Unlike tie-dye, which creates a bold statement, this one is more subtle and is perfect if you want to use a yarn for garments with slight color changes rather than lots of bold colors. Feel free to experiment with creating bolder colors or decreasing the amount of color for a subtle effect.
Here are the main ways you can dip dye yarn:
- Ombre: when the color gradually transitions from a lighter hue to a darker one.
- Half and half
- Two different colors that merge in the center
These methods will produce slightly different results of dip dye yarn, but you can experiment with each technique until you find the right match for your yarn.
Dip Dyeing Steps
To dye the yarn, unwind the skein and wrap it into a loose coil. Then, put 4-6 inches into the dye and let it sit. Leave the yarn to soak for 20-30 minutes, depending on your desired color.
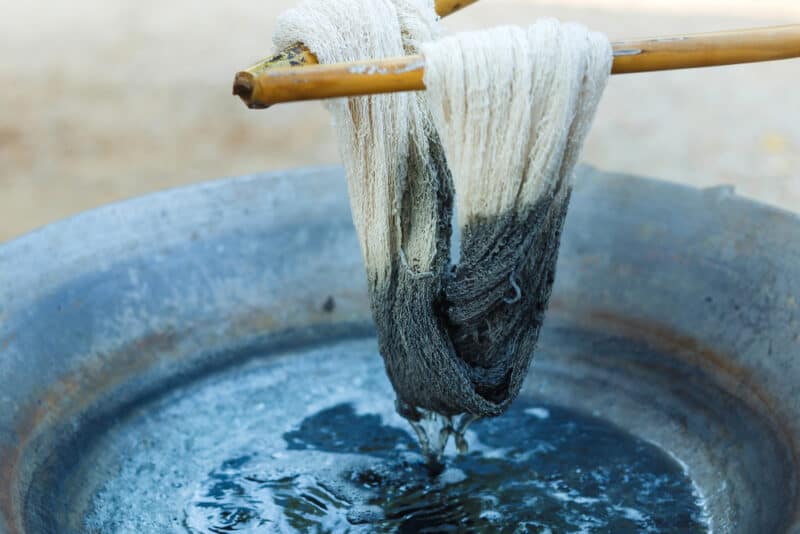
As it is sitting, be sure that the undyed part of the yarn is above the dye liquid level. If you let it sit outside of the container below the liquid, it will act as a wick and will draw the dye into the parts of the yarn where you don’t want it.
After it has been sitting, move a few more inches of yarn into the dye. Let this soak another 10-15 minutes. If you want an ombre effect, keep gradually pushing more of the yarn into the dye and letting it sit for a bit until the whole skein has been submerged. You only want to leave the last part in the dye for 5 minutes or so.
If you want a half-and-half effect for your dip dye yarn, stop after you’ve created a gradual transition and half of the skein has been dyed.
To do two colors can simply turn the yarn over after dyeing one half and place the other half into the new dye. Leave the yarn for 20-30 minutes to ensure that all the individual strands are coated.
Drying the Yarn
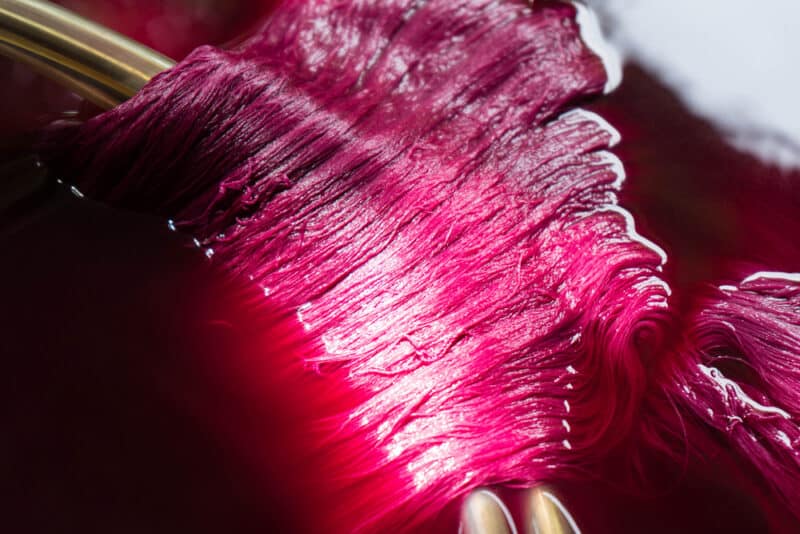
Once the yarn is ready to dry, you can take it out of the container and drain the excess liquid by squeezing the fibers. If you want to dry the yarn quickly, you can place it in front of a fan or use a blow drier on a cool setting.
Avoid getting the yarn too hot. If the yarn is exposed to too much heat, it can ruin the texture, particularly with synthetic fibers.
Be aware that when you dry the yarn, the dye can drip and ruin your furniture, carpets, or anything else nearby. Leave the yarn outdoors or over a bucket or other container to dry.
If you chose to dip dye yarn, you might want to lay it out to dry before hanging it, so the dye doesn’t run down the strands and blend together.
Don’t put the drying yarn in direct sunlight, as it can affect the color of some dyes.
Leave the yarn hanging in your drying room or outside in a protected area. The fresh air is excellent for drying the fibers, so if the weather is good, you can even leave them outside.
Don’t forget to secure the yarn with clips or hooks, so the wind doesn’t take them away!
Bejewel Your Yarn With Sequins and Beads
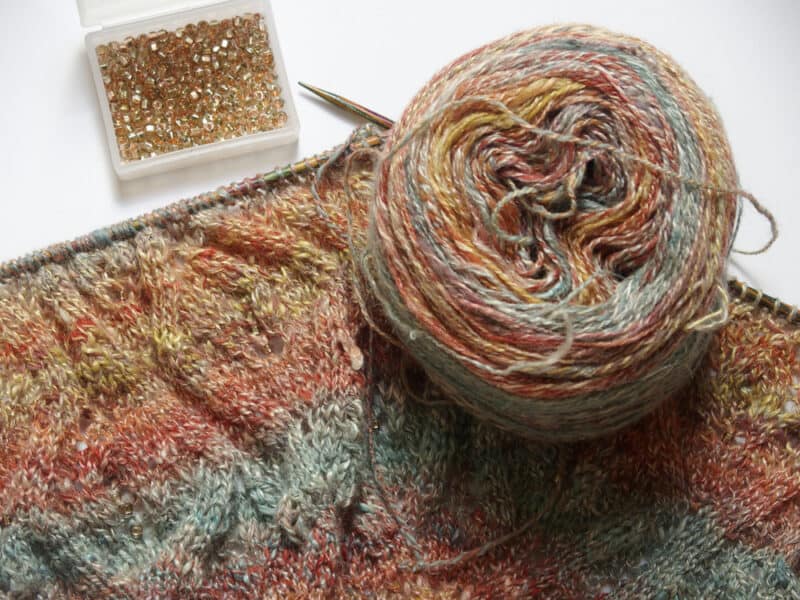
Color is not the only option for amping up your yarn. You can also add sequins and beads! Imagine a dip dye yarn strung with elegant sequins.
It’s possible to buy sequin yarn online or at a local yarn store, but adding the embellishments yourself is much more fun. That way, you can pick exactly which sequins go onto the design and the number of sparkles.
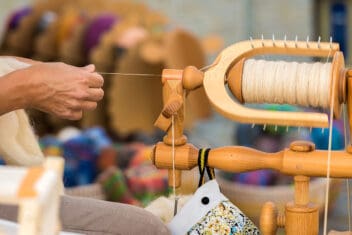
One way to do this is to place the individual beads or sequins onto your yarn as you’re using a spinning machine. You can do this by placing the decorative elements onto the yarn as you spin the fibers. This video explains the process.
Alternatively, you can also stitch beads directly into your projects using crochet hooks or knitting needles.
This process is ideal if you don’t own a spinning wheel and aren’t spinning your own yarn, but it does mean that you’re adding the beads or sequins into the project rather than adding it to the yarn itself.
To use this method, start your knit or crochet project. When you reach the point where you want to add a bead, place your hook or needle through the bead to string it onto the yarn. Then, continue your stitch on the other side.
You might need to use a smaller needle or hook for the bead stitch since beads don’t always have large holes in them.
Embellish Your Yarn for a Fun New Take
When you tie dye or dip dye yarn, you get to customize your fiber for your projects. You’ll have a unique look that no one else can recreate.
Plus, you get to learn new processes for dyeing that might open entirely new worlds to you. You might just find yourself inventing new techniques to make your yarn extra special.
Yarn embellishments make your handmade garments stand out from the crowd. It’s also a great new skill to learn that you can share with your friends and family members.
Once you learn how to create the perfect tie-dye design, you can teach your children or friends to do it too! Or you can show your kids how to make beaded scarves or hats.
You’ll have lots of fun trying these methods for jazzing up your crafts, so give it a go and see what you create at home!
