
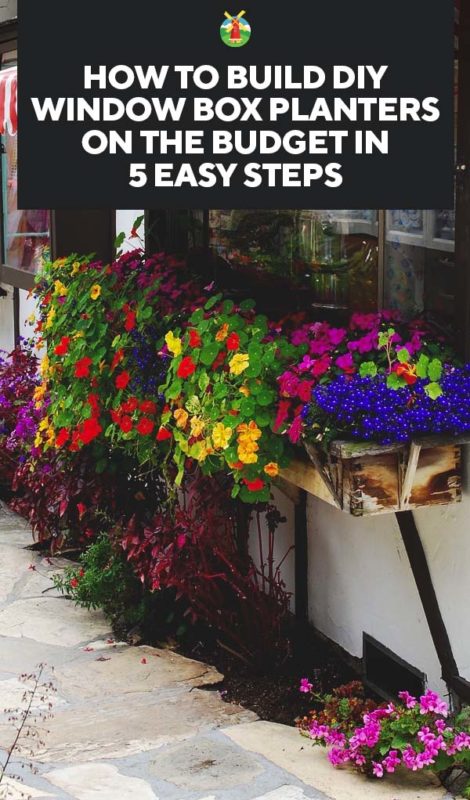
Window boxes are a great way to add décor and curb appeal to your home without a lot of expense.
However, purchasing window boxes can get expensive. I wanted to put window boxes on the front of my home and also on my chicken coop, but I didn’t have a large budget.
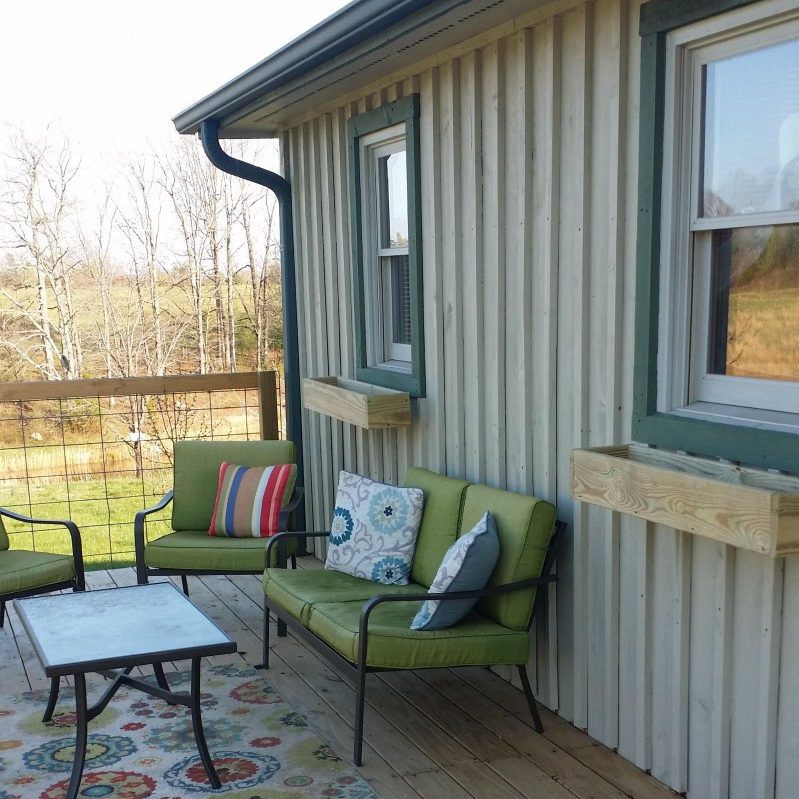
Which is why I decided to build my own window boxes. My chicken coop boxes were created from old barn wood and my window boxes for our home from wood I had leftover from a previous project.
Neither project cost me a dime. I’m going to share with you how I built both sets of window boxes. Let’s get started:
How To Build Window Boxes Affordably
Materials
You’ll need certain materials to build the set of window boxes I used for my home. The items you’ll need are:
- One decking board per box (or untreated wood of another variety)
- Screws
- Impact Driver
- Miter saw
Before we move onto how you put these window boxes together, I want to cover a few points with you about the materials of choice:
– Tip #1
I used pressure treated wood to create my boxes. This is okay to do because I’m only planning on growing flowers in the boxes. However, if you’re planning on growing vegetables, herbs, or any other edible product in your window boxes it’s best to use a non-treated wood option.
The concern is the chemicals used to treat the wood could leak into your food as it is growing. It may be better to be safe than sorry in my book.
– Tip #2
If you’re concerned about the wood going rotten because of moisture (if you use untreated wood), you could try to seal it naturally. Some people seal untreated wood by lightly burning it. You don’t want to catch the wood on fire but you can lightly touch a torch over the wood until it turns a light brown.
When you see the wood change color, it’s being sealed, and moisture has less of a chance of ruining the boxes.
– Tip #3
I highly recommend you use screws and an impact driver to create these boxes because of the simplicity of it. However, if you don’t have these materials, you can choose to use nails and a hammer. Be careful as these items make it easy for you to miss the nails and hurt your fingers.
With these tips out on the table, let’s get busy building window boxes:
1. Cut the Boards
The first step of creating inexpensive DIY window boxes is to cut the wood to the desired size. I measured each of my windows and decided to cut my window boxes to the same size as the window.
My boxes ended up being 3-feet across. Each window box consists of 5 pieces. You’ll have a front, back, bottom, and 2 sides.
The front, back, and bottom should be the same size. In my case, they’re all equal to the size of my window meaning I cut them each to be 3-feet long.
When you have 3 of your 5 pieces, you’re ready to move forward with the process.
2. Put Them Together
Next, you’ll put the 3 pieces you have together. Hold 2 of the 3 boards together. You’ll make their corners and sides touch where they’re standing off of one another and are holding them at a 90° angle.
When you’ve put the boards together, place a screw at both ends and 2 more screws in the center to hold the pieces of wood securely together.
After you’ve put 2 of the sides together, it’s time to add the third piece. This will be finishing the box shape. You’ll hold the last piece of wood at a 90° angle from the other pieces and attach it by screwing the corners and 2 screws along the center of the pieces of wood.
By the time this step is complete, you should have the bottom, back, and front of the window box secured and screwed together.
3. Create the Sides
You’ll notice when looking at your window box, you’re still missing the sides of the box. You’ll measure to see what width the sides should be.
In my case, my sides ended up being 7¾”. Measure and cut the pieces to the appropriate size. When they’re cut, securely fit them into their part of the box and screw them into place.
It’s a good idea to place screws at the corners and one in the middle to ensure the window box is put together securely.
4. Cut Holes
No window box is complete without drainage holes. If you don’t put holes in the bottom of your boxes, the soil can become waterlogged making it difficult for anything to grow in them.
However, if you’re concerned about losing dirt through the holes, it’s a good idea to place coffee filters or wire mesh over the holes.
This will hold the soil in place but allow water to run through keeping your plants healthy and safe.
To create these holes, place a larger drill bit on your impact and cut the holes across the bottom of the window box.
If you don’t have a larger drill bit for your impact, you could use an electric drill and put multiple smaller holes along the bottom of the window box.
5. Attach the Boxes to Your Home
The final step of the process is attaching the window boxes to your home. There are multiple ways of doing this.
First, you could use brackets. You’ll attach the brackets to the house and set the window boxes on top of the brackets.
When the boxes on sitting on them, you secure them with screws to keep the window box from falling off.
Second, you could put window brackets and a shelf under the window. From there, you could set the window box on top of the shelf for an original look.
Finally, you could directly screw the window boxes onto your home. I had brackets already on my home from the previous owner. I’m using them for now, though I love the shelf idea.
Chicken Coop Window Boxes
The process is similar to building my chicken coop boxes as they are for the boxes in my home. The main difference between the two is the materials, size, and the way I attached them to the coop. Here is how you can construct barn wood window boxes in a flash:
1. Cut the Pieces of Wood to Size
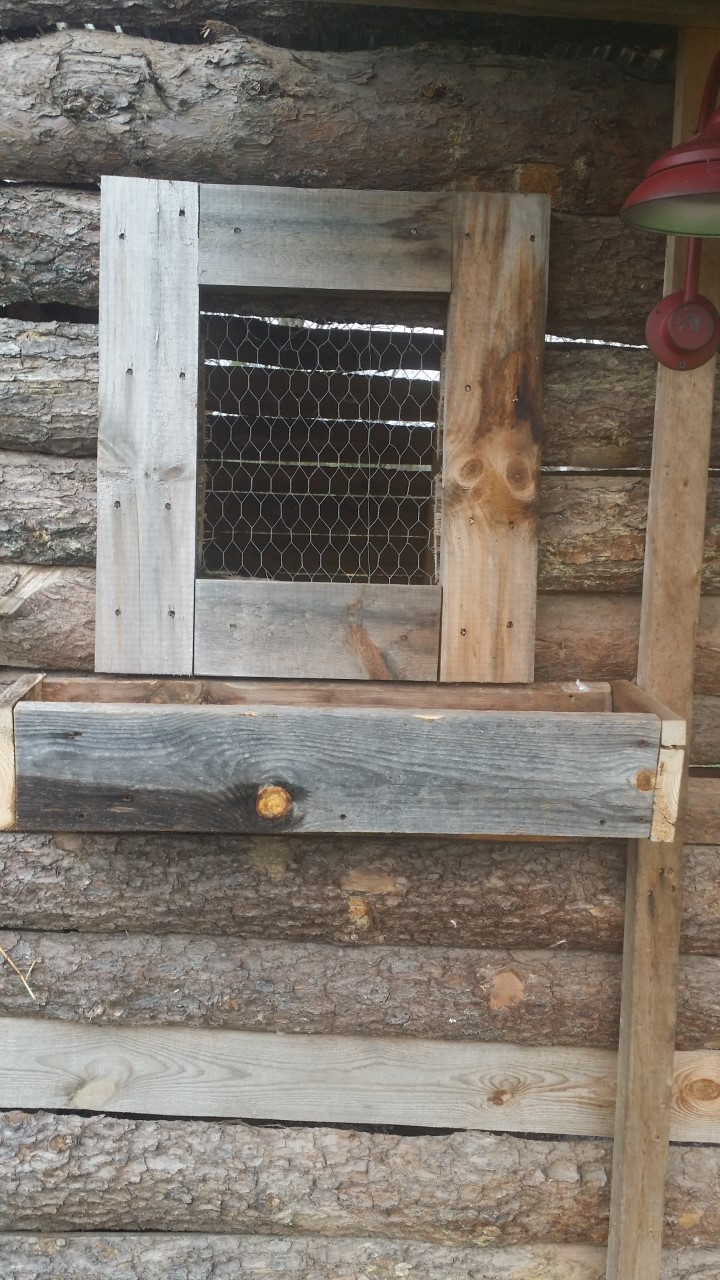
First, I used barn wood to create my chicken coop boxes. I wasn’t particular about what type of wood I used because these boxes are for décor only.
I’ll grow flowers in them and have no intention of growing any type of food for myself or my animals in it.
However, my wood was free because I used it from an old chicken coop I had taken down and hated to see it go to waste.
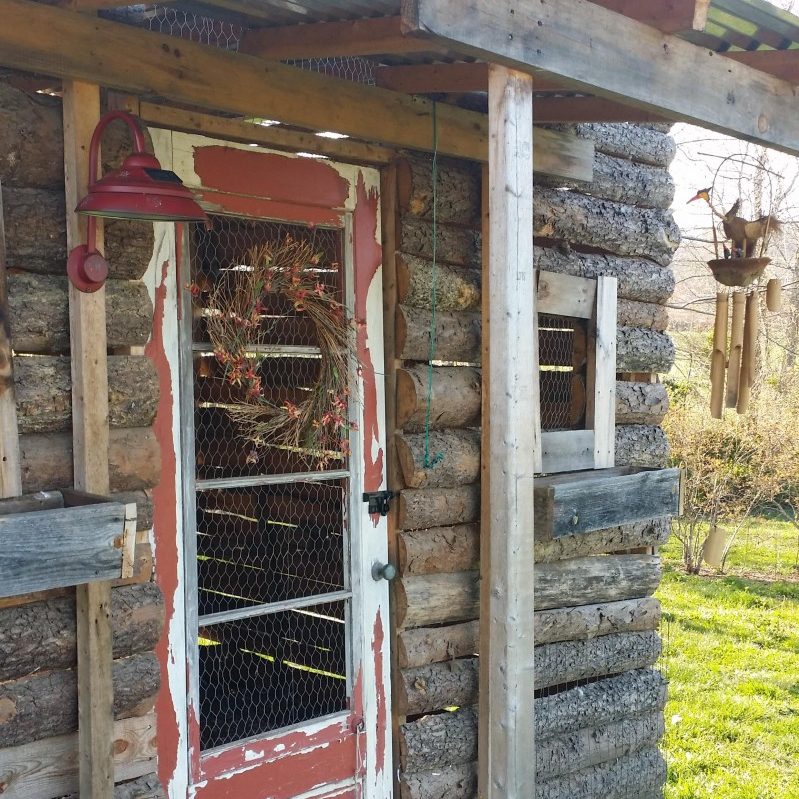
I built my window boxes to fit the ‘windows’ of my chicken coop. They are covered in chicken wire and framed out with slabs. I measured from slab to slab and made my window boxes the same size as the window to keep them tucked under the windows neatly.
When I had 3 of the 5 sides measured, I cut the last 2 pieces to fit as the sides of the window boxes.
2. Put the Boxes Together
Once my wood was cut to size, I screwed each of the 5 pieces together to where they formed a window box.
I made sure to screw at each corner and in the middle of each connection to ensure the boxes would hold together well.
3. Add Drainage Holes
Just because the window boxes are ending up as part of my loghouse style chicken coop, doesn’t mean they don’t have to function.
I’m planning on growing beautiful flowers in the window to add a nice touch of color to the coop this summer.
With this in mind, I used a larger drill bit and put drainage holes along the bottom of the window box.
Again, if you’re concerned about losing dirt, cover the holes with wire mesh or a coffee filter to allow water to flow through but keep the dirt in place.
4. Attach the Window Boxes
Finally, I attached my window boxes directly to the chicken coop. My chicken coop is built to look like a log cabin.
Since it’s constructed out of wooden slabs, it makes it easy to screw directly into the wood. I placed 4 screws in each box to make sure the boxes wouldn’t dislodge themselves from the coop.
This is how I constructed my second set of window boxes from scrap barn wood. I’m satisfied with both DIY boxes. I expect them to do a great job with adding charm to my home and chicken coop this year and for years to come.
Well, you now have 2 different options for creating wooden window boxes for your home or other buildings around your property. If you have scrap wood, you can construct any type of window box you desire.


