Have you ever been working on a craft and thanked the heavens that someone invented glue? Would it surprise you to learn that different types of glue have been used for about 200,000 years? Yeah, that long.
If you happen to need glue and there isn’t a hardware store in 100 miles, no worries, mate! You can make your own. Better yet, all you need are a few simple ingredients you can find in the woods nearby.
What is Pine Pitch?
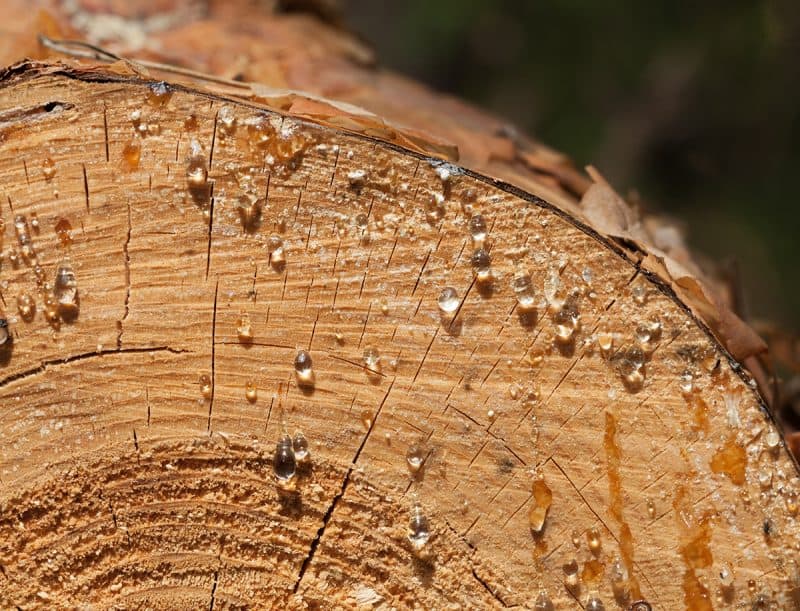
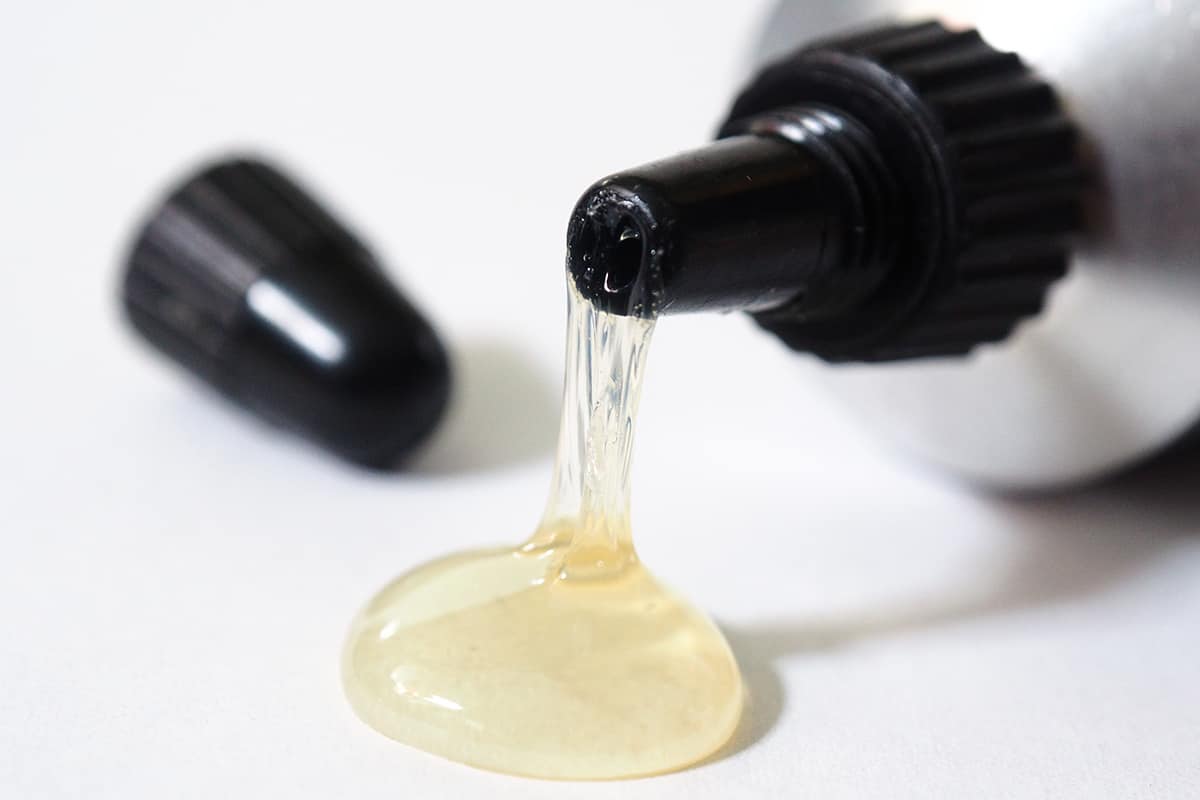
If you’ve ever leaned up against a pine tree and ended up covered in sticky sap, you’ve already encountered this type of glue before. This sticky stuff is pine tar, and when it’s processed into usable glue, it’s known as pine pitch. The word “pitch” generally refers to a substance that’s somewhere between liquid and solid.
You may have seen this kind of substance if honey has crystallized at the bottom of a jar.
Pine pitch has been used as a sealant and adhesive for thousands of years. It’s relatively easy to make, as it just takes time and a few easily found ingredients.
How is Pine Pitch Glue Useful?
You can use pine pitch glue in just about any situation where you need an adhesive. Additionally, since it’s waterproof by nature, it’s great for projects that may be exposed to water. For example, use it to attach and seal outdoor tarp edges or close up a gap in a tent.
I use it as the primary adhesive when making arrows or when putting basket fish traps together.
What You’ll Need:
- Fresh pine resin (sap): You can collect this sticky liquid resin in the summertime, but it’s just as easy to gather it in winter. You’ll have to be strong enough to carry some frozen wood around.
- Charcoal powder made from burnt hardwood: These are the crunchy black bits left over when you burn hardwood trees like oak, maple, walnut, cherry, hickory, etc. Deciduous trees are generally hardwood, while conifers (evergreens) are softwood.
- Well-aged herbivore poop, ground into powder: Gather old, dry rabbit or deer poop from the forest floor, and crush it into powder. The easiest way to do this is to put it in a big freezer bag and have at it with a rolling pin. On the off chance that it’s a sad day and there’s no dried poop around, you can use well-dried sawdust instead.
- Double boiler setup: A washed aluminum can inside a larger pot works well
- Additional aluminum can(s) for mixing
- Stovetop sort of thing: Making pine pitch can be a sticky, messy process. If you don’t want to be stuck on kitchen cleanup duty for days, consider a propane burner set up outdoors.
- Fine-meshed strainer: Get one from the dollar store that you don’t mind filling with sticky resin, leaf detritus, and dead insects.
- Stir sticks: Dollar store wooden spoons or spatulas work great, as do wooden paint stirrers.
- Beeswax: This is optional, as you’ll only use it if you want to make a more flexible glue. When pine pitch glue hardens and dries out, it’s almost glass-like.
- Heat gun: Also optional, as it helps to control viscosity.
Step 1: Collect Some Sap
The number one thing to remember here is that you need to collect FRESH sap. If it’s old, it’ll lose the adhesive qualities you’re looking for. What’s the point of making glue if it isn’t going to be sticky? Exactly.
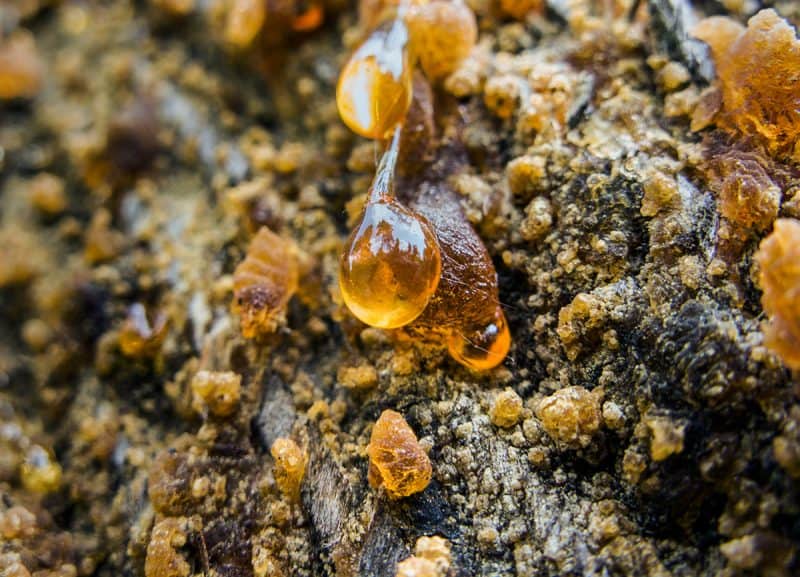
Sap runs easily in the spring and early autumn. Alternatively, you can collect it from pine tree roots in wintertime and boil it out.
If you want to tap a pine tree for sap, you can follow this tutorial to learn how to do so. Just be aware that this will damage the tree irreparably. As a result, please only tap pine trees that you plan to cut down shortly afterward. There’s no need to cause undue suffering.
A recently wounded tree may drip resin naturally, whether down its own trunk or onto the forest floor below. Use a plastic or glass container to collect it. The resin won’t stick to these materials, making things a lot easier for the next step.
In fact, if you keep your resin in a plastic bag or container, it’ll never evaporate or go “bad”.
Step 2: Melt the Resin
Pop all the resin bits you’ve collected into the aforementioned metal can, and place that inside the larger pot. Fill the larger pot with enough water to submerge the inner one by about half.
Turn the burner beneath your double boiler to medium-high. Be prepared that some of the resin may spatter onto your work surface. I like to do this on a portable burner out on the driveway specifically for this reason.
Keep the heat on until the resin melts into a liquid. Don’t freak out if it catches fire: just blow the flame out and remove the pot from the heat. Turn the temperature down and put the double boiler back on once it’s cooled a bit. While it’s melting, set up your strainer over a clean, dry can.
When the resin has melted to a liquid, pour it through the strainer into the empty container.
Now it’s time to add the other stuff. Mix in 1 part charcoal powder and 1 part powdered poop. The poop will strengthen the glue while the charcoal tempers it. If you want the glue to be flexible (for gluing tarps together, for example), add 1 part grated beeswax, too. Make sure to do this while the resin is still warm, so it melts throughout.
Stir all this together quite thoroughly, then apply it as needed. Those wooden spatulas are great for this purpose! You can also use wooden popsicle sticks or old metal butter knives.
Tips for Working with Pine Pitch Glue
This stuff is sticky. I mean, really sticky. It’s also very viscous, and will get messy when you work with it.
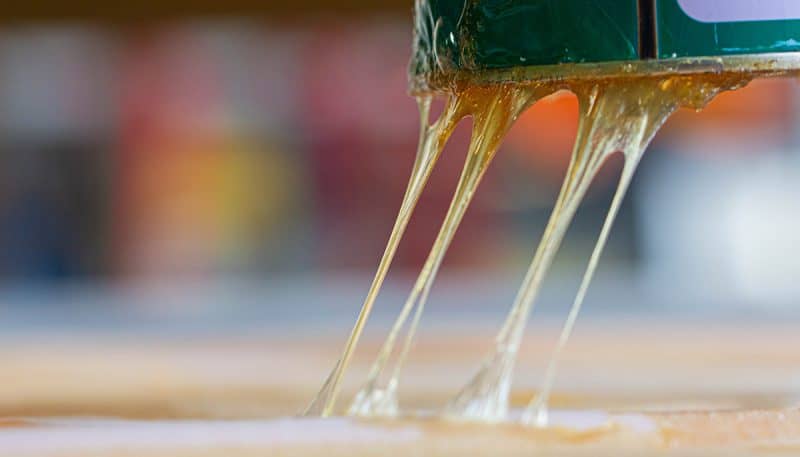
If you’re aiming to apply this glue to one specific area, try using masking tape to keep nearby bits clean. That way, you can remove the tape later, and the area beneath will be free of glue. Similarly, if you don’t want to get glue all over your work area, cover it with waxed paper.
If you mess up an area, you can use the heat gun to re-liquify the glue. This way, you can either remove it entirely or re-work it as needed. Be aware that you are 99.9% likely to get some pine sap on yourself when you work. I recommend wearing rough-and-tumble clothes while you’re doing this project. That way, you won’t be devastated if you get sap into the fabric.
To remove pine sap (or fully made pine pitch!) from your skin, you can use either oil or alcohol. Resin is both alcohol and lipid-soluble, which is lucky. Just soak some spare cloth in olive oil, wipe yourself down thoroughly, and then wash the area with soap and water. Alternatively, you can use vodka or rubbing alcohol to remove it.
Pine resin has a lot of healing properties too. When you’re gathering it to make pine pitch glue, keep some aside for salves, tinctures, and incense. This stuff is also amazing for drawing out splinters.
Be sure to store your pine pitch glue in a basement or cellar where it stays dark and relatively cool. Keep it away from direct sunlight and well away from any heat sources. This stuff is flammable as all get out, and you probably don’t want to set any buildings alight with it.
