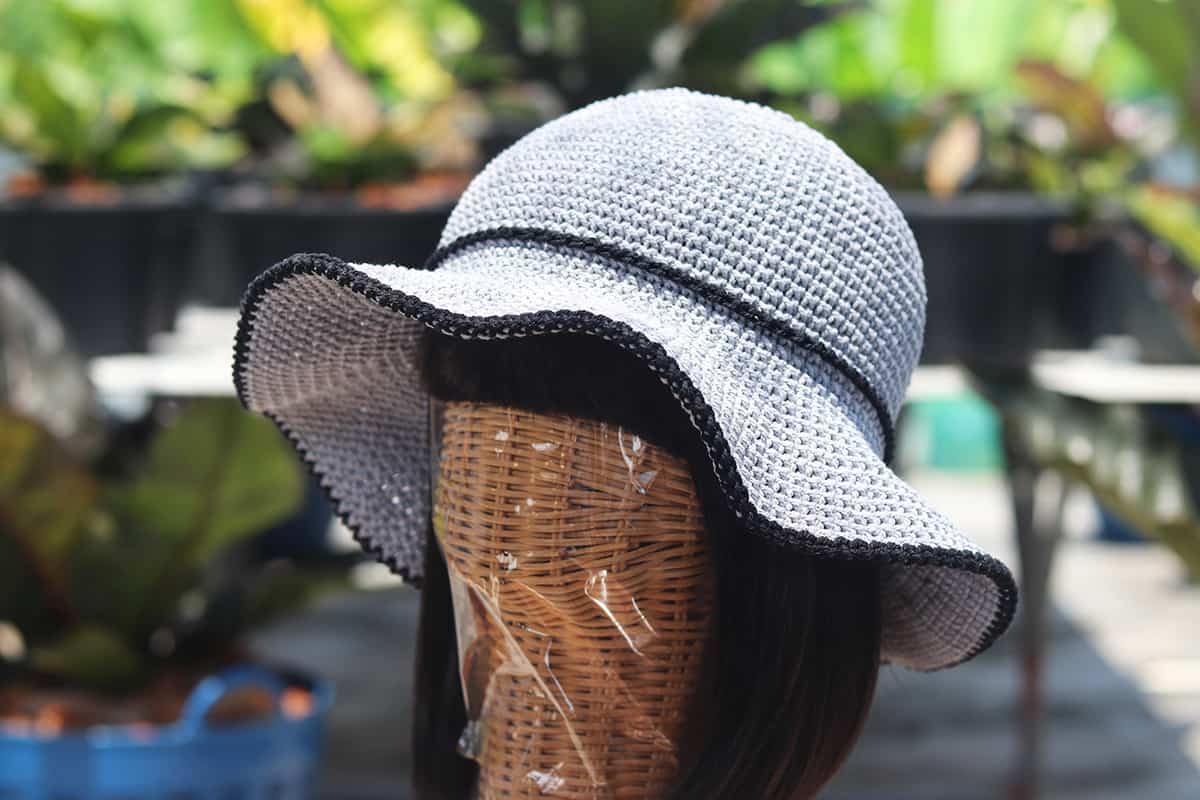
If you spend a lot of time working outside, you’ll need a good sun hat. Just about every gardener, farmer, and homesteader has experienced a bad burn or sunstroke at some point. Since we really don’t want to repeat that process, having at least one protective hat is a really good idea.
If you know the basics of how to knit and crochet, you can make pretty much anything.
Are you ready to make your own fabulous sun gear? Then let’s dive in!
What You’ll Need to Make Your Sun Hat
Why learn to make your own sun hat?
Sure, we could pop down to the store to pick one or two up at the dollar store, but what happens when and if those stores are closed? Knowing how to make your own protective gear is really important. In fact, it’s just as important as knowing how to make cold-weather clothes like sweaters, socks, and even blankets.
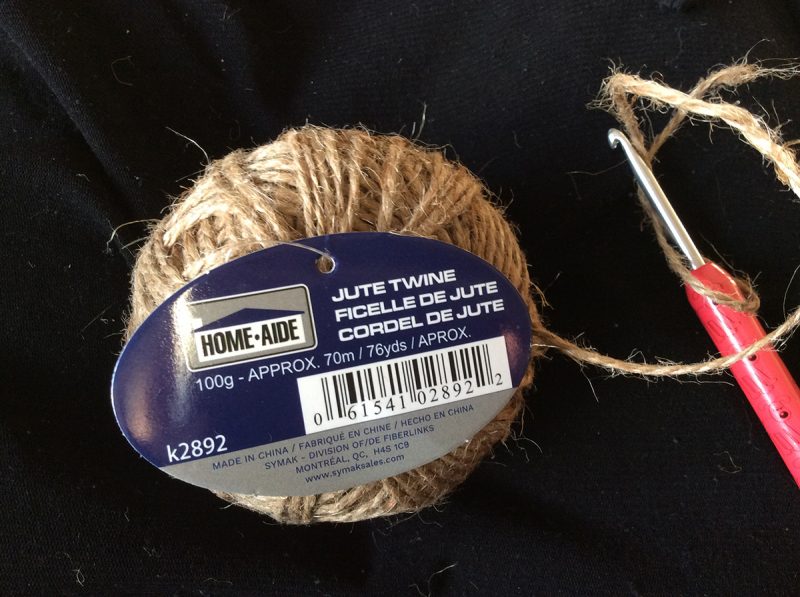
- 400 to 600 yards of twine of some sort: I used standard household jute twine, but you can use sisal, raffia, cotton “tape” style yarn… whatever is quite sturdy and can hold its shape easily
- A metal crochet hook: Twine doesn’t have a handy knitting needle/crochet hook gauge recommendation on the label. As such, hold metal crochet hooks alongside your twine and choose one that’s approximately the same diameter as the cord itself. For example, I used a 4mm hook for this project.
- Stitch marker: Just use a safety pin to mark where you’ve started your rounds so you can figure out how many you’ve made.
- Notebook: As with the stitch marker, it’s a good idea to write down which row you’re on/how many rows you’ve crocheted. If you’re just winging this and going by eye, don’t bother. This entire project is approximate and designed to make a quick, easy protective hat. You can adapt the pattern to create magnificent variations and works of art in the future.
- Sewing elastic or ribbon
- Time: I’m a quick crocheter/knitter, so I was able to create my wide-brimmed sun hat in about four hours. Newbies might need a bit longer than that, while experts might fly through this project in two hours instead. This could be a fun weekend project, but don’t stress if it takes you up to a week! Just add a row or two when you have a free moment.
Stitch Abbreviations
You’ll use a few different stitches to create this hat. If you’re an absolute beginner, bookmark this YouTube video. It shows various stitch instructions for absolute beginners.
- ch: chain
- sl: slip stitch
- sc: single crochet
- st(s): stitch(es)
- sp(s): space(s)
- rep: repeat
- rnd(s): round(s)
- bl: back loop
- fl: front loop
Note:
I’m going to put the caveat here that I’m not a pattern designer. Most of the knit or crocheted stuff I make on my own is completely impromptu. I barely even keep notes! As a result, these instructions are a bit vague and meant to be adapted to suit your own style.
As you improve your skills, you can add embellishments and custom stitches.
Sun Hat DIY Instructions
Rnd 1: Make a slip knot around your crochet hook, and create 6 chain stitches (ch st). Join these together to make a circle.
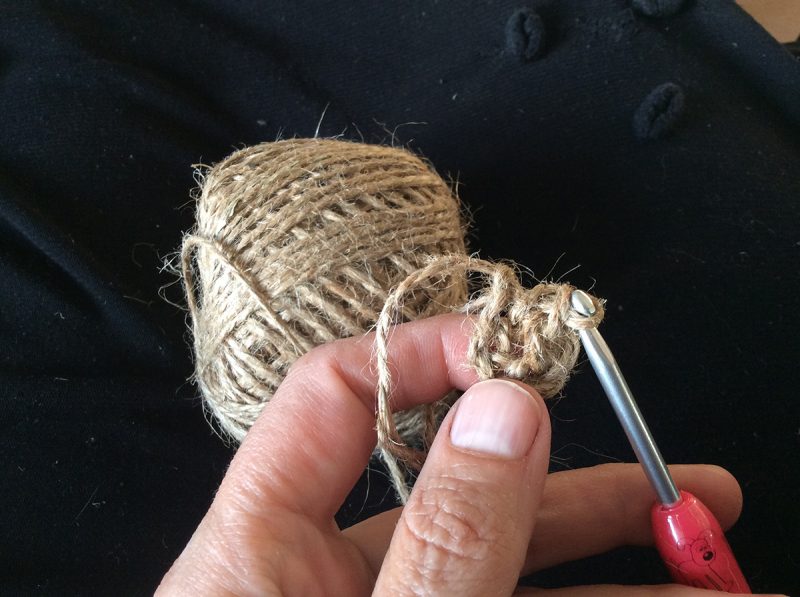
Rnd 2: Work 8 single crochet (sc) st into the center of that circle
Rnd 3: Ch1, sk1, sc into the next st, ch 1, repeat
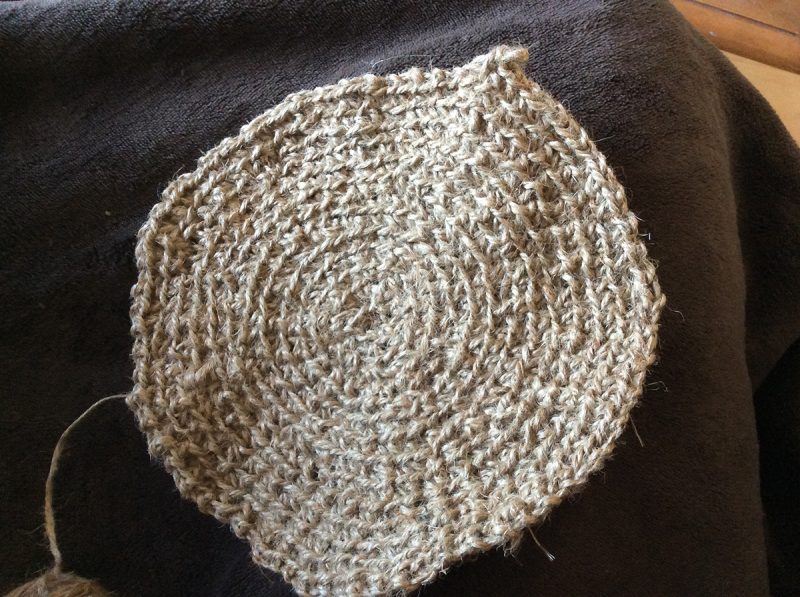
Keep going with this [ch1, sk 1, sc] for several rounds until you’ve created a disc shape that fits roughly over the top of your head. Make it a tiny bit on the small side if you want a snug fit or larger if you prefer a looser hat.
Don’t Be Afraid to Experiment and Adapt
Note: you may have to adapt this section a little bit, depending on your twine. For example, the jute twine I worked with goes quite thick/thin at times. Since it doesn’t have a consistent gauge, I had to adapt my stitches. As a result, I would do a ch1, sk1, sc for most of it, but then a ch1, sc here and there. Use your intuition, and play around a bit to see what works.
Now, crochet a round (rnd) through the back loops (bl) ONLY. This means that instead of poking the crochet hook through both the loops, you poke it through the one facing the furthest away from you. Do two decreases in this round by skipping the next st and doing a sc in the one that follows it.
By doing this, you’ve created a sort of lip all the way around.
Crochet a few rounds as you did before, doing a regular sc, ch1 repeat. Then do three increases in the next row by making 2sc in a st instead. Do this kind of increase every three or four rows (or whatever feels right to your eye). This will create a slightly widened crown.
Continue on like this until the crown fits snugly but comfortably on your head.
Brim Time!
Remember how we changed direction by only crocheting through the back loops? Well, this time, we’re going to shift in the opposite direction. We’re going to reverse this by only crocheting through the front loops (fl) and increasing regularly.
Move your stitch marker so it sits where you’re working right now. This will mark the brim’s beginning.
Sc in each of the next 12 to 15 st, then do a sc in the next stitch. Work like this until you’ve come back around to your stitch marker.
Next, go back to working through both loops. Ch1, sk1, sc in the next 8 st, then make 2sc in the next st. Then [ch 1, sk1, sc for the next 16 st, 2, then make 2sc in the next stitch]. Keep working from [ to ] until the last 8 to 10 st, and then just ch 1, sk1, ch until you get back to your stitch marker.
Continue doing rounds like this, only increase the number of stitches in between the regular [ch , sk1, sc] repeats and 2 sc stitches. For example, in the next row, do the repeats for 18 st or so, then 2 sc. The row after that, repeat for 20 or so, then 2 sc.
Once again, you may need to adapt this depending on your twine, or if things don’t look or feel the way you want them to. That’s the great thing about crochet: it’s highly adaptable, and the end result is always awesome.
Keep going like this until the brim is as wide as you like it.
Finish Up Your Sun Hat
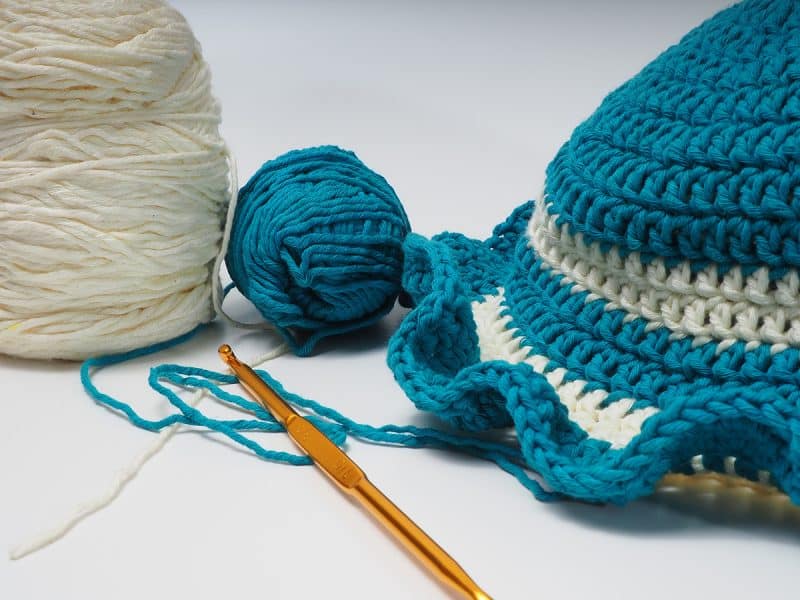
If you don’t want a floppy-brimmed hat, you’ll need to either use millinery wire to stiffen up the edge or some other kind of firm wire. I tend to go with whatever I have on hand, so I used 1.5mm stainless steel wire to reinforce the rim. You can use a joiner like this one to hold the edges in place, but I just soldered mine because that’s how I roll. In a pinch, just use the plastic inner tube thinger from an empty pen and glue each wire end into it.
Alternatively, if you don’t want to add any wire into your hat, just switch to a smaller metal hook to create the brim. Tightening up your stitches will make the brim stiffer. It won’t be super firm, but your sun hat won’t flop all around your face.
If you want to add wire, you can do so by laying it on top of the last round you crocheted. Crochet this into place by working 1 sc in every st all the way around the brim until you get to about 3″ from where you started. If you’re using a joiner, this is where you clip the wire ends and cram them together to join them. (Or solder them: up to you.)
Then you’ll keep doing sc to cover the wire and joiner, and finish off with a sl st.
Alternatively, if you’ve finished off the hat without wire, tried wearing it, and decided it was too floppy, don’t worry. You can just sew a wire loop into place using a bit more twine and a tapestry needle. In fact, you can even use a different color twine or ribbon yarn to do this, thus adding a splash of color to your hat.
Add Elastic or Ribbon
Once you’re all done, add a bit of sewing elastic. If you’d like an elastic under-chin strap to keep it in place, sew it to the inside of the crown on one side. Pull it under your chin and over to the other side until it fits securely. Then sew that other end into place before trimming it.
Alternatively, sew an equal length of ribbon to either side. Then tie these two together beneath your chin to secure your sun hat in place.
See how easy that was?! And now, not only are you gardening in style, you’ll keep your face and chest from scorching as you work.
