While there are many different types of companion plantings, the three-sisters planting method is one that has been used for centuries by the Iroquois (a Northeast Native American tribal group).
At the time, these individuals did not understand why this system works but now we do and using this knowledge is not only smart but a wonderful way of saving space and time, which is accomplished by way of companion and interplanting.
What is Three-Sisters Planting and How Does it Work?
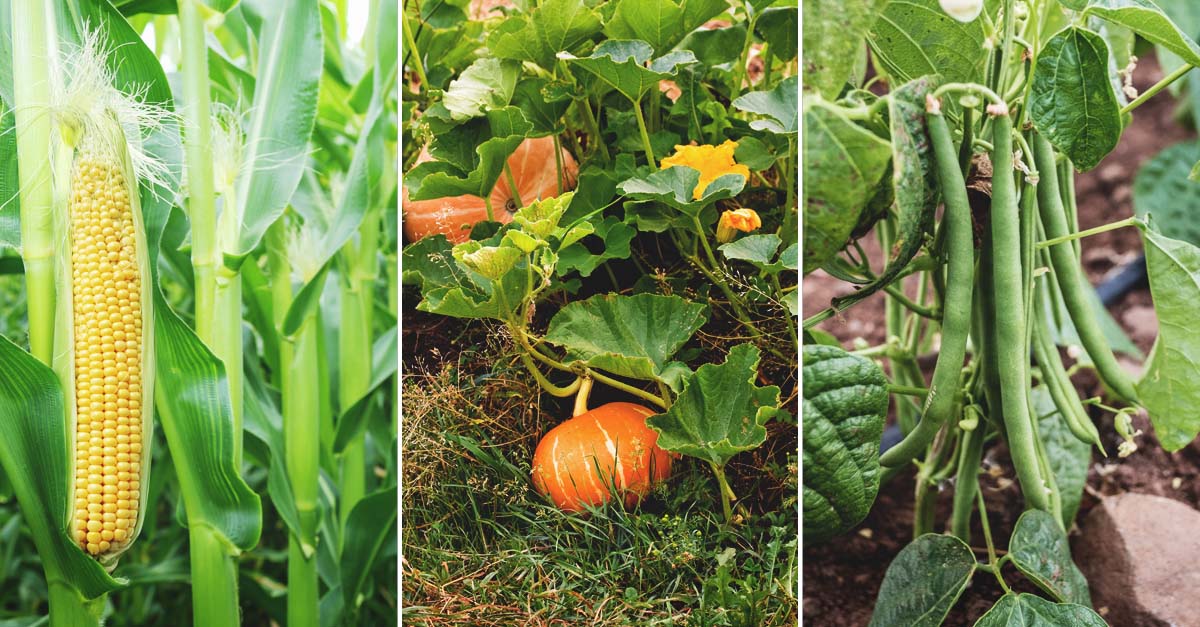
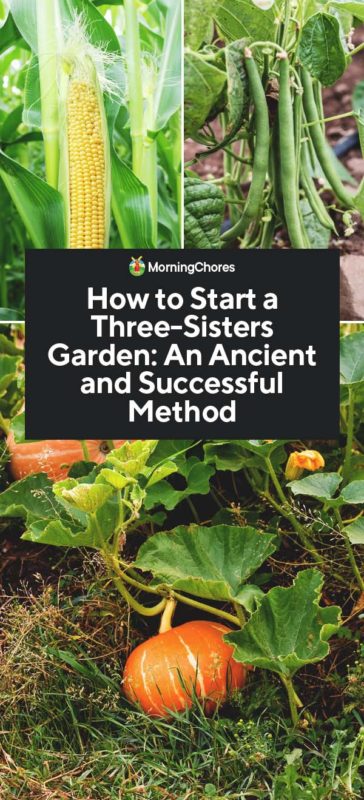
The three-sisters planting technique utilizes corn, climbing beans, and squash. Each plant serves a purpose in this design.
The corn provides support, the climbing (pole) beans add nitrogen to the soil through nitrogen fixation, and the squash protects all the sisters in a two-fold fashion.
The large squash leaves shade the soil to reduce weeds and keep the soil moist. This sister’s prickly nature deters pests away from the produce.
Layout Design
When it comes to utilizing this technique, keep in mind that you are going to need space.
To begin with, the location of this planting method needs to be in full sun and in soil that is well-draining.
The required method for this planting is in mounds, which need to be one foot high and four feet wide.
These mounds also need to be spaced out so that there are three to four feet between each mound.
Plants and Varieties to Use
Keep in mind that the varieties of each plant will depend on the USDA Plant Hardiness Zone you reside in.
When it comes to corn, the best types are dent, flint, and flour varieties.
While popcorn would be fun to grow, it does not reach a tall enough height to prevent the pole beans and squash from completely taking over the corn plant.
One important requirement when it comes to the beans is the fact that they are climbers or what is known as pole beans.
Good varieties for this planting approach include Scarlet runners and Genuine Cornfield.
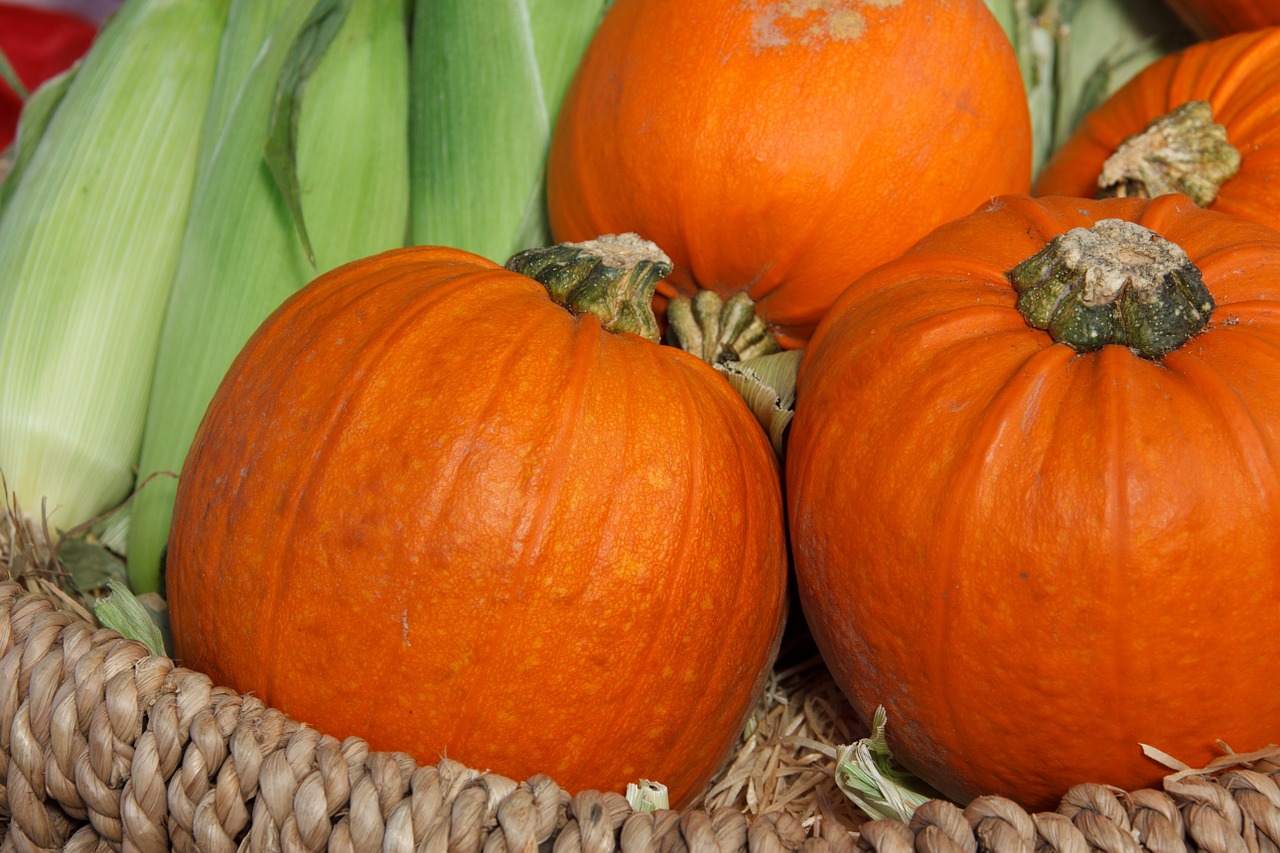
Pumpkins that are suitable for the three-sister plant method are those that are small, such as the Small Sugar. The key is to make sure that the pumpkins are small enough so that the weight of the fruit does not break the cornstalk.
How to Start the Three-Sisters Planting Method
Planting begins after your local frost-free date. While the date on the calendar may tell you it is time to plant, you need to make sure that the soil is warm and not wet.
The Iroquois believed that Mother Nature would tell you when it was time to plant.
In their tradition, the three-sisters planting technique would begin when the leaves of the dogwood tree were the size of a squirrel’s ear.
Once your garden environment is correct, create your mounds according to the size and spacing noted previously.
After the mounds have been prepared and the weather is conducive for planting, get your corn seeds out and soak in water for several hours. This will help with germination but do not soak longer than eight hours.
Next, you will plant five to eight corn seeds evenly on the top of the mound at a depth of one-inch.
Once all the mounds have been planted with corn, water them thoroughly. This will settle the soil and help remove any air bubbles that have formed during the planting process.
Keep the soil evenly moist for the next week to make sure your corn seeds are kept moist. If allowed to dry out, the corn will not germinate.
The next plant to add to your three-sister garden space is the pole bean.
This should only be planted once the corn is five inches in height. Plant four seeds equal spaced around each cornstalk at a depth of one inch. Once all mounds have been planted, water the garden space to settle the beans and soil.
When it comes to the squash, plant this sister one week after the pole beans.
Place six squash seeds equally spaced around the perimeter of the mound at a depth of one inch. After all the seeds have been planted, water the garden thoroughly until the soil is evenly moist.
Continuous Care of the Sisters
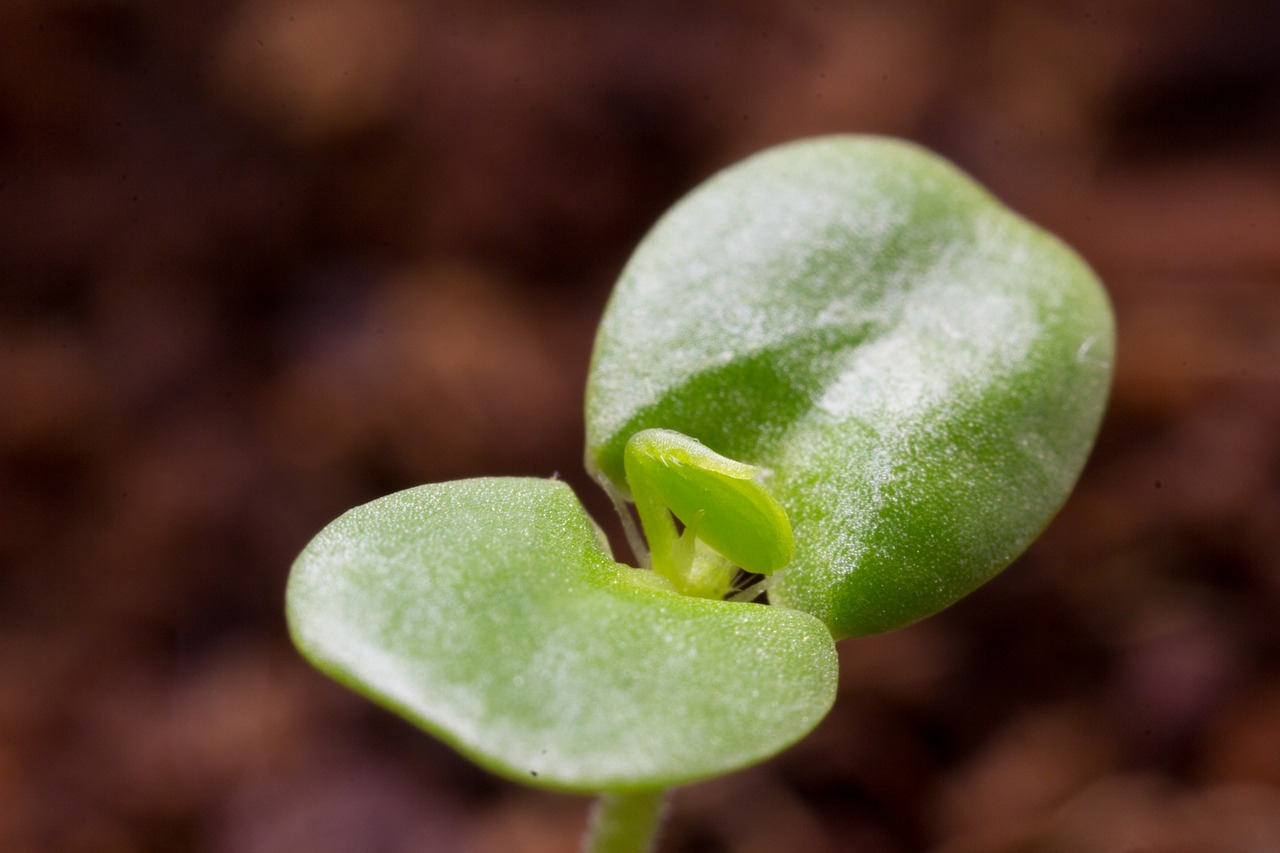
To keep the plants healthy, this garden will require one inch of water per week. In doing so, you will need to keep track of the amount of moisture that your garden receives from Mother Nature and adjust accordingly.
When it comes to fertilizing, it is true that the pole beans with capture nitrogen from the air and make it available to plants but this only occurs once the plant is dead.
This means that your plants will not benefit from the beans’ hard work until the next gardening season. In doing so, you may want to add a side-dressing of high nitrogen fertilizer in the first year. This can be well-seasoned compost or manure. If you want to use a commercial type of fertilizer, the nitrogen number is the first one listed.
Another garden chore that you will need to do for at least a few weeks is weeding. Once the squash’s leaves have gotten large enough to shade the ground the weeding task will disappear.
Know Problems of the Three-Sisters Planting Method
As stated before, the three-sisters planting takes up a lot of room, which may be a challenge for some gardeners. This room is not only required due to the number of plants but also the fact that corn must be planted in a “block” for proper pollination.
While you can hand pollinate the corn, it is one more task to learn to get a few ears. The squash plants can become a problem by taking over the garden space and making it difficult to get around the mounds.
Another problem that can arise is plant disease due to the closeness of the plant material. While each plant has its own vices when it comes to bacterial and fungal problems, the closeness of this planting method, in itself, can cause issues especially if the gardening season is wet.
The large leaves of the squash, while wonderful for keeping the soil moist, can also keep it too wet. This type of environment is a breeding ground for bacterial and fungal problems that easily spread from plant to plant.
While there is not much you can do over what Mother Nature gives you, if you do notice that you have a bacterial or fungal problem, pull up the diseased plant material and throw away to reduce the chances of the problem spreading to other plants.
A Joyous Time – Harvesting
While most people will not dry their corn for future use, pick your corn ears when the cornhusks are still green and the corn kernels are full. If you want to dry your corn kernels, pick your corn when the husks are brown and dry. Spread out for several weeks to dry before putting up for storage in a dry place.
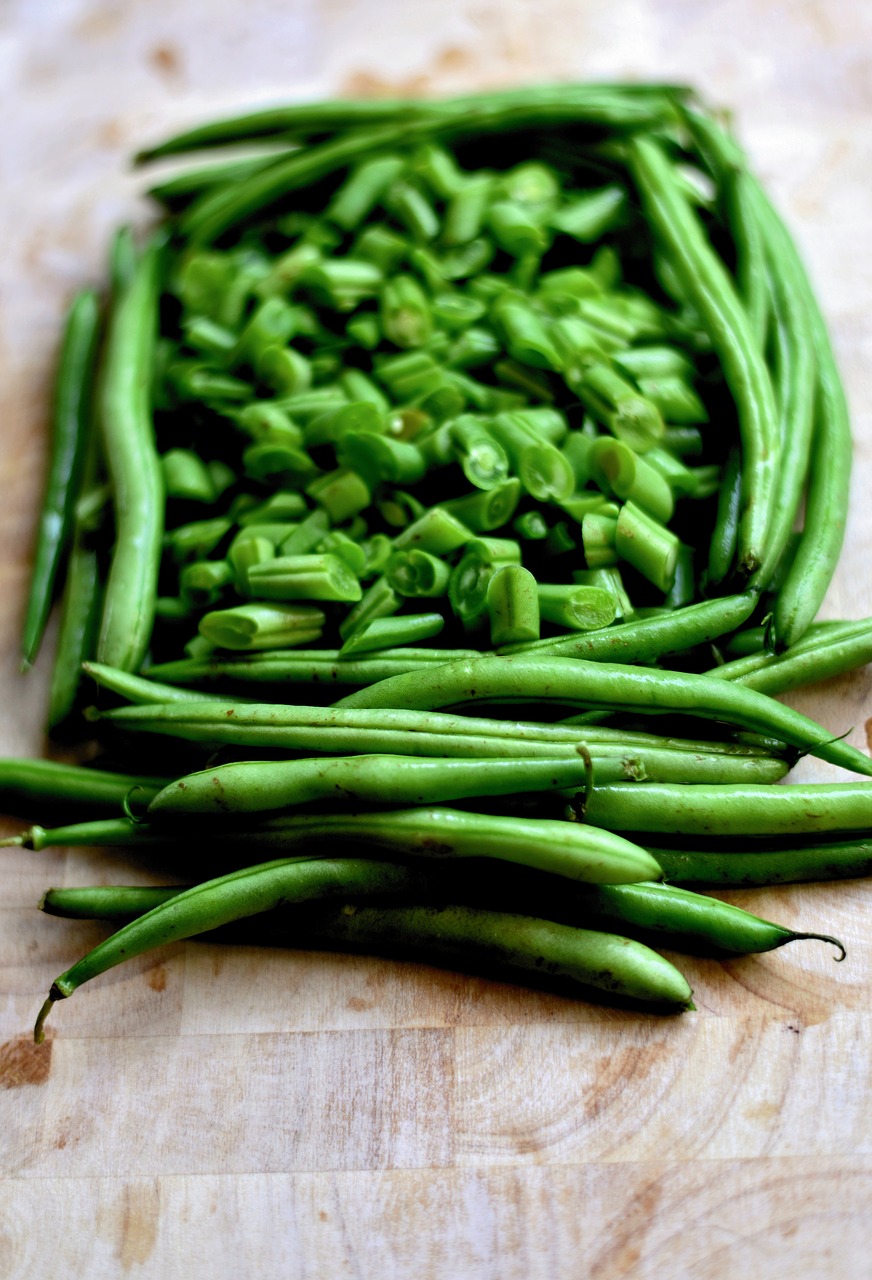
Pole beans should be picked when the hull is green or if you want to have beans for the winter, pick them when the hull is dried, brown, and you can hear the beans rattle in the hulls.
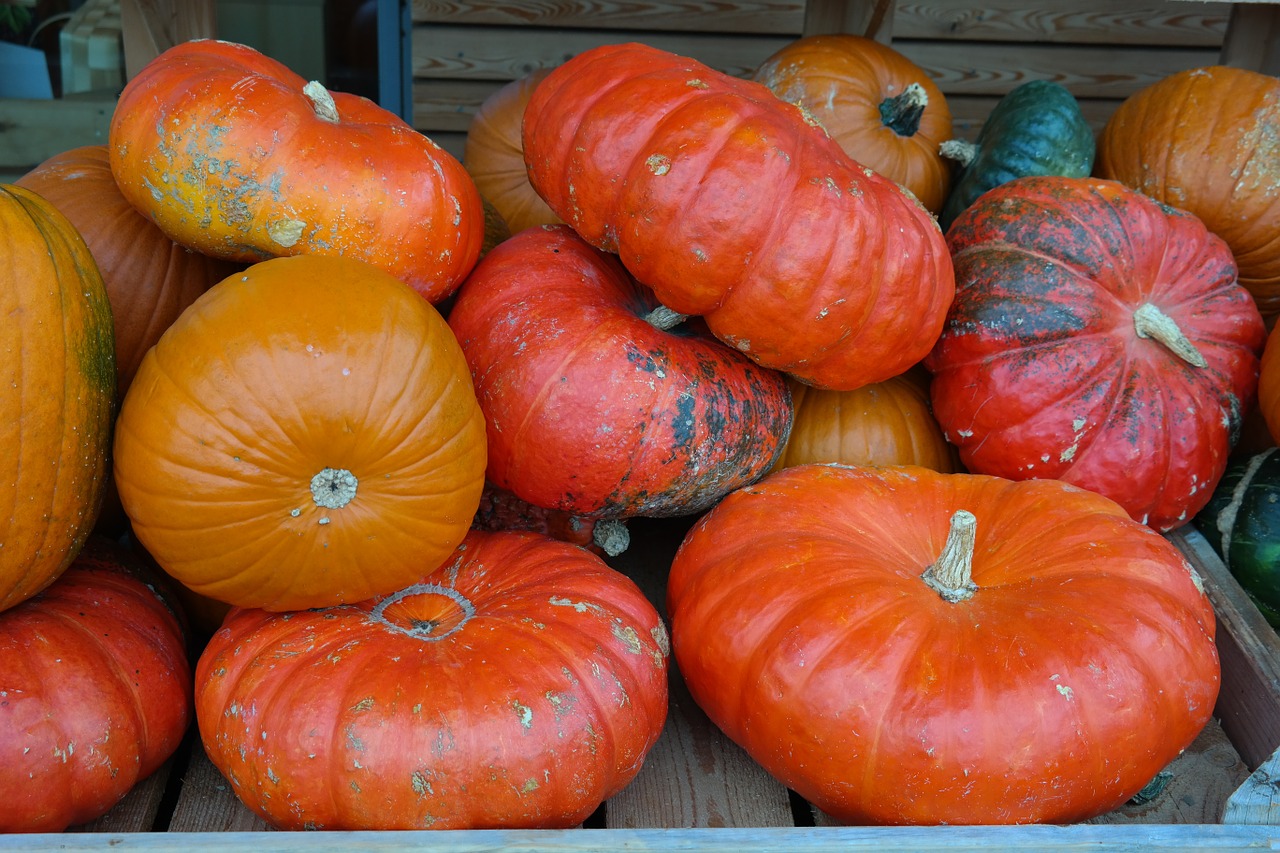
Pumpkin harvesting should occur once the outer shell has turned from green to orange and the vine has turned brown.
Beyond the consumption of these fruits, you may want to save the seeds but unless you have selected heirloom varieties you will have a problem since they will not be “true.”
If you desire to try your hand at saving seed, the process is simple. When it comes to the corn, just remove the kernels and allow them to dry before placing them in a paper envelope.
Beans are just as easy and require you to remove the “bean” from the hull once it has turned brown. Next, open the hull to remove the bean. Set the bean out to make sure all the moisture is removed from the seed before storing it.
Pumpkins are just as easy. Instead of roasting your pumpkin seeds you can simply place them on a paper towel or plate after the pulp has been removed. Once dried, put in a paper envelope for storage.
Regardless of which seeds you decide to save, make sure to label your container before placing your seeds inside along with the date of the seeds.
