Just about every article I read about starting a garden says to choose a location with good drainage. But what does ‘good drainage’ even mean?
Honestly, as a gardener, it took me a long time to figure what good drainage looked like and how to have it in my garden. But now, I pretty much consider myself a master of creating good drainage.
You can be a drainage expert too if you have the right tools and knowledge for the job. If you want to learn how to promote good drainage in your no-till vegetable garden then read on!
What is Good Drainage?
Contrary to how it sounds, “good drainage” does not simply relate to making sure water drains out of your soil at a fast rate. Truly good drainage is about making sure your soil holds enough water to supply your plants with what they need.
Sandy Soils
Fast-draining soils like sandy soils do technically have good drainage in that water drains out quickly. But, from a plant’s perspective, all that fast drainage means nutrients get leached out. It also means if the soil isn’t watered regularly, then plants will die of dehydration.
Clay Soils
Clay soils are a mixed bag when it comes to drainage. In the right circumstances, they can have good water holding capacity. However, if they dry out, they can crust over and create a non-permeable surface. In that case, water runs off clay soil tops just like it washes off sidewalks and paved roadways.
Silty Soils
Soils that tend toward silty often hold too much water. Certain bog plants such as watercress love silty soils. Other plants though struggle to absorb nutrients when silty soils become water loaded.
Loam
Loam is the best soil type for good drainage when it comes to vegetables. It contains the ideal quantity of soil ingredients including sand, silt, and clay. Loam is really hard to come by though.
No Loam? No Problem!
When you don’t have loam soil, as most of us don’t, there are two simple things you can do to improve drainage in your no-till vegetable garden. The first is to add compost. The second is to use a broadfork.
Compost for Good Drainage
The key with compost is to add enough of it annually to keep the biological life in our soil moving back and forth between your newly applied compost and your old garden soil. Those little life forms then create spaces in the soil that allow air and water to flow through regularly.
Use Adequate Compost
You need to add at least 2-4 inches of compost a year to promote good drainage. That’s a lot of compost if you have a big garden. But livestock litter, kitchen waste, leaves, grass clippings, and more can all be used to increase your compost output.
Apply over Existing Soil
When you add the compost on top of your existing soil, the inhabitants of the soil comes up to get what they need from the new compost. Then they take it down deeper to where they live.
That’s basically like an underground railroad system for soil supplies. Rain and plant roots also help carry compost components down into the soil.
This is why when you apply compost on top of your soil it starts out rich and black. Then, within a couple of months, all that black gold is gone and your soil just looks like soil again. It’s as if your soil ate the compost!
So, there is absolutely no need for you to incorporate compost into your garden soil. In fact, if you do, you disrupt all the happy critters living in your soil, expose existing nutrients to air so they evaporate, and dry your soil out quickly.
The Challenge of Soil Compaction
If you add compost at least once or twice a year, your soil drainage will improve with very little work on your part. All those micro-organisms do the heavy lifting, tiny bit by bit.
Unfortunately, even in compost-rich gardens, beating rain, occasional droughts, gravity, and periods of fallowness (e.g. winter) can create soil compaction.
Soil compaction works against good drainage. So, beyond adding compost, you also need to do occasional maintenance to counter soil compaction.
Soil Aeration to Improve Drainage
Periodic compaction most commonly becomes a problem when your garden isn’t growing, such as during winter. Without actively growing plant roots, the soil is more apt to settle as the weight of snow and the impact of wind or rain beat it down.
For areas like grassy fields compacted by athletic teams running back and forth, or park lawns walked on regularly, machines are used to pull out plugs of soil every few inches. Those machines are called “soil aerators”. They improve the soil by creating holes so that both air and water can percolate down into the dirt and counteract compaction.
The problem with that method is that soil aeration is too shallow to be useful for most vegetable gardens. Plug aerators, for example only go 1/4-3/4 inches deep. Hole-style aerators can go from 1-6 inches deep. However, in order to push holes that deep into the soil, the tools used to do it often creates compaction.
So, for organic garden soil, amended with compost, you need a different tool to aerate your garden and improve drainage.
The Broadfork
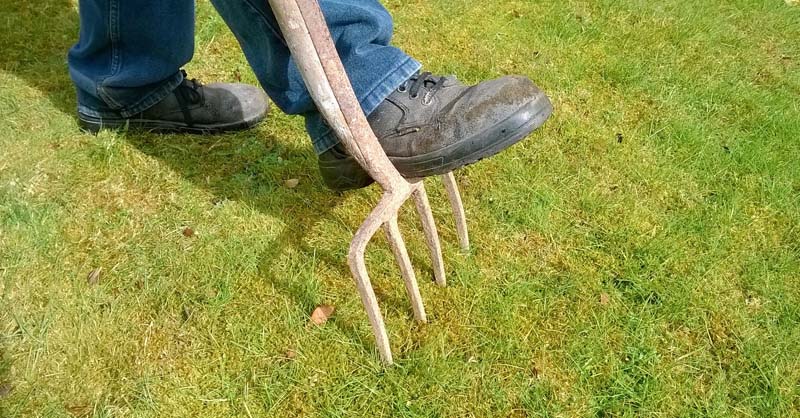
This is where the broadfork comes in. The broadfork is basically a bit like a narrow hole-style aerator that has blade-like tines that poke into the soil. Rather than just poking a hole or pulling a shallow plug, though, the blades lift large up chunks of soil gently from underneath.
If you’ve ever had a good scalp massage that also included some gentle hair pulling, I suspect you know what the soil experiences when you use a broadfork. It just releases all that time-worn tension.
Aeration and Drainage
By inserting the tines into the ground, you create drainage holes and
aeration just like hole-style aerators do. But by also breaking up compaction several inches under the soil while creating those holes, it also promotes much deeper aeration and drainage benefits.
Compaction Breaker
Unlike a tiller, which is also used to break up soil compaction by mixing up all the soil levels, a broadfork leaves soil structure in place. It doesn’t mix the layers of topsoil and subsoil.
This means soil life is much less disturbed than by tilling with very similar benefits. It also leaves weed seeds buried so they don’t sprout as they do after tilling!
How to Use a Broadfork
Using a broadfork is really easy.
Step 1: Insert
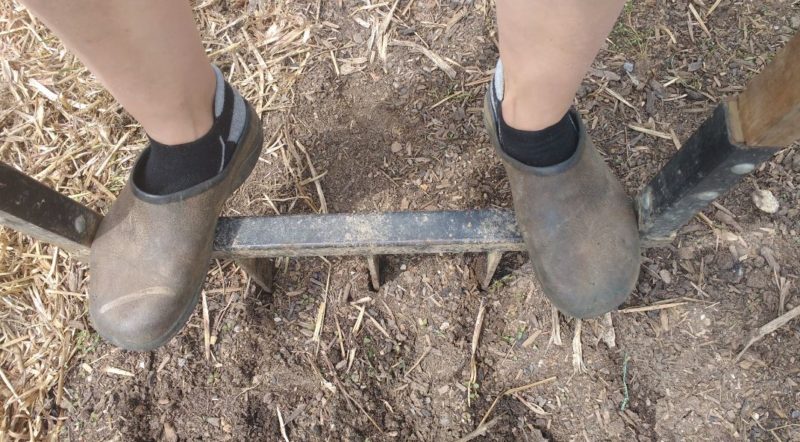
You just step it into the soil in your garden bed. If you have heavy clay soils as I do, you may need to stand on the fork to get good penetration.
Step 2: Lift
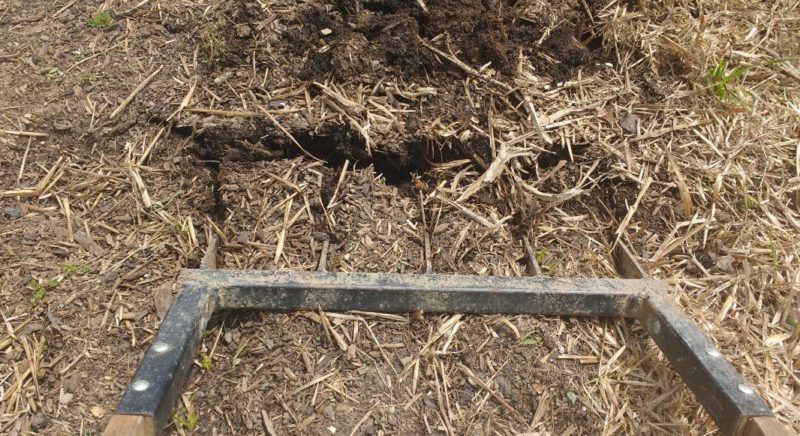
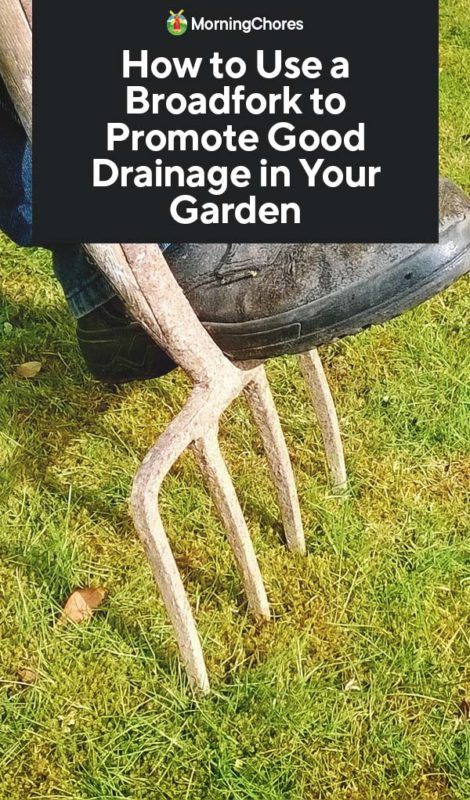
Then, you lean the blades back so that the arms of the broadfork form about a 45-60 degree angle with your soil. This action lifts up the soil using the blades. It’s kind of like lifting food from a plate with a fork only on a much larger scale.
You don’t want to slice through your soil with the blades. That would cause unnecessary disruption to soil structure and possibly bring up weed seeds. You just want to gently lift up the soil from below.
Step 3: Straighten and Remove
Now, bring your fork blades back to the upright insertion position and slide the fork out of the soil.
Step 4: Repeat
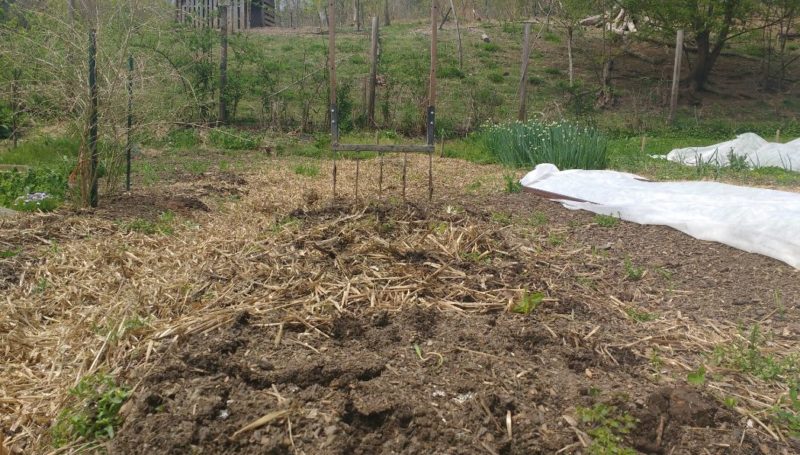
Next, move your broadfork back about half the the length of the blades, and repeat steps 1-3. Do this for your entire garden bed. Be careful not to walk on the soil after you have broadforked it.
When to Use a Broadfork
It’s best to use a broadfork only as often as you need to for good drainage, aeration, and to break up soil compaction. I have some beds that need this once a year. I have other beds that may only need it once every 2-3 years.
My rule of thumb is that when the soil gets hard to work using hand tools, I use a broadfork. In general, I like to do this in late winter or early spring before the soil wakes up too much. That seems to be a bit less disruptive to soil life.
Buying a Broadfork
Broadforks can be a bit expensive to buy. If you get a high-quality broadfork, you should only need one for the rest of your life.
In fact, you should be able to hand it down for generations. The only thing you should ever need to replace will be the handles. Quality brands come with lifetime guarantees.
There are different styles available. The differences usually relate to fork width and blade/tine size. For example, you can frequently find 20 or 27 inch wide forks. Tine or blade depth tends to be between 10-16 inches deep.
Choose the model that best fits your garden bed or row size. Deeper tines are great for loose soils but can be difficult to manage in soils that have only been worked for a few years.
You can also make a broadfork if you can weld. My broadfork is customized for my garden beds, body size, and soil depth so that it is extra easy for me to operate.
Conclusion
Good drainage is possible for any garden regardless of your starting soil type. All you need is plenty of compost, time for the soil to improve, and a trusty broadfork!

