Summer is an exciting time in the garden. Those tiny seeds you planted earlier in the year are growing and starting to produce. All your hard work is finally paying off. At this point in the growing season, you’ve probably noticed some plant varieties that are growing particularly well in your garden.
If so, you may be wondering how you can make sure you have the same success next year. Saving seeds enables you to have identical plants time after time. Essentially, it allows you to reproduce the best plants growing in your garden.
While you can plan and research all you want to get the best plants for your particular area, you don’t know if a specific varietal will do well in your area until you plant it. If it thrives, you’ll want to make sure you can re-create that magic again and again.
Saving seeds also lets you continuously improve your crops because you can select seeds from plants that do exceptionally well. Gradually over time, you’ll be able to tailor your plants for the perfect fit. Best of all, you save money by growing your own seeds.
In this article, I’m going to walk you through saving seeds from several different plant varieties.
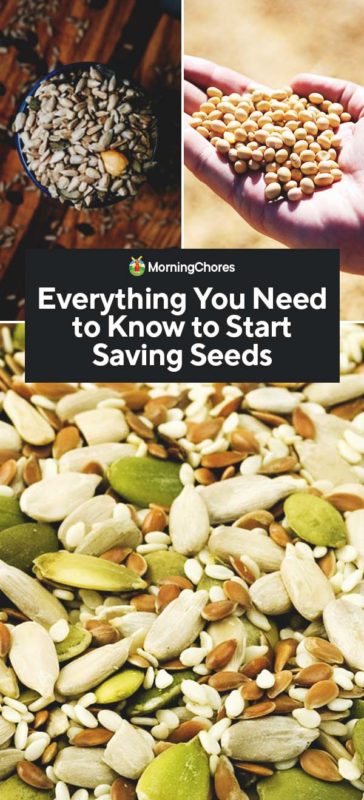
Tips for Saving Seeds
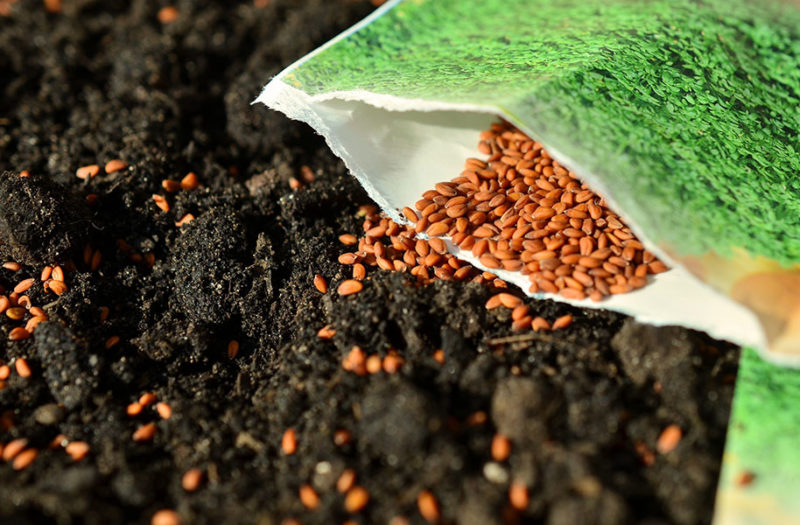
Many people think seed saving is complicated. It’s not. While every plant is different, there are a few general tips you can apply to all plants when it comes to saving your seeds.
- Grow heirloom, open-pollinated plants. Hybrid seeds won’t grow true to the parent plant.
- Pick the best plants and produce for seed saving. Don’t waste your time with plants that struggle, don’t have a delicious flavor, or aren’t prolific.
- Use fully ripe, ready to eat veggies for seed saving. If you take seeds from veggies that aren’t fully mature, you won’t have successful germination.
- Dry seeds thoroughly before storing. Wet seeds will mold and won’t germinate.
- Store seeds properly. Once you’ve gone to all that work, you don’t want to ruin seeds by storing them wrong.
- Make a label and write down the variety of plant and the date you saved them. You’ll be glad you did when you start choosing seeds to plant next spring.
- You can put a silica packet in with the seeds to absorb moisture so that your seeds won’t get moldy if you live in a humid area. There’s a type of silica that changes color to indicate when it needs to be replaced. Don’t use silica with legumes.
Plant-by-Plant Guide To Saving Seeds
At the most basic level, seed saving is taking a seed from a ripe plant, drying it, storing it, and then re-planting it next year. That said, different plants require different techniques. Let’s go over a few of the most common plants.
Beans And Peas
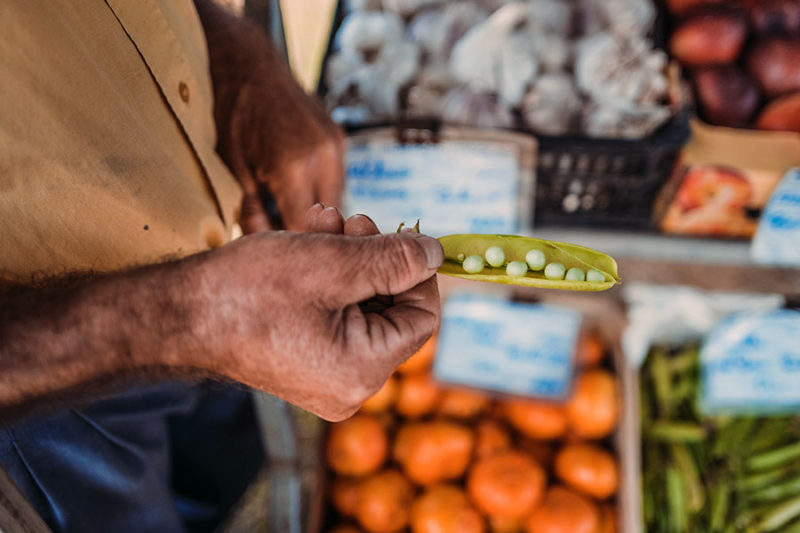
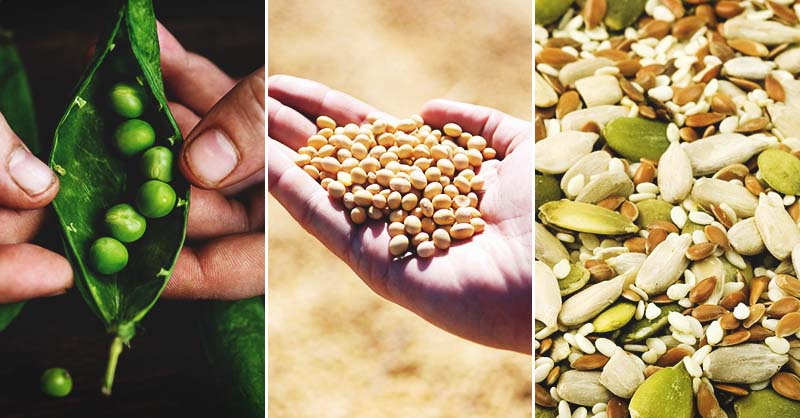
Beans and peas are the perfect gateway into seed saving for two reasons. First, the seeds are easy to work with. Second, they’re easy to store and are viable for a long time.
When planting legumes, make sure to plant distinct varieties at least 15 feet apart. This will ensure you don’t have cross-pollination and that your seeds will be true to the variety.
When saving legume seeds, it’s important to let the pods fully ripen. Typically, this means letting them stay on the plant longer than their normal harvest time.
Start by picking out a plant that is healthy and growing particularly well. Mark the plant so that you don’t accidentally forget and pick all the beans. Once the legumes ripen, taste a few to make sure they’re as good as they look. You don’t want to save seeds from poor tasting plants.
If all is well, leave the pods on the plant until they are dry and turning brown. You should be able to hear the beans rattle when you shake the pod. Remove the pods from the mother plant. Don’t take the seeds out yet.
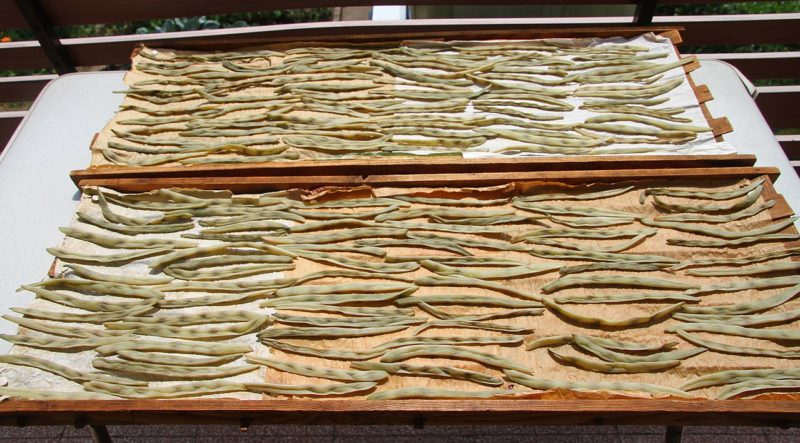
Lay the pods flat in a dry, cool area. I use an old screen door in my shed to dry plants on. Make sure they are protected from critters who may think they are a tasty treat.
After the pods have dried (about two weeks), you can shell them and prepare them for storage. The seeds should be hard so that you can’t make a dent in them with your fingernail. I store my seeds in a glass canning jar. You can also use paper bags.
Bean seeds will remain viable for two to three years.
Carrots
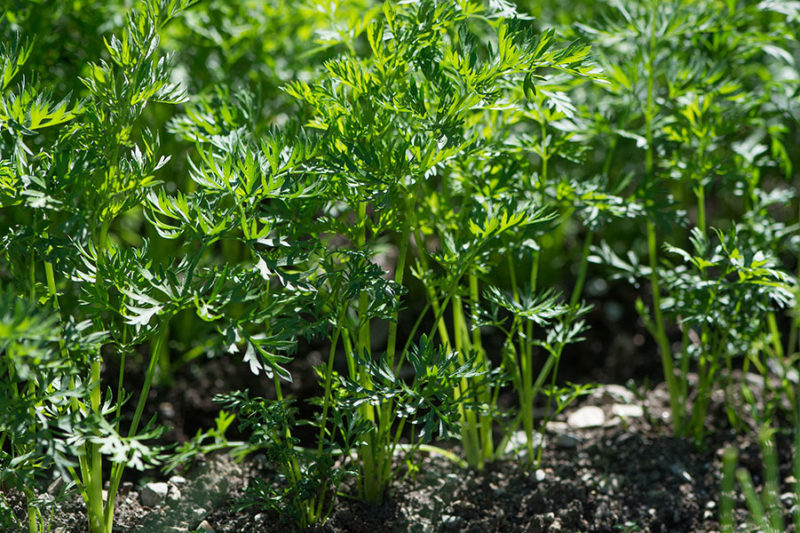
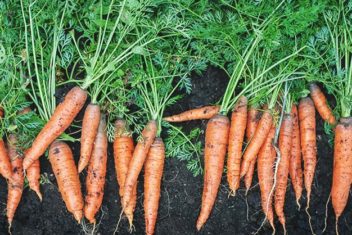
Carrot seeds require an extra step over more basic plant varieties. That’s because carrots are biennials. Biennial plants grow and fruit their first year and make seeds their second year. This means that you will have to hold off on pulling those luscious looking carrots until they’ve been around for a second season.
During the first fall, put your carrots to bed with straw mulch. This will help protect the plants so the roots don’t rot during winter rain and snow. During the next spring, your carrots will begin to produce flowers. When the flower heads have dried and turned brown they’re ready to harvest.
Cut the flower heads and place them in a paper bag so you don’t lose all those tiny seeds. Dry the seeds in the bags for two weeks. Next, shake out the seeds in the bags and discard the flowers. You can also use this same process for other plants in the carrot family, like parsley, parsnip, fennel, coriander, celery, and dill.
Store your carrot seeds in paper seed packets in a cool dry location. Carrot seeds are good for up to six years.
Lettuce
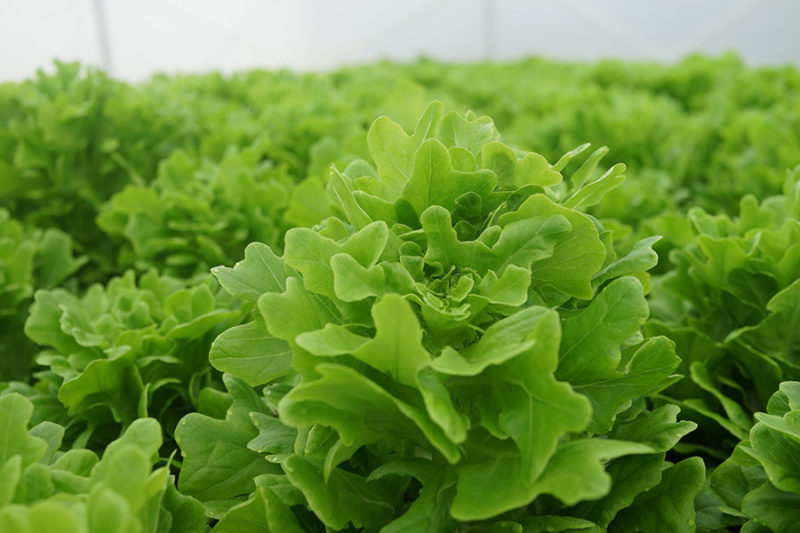
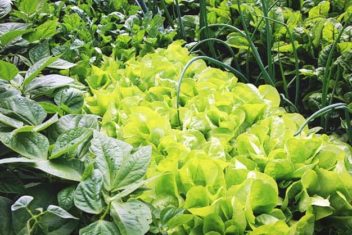
I can’t wait to get my first lettuce seeds in the ground in late winter. Lettuce seeds are easy to harvest, but they’re small, so they do require some careful handling.
Usually, we don’t want our lettuce seeds to bolt. But in this case, when our spring lettuce starts reaching for the sky, it’s a good thing. As the lettuce bolts, it forms a flower on the top. When the flowers start to dry out, they’re close to being ready. The flowers will form a white fluff, much like a dandelion does.
Some lettuce will burst open spraying seeds everywhere if you’re not fast enough. You can use blossom bags to cover the flowers and catch the seeds. I like to pinch off the flowers and put them in a bowl. Then, break open the flower pods and let the seeds fall out. You may have to separate out some of the chaff.
Allow the seeds to dry for two weeks and then place in seed packets to store. Seeds can remain viable for six years.
Squash
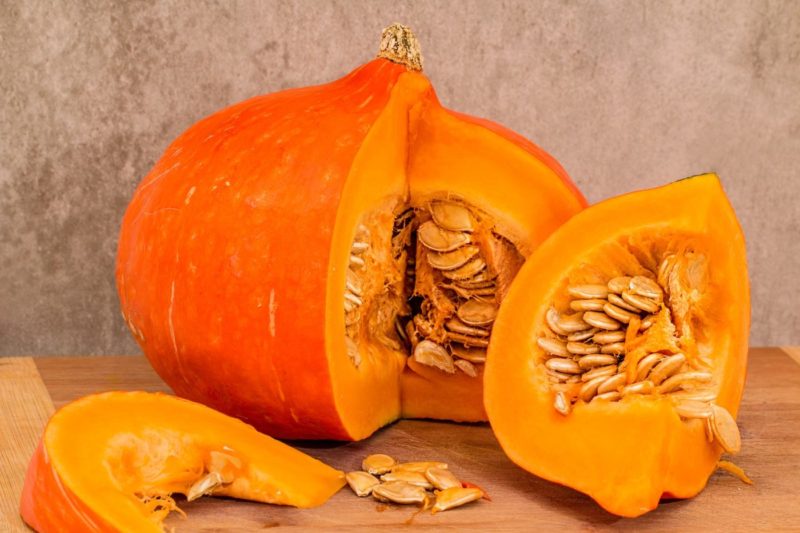
Saving squash seeds takes a little bit of planning at the planting stage because squashes in the same family can readily cross-pollinate. There are four families of squashes; winter squash, pumpkin, summer squash, and gourds.
The basic rule is that you can grow one variety in each family for seed saving. If you are growing multiple varieties you need to have them spaced far apart. For instance, say you want to grow and save seeds from different two pumpkin varieties: Baby Pam and Tom Fool.
Since they can cross-pollinate, you need to plant them at least 800 feet from each other. You may not have that much room. If so, the other tactic is to plant them so that they flower at different times.
When harvesting squash for seeds, you want to look for fruit that has grown too large to eat and is turning brown on the bottom. We’ve all had those zucchinis that get away from us. One minute they are four inches long and an hour later they are as big as a house! That is a bit of an exaggeration, but you know how that goes.
In this case, you want to allow your plants to reach that stage. The stems should be dry and the outer skin hard. For winter squash the plants should be changing colors.
Squashes benefit from being allowed to ripen after harvest. Put your seed-bearing fruits in a cool, dry place and leave them alone for three weeks. When they’re done ripening, cut open the fruits and extract the seeds, cleaning off as much pulp as possible.
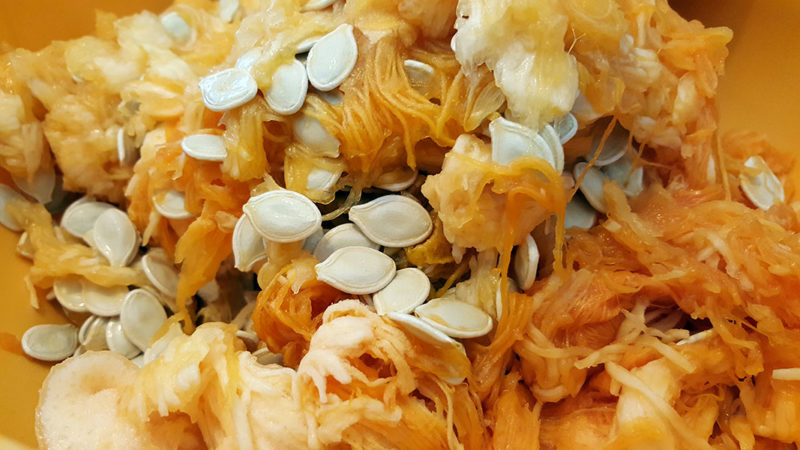
Place the seeds in a large mesh strainer. Rinse under cool water to separate any remaining pulp. Then place your seeds on a screen for further drying. Store in glass jars or paper packets.
You can also use this general process for melons. Squash seeds live up to six years when stored properly.
Tomatoes
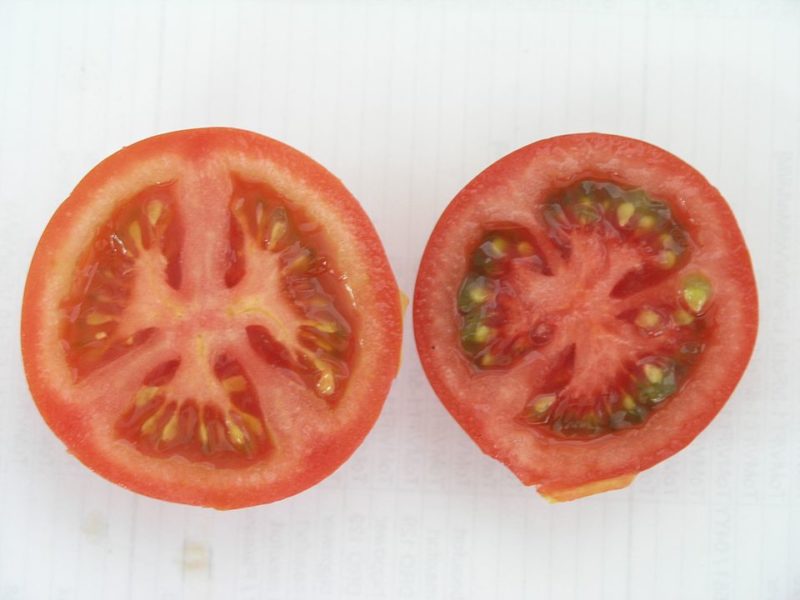
Tomatoes are the most widely grown fruit, and it’s easy to see why. They’re delicious. Tomato seeds are easy to save – albeit a tad messy!
When planting, separate different types of tomatoes by at least 15 feet to avoid cross-pollination. When the tomato looks ripe, the seeds are ready.
Slice the tomato in half. Next extract the seeds and the pulp into a bowl. I use a traditional reamer-type juicer to make it easier.
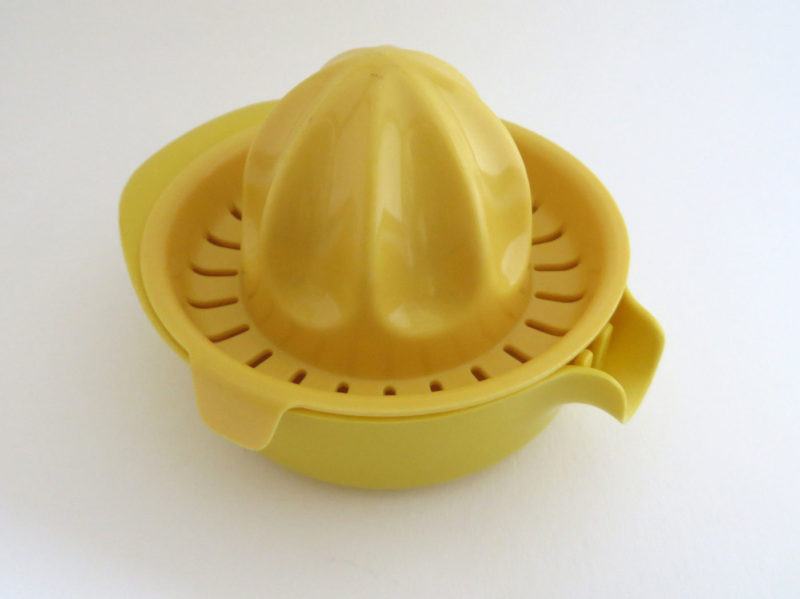
Leave the mixture out in the warm summer air but out of direct sunlight to begin fermenting, which allows the seeds to separate. The viable seeds will fall to the bottom. After the mixture starts to show mold, you can rinse off the top layer.
Use a fine-mesh strainer to rinse off the seeds left on the bottom. These are the seeds you will be saving. Put the seeds in a coffee filter or on some sturdy paper towels to dry for a week.
Store the seeds in a glass canning jar or paper seed packet in a cool dry place. Tomato seeds can live up to ten years if properly stored.
Seed Savers Exchange
Want to learn more about seed saving or join a dedicated seed-saving community? Seed Savers Exchange has a lot of helpful information, as well as seed saving tools such as seed packets and blossom bags.
Take Away
You can easily save seeds from your garden to be planted next year. If you are like me, you will quickly get caught up in the excitement of plant genetics and each year you will find yourself working to improve your plants so you can raise healthy, happy, pest-resistant plants.
