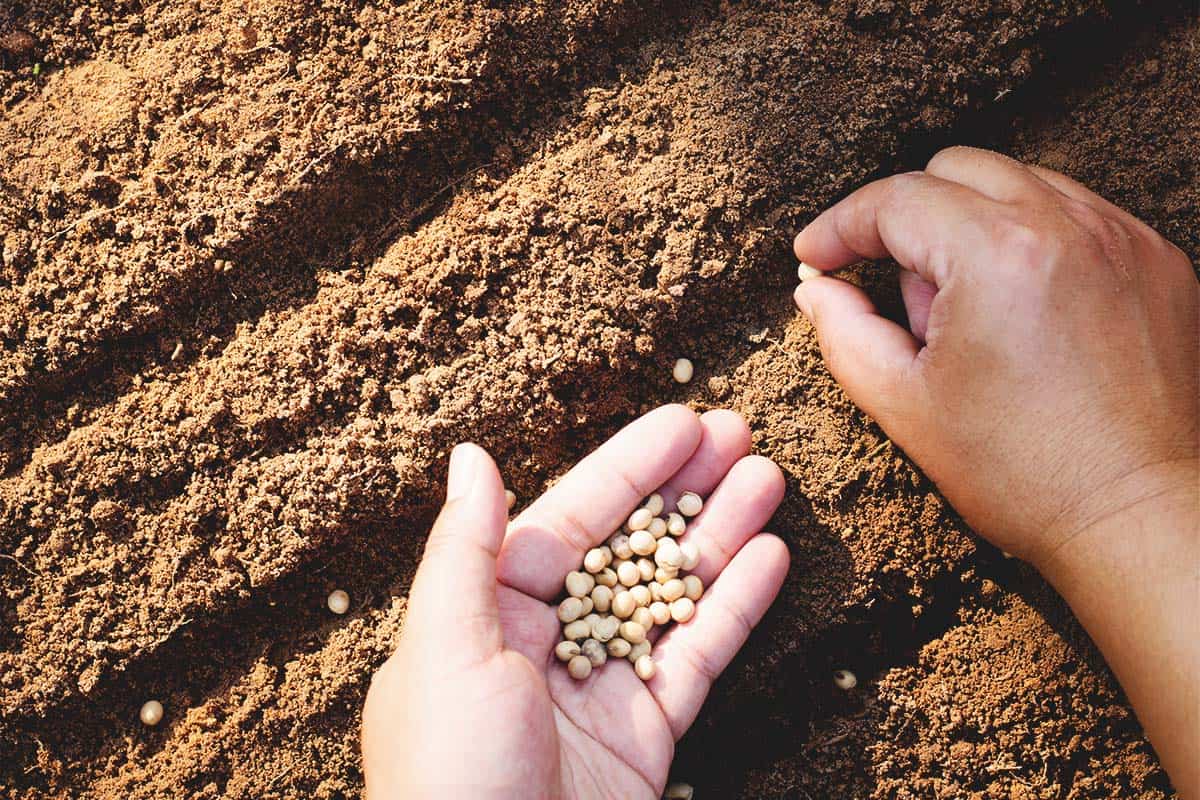
Nothing is more frustrating than taking the time to start your seeds only for them to not germinate. You wait, wait, and wait some more, but nothing happens. That’s where seed viability tests can save you time and frustration.
Whether you save your seeds from your garden or have dozens of seed packets from previous years, it’s impossible to tell if a seed will germinate or not by looking at it.
So let’s look at how you can test their germination rate before putting them into the ground.
What is Seed Viability?
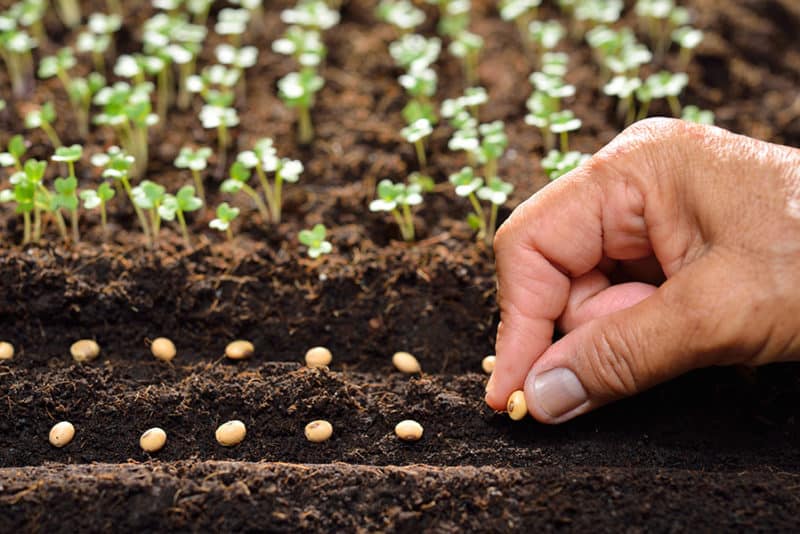
When we talk about seed viability, we’re referring to the percentage of seeds that are alive and can grow. When you have higher viability, it means that more of your seeds will germinate and you can plant fewer seeds to achieve the desired number of plants in your garden.
For example, if you have a 90% seed viability rate, it means that out of 100 seeds, 90 will germinate. In other words, you can feel pretty confident when you plant 50 green bean plants in your garden, around 45 of those bean seeds will germinate so long as the conditions are correct.
However, if you have a seed viability rate of 50%, then you know you need to plant double the amount of seeds to achieve the number of plants you want. If you want 50 green bean plants, you’ll need to plant 100 seeds to accomplish that number or close to it.
4 Seed Viability Tests
We know that germination success rates decrease over time, even if you store the seeds correctly. Seeds might be tough and capable of withstanding time in storage, but don’t assume anything. Seed viability tests can save you time and a headache.
Let’s take a look at the different ways you can test seed viability.
1. The Paper Towel Method
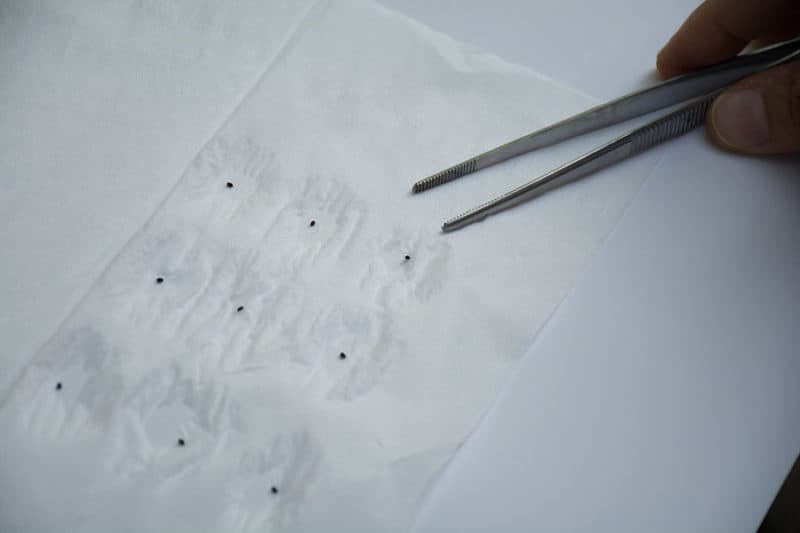
This is one of the easiest tests you try. You’ll need:
- Seeds
- 1-2 paper towels
- Resealable plastic bag
- Permanent marker
You start this test by dampening the paper towel. It shouldn’t be sopping wet, but soggy and moist. Then, place the seeds on the paper towel. Generally, you can put around ten seeds of each type, which makes determining percentage easier.
If the seeds all look similar, you’ll need to label the area of the towel with the marker or use separate paper towels for each type of seeds. Then, put a second paper towel over the top of the seeds to make sure the seeds are surrounded in moisture.
Put the towel and seeds into a plastic bag. Seal it and set the bag in a warm place. Depending on the type of seeds you test, you can expect them to start to germinate anywhere from 2-14 days. You should know the average germinating time for each seed that you’re testing.
If you’re testing slow-germinating seeds, such as carrots, you might need to spray the paper towel with more water to keep it damp. If the paper towel dries up, the seeds won’t germinate.
Once the seeds start to sprout, wait two or three days and count how many sprouted and how many did not sprout. That’s how you determine your germination rate.
2. Water Test
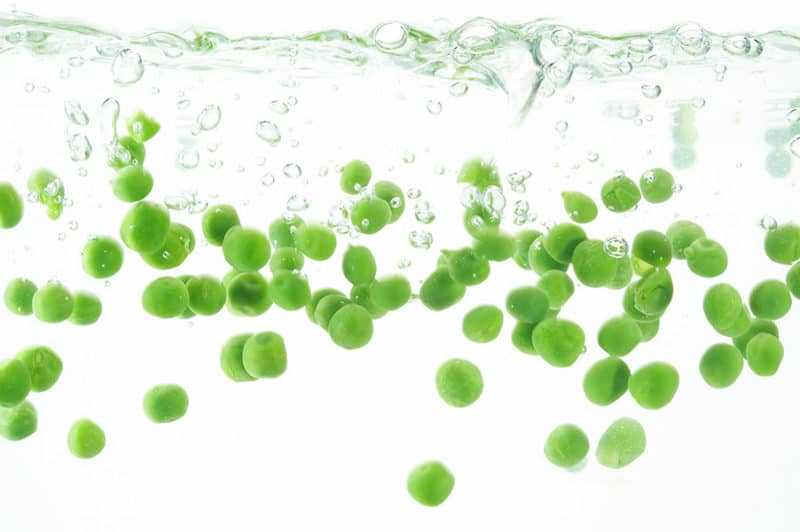
This test is fast and easy, but it’s not the most reliable way to test seed viability.
Take your seeds and put them in a container of water. Let them sit in the water for 15 minutes. If the seeds sink, that means they’re still viable. If the seeds float, chances are they won’t sprout.
This test doesn’t provide as accurate results as the paper towel method, but it can give you a general idea. It would be interesting to compare the results from the water test to the paper towel method to see how closely they scored.
The water test works best for large seeds, such as peas, beans, and corn. It doesn’t work well if you want to test tiny seeds, such as carrots and lettuce. The small seeds want to float no matter what, so it’s a useless method for them.
3. Sand Germination Test
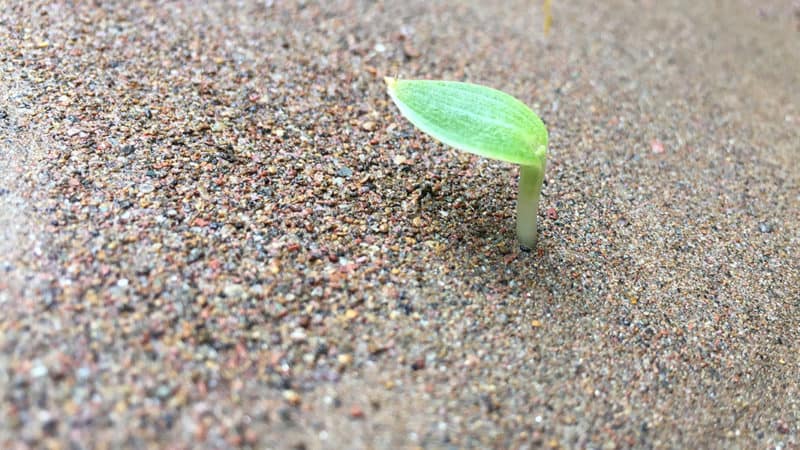
This test takes 7-10 days, on average. Here is what you need for this test:
- Clean sand
- Short-walled tray or container
- Water
This test is similar to the paper towel test, but the moist layer of sand is placed over and under the seeds. You must keep the sand moist throughout the test.
Take the sand and spread the layer out evenly in the container. Wet it, but don’t make it soggy. Place the seeds in rows to help you remember which seeds they are if you’re testing different types. Spread another layer of sand over the top of the seeds and spray it with water.
Keep the sand moist and wait to see which seeds germinate.
4. The Soil Test
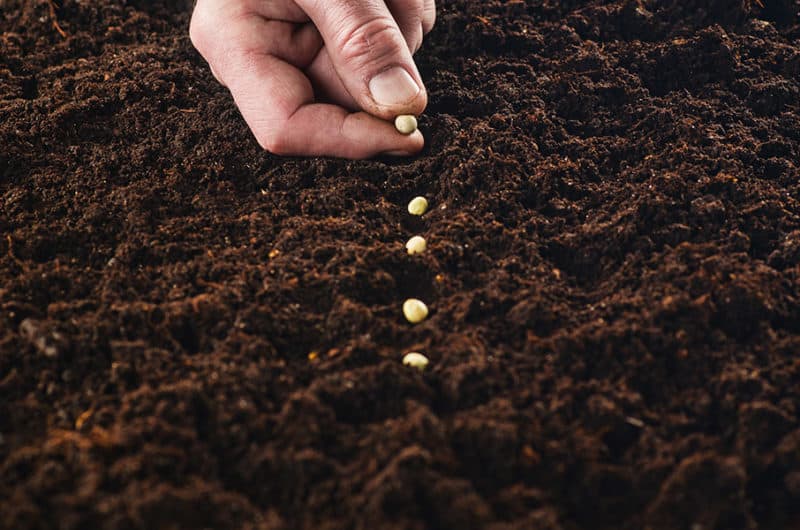
This test is similar to the sand test, but you’re going to use soil instead. Here is what you need:
- Potting soil
- Short-walled container
- Perlite
- Water
Some seeds only germinate well in soil. For those seeds, such as peanuts, you’ll want to use this test. Spread the potting soil in the container or tray that you selected. Then, plant the seeds into the soil.
Next, spread perlite over the top. Make sure the soil says evenly moist and warm until you’re sure that all viable seeds germinated. It’s best to mark the lines of seeds with a popsicle stick or marking on the side to let you know where to expect the seeds to appear.
Common FAQs about Seed Viability
What Is A Good Seed Viability Rate?
Typically, a viability rate of more than 50% is considered “good,” but most gardeners want to see a rate of 80-100% viability. Those seed germination percentage rates let you know that the seed quality is good, and you don’t need to plant extra seeds.
If the germination rate is lower than 50%, it’s best to buy new seeds. You’ll have to plant double the amount of seeds to get the desired plants.
How Long Do Seeds Last?
One common question that gardeners have is how long do seeds last? Seeds don’t have a set expiration date.
How long seeds last depends on the type that you have and how those seeds are stored. Most seeds can be stored for several years, sometimes for a decade, but others last for only a year or two.
The one thing to remember is that seeds don’t last forever, which is why seed viability tests are essential. Here is the generally accepted average length of viability for each type of seeds.
| 1 Year | Leeks, Onions |
| 2 Years | Peppers, Corn, Okra |
| 3 Years | Arugula, Asparagus, Beans, Broccoli, Carrots, Peas |
| 4 Years | Beets, Brussels Sprouts, Cabbage, Cauliflower, Chard, Eggplant, Radishes, Summer Squash, Tomatoes, Winter Squash |
| 5 Years | Collards, Cucumbers, Lettuce, Turnips |
What is the Best Way to Store Seeds to Increase Viability?
The right seed storage varies depending on the type of seeds you have. The best way to store seeds is in a cool, dark, dry location. Typically, you should keep them in a tightly sealed container or a bag, then put them in the refrigerator or a cold basement.
Excessive heat or cold can kill the seed embryo, and if they’re exposed to too much humidity or moisture, it can cause the seeds to mold and rot.
What Do I Do With My Seeds After the Viability Test?
After you test your seeds, you can still plant them! Don’t toss those seeds out; that’s a waste of good seeds. If it’s not gardening time, you can compost them or feed them to chickens.
It can be hard to transplant the seeds from the test to the garden because seeds are delicate. If the seeds attached to the paper towel, leave the roots attached and cut around them on the towel. Then, transplant it all into a pot filled with seed starting mix.
The sand method tends to be the best when you want to transplant tested seeds into the garden.
Now Go Test Those Seeds
Seeds don’t last forever, and you don’t want to waste your time or garden space trying to grow seeds that are no longer viable. By using these four seed viability tests, you can be sure that the seeds you’re planting will germinate on time.
