Quilts come in all shapes and sizes and are labors of love to put together. That said, a puff quilt is one of the easiest, entry-level types you can make. They don’t require the same skills that others require, but they have the same cozy look to them, and they’ll keep you every bit as warm.
Read on to learn how to create one of these fun, adorable quilts from materials you may already have at home!
What is a Puff Quilt?
Standard quilts can be created in a few different ways. You can make individual quilt blocks and assemble them to create the top, for example, before quilting the three layers together.
There are also applique quilts, in which cutout pieces of fabric are sewn onto a base layer before assembling everything into a sandwich.
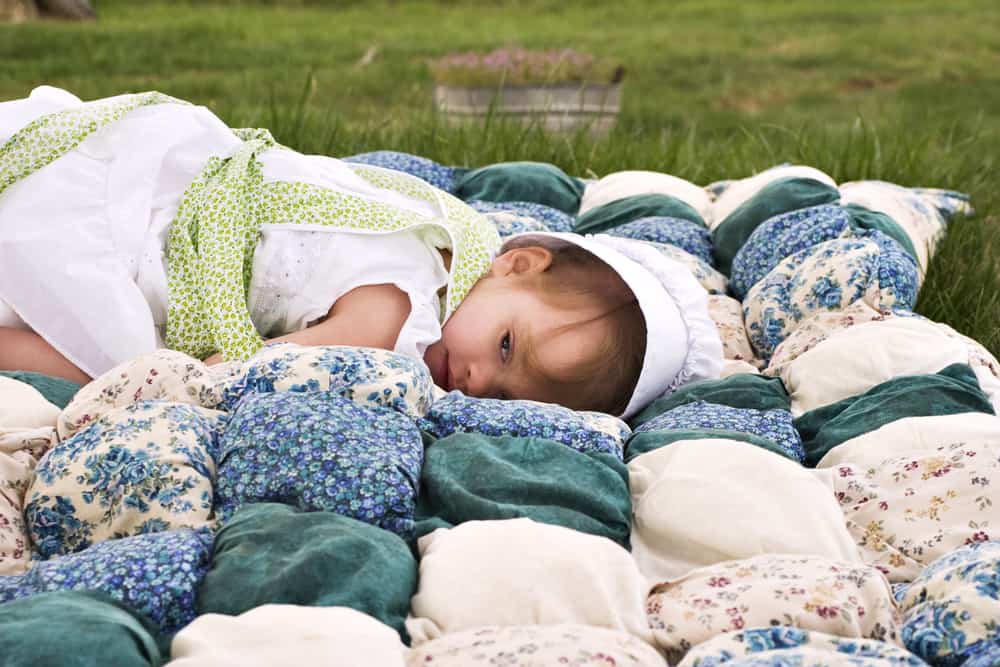
In contrast, puff quilts, also known as biscuit quilts, are assembled from individual squares. These are stuffed individually, then sewn together into a gloriously bubbly layer. Since the stuffing is contained within each pillowy puff, the middle layer (aka the batting) is omitted.
Once the bubble layer is finished, it’s attached to a base layer of the puff quilt. Then, instead of intricate quilting that goes through all three standard sandwich layers, the puff layer is secured to the bottom layer with stitches between rows.
What You’ll Need:
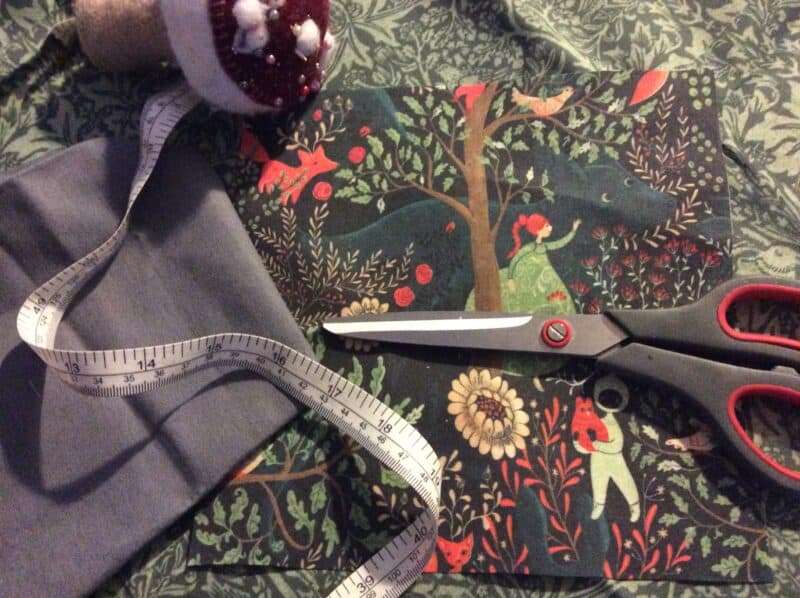
- High-quality fabric for the top squares
- Scrap fabric such as muslin for the bottom squares (these won’t be visible once assembled)
- Thread in both complementary and contrasting colors
- Quilting and standard sewing needles
- Straight pins
- Safety pins
- Fluffy fill for your puffs (polyfill works better than wool batting here)
- Double-fold bias tape (optional, if you’re creating binding around the edges)
- Graph paper
- Colored pencils or markers
The amount of fabric that you’ll need will depend entirely on the size of the puff quilt you’d like to make.
For each of these puffs, the top square will need to be a full square inch larger than the bottom one. This is necessary to allow enough space for the polyfill to create a proper pillow.
As an example, one of the most common puff sizes is a 5-inch square. To create a single puff this size, you need a 6×6 inch top piece and a 5×5 inch bottom piece. I prefer smaller puffs for my puff quilt, so I make my bottom ones 3×3 inch or 4×4 inch.
Here’s a tip: measure out your squares on paper and use those as patterns for your fabric. This method is a lot easier than measuring out the fabric for each square individually.
Math Time!
This is the point where you determine how many puffs you’ll need to make for a specific quilt size.
Most people determine the size puff they’d like to make and then multiply those until they get a quilt size that they like. From there, they buy fabric that will accommodate the number of puffs they need to make.
I’ll tell you a secret here: I cheat.
I’m terrible at maths, so instead of struggling with numbers and pitching a proper fit in all directions, I use a soft blanket or bedsheet to use as my base layer. For example, for the mystical woodland-themed puff quilt I’m currently creating, I’m using a black, twin-sized faux fur coverlet for the base.
The dimensions for this coverlet are 72×102 inches. Now, as far as calculating the puffs themselves, I’m making 3×3 inch puffs which will need 4×4 inch tops.
72 % 3 = 24 puffs across
102 % 3 = 34 puffs lengthwise
24 x 34 = 816 puffs in total
Okay, so I need to make 816 puffs for my twin-sized puff quilt. This means that I need 2,448 inches worth of fabric for the puffs’ bases. Since each top puff has to be 4×4 inch for the puff tops, I’ll need 3,264 inches of fabric for those.
Estimating Yardage
A standard yard of fabric is 36×36 inches which is 1,296 square inches. As such, I would need approximately two yards for the bottoms, and three yards to have enough for the tops.
That said, I normally get almost twice as much fabric as I think I’ll need. This way, I know that I have plenty to fall back on in case I make a mistake. Besides, if I have extra, I can use it for matching throw or bolster pillows.
Not all yardage is created equally, of course. Depending on where you get your fabric from, the bolt could be as wide as 60 inches. I get most of my fabrics from Spoonflower, which often has yardage measuring 36×42 inches. Be sure to err on the side of caution and get more than you estimate that you’ll need. Always.
A Note About Fabrics
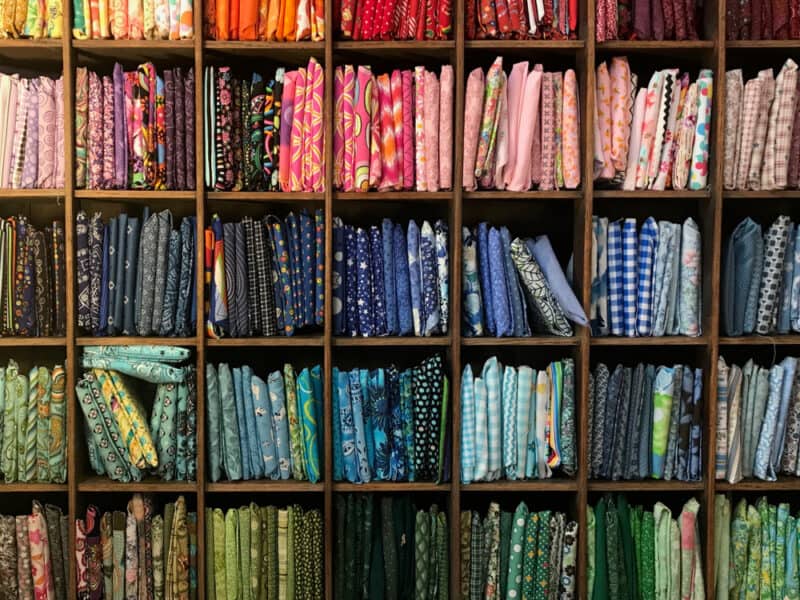
Know that you don’t have to invest a ton of money into your project. In fact, you might even be able to put your puff quilt together with fabrics you already have at home.
As an example, some people create “memory quilts” from clothing scraps. One woman I know made a memory quilt for her daughter from receiving blankets and baby clothes that the little one had grown out of. Similarly, people have made puffs from their parents’ clothes, as well as from old bedsheets or thrift store finds.
Be creative when it comes to your top puffs! Just be sure to try to get fabrics of similar weights. Additionally, make sure that you wash the fabrics thoroughly and iron them well before cutting or sewing anything.
The last thing you need is to put a ton of time and energy into sewing a quilt, only to have dye colors run and ruin everything the first time you run it through the washing machine.
1. Map Out Your Quilt First!
This is an incredibly important step if you’re creating a particular pattern or color effect in your puff quilt. For example, some people like to make gradient or ombre quilts. Others use alternating colors or an assortment of patterns and fabrics that they don’t want repeated in the same row.
This is where graph paper comes in handy.
Count out how many squares you’ll be using to make your puff quilt, and then get out your markers or colored pencils.
Look at your fabrics and determine what kind of pattern you’d like to create. Then map that out on the graph paper. By doing so, you’ll have a good idea of how many puffs you’ll need made of each fabric.
Additionally, you’re basically creating a guide map for yourself. This will make things much easier later when you’re assembling all the puffs together to make your puff quilt.
2. How to Make Your Puffs
Start by cutting out the same number of bottom squares as top ones.
Remember that the top squares have to be a full inch larger than the bottoms! You don’t have to cut all of them at the same time: I normally cut as many as I think I can stuff in a sitting or two when making my puff quilt.
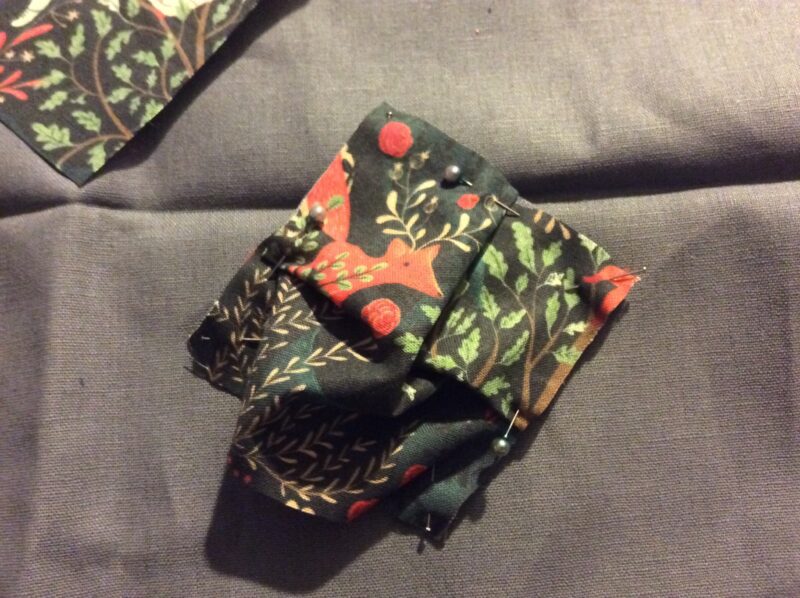
Pin Your Puffs
You’re not going to turn these puffs inside out. As such, ensure that the wrong side of your top fabric is touching the scrap fabric bottom. The right, gorgeous side should be facing upwards as you work.
Align the two fabrics in a corner and either pin them, or baste them together with contrasting waste thread. Do the same in the remaining three corners.
Next, on three sides, fold the top square at the halfway point, and either pin or baste it in place. Repeat this two more times, but leave one side open.
Sew the three folded sides together to create a pocket with complimentary thread, either with your sewing machine or by hand. If you’re sewing by hand, I recommend a back stitch because it’s so secure. You can sew these shut with either a 1/4 or 1/2 inch seam allowance: it’s your choice.
3. Stuff ‘Em!
Next, stuff that pocket with just enough polyfill to puff it up nicely. If you use too much, you won’t be able to sew it closed properly. Similarly, use too little, and you’ll have a flat pillow. I use half a plastic Easter egg to measure my polyfill so that every pocket has the same amount.
Sew that last seam shut once it’s filled, ensuring that you fold the top square at the mid-point the same way you did with the others. Then set that pocket aside for later. I keep all of mine in a large, clean laundry hamper until they’re all ready to be sewn together.
4. Time to Assemble the Quilt
Once you have all your puffs completed, it’s time to sew them together.
Make one row at a time by sewing puffs together side by side. You’ll do this by orienting their seams in the same direction. Do this with another row, and then sew the two rows together the same way you attached the individual puffs.
Repeat this process until all the rows have been sewn together. At this point, you should have a nubbly blanket of beautiful puffs that are ideal to roll around on.
Next, take your base fabric and lay it face-down on a large, flat, clean surface. If you don’t have a large enough dining table, you can use your floor like I do. Just be sure to wash it well first!
5. Pin and Sew
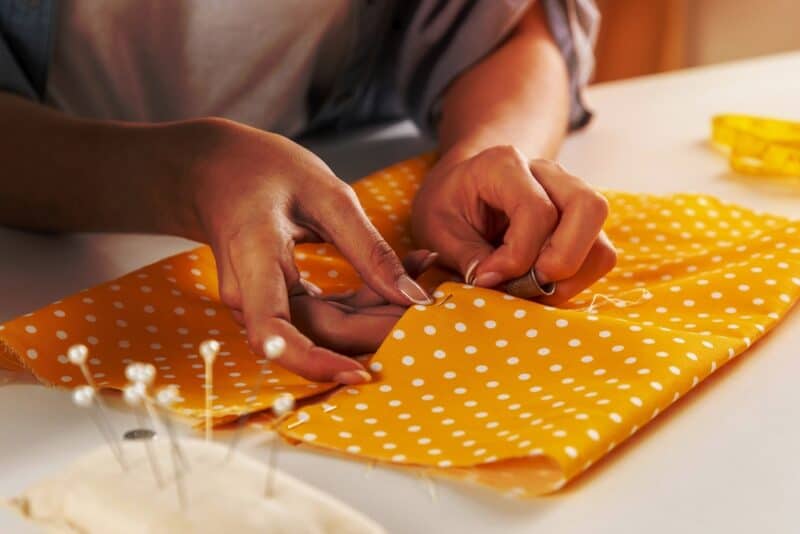
Tape this fabric down on all four edges, so it doesn’t move around as you work. Next, place the assembled puff top onto it, right side upwards. Align and pin the corners together, then use a safety pin to attach the center of the puff top to the fabric below.
Keep pinning the puff top to the bottom fabric at regular intervals, working from the center outwards.
Once these have been pinned fairly securely, it’s time to sew them together. You’ll start at one corner and work your way to the opposite one.
Thread your needle with a complimentary color thread and knot one end. Insert this between the layers and bring it up between two of the puffs. Pull until the knot holds securely. Then, use a running or back stitch to attach the puff top to the backing. Your stitches won’t show, as they’ll be nestled between the puffs.
Continue this until the top has been securely fastened to the backing, all the way across and down. Once sewn together, remove all the pins and store them safely. Also, un-tape the base layer’s edges so you can finish them.
You’re so close to being done with your puff quilt.
6. Finishing Up
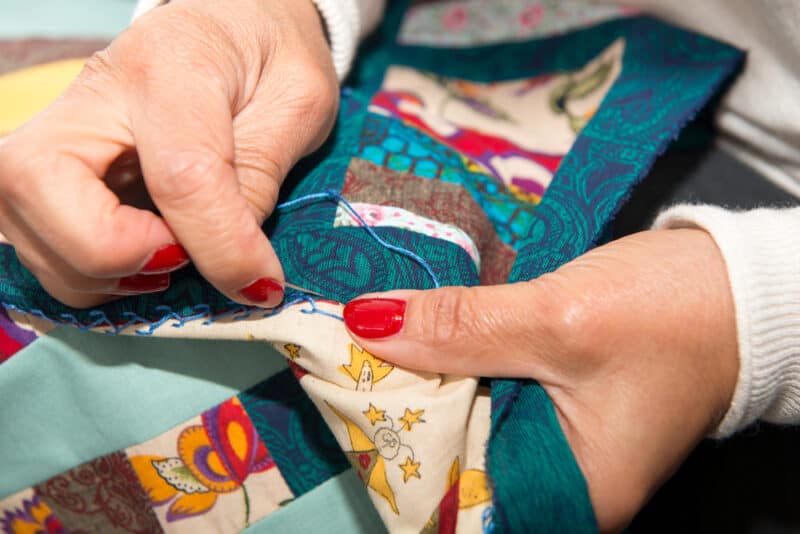
At this point, you can decide whether you’d like to have binding around the edges or sew them together with an invisible seam.
Using bias tape is one of the easiest ways to finish your edges. You can wrap this tape around the raw edges of your finished quilt, and sew them into place.
I’m not a huge fan of edging like this, so I tend to finish mine with an invisible seam instead. This technique is called either an invisible stitch or a ladder stitch.
Once you’ve closed the edges, you’re done! You now have a fluffy, puffy quilt that’s both warm and lightweight.
These quilts make wonderful gifts and can be made in any size you like. Best of all, you can work on them whenever you feel the inclination to do so! Some people can whip theirs together in a week, while others make a puff a day over the course of a year or two.
You can make themed puff quilts or seasonal ones. For example, use light cotton on top and bottom and slightly less polyfill for a summer quilt, or heavy velvet or flannel for a winter one.
However, you choose to make yours, be sure to enjoy the process. They come together fairly quickly and are as satisfying and utilitarian to create as they are warm and snuggly.
