When it comes to self-sufficiency, keeping warm is a must. Knowing the basics of quilting fabric allows you to make blankets and things like warm outerwear, as well as protective items like oven mitts, beekeeping clothing, etc.
I’m going to start this off by letting you know that I am no quilting expert. Not by a long shot. Some people spend a lifetime perfecting the art of quilting.
I’m still a novice, and I have a LOT to learn, but I can share the quilting basics with you that I’ve managed to master so far. Ready?
The Basics of Quilt Making
All quilts are made up of three layers collectively known as a “quilt sandwich.”
There’s a bottom layer (back), the batting (the middle, fluffy insulating layer), and the top. That top layer is the decorative bit and is the opportunity for you to get creative.
There are two main ways that you can make a quilt top: patchwork and applique.
With patchwork, you’re cutting shapes out of different pieces of fabric and stitching them together into interesting patterns.
In contrast, applique involves cutting out fabric shapes and stitching them onto a base. Both of these techniques are awesome, as they create different looks for the quilt’s top.
Are you thinking of making a quilt (or quilted item) that’s meant to be decorative? Then you’ll probably want to coordinate fabric colors and patterns, so they’re aesthetically pleasing.
That said, if you’re making some quilts to keep you from freezing to death in -30° winters, you can use whatever you have on hand.
People have made quilts out of leftover sewing scraps, worn-out clothes, even upholstery or curtain fabric. Necessity is the mother of invention, so don’t fret about making a “crazy quilt” out of literally anything you have on hand if you’re in a pinch. You can get fancy with the quilting stitches later.
It’s these stitches that create a quilt’s raised, padded effect. They can be done by hand or by machine, and we’ll get into them more later.
What You’ll Need
Now, if you check out most quilting websites, you’ll see the people out there working with some amazingly fancy equipment. Many of them have entire rooms dedicated to their craft. They’ll have sewing islands with built-in cutting mats and an assortment of rotary cutting tools.
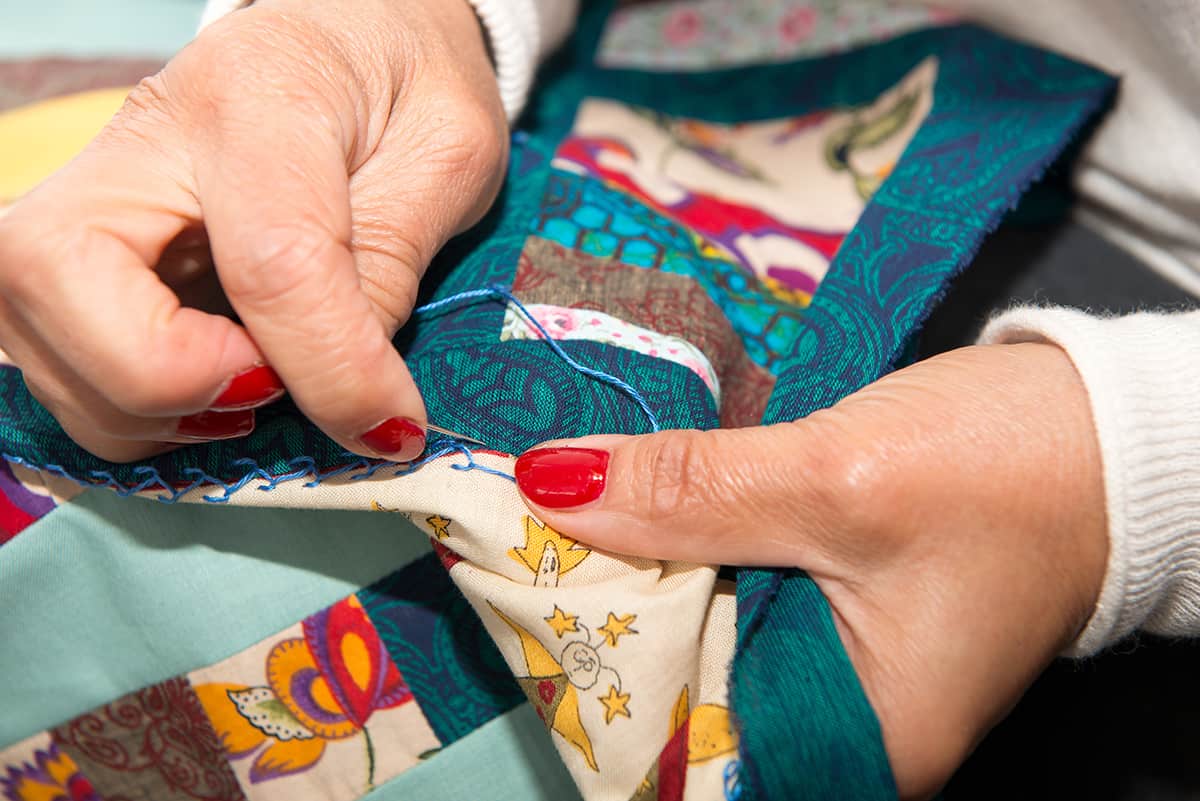
My approach, like with most aspects of homesteading life, is significantly more basic. I aim to use the same tools that pioneers would have used, and I do my sewing by hand.
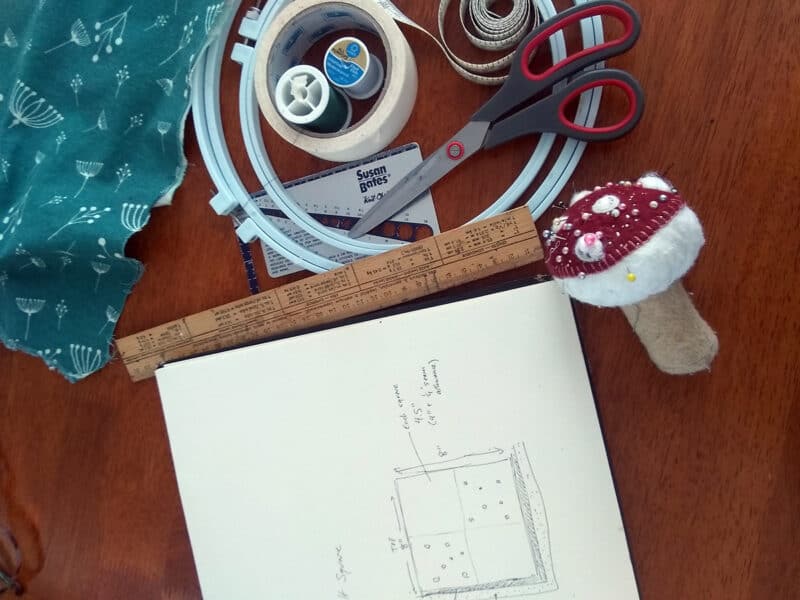
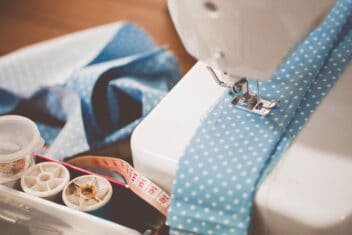
So far, the basic tools and materials I use for the basics of quilting are:
- Fabric: Choose light- or medium-weight, smooth cotton fabrics. Avoid anything with texture or fiddly bits like beads. Look for a specific quilter’s weight cotton, either online or at a fabric store, and you’re golden.
- Batting: Aim for wool batting if you’re sewing by hand or a polyester blend if you’re vegan. Cotton is insane to sew through by hand and is incredibly heavy. Wool and poly have more loft (fluffiness), are better insulators, and don’t weigh a ton, especially when wet.
- An iron: This is to smooth the fabric and create sharp, precise folds when you’re sewing.
- Measuring tape and/or ruler: Get two just in case you misplace one of them. Remember how quilts are all about precision?
- Needles: Everybody has their own preferences when it comes to needle size. I’d recommend buying a multi-pack and experimenting with different stitches on a scrap quilt square to see which you like best.
- Threads: Aim for 50 weight, 100% cotton thread in a neutral hue like grey, warm white, or beige. This stuff is strong enough to hold your layers together without breaking but fine enough that it won’t add bulk.
- Large safety pins: Try to get the heavy-duty curved ones since they’ll hold three layers in place without falling apart.
- Good fabric scissors: Invest in a good pair, and keep them sharpened. The key to a beautiful quilt is precision, and you can only get that with sharp, clean cuts.
- A notepad: For sketches, plans, measurements, and notes as you go along.
In addition to all of these items, a great tool to have is a quilting frame. Professional frames can be quite expensive, but you can DIY them with things like PVC pipe or painting canvas frames instead.
Alternatively, you can use strong, large embroidery hoop frames and move those around the quilt as you’re stitching different areas.
Start Quilting!
First and foremost, get down to basics and decide what kind of quilt you’re going to make. Use that notebook of yours and sketch some ideas until you find a design you really like.
This is the point at which you also determine the quilt’s size and yardage. So far, I’ve found that the easiest way to do this is to measure a duvet or blanket that I really like and aim for the same size.
When you’re determining yardage for the back, you can decide whether you want that folded up over the sides, or if you’re going to use a contrasting fabric to finish the edges.
If you already have fabrics to work with, decide what patterns you’d like to create, and draw how you’ll be arranging them.
Otherwise, check your notes to see what pattern you’re creating and estimate how much fabric you’ll need to make that happen. Go shopping for the types of fabrics mentioned in the list earlier.
Wash and iron your fabric before doing anything else. It’s heartbreaking to put a quilt together only to have dye from vibrantly colored patches bleed out into adjacent areas during the first wash.
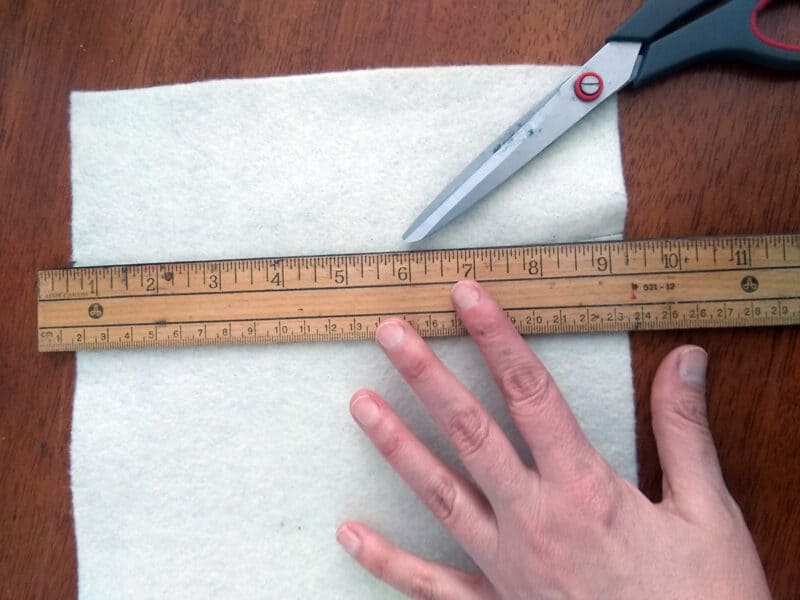
Measure and cut the pieces, leaving an extra 1/4″ seam allowance on each side. So if you’re creating 4×4″ squares for your project, you’ll be cutting 4.5 x 4.5″.
One of the best ways to make sure you’re creating really precise is to use paper as a stabilizing base.
This is also known as English paper piecing, and it’s a great way to save your sanity while you’re doing this. It’s a method that helps you create absolutely precise folds, and the end result is gorgeous.
Sew all of these pieces together into strips, then sew the strips together to assemble the quilt top. Iron this well, right side down. making sure all the seams are flat.
A great way to ensure it lays flat is to iron the seams in alternating directions. So, iron one seam to the left, the next to the right, and so on.
Put the Layers Together
Lay the backing on a clean floor with the wrong side up. Then spread the batting on top of it and smooth that out. Finally, lay the top piece right side up over the rest of the quilt sandwich.
Get help with the assembly if it’s a large quilt, as it’s a lot easier to spread these layers out with other people on each side.
Fold the quilt into quarters to find the exact midpoint, and place a pin in there to mark it.
Make this a mantra: start from the middle and work your way outward.
Otherwise, you risk getting strange puckers or pleats as you sew.
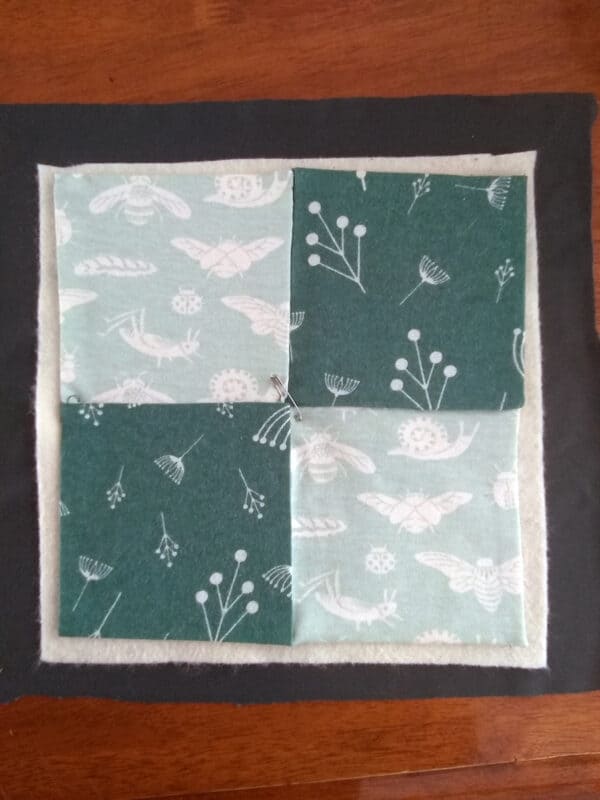
The last thing you want is to muck up weeks (or even months) of hard work by discovering a big lump or pucker in part of your quilt. You’d have to undo all the stitching you’d done that far and redo it.
Use a contrasting colored thread to baste these layers together in a sunburst pattern from that midpoint outward. This will keep the layers together without anything lumping up in between. Aim for a basted line every five to six inches.
Again, if you’re using a frame or hoop, start from the middle and work your way outward. Otherwise, you can work on a table or ironing board, with the fabric’s weight supposed by chairs on either side. Don’t let it sag or distort as you’re working.
Start Stitching!
This is where you can either get creative with fancy quilting stitches or stick to basics.
The stitch you’ll be using for this is a running stitch. This is where you pass the needle and thread constantly forward in evenly-spaced stitches. Additionally, the most basic quilting stitch is just a simple line.
You can space these rows every inch or inch and a half across your entire quilt.
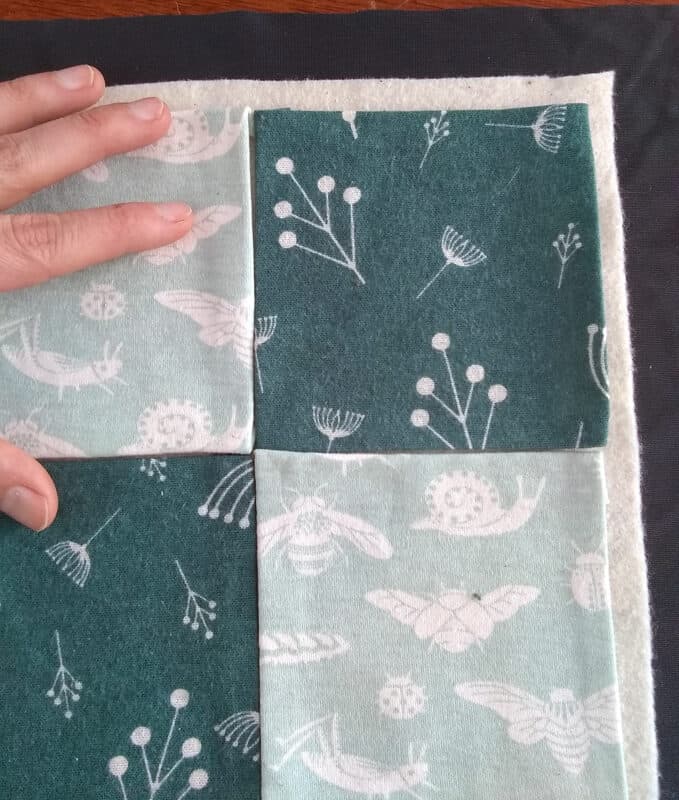
Similarly, you can create a criss-cross diagonal pattern of straight lines from corner to corner. These are quite easy and can be marked out with rulers and measuring tapes. You can even use masking tape as a ruled edge and stitch along one side for the sake of precision.
Alternatively, there are countless different stitch patterns you can use. A meandering stitch will create a very organic look to the quilt’s top.
If you’d like to do floral, paisley, or other intricate quilt stitches like this, I recommend using quilting stencils. You just pin or baste them into place, stitch between the lines, and move them around as needed.
The Finishing Touches
Once all these stitches are done, you just need to finish up the edges.
At this point, you can just fold the back along the edges, then fold it again to create a puffy seam all the way around. As an alternative, you can use long strips of contrasting fabric to finish. That’s called using “binding strips”, and here is a great tutorial on how to do it.
Once you know the basics of quilting, you can use these techniques to make all kinds of things. Quilted pot holders are amazing for the kitchen, and also make great holiday gifts.
Few things can keep you as warm as a quilted poncho, and layered mittens are great for glassblowing, blacksmithing, and beekeeping.
However you choose to use your mad quilting skills, they’re great to have under your homesteading utility belt.
