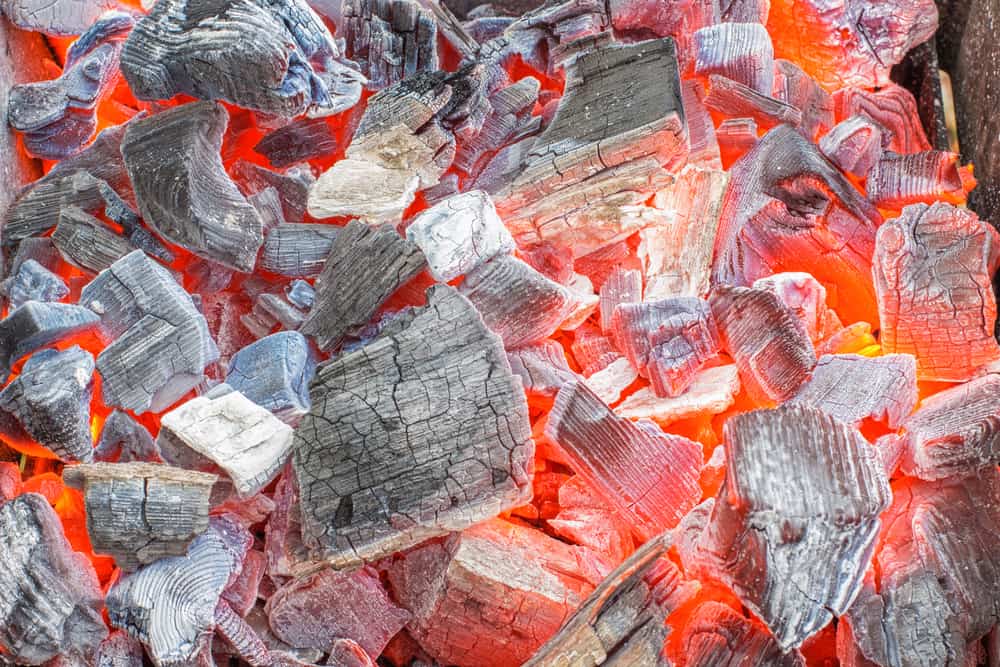
In your quest for self-sufficiency, you need to know how to make charcoal.
Charcoal is produced by burning wood and other matter together in a low-oxygen environment. Most people buy their charcoal from a local garden store or online, but it’s easy this material at home and could be vital in a survival situation.
After you start making charcoal, you’ll see how easy it is, and you’ll never want to buy a bag again.
Steps for Making Charcoal
First, gather your tools to make charcoal. You need a shovel, a barrel (optionally), a firestarter, a lid, wood, and water.
Picking the right location is essential to make charcoal safely. You don’t want leftover ash all over the place, but more importantly, you don’t want to light anything on fire. Choose an open space without surrounding trees away from buildings.
Stay away from dry, flammable plants or debris.
Set your barrel in place or dig a hole at least three feet deep. The diameter should be just a touch smaller than your lid. Make sure you have all your wood ready. You’ll probably need more than you think.
You want the wood to be cut fairly small.
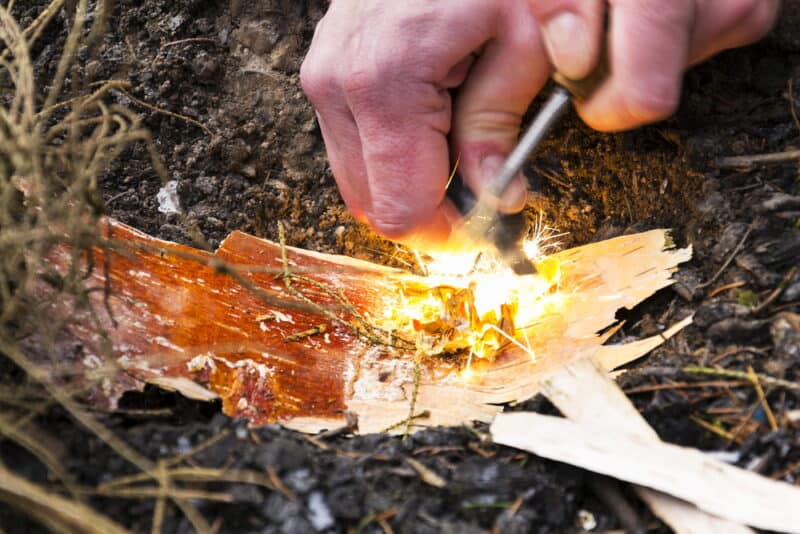
Start a small fire at the bottom of a barrel or pit. It’s easiest to start a fire with charcoals and let them get nice and hot, but you can also do a wood fire.
To do this, create a base of small, tented sticks over some tinder. Light the tinder using your match or lighter. Once you have a small, steady fire going, add a small log. As that log catches fire, add more wood until you have a nice fire going.
One of the most important things about building a fire is allowing it to breathe. This means you shouldn’t crowd the fire with too many pieces of wood. There should be a fresh flow of oxygen and enough surrounding space for the fire to grow.
Once you have at least two inches of red hot coals, it’s time to add the wood that you’ve prepped for making your charcoal. Place the wood in layers. Wait for all the wood to catch on fire and then cover the pit or barrel.
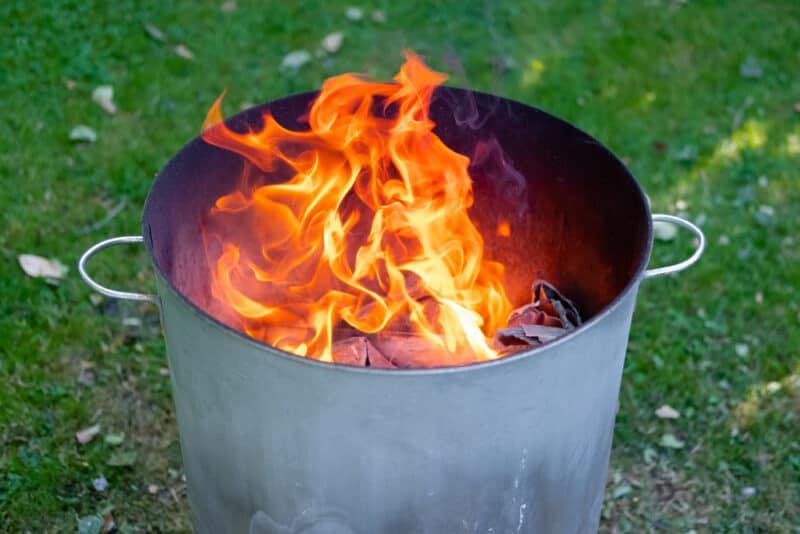
To make charcoal, the goal is to limit the oxygen supply to lower the heat. You want the wood to burn slowly. To help lower the temperature, pile some soil or dirt on the lid.
Check the wood after about seven hours. It should no longer be smoking. If you see smoke, close the lid and let it smolder a bit longer. Do this quickly because the fire might combust if it gets too much oxygen.
Once the pile is no longer smoking, leave the wood to sit for at least 24 but up to 48 hours to cool. Now you have your charcoal!
Move the charcoal to a storage container.
Wood to Use to Make Charcoal
When it comes to wood choices, there are lots of options for making charcoal. If you want lump charcoal, you must use hardwood. Oak, walnut, ash, apple, cherry, hickory, and beech are all good choices.
Lump vs. Briquette Charcoal
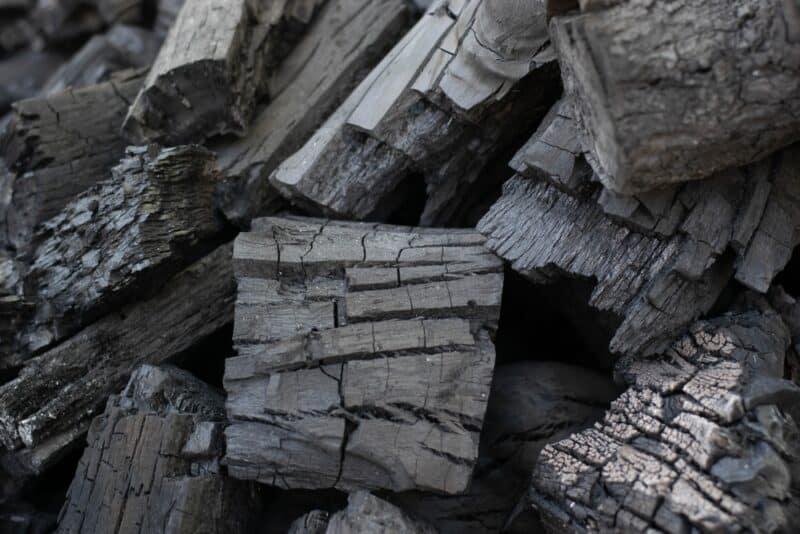
Lump charcoal is probably the first thing that comes to mind when you think of charcoal. This type of charcoal is made from hardwood pieces and is thicker than briquettes. If you follow this guide, you’ll end up with lump charcoal.
When you make lump charcoal, your pieces won’t look at uniform as the stuff you buy at the store. That’s the nature of working with natural materials.
Lump is considered superior to briquettes because it produces less ash, burns hotter, and is easier and faster to light. The challenge is that the uneven pieces make it challenging to create even heat for grilling.
Briquettes are made out of waste from the lumber industry, primarily sawdust. They contain additives, so you aren’t getting a pure wood fire. Briquettes burn cooler and longer than lump coal.
Tips for Storing Charcoal
The number one rule for storing charcoal is that it must be kept in a cool, dry place. Don’t leave it exposed to the elements, and don’t let water anywhere near your charcoal.
If humidity is a problem, use a dehumidifier to absorb the moisture around the charcoal. Place the container on a shelf or on top of a piece of furniture rather than on the floor.
You can use a plastic box with a lid, a metal trash can, or any water-tight container.
If you store the material correctly, it can last for years in good condition.
Wet charcoal might be rendered unusable, but it might be possible to save it from damage if you place it in the sun to dry out.
Benefits of Charcoal for Soil
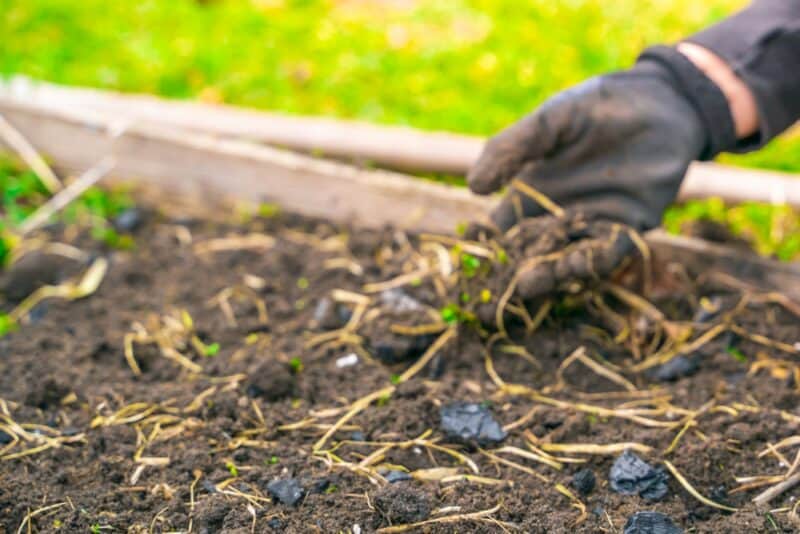
If you use mulch on your homestead, consider adding some of your homemade charcoal or any waste leftover after burning your pile. Charcoal adds nutrients in the form of carbon and speeds up the composting process.
Soil fertility is vital for gardeners; adding charcoal to the ground can help you achieve a bigger harvest.
The charcoal absorbs extra moisture in the soil, improving water retention and reducing the possibility of overwatering.
