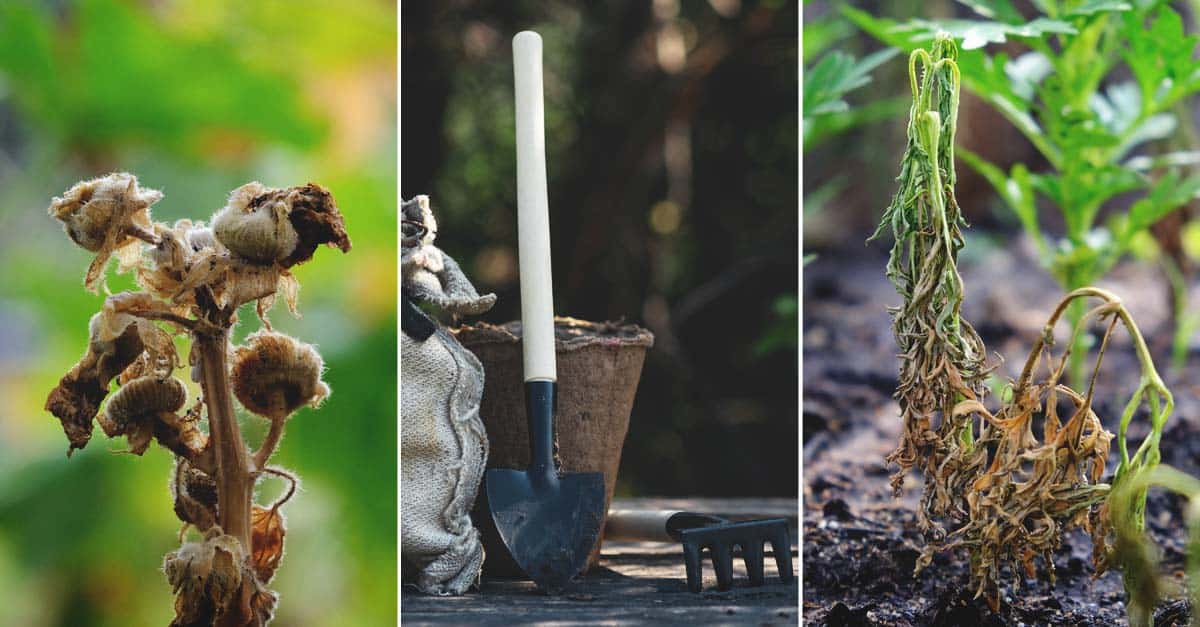
We’ve all heard the hero in a movie say, “Failure is not an option!”
When it comes to homesteading and gardening failure is possible.
If you’re someone who has tried to garden in the past only to have your gardening style fail, can I encourage you? Don’t give up!
I had numerous gardens fail at the start of my homesteading journey, but where there’s a will, there’s a way. I’m going to share with you the steps you should take if your garden keeps failing.
Here’s what you must know to find gardening success:
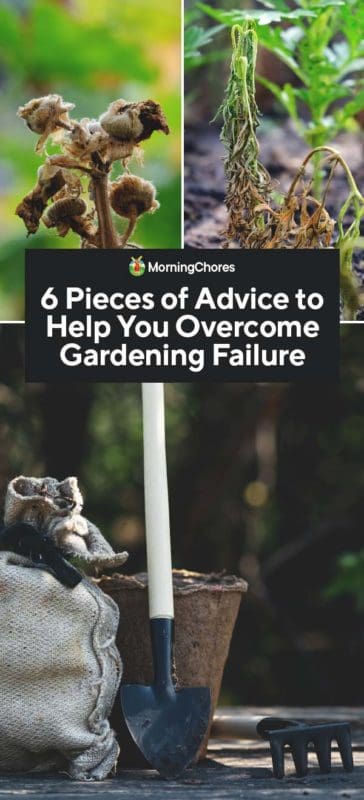
1. Gardening Failure Isn’t Final
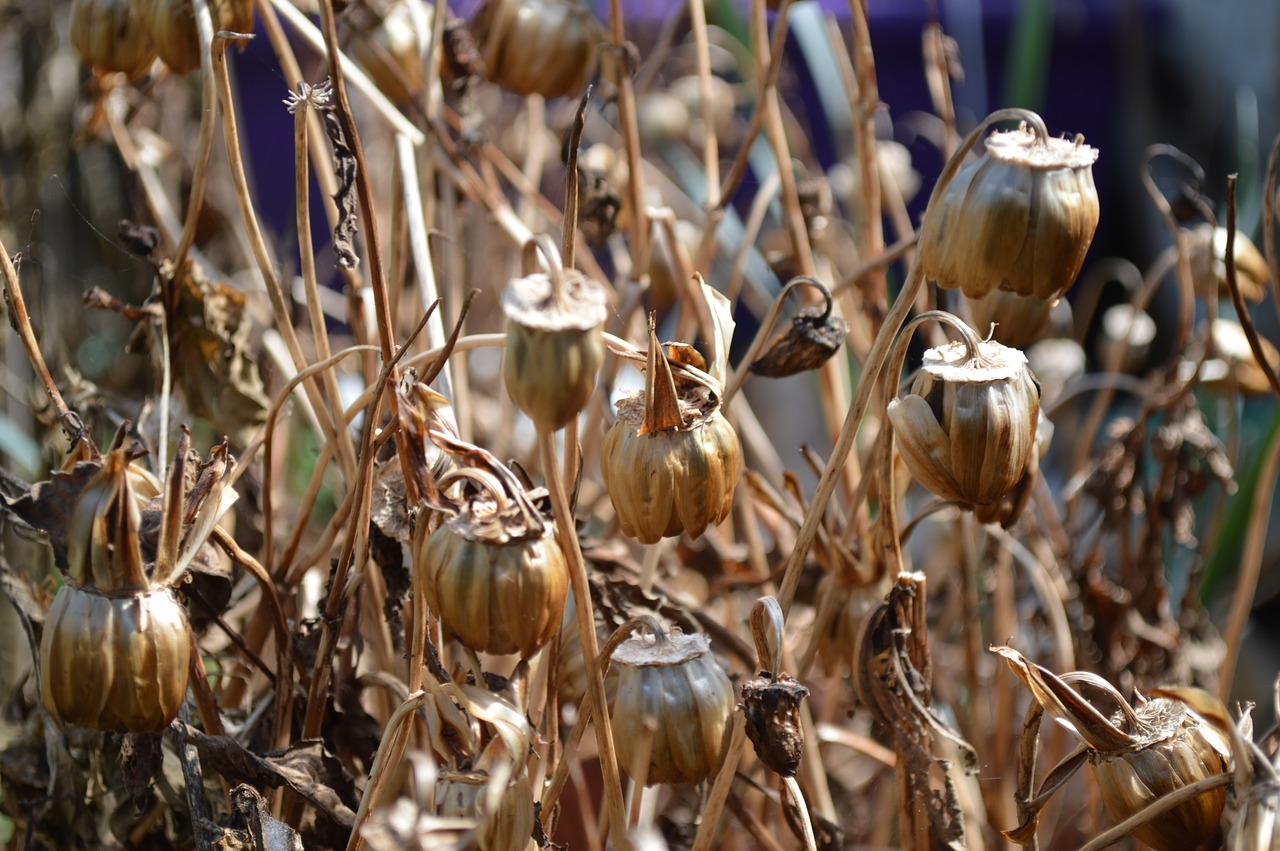
The first bit of advice I’m going to give you is to realize failure isn’t final. Failure is a good thing. I know you’re looking at your computer screen saying to yourself, “This woman is not in my shoes. I need food growing in my garden – not failure.”
Here’s the thing, if you don’t fail, you won’t learn. I learned much of how to garden and homestead from the mistakes I made along the journey.
If you choose to keep going, you won’t fail. You will find a way to grow your own food. It may not be conventional or what you imagined it to be, but you will find a way which works for you.
Plus, with each failure you experience, it’s more knowledge you can pass on to others who are trying to become self-sufficient.
Therefore, turn your failures into experiences and gain knowledge from them. Don’t ever use them as an excuse to throw in the towel.
2. Double Check Your Method
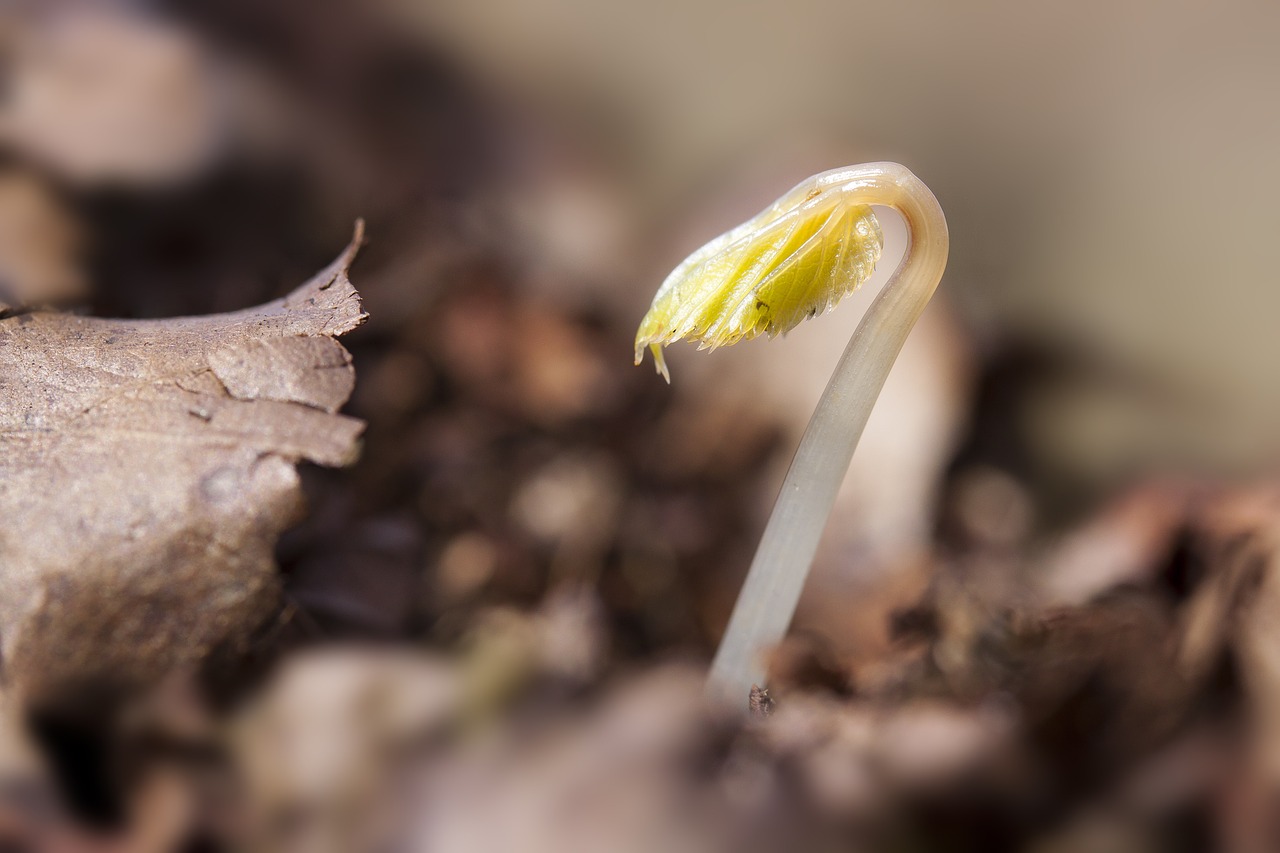
Since we’ve had our pep talk, let’s put the wheels in motion. If you’ve had a bad gardening experience, make sure it wasn’t a fluke.
There are years when specific pests are terrible, a drought occurs, a natural disaster happens, or other unforeseen problems.
It may not have been anything you did or the gardening method you chose. It could’ve been things which happened outside of your control.
Therefore, give your gardening method one more shot. If you’re concerned it won’t produce food and you need the food for survival, utilize a back-up gardening method.
You could grow raised bed gardens along with a traditional style garden. Doing this will double your food producing opportunities while figuring out what happened with your garden in the previous year.
3. Find the ‘Why’
Your garden has failed…numerous times at this point. It’s safe to say the style of gardening chosen won’t work for your area. What now?
You must locate the ‘why.’ It’s vital to know why the garden failed before choosing a different gardening style.
Do you live in an area where you have bad soil? Is your area prone to drought? Are you too busy to care for a large garden, therefore it becomes neglected and fails to thrive?
Are you gardening on a hill? Do you have a short growing season? Are you watering enough?
Or have you recently been forced to downsize and no longer have the land to produce the traditional style garden you do now?
What is it which has changed your circumstances with gardening, or what is it which is making it difficult for your garden to thrive?
When you know why you failed, you’re ready to tackle the problem and find the gardening style which should work for you.
4. Explore All Gardening Methods
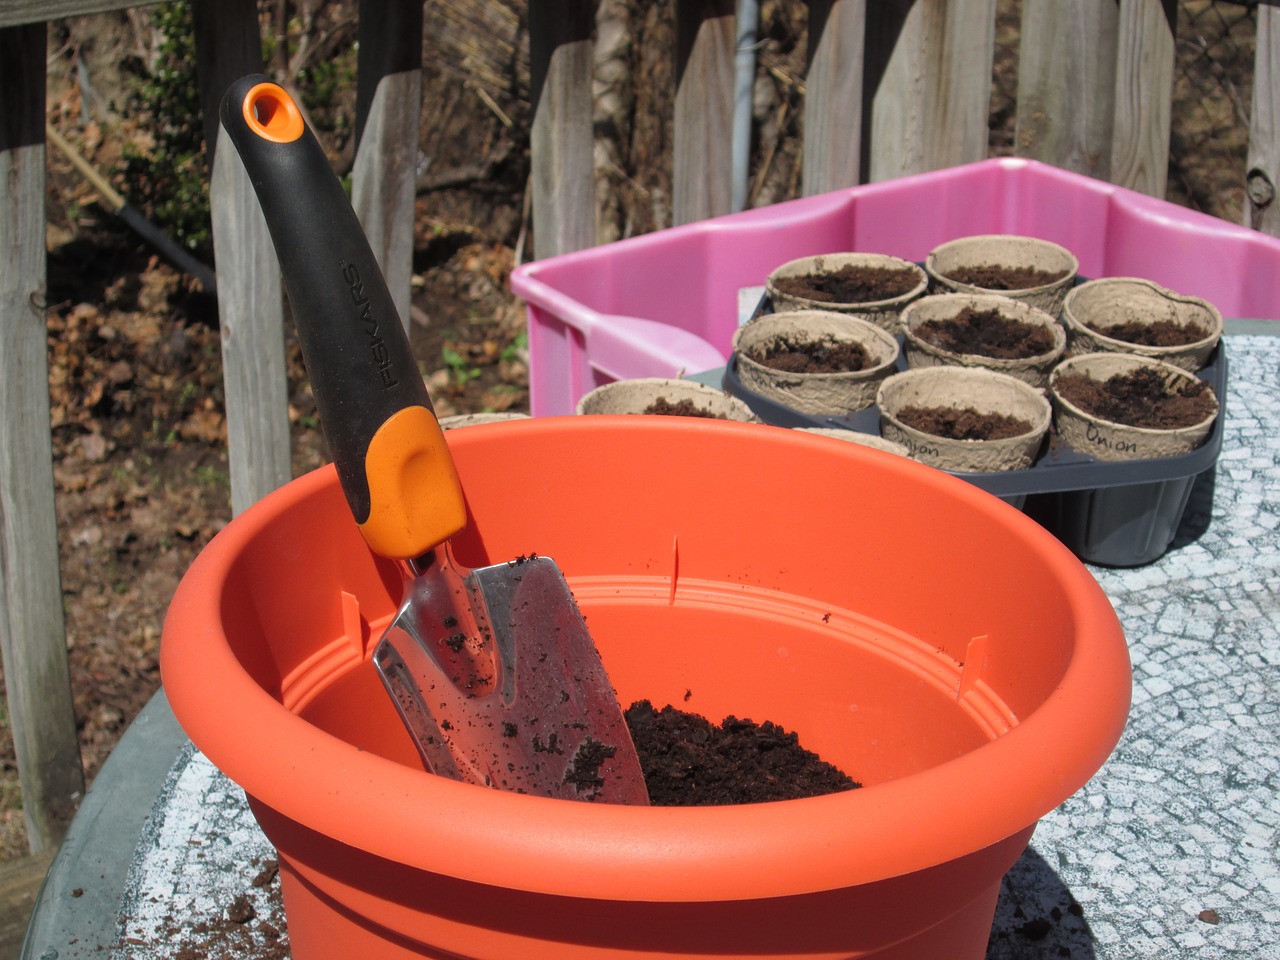
Once you have your ‘why’ to your gardening fail, it’s time to explore all gardening options. If you’re working with limited space you may want to consider:
- Container gardening
- Hanging gardens
- Vertical gardening
- Square foot gardening
- Gardening in a raised bed
- Aquaponics
- Hydroponics
- Upside down gardening
- Window box gardening
If soil is your problem, try the following methods of gardening:
- No-till gardening
- Lasagna gardening
- Hügelkultur
- Raised bed gardening
- Straw bale gardening
- Keyhole gardening
- Aquaponics
- Hydroponics
Do you live in an area where you’re prone to drought, or you don’t have the time to invest in your gardening as you’d hoped? Here are a few methods which may be able to help:
- Hügelkultur
- Core gardening method
- Hydroponics
- Aquaponics
- Keyhole gardening
- Lasagna gardening
Lastly, if you’re working with a difficult terrain for gardening, or if you struggle with having a long enough season to produce crops, there’s hope for you as well:
- Hügelkultur
- Keyhole gardening
- High tunnel
- Greenhouse
- Cold frames
5. Un-do What’s Been Done
After a fair amount of research, you should be able to find a method of gardening which will work for your problem.
You may have to combine it with a few other methods to get everything to where you need it to be, but again, where there’s a will there’s a way.
For instance, if you’re someone who travels a great deal of the time, you may be able to use a gardening method which retains water well.
However, you might have to install a drip irrigation system to work along with it to keep everything watered while you’re away.
Alternatively, consider installing a sprinkler timer to keep watering the garden while you are away, or self-watering planters for your container garden.
When the solution is at hand, it’s time to fix what you’ve done previously to make room for the new style of gardening.
Our first two gardens failed. The first year, we blamed our gardening failure on the virgin ground only to realize when we planted, we had allowed air to get to the roots. It killed the plants almost instantly.
The next year we figured out our mistake, but still had doubts about the soil. We chose to use the no-till gardening method.
However, it didn’t take long to realize our garden was too big for us to use this method correctly. We couldn’t find enough materials to fully coat the ground.
We had a harvest, but we also had a ton of weeds.
Eventually, we decided to incorporate a few raised garden beds, some container gardening, and go with a traditional style inground garden to grow the amount of food we needed.
We also chose to garden in greenhouses to extend our growing season and even allow us to garden year-round. Edible landscaping was incorporated as well.
After we had established what our new plan was going to be, we had to till everything into the ground to make room for our new style of gardening and the proper layout.
This part was rather fun because we got to destroy the garden which had brought a ton of stress into my life.
6. Try, Try Again
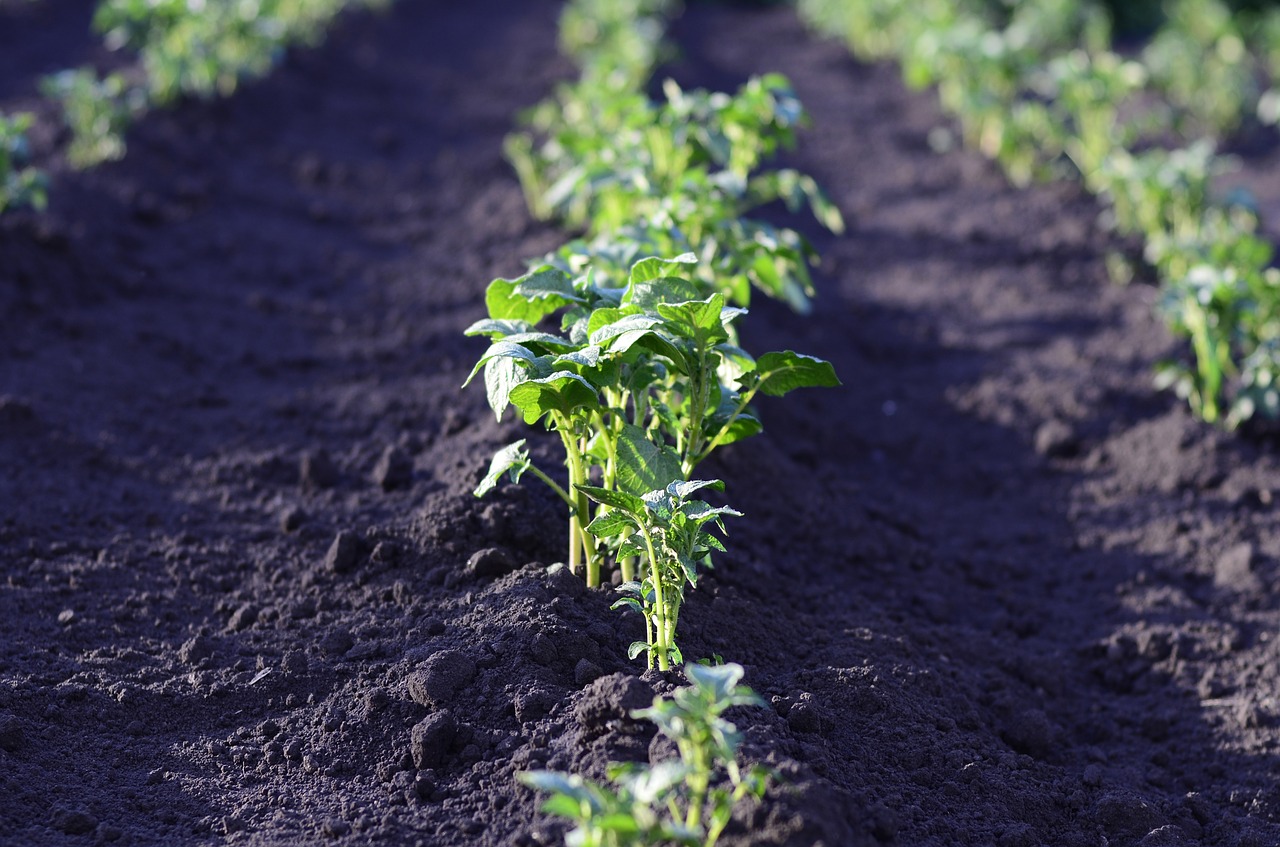
The last stop on our ‘how to fix it’ tour is to keep at it. Put your new gardening plan in place, take adequate care of your garden, and hopefully, it will prosper.
You may still hit a few hiccups on this journey, however gardening evolves over time. It takes time to get your soil in proper shape.
It takes time to learn how to water a garden properly, plant seeds at the appropriate time, and to learn how to harvest, preserve, and store what you’ve produced.
In short, give yourself a break because you aren’t going to be perfect at any method of gardening right off the bat.
If you set yourself up for success, you may experience gardening failure a few more times, but eventually, you’ll get there with more knowledge than you started with.
This is what makes gardening great. You not only grow your own food, but you get an education too.
I hope these steps have encouraged you to keep pushing forward, keep exploring, and keep trying your hand at gardening.
Gardening failure is only final if you allow it to be. Don’t let it be final. Dig deep to learn where you went wrong and do research to correct the problem.
Just because one gardening method failed, it doesn’t mean they all will. We hope your perseverance will produce a bountiful harvest soon!
