Do you enjoy the flavor of a homegrown tomato?
Would you like to grow your own tomato plants, but you have limited space? I have exciting news for you!
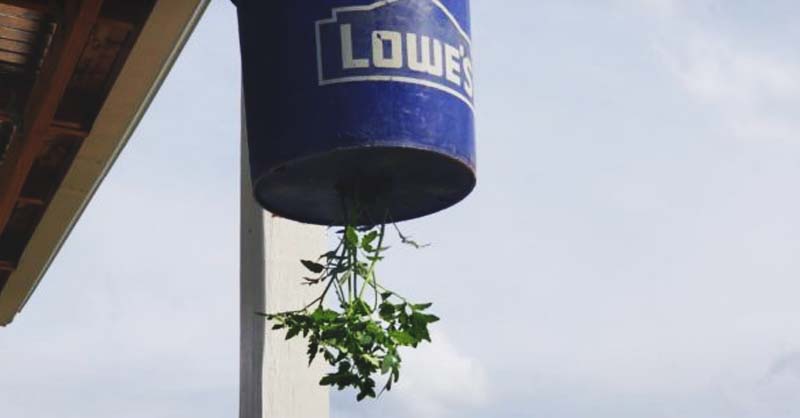
If you have an outdoor space where you can hang a plant, you can now grow your own upside-down tomatoes.
I have room to grow a garden, but I still remember years ago on TV I saw someone had created an upside-down tomato planter. It’s all you would see on television commercials.
When I was telling my kids about it, they became fascinated. I decided to create my own upside-down tomato planter and show my children how you can grow a tomato plant in this way.
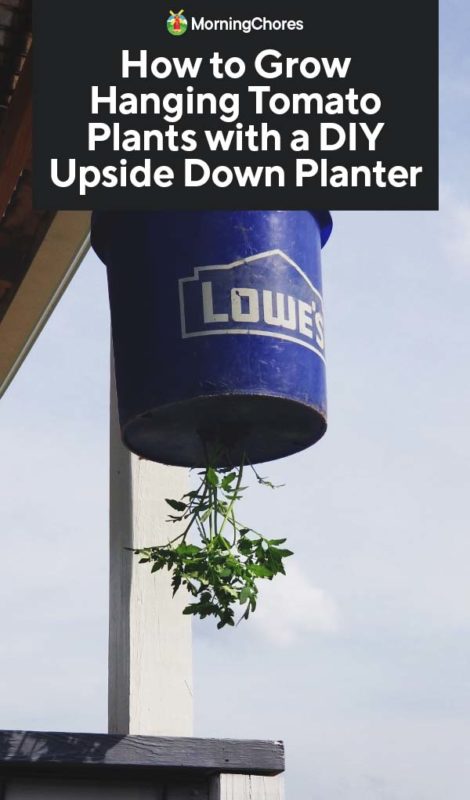
If you’re curious or would love to grow your own tomatoes in limited space, here’s how you go about it:
You’ll Need:
- 5-gallon plastic bucket
- 1 (or more) tomato plants
- Potting soil
- A sharp object which will cut through plastic (I used a drill)
1. Prepare Your Bucket
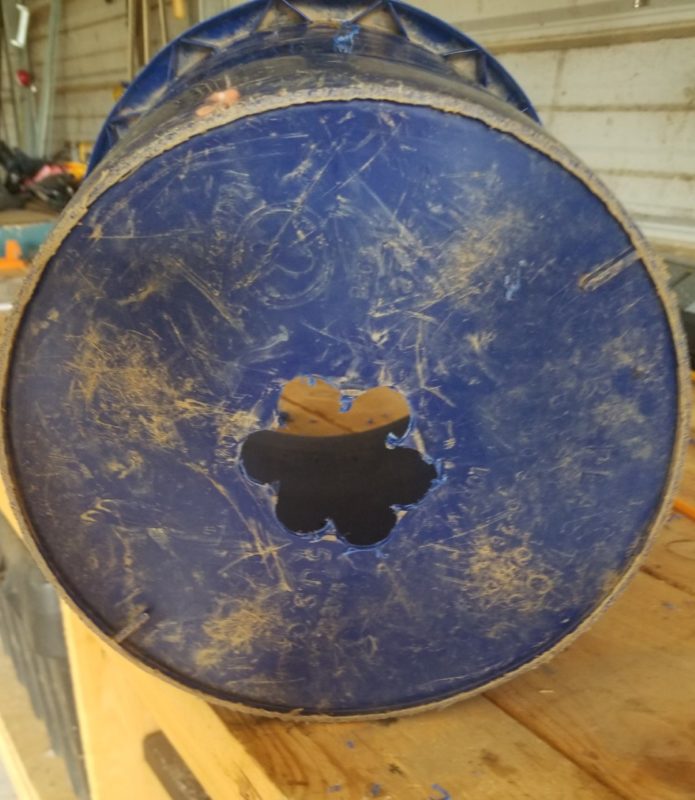
You can purchase a planter to hang your tomato plant in and grow it upside down. However, if you’re working on a limited budget or don’t want to invest a great deal of money into a planter, you can make your own easily.
To start, pick a 5-gallon plastic bucket. It’s important to choose this size to make sure it will hold enough soil and moisture for the plant to thrive.
Cut a hole in the bottom of the bucket. It should be approximately 2-inches in diameter. This will give the tomato a place to stick out but won’t be big enough for the entire plant or soil to fall through.
You may need to make the hole larger or smaller depending upon the size or amount of tomato plants you’re growing in one planter.
2. Pick Your Tomatoes
Choosing the proper type of tomato to grow upside down is important to find success when growing tomatoes in this fashion.
If you’re an experienced gardener, you can attempt to grow a larger variety of tomatoes in an upside-down bucket.
However, smaller varieties seem to handle this growing method best. Therefore, choose a cherry tomato variety or Roma tomatoes to grow in your planter.
The most important qualities to look for in tomato is making sure they’re healthy, and they have strong, durable stems.
If you start off with a quality tomato plant, your chances of success will obviously be much higher than if you don’t.
3. Put the Tomato in the Bucket
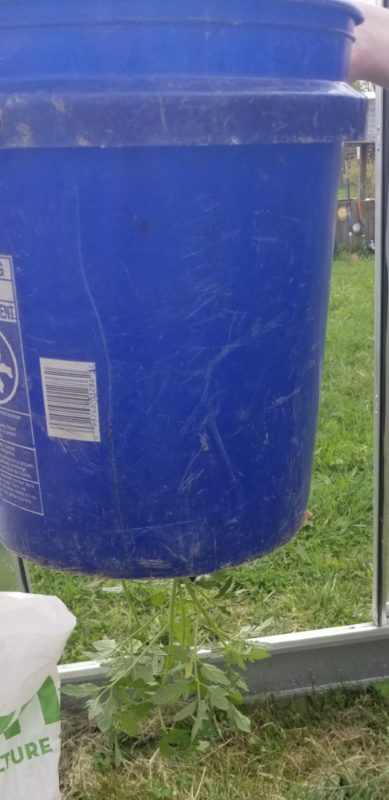
This step is the quickest and easiest step of the entire process. It’s also when things begin to come together for this exciting method.
Remove the tomato plant from its packaging and place the root through the hole of the bucket. Unless you have a friend helping you along with this set-up, it’s a good idea to put the bucket on its side.
It will ensure your plant doesn’t get damaged while you’re trying to get it appropriately situated. Make sure the bucket doesn’t roll around and cause damage to your tomato plant between this step and the next.
I purchased a 4-pack of cherry tomato plants and decided to place them all in my upside-down tomatoes planter.
Therefore, I placed each one in a section of the hole. The lip of the bucket helped hold them in place, but I did require help to have someone hold the bucket during placement.
4. Add the Soil
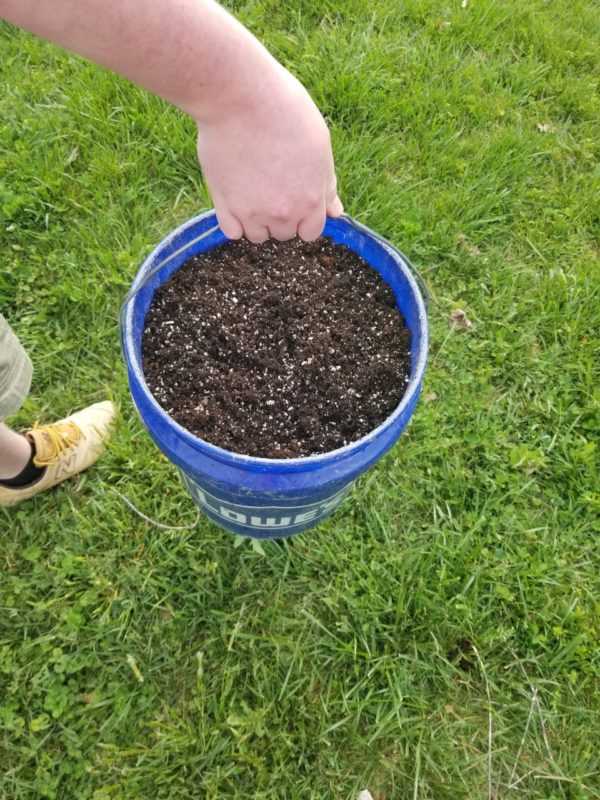
Your tomato is in place; it’s now time to add the soil to the planter to give nutrients to the plant, allow moisture to get to the plant, and to hold the tomato plant in place.
This is the somewhat tricky part. You can’t use any soil. Using wet potting soil is important. It may sound like a funny request, but I promise, there’s a reason.
Potting soil is much lighter than other types of soil. It will make it easier for the roots to grow upwards and get what they need from it.
If the roots can’t grow in the soil, the plant will die.
It’s essential for the potting soil to be wet because this will get immediate moisture to the root of the freshly planted tomato.
If you don’t add wet soil, it could make it harder for the freshly growing plant to get the water which will help it avoid shock because it’s harder to get water to a plant growing upside down.
Lastly, if potting soil is dry when being applied, it will only continue to dry out from there. As potting soil dries out, it goes from being a sponge to almost concrete.
It will refuse water going forward which again, will cause your plant to die. Be sure you fill the bucket up with wet potting soil for a positive growing experience.
5. Hang and Care
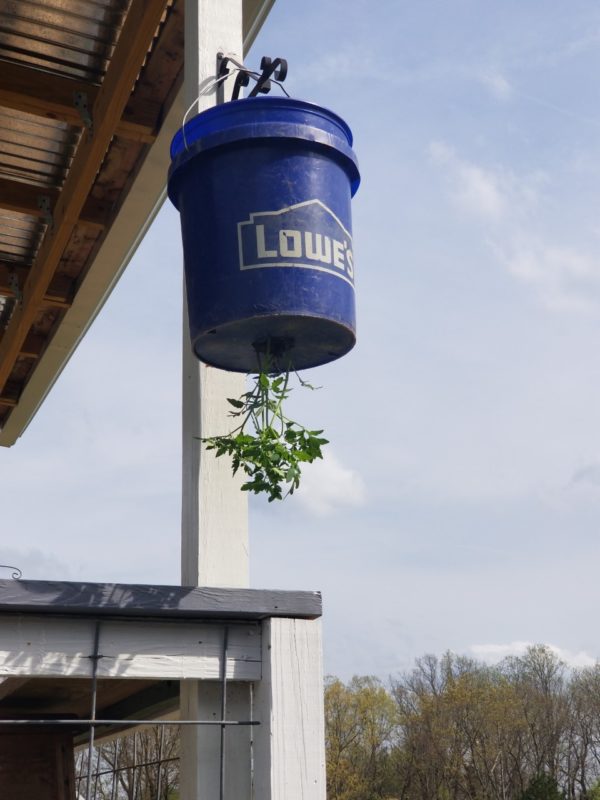
Your upside-down tomatoes are almost ready to do their thing and bring you lots of delicious tomatoes. The last step is to hang the plant where it will get the rest of its needs met.
Hang the planter where it will get a minimum of 6 hours of sunlight every day.
You will have to water this type of plant more frequently than you do typical plants in the ground or regular pots.
The reason being, the soil must be moist for the roots to get what it needs. When water is being poured down, and the roots are growing up, it’s the opposite of the plant’s natural process.
Make sure the soil stays moist by watering it once a day. When the temperatures begin to rise to the mid-80s, it’s time to start watering the plant twice a day.
I chose to hang my planter on the side of my porch where our gutters let rain runoff. It helps to keep my plants watered and relieves some of the load from my shoulders.
Be sure to care for your tomato plant by fertilizing it once a month or more (depending upon the type of fertilizer you use and package instructions.)
Also, if you see any dead parts on the plant, be sure to prune them and harvest your tomatoes regularly. The more you harvest, the more it will encourage the plant to grow.
Hopefully, this has inspired you to grow tomatoes no matter where you live or how much land you have. If nothing else, maybe it’ll be a fun experiment you can try with the kids or grandkids.
It’s interesting to see how plants can adapt and thrive in different growing conditions. It’s our hope you’ll enjoy many fresh upside-down tomatoes this year.
You might even have a few interesting stories, tips, or tricks you can share with those around you when you tell them about your gardening success which all started with upside-down tomatoes and a bucket. Happy growing!
