If you read any of those “Things I wish I Knew Before I Started Homesteading” kind of blog posts, you’ll hear this common refrain: “Homesteading is expensive.”
On one level, I fully agree. I spent way more money than I ever should have during my first few years of homesteading. However, now with the benefit of hindsight, I know better.
Homesteading doesn’t have to be expensive. However, it does have to be strategic. If you don’t start with a plan and a budget, then the costs of homesteading can quickly get out of hand.
If I were starting a homestead from scratch today, here’s what I’d do to get great results for only about $500.

How to turn your Home into a Homestead
Step 1: Raise Livestock for Meat
Becoming a good gardener takes years of practice. But getting ready to raise livestock for meat is something you can start over a weekend. That makes it one of the easiest and most rewarding ways to kick off your homestead journey.
All livestock require daily care. You should expect to have a learning curve and to navigate some challenges along the way. However, livestock raised for meat have a finite lifespan. That means you get a chance to make sure you enjoy working with livestock before you dive into long-term commitments like keeping a laying flock or having a dairy goat herd.
Additionally, if you raise your livestock for meat exactly where you plan to put your garden, you can save yourself some work. Feeder pigs, broiler chickens, or other meat sources can till and fertilize your soil to help get it ready for growing food.
Pick one of these great options to start raising animals for meat at home.
Meat Option 1: Broiler Chickens
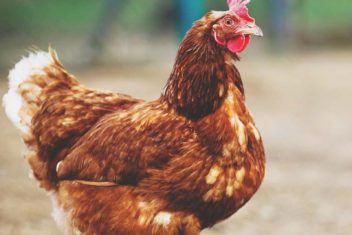
Raising broiler chickens and using a chicken tractor, is one of the easiest ways to have your own meat source. In spring, you can pick up Cornish-cross chicks at the farm supply store for about $2.50 each (or you can order them from hatcheries). They only take about 9-10 weeks to raise which makes them a quick meat source as well.
– How Many?
Since you have to butcher these at home to be cost-effective, only start with as many birds as you can reasonably process in a day or two. Also, consider your storage capacity. About 20 chickens is usually a manageable number for beginners.
If you cut your broilers into breasts, thighs, and wings and package in meal size increments, you can fit most of these in the freezer of your fridge/freezer combo. So, buying an extra freezer isn’t required. You can use the rib, spine, and neck bones to make bone broth which you can reduce to a concentrate for compact storing.
You’ll likely lose a few birds before they reach maturity. So, you don’t want to start with too few either.
– Getting Started
To raise chicks, you’ll need a brooder box, two brooder lamps (for redundancy), and litter (e.g., straw, pine shavings, shredded paper). Cardboard boxes from appliance purchases work well for this.
Once your chicks have put on weight and feathers, you can move them onto grassy or weedy areas using a chicken tractor. You can often find metal roofing materials and more at salvage shops for just a few dollars. This can help keep construction costs low.
– Chicken Clearing
Start your chicken tractor in one section of what will eventually be your garden. When the chickens have cleared all the grass, weeds, and insects, move the tractor over a space. Repeat this process until your entire new garden area has been weeded, lightly tilled, and fertilized by your chickens.
– Chicken Feed
You’ll also need to buy chicken feed. Cornish Cross chickens were bred for their ability to fatten quickly on less feed than many other chicken breeds will require. On average, studies show it takes about 2.5-3 pounds of feed for every pound of chicken.
So, if you raise your broilers to 6 pounds each, that’s 15-18 pounds of feed per chicken. There will be some spillage, so planning about 25 pounds of feed per bird ensures you don’t blow your budget. If you buy in bulk from local feed mills, you can find meat bird feed for $0.30 per pound (or less).
Broiler Chicken Cost Estimate
- 20 Chicks – $55
- Brooder Lamps – $30
- Brooder Box – $0
- Chicken Tractor – $75
- Chicken Feed – $150
- Miscellaneous (Waterers, Litter, etc.) – $25
Total: $335
Meat Option 2: Feeder Pigs
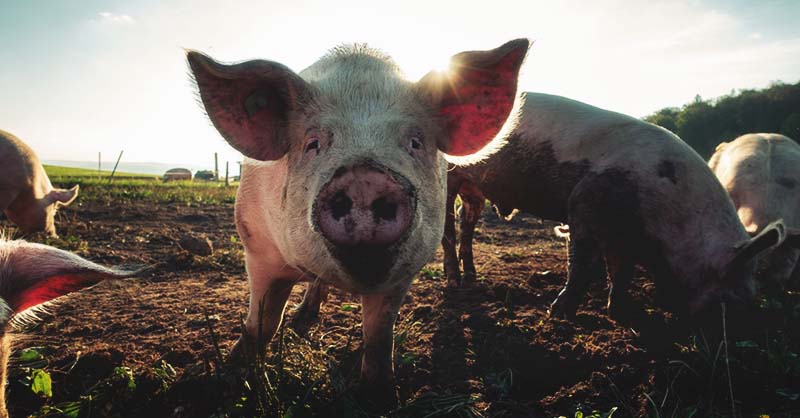
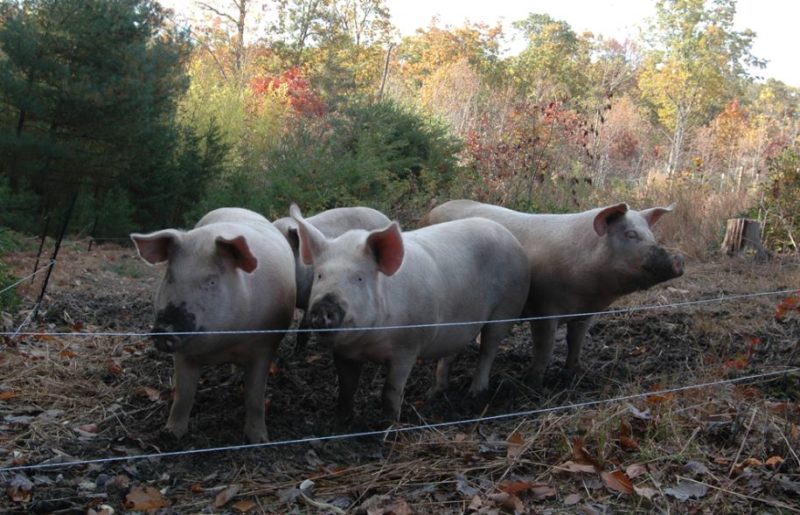
Pigs are very easy to raise, but a bit more difficult to process. Generally, for feeder pigs, you’ll want to keep them until they are about 180 pounds. At this size, even a 145-pound woman (like me) can do the processing herself.
You will need a gun and a good butchering knife for processing. But you can usually borrow these or get friends who hunt involved in exchange for meat, so you don’t have to buy these.
– How Many?
Feeder pigs sell for $25-40 each. Pigs are pack animals. So plan to start with two pigs to keep each other company. They are usually white and have been bred to fatten quickly. If you buy your pigs at eight weeks old, it will take about four months from that point to raise them to be ready for processing.
– Getting Started
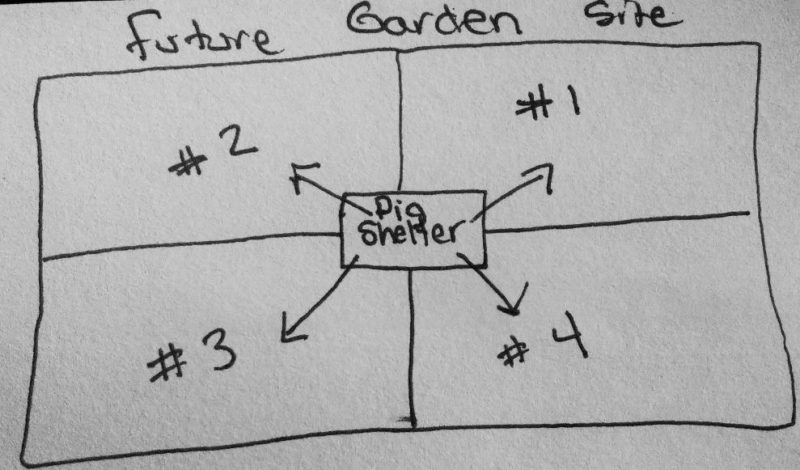
If you raise pigs in good weather, they only need a simple shelter and fencing to get started. Pig shelters can be made from pallets, hog panels, culverts, and more.
With a little ingenuity and salvaging, you can often come up with a suitable pig shelter for just the cost of hardware. It should be something easy to move or dismantle. Ideally, you’ll want to locate it at the center of what will eventually be your garden area.
Additionally, you’ll need some fencing. An electric charger and temporary wire tend to be the easiest and most effective way to keep feeder pigs. A fence charger that will be effective for pigs will run you about $100. Sometimes you can find used ones for less. Plus you’ll need plastic posts, the wire, and a grounding rod.
– Pig Plowing
Give your pigs ¼th of what will be your future garden by running the electric fence around their house and one corner of the future garden. When they have completely dug out all the weeds in that section, run the fence around the next quadrant of the garden so the pigs will plow that new area for you. Repeat until your whole future garden is effectively tilled.
– Pig Feed
Pigs eat more feed per pound of meat than chickens. On average, it takes about 3-4 pounds of feed for each pound of pig. To raise two feeder pigs to 180 pounds each, it can take as much as 1400 pounds of commercial feed.
Pig feed bought directly from feed mills often costs less than $0.20 per pound. However, to make pigs cost-efficient on the homestead, you’ll also need to source free or lower cost feed too. Outdated food items, some kinds of restaurant waste, crop residues (e.g., sweet potato vines, overstock cabbage, etc.), and your food waste can all be used to lower costs.
Pigs also need a lot of water. Salvaged 55-gallon drums converted to waterers work well for pigs.
Feeder Pig Cost Estimate
- 2 Feeder Pigs – $70
- Pig Shelter – $25
- Pig Fence – $150
- Pig Feed – $200
- Miscellaneous (Waterer) – $25
- Total: $470
Meet Option 3: Ducks or Rabbits
Ducks or rabbits also make great meat sources for the small homestead. For them to be cost-effective, you need to keep your own breeders and use their offspring to produce meat. That means you’ll need more infrastructure to begin with, such as permanent housing.
You’ll have to get good breeding stock and wait for them to reach sexual maturity before they can reproduce. You’ll also need to provide food and water for the duration of their lives on your homestead.
If you are sure that you’re in homesteading for the long-haul, it’s totally worth breeding your own ducks and rabbits to have a continuous supply of delicious and nutritious meat. You’ll need to budget more time and a bit more on infrastructure to get started.
I would up my budget to about $750 for either of these options.
Step 2: Improve Your Soil
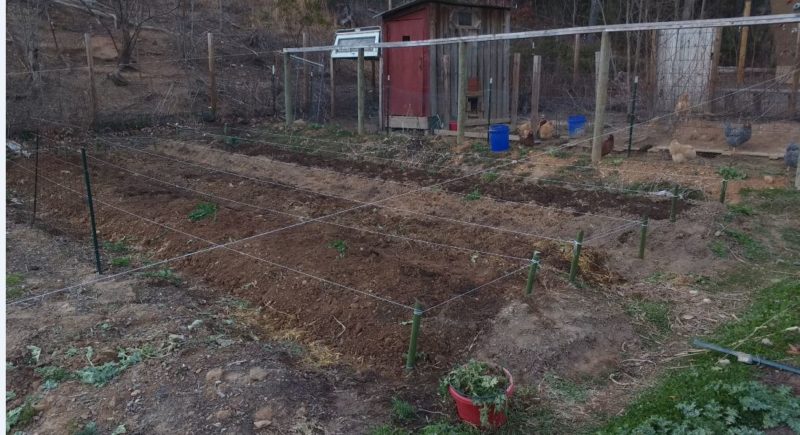
You don’t need a compost bin to start composting. To kick up the biological life in your soil, I recommend you trench compost.
– Double Dig(ish)
After the pigs or chickens have cleared an area of your future garden, start to double dig your garden beds. Put a tarp on the ground next to where you are digging. Dig a 1-foot deep trench along the length of your tarp. Put the soil you dig out on the tarp.
Loosen the soil in the bottom of your trench using your shovel. This creates air spaces for deeper soil improvements down the road.
– Trench Compost
Rake any nearby piles of pig poop or chicken poop into the trench. Add anything you would typically compost on top of that.
Keep adding until you have at least 4 inches of compostable material in that trench. Make sure there are lots of brown stuff like leaves in there to create air spaces. Then, flip the dirt from the tarp back into the trench on top of the compost.
– Cover Crop
Immediately plant a cover crop over the area you worked. Tillage radish, mustard, or crimson clover are good for cooler weather. Buckwheat is better for warmer weather.
When the cover crop reaches mature size, just before flowering, lightly till it using a hand tiller or shovel. Repeat this process for all your garden beds each time after you move your pigs or poultry.
Soil Improvement Cost Estimate
Cover Crop Seeds – $10-15
Note: I assume you have a few garden tools or have a family member with extra to give you. But if not, you can also get these cheap at flea markets. Old tools may need a little TLC, but they are often much better quality than newer versions.
Step 3: Start a Garden
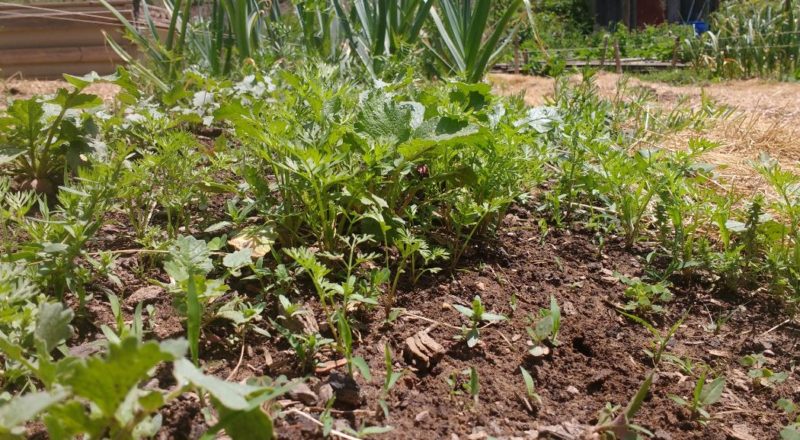
Now that you’ve prepared your soil using livestock, trench composting, and cover cropping – it’s time to start growing some food.
– Poop Planning of Planting
According to US food safety guidelines, for vegetables grown in direct contact with the soil, you want manure to be aged at least six months at the time of harvest. If you only took your livestock off your garden area three months ago, then you’ll want to plant food that grows above-ground. Trellised cucumbers, tomatoes, beans or tall plants like okra and peppers work well.
Alternatively, you can plant things that will take at least three months to harvest. For example, slow-growing ball head cabbages, Brussels Sprouts, pumpkins, onions, leeks, and garlic would all qualify. Wait almost the full six months before planting any baby greens or salad radishes.
– Seeds and Starts
Trying to take on too much before you know your soil and build your skills is stressful and often ineffective. For your first garden, start by growing up to 10 vegetables plus a couple of herbs.
You can often find ready to transplant vegetable seedling starts for $1 each (or less) at farmers markets or country stores. It is a great way to get started growing vegetables without a lot of work.
If you want to start plants from seeds, pick varieties that are described as being easy to grow or suitable for beginners. Save money by asking gardeners you know to share seeds.
– Start Small and Simple
Start seeds in the ground, so you don’t need special equipment for seed starting. Use plastic bottles as mini-greenhouses in cooler weather. Water plants using homemade watering cans from recycled gallon bottles.
Gardening well is the hardest part about homesteading. Start small. Then, take the time to understand how things grow and how the soil influences the growth process. This all is critical to long-term success. Study up on tips for each specific vegetable.
Garden Cost Estimate
$15-25 for seeds or seedlings
Homesteading Cost Savings
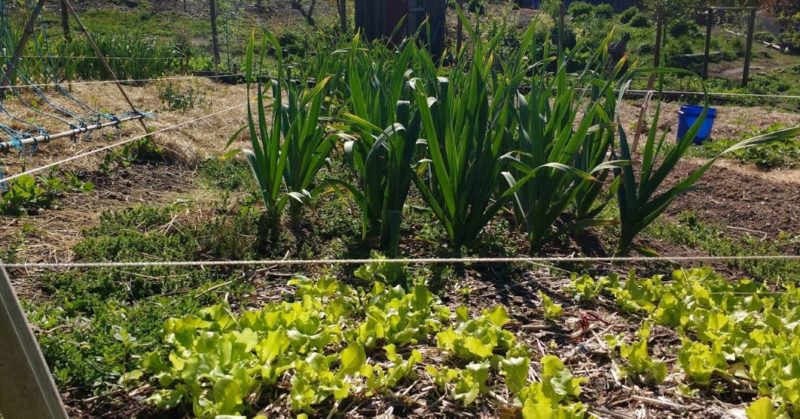
By setting a budget and starting with a strategic plan, you will save hundreds (to thousands) of dollars worth of mistakes. You also ease your way into homesteading, while building skills, raising your own meat, improving your soil, and growing a few vegetables.
Even with your investment in infrastructure, as long as you start simple, you can immediately save money over what you would have spent at the grocery store for similar quality food. Then, each year after the first, your savings start to add up to thousands of dollars over time.
Those savings can then be applied to other homesteading start-up costs such as building a chicken coop to house a permanent laying flock. Or, maybe you want to add a dairy herd to your line up and start making cheese!
Even if you don’t follow these steps to the letter, start small and be strategic in your choices. Do that, and “homesteading is expensive” won’t have to be one of the “wish you knew” on your homesteading list!
