You’re likely to find a broom in pretty much every home on the planet. Our distant ancestors made brooms to sweep out their cave dwellings, and you can rest assured that castles and manor houses had brooms as well. A home without a broom will have a messy floor indeed! Today, you can buy them – but why not make a broom yourself?
These essential implements are both easy and fun to make at home and you can use materials that are cheap or even free.
What is a Broom Made Of?
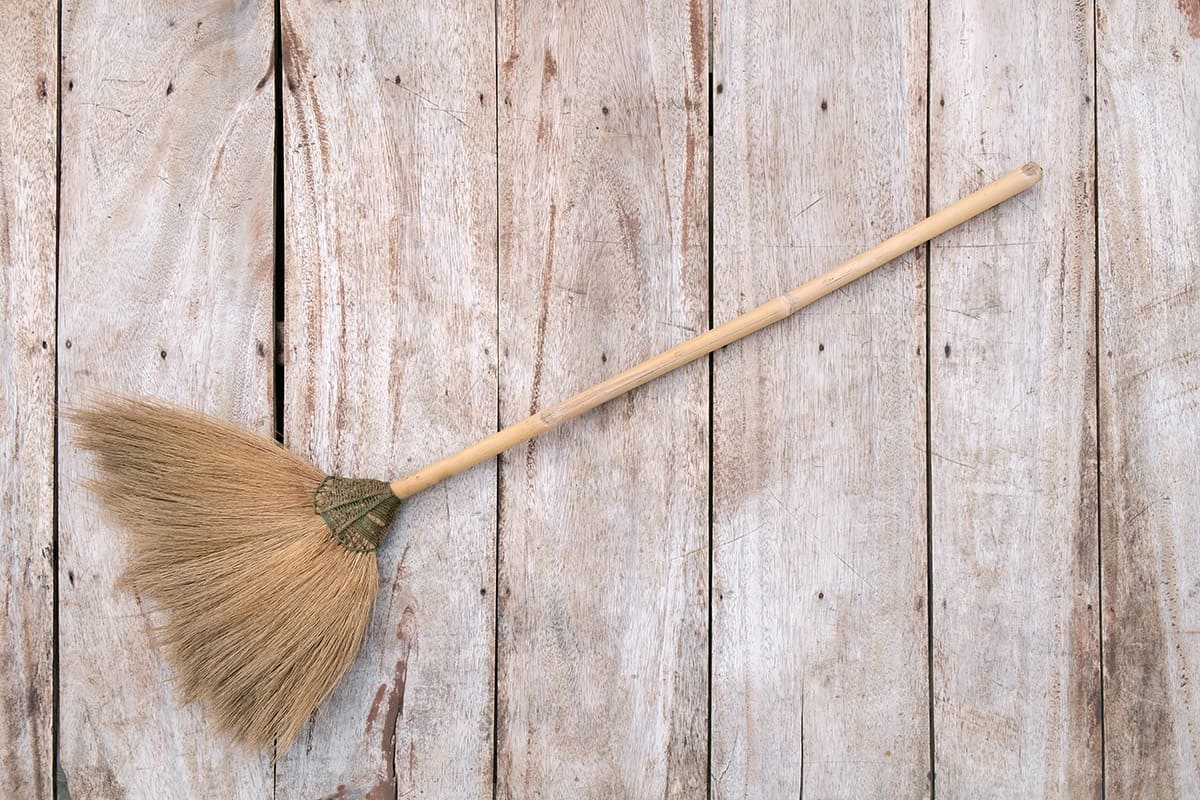
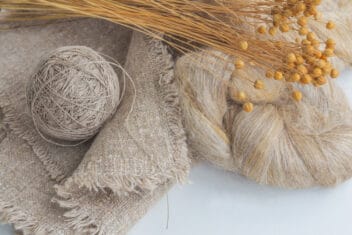
The most common materials used to make brooms are straw or broomcorn (Sorghum vulgare). As you may have guessed from its botanical name, the latter is a member of the sorghum family. It has a long, thin, sturdy stem that’s ideal for making brooms, which is how it earned its common name.
Ultimately, however, brooms can be made of whatever you have on hand. People have made them from various types of plant matter, simply tied to a stick. Basically, they’ve used whatever can be used to collect dust and detritus from the corners so it can be collected and taken out the door.
For the sake of aesthetics, most people like their house brooms to look tidy and neat. Don’t get me wrong: a well-tangled besom made of ivy would look great in a witch’s cottage. That said, it might not be ideal for getting cat hair out of your kitchen.
How to Make Your Broom
If you’re aiming to create a beautiful-yet-efficient broom, collect the materials listed below.
What You’ll Need:
- At least 14 one-inch-thick bunches of straw or broom corn, at least 16 inches long. The longer the broomcorn (or straw), the larger the broom will be. Aim for about 2.5 to 3 lbs for your broom.
- A broom handle: You can buy 1 1/2 or 2-inch diameter dowels at the hardware store or look specifically for broom handles online. For a standard kitchen or household broom, aim for a 36 to 48-inch handle. Alternatively, you can use a sapling or thick branch from the forest. Whether you leave the bark on or take it off and sand everything smooth is up to you.
- Sturdy twine, cord, or string: I like heavy nylon cord for tying the bundles and waxed hemp string to sew with. Consider using different colors to add some brightness to your broom.
- Long needle: Look for a straight, extra long tapestry or doll-making needle.
- Scissors
- Sharp knife or small hatchet
- Drill with 1/8th inch bit
- 6-8 inch piece of leather or jute cord, any color you like
Prep the Broomcorn
Measure out the various lengths of broomcorn and cut them so they’re all the same size. Next, divide them into the aforementioned 10 bundles, all with the same thickness. Finally, use a bit of twine to tie each bundle together tightly. If you want your broom to hold together for a good, long time, you’ll want to secure them very firmly.
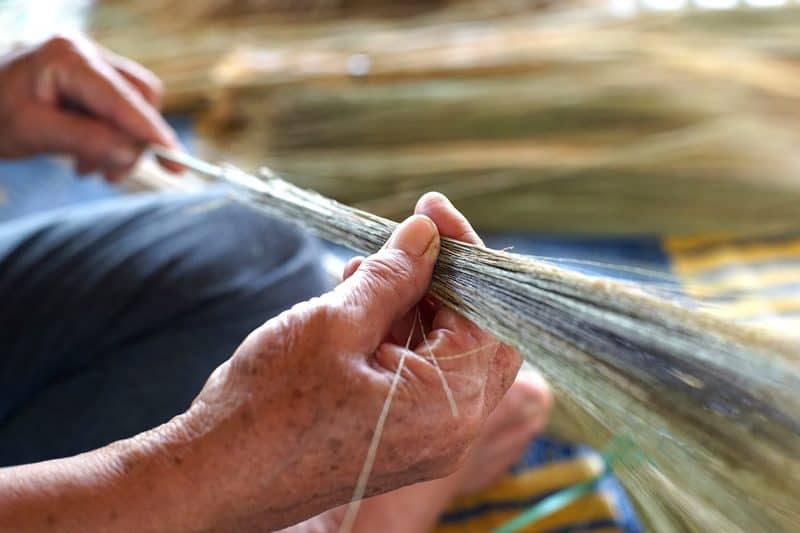
Now, shake the bundles out thoroughly to get any dust, stray bits, or spiders out. Then, soak them in a bucket of hot water for 10–20 minutes. Once they’ve soaked, lay them out on a towel within easy reach.
Get the Handle Ready
Take that broom handle of yours and decide which end you like better. Then use that sharp knife or small hatchet to sharpen the opposite end. This end is tapered so it won’t interfere with the sweeping motion.
Next, take your drill (with its 1/8th inch bit) and drill a hole through the handle about an inch above where it starts to taper sharply. If you want the straw to stay in place, you’ll need to tie it firmly onto the broom. This drilled hole is where you’ll pass the string through to make that magic happen.
Start Gathering Bundles Together
Take two of your broomcorn bundles and arrange them, so they’re aligned. Then cut a long piece of twine, and tie these two together tightly. Again, remember that the tighter you tie these, the more durable your broom will be (and the longer it’ll last).
Push the end of that string (or twine) through the hole you drilled into the handle. Place those two pieces of tied broomcorn against the handle, and tie them on tightly.
Next, tie another broomcorn bundle onto the back of the handle. Make sure it’s tied on securely, and then tie another one next to it. The four bundles should create a square shape around the sharpened end of the broom handle.
At this point, you need to determine whether you’re going to be making a round broom or a flat one. If you want to make a round broom, you’ll keep tying bundles on in a circle. In contrast, if you want a flat broom, you’ll arrange six (or more) broomcorn bundles flat on one side of the original two. Then, you’ll tie another six on the back to create a flat, fan-like shape.
Whichever shape you decide on, make sure you tie all of these pieces on securely.
Tie Around the Outside
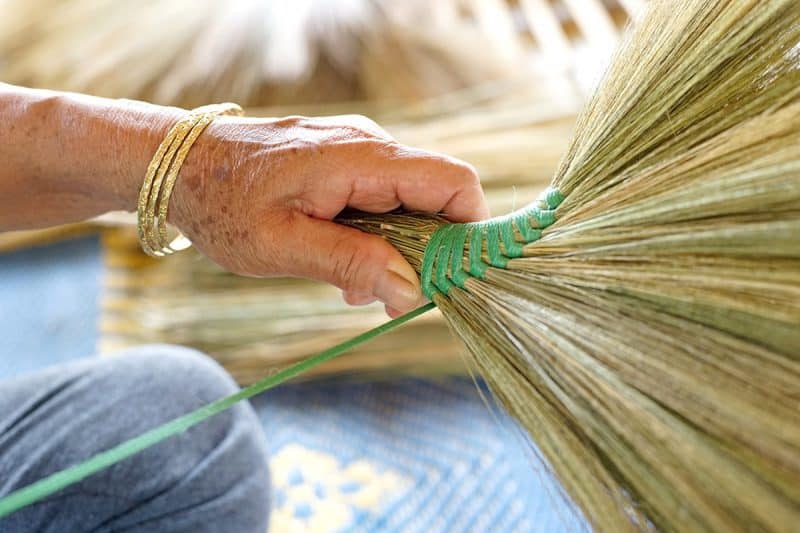
Take some of that contrast string or cord and wrap it around the broomcorn around 1 inch from the top. Wrap it around eight or nine times, getting tighter and tighter each time around. Tie this off tightly and cut the string, leaving about 8 inches of tail.
Once that’s done, you have two choices. You can either weave some more string over and under the stalks in a spiral pattern to secure them further or repeat the tying process a couple of times. If you want to make a weaving pattern, simply move the string under and over alternating stalks.
This only works if you have oddly numbered stalks, so if there’s an even number, split a thick one in half with your knife and carry on. Weave for about 3 inches, give or take.
Alternatively, if you just want to tie the stalks again, repeat the tying process twice, over 3 to 4 inches along.
Time to Get Sewing
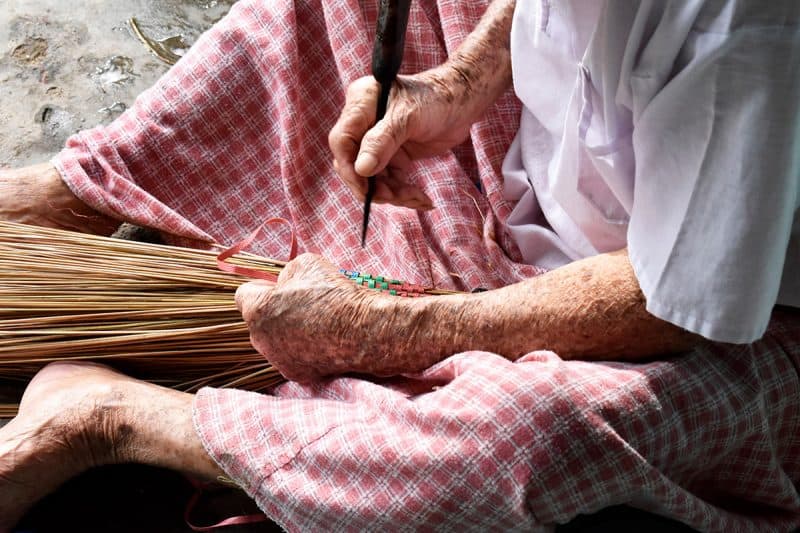
Grab that waxed hemp string (or cord, or whatever you’ve used to sew with. Measure out and cut at least a couple of yards’ worth, plus a bit extra for good luck. Thread this through your extra-long tapestry needle, and tie the ends together.
Grab a small section of broomcorn at one side of the bundle, and tie the string around it in a “lark’s head” or “cow hitch” tie. Pull this tightly, as it’s the foundation tie for sewing.
Different people have a variety of different sewing techniques for securing the rest of the broomcorn or straw. I like to repeat a cow hitch stitch all the way across, tying a knot after each one. When you’ve reached the other side, turn the broom around and repeat this process. You should have a double line of stitching by the time you’re done.
To finish this off, tie the knot of your choice, and then push the needle through the bristles horizontally, as far as it’ll go. Draw it up through a gap, and cut the needle free. Keep it somewhere safe so you don’t impale yourself or any children, pets, house-elves, etc.
Finishing Touches
If your broom bristle ends look a bit unruly at this point, give them a trim. Use your scissors to cut the uneven bits off the ends so they’re all the same length.
Hanging your broom on the wall is a great way to preserve the bristles. Normally people prop theirs up in a corner, which leads to misshapen straw. Instead, grab that drill and make a hole about 2 inches from the top of the handle.
Thread the leather or jute cord through this hole, and secure it with a double or triple knot. Then create a hook (or hammer in a nail) wherever you’d like for easy access. If your broom turned out as beautifully as you imagined, consider hanging it in a place of honor. A kitchen wall is perfect for this, as is a hallway or bright corner.
Alternatively, if you created an efficient-but-hideous travesty, hang it in a closet instead.
Whether it’s beautiful or not, you’ve created a magnificent piece by hand that’s worthy of your adoration and care. Keep it dry, don’t use it to sweep up grease or anything that’s gone rotten, and use it with love.
Additional Notes
If you can’t get your hands on straw or broomcorn, you can make the broom with various bits you have on hand. Basically, anything that can help to sweep out your space. Dried corn husks are ideal for this, as are birch or cedar branches.
Should you find out that you really like making brooms, consider trying to get your hands on an antique broom cutter. You’ll be able to make some really beautiful ones to sell or trade, especially if you get creative with color integration and twine tying.
