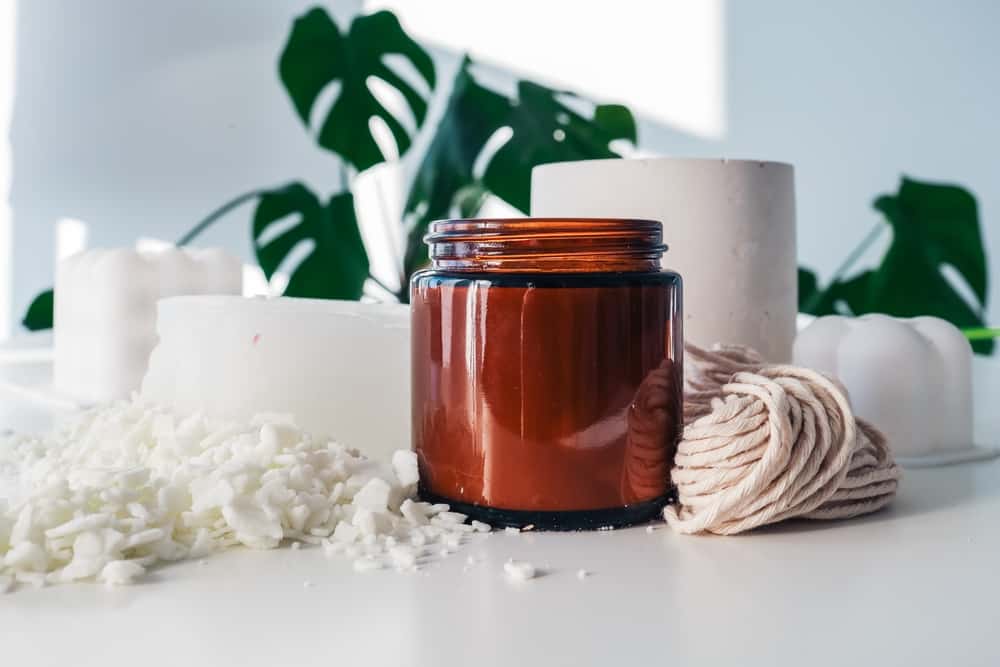
Scented candles are the perfect way to bring elegance, fragrance, and warmth to your home. But buying candles can be expensive. Who hasn’t flipped over a fantastic-smelling candle at some cute boutique, only to quickly put it back once they see the price?!
Plus, most of us want to be careful about the chemicals we bring into our homes.
Learn how to make scented candles to save money and control exactly what you put in them. Candle manufacturers don’t have to list their ingredients, so you never know what’s in there.
Keep reading to discover the magic of how to make scented candles. It’s much easier than you think!
Picking Your Scent
Picking a scent is about more than just choosing one that makes your nose happy.
Depending on your goals, you can use scents to uplift your spirits or ease you into sleep. That’s why you need to consider where you want to place the candles in your home. You wouldn’t want to use an energizing scent for your bedroom candle.
Don’t worry; you don’t have to have a unique candle for each room, though you can! Once you get good at making candles, you can make one for every season, holiday, and space.
First, let’s explore the most common scents:
Lavender
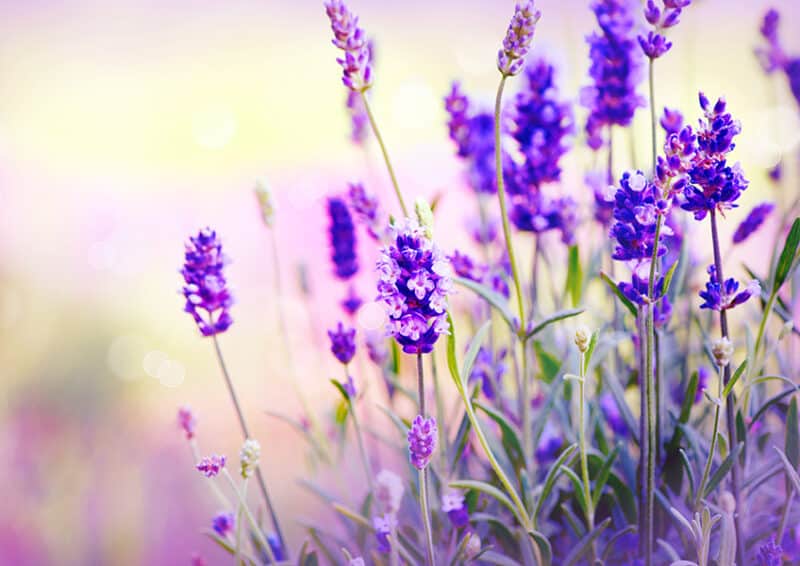
Lavender flowers are known for their calming benefits, so you often find this scent in pillow sprays or teas. Making your candle with lavender is a great way to create a cozy, relaxing atmosphere.
Lavandula likely originated in southern Europe and northern and eastern parts of Africa. Historically, lavender was used as an antidepressant and a sedative. The genus has over 30 species and hundreds of unique hybrids and cultivars.
Lighting a lavender candle is a great way to use the relaxing effects of this plant.
Cinnamon
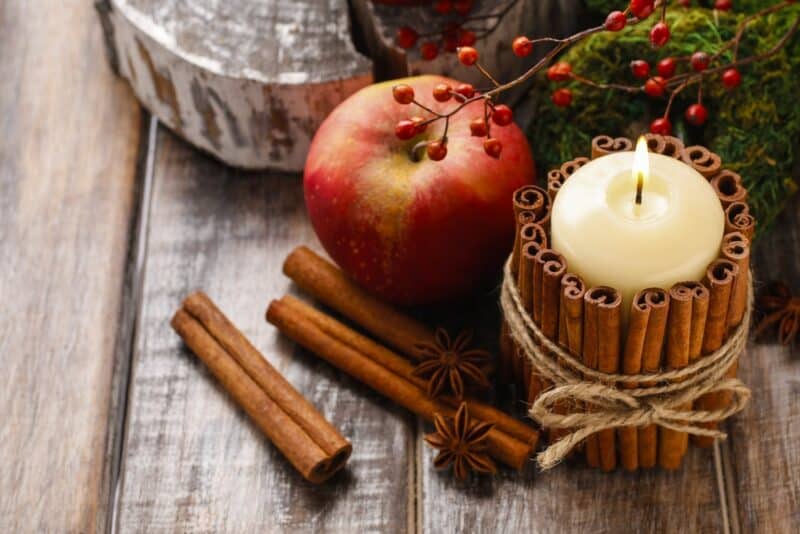
Most people associate cinnamon with festive cookies or homemade baking, which makes cinnamon an ideal scent for kitchen candles.
Placing cinnamon candles in your kitchen provides a pleasant atmosphere for cooking and making delicious meals. Or it can invoke cozy fall evenings.
Research shows that cinnamon could boost memory function and help you focus on tasks. Who knows if the scent in candles works just as well, but it couldn’t hurt, right?
Cinnamon is also good for preventing mosquitos from entering your home. Studies show that cinnamon repels adults and the oil can kill eggs.
Peppermint
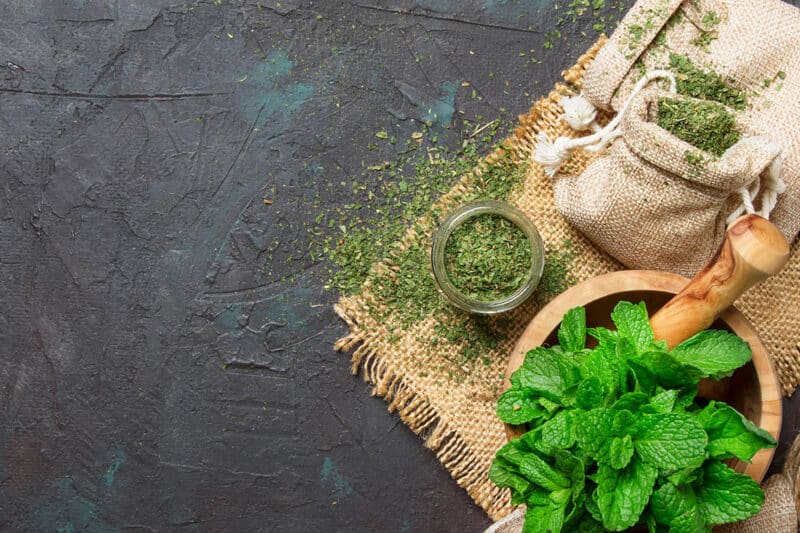
Peppermint is used for calming nerves and alleviating depression. Not only is it useful for stress relief, but peppermint can also aid digestion issues and reduce inflammation.
Smelling peppermint reduces appetite and helps people cope with anxiety. Lighting these candles also supports people with nausea, and the scent has proven to be helpful for women with menstrual cramps.
Citrus

Citrus is powerful even in small amounts. You only need a few drops of lemon or orange, and you’ll have a room filled with fruity scent.
Lime is a purifying scent that can reduce negative emotions and provide clarity. While consuming lime is part of a healthy diet, lighting lime-scented candles could encourage positive thoughts and feelings.
Putting lime candles in a bedroom or living room creates a vibrant haapy atmosphere for spending time with loved ones or unwinding after a day of gardening.
How To Make Scented Candles at Home
Anyone can make scented candles with the right ingredients. You’ll need the following materials to start making scented candles:
- Soy wax
- Wicks
- Dye (if desired)
- Essential oil or fragrance
- Candle jars or holders
- Mold template (optional)
- Double boiler
- Thermometer
- Glue gun (optional)
Fragrance oils are an affordable choice for adding a sweet scent to your candles, and they are easy to find. That’s why most people pick fragrance oils when they make candles. These oils are synthetically manufactured, however.
People who want to avoid synthetic scents or chemicals in their homes should stick with essential oils, which are naturally derived.
The good thing about fragrance oils is there are many options, and buying them in bulk is affordable and easy. If you want to make a bunch of candles, this is an excellent way to cut costs on materials.
Essential oils are extracted from plants, seeds, leaves, and other plant parts. Depending on the type of oil, these products can be expensive.
High-quality oils are a nice option if you have experience making candles and want to upgrade your ingredients. Small amounts of essential oil will limit waste and give you a delightful scent.
For your first attempts, you might want to stick with fragrance oils.
Once you’ve picked your oils, it’s time to get started.
1. Get the Containers Ready
The first step is setting up your candle jars or containers. Mason jars and drinking glasses are simple solutions for making scented candles, as these are excellent ways to reuse old containers. Look at thrift stores to find these jars for a low price.
If you have old candle jars, recycle them by pouring boiling water into the container, and filling it halfway. Let the wax dissolve and float to the top. Pour the water and wax out and wipe it clean.
2. Measure the Wax

To figure out how much wax you’ll need to melt for your scented candles, you’ll need to do a little math. A pound of wax makes about 20 ounces of candle volume. To calculate your needs, add the number of candles you’re making and divide by 20.
Say you’re aiming to make ten eight-ounce candles. Ten multiplied by eight equals 80. Divide 80 by 20, and you have four. That means you need four pounds of wax to make your ten candles.
Always set the scale to zero, including any containers, before placing the wax in the container so you get an accurate measurement.
3. Prepare the Wicks
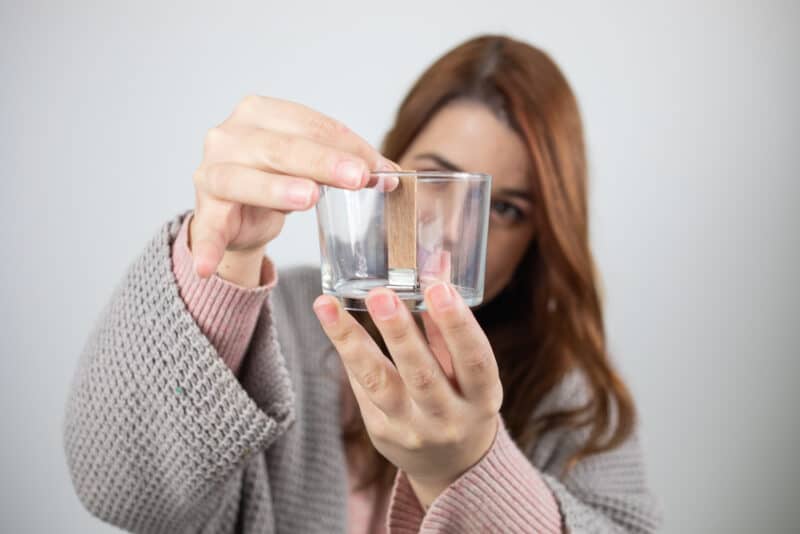
Before you melt the wax, prepare the wicks in their holders.
Cut the wick about three inches longer than the jar. Center the wick in the jar and secure the base. You can buy stickers or use hot glue to secure the base or tab. You must affix the wick or tab, or it will shift around when you pour the wax, and the candle won’t burn well.
Once it’s affixed to the base, find a pencil or something, and lay it across the top of the jar. Wrap the extra length of the wick around the pencil to hold it in place when you pour the wax. Otherwise, the wax will cover the wick and it will be buried.
You can also purchase wick-centering tools.
Larger containers need more than one wick. Any jar with a diameter under three inches needs just one wick. Four-inch jars need two, and a five-inch jar needs three. A six-inch jar needs four, etc.
4. Melt the Wax
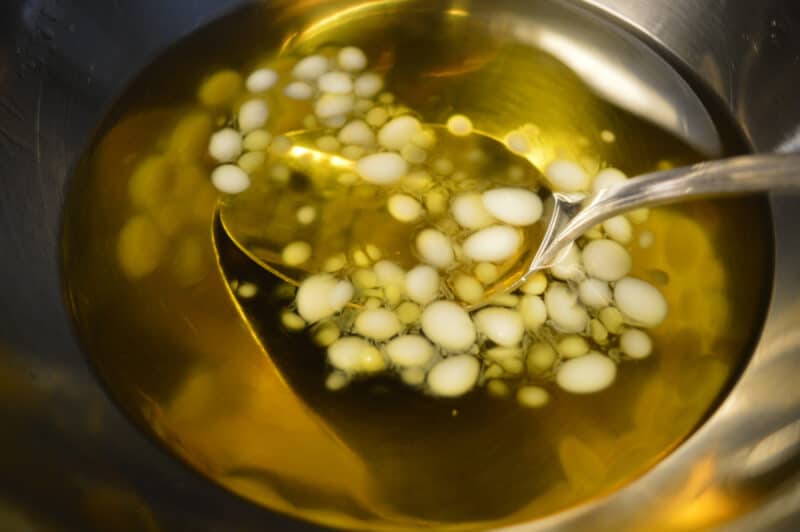
Once you have the correct amount of wax, start to melt it. Fill the base of a double boiler halfway with water and bring it to a boil.
Pour the amount of wax you need into the main pot. You may need to do this in batches. Think of this process as melting chocolate.
As the wax softens, gently stir it with a chopstick or something similar to ensure a smooth melting process. Watch that the wax doesn’t get too hot and start bubbling. It should melt slowly and smoothly.
5. Add the Scent
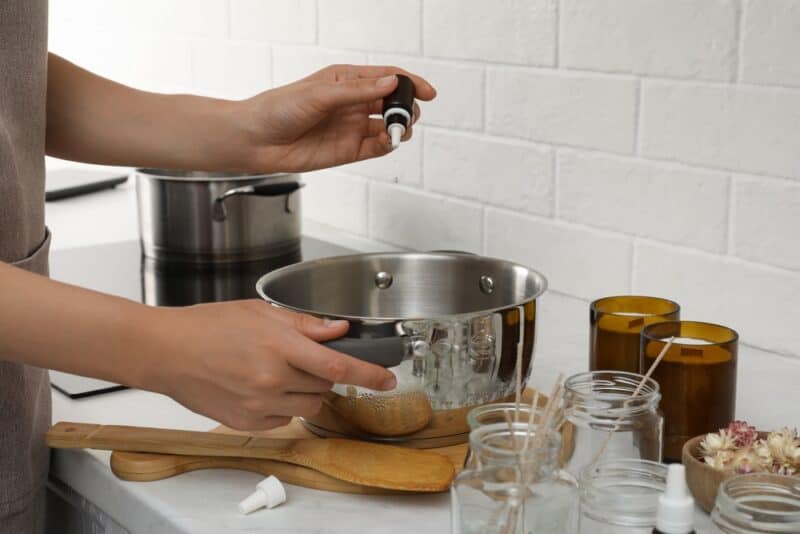
Pour your essential oil or fragrance into the wax. Be careful not to pour too much into the wax, or you’ll have an overpowering scent. The general rule is between 6-10% of the candle should be fragrance, and the rest should be wax.
You can find apps that will actually calculate all the numbers for you if you need.
For something different, mix two or more scents together. Experienced candlemakers figure out their own unique fragrances combining their favorite scents.
6. Pour Wax Into the Candle Holder
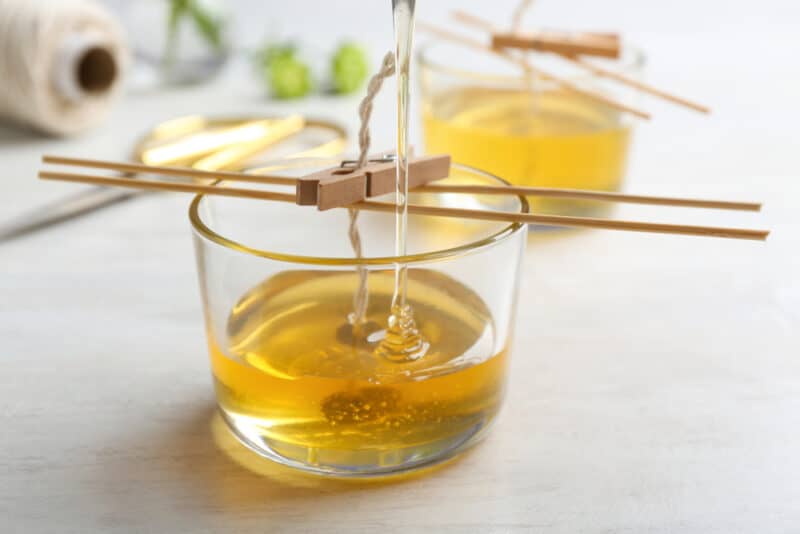
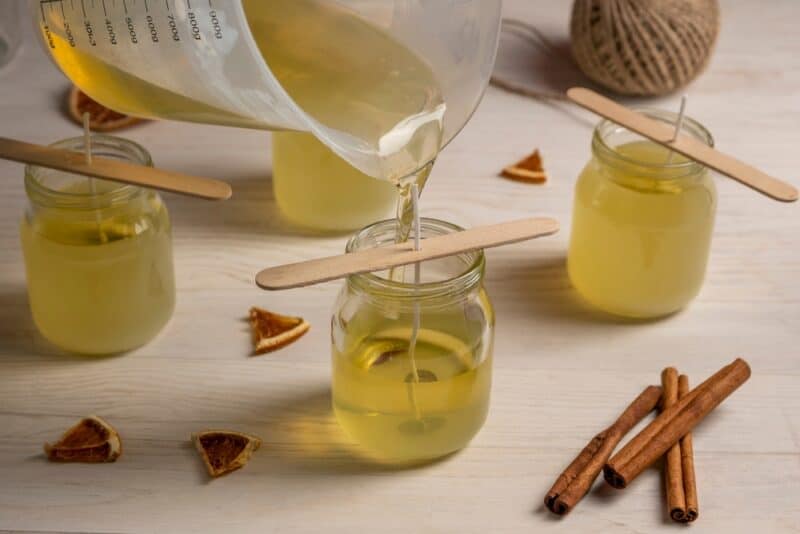
The last stage of making scented candles is pouring the mixture into the holder. Typically, the wax should be 120–140ºF when pouring it.
Be careful not to cover the wick end with the wax as you pour, and wait until the wax is dry to cut the excess.
Depending on the wax and temperature, it can take up to 24 hours until the mixture solidifies unless it’s a hot summer’s day. Then it can take even longer.
Tips
Here are some expert tips to keep in mind during the process:
- Clean the wax as soon as possible if there are spills
- Keep hot wax away from children or pets
- Never leave your candle unattended when burning
- Check out our guide for some fun DIY ways to make your candles stand out
Have fun making your scented candles and explore these soothing fragrances for different moods. But don’t be afraid to step out of your comfort zone and mix distinct scents.
You might make something wonderful!
